Chonky Crochet Frog with Fluffy Bobble Eyes – The Cutest No-Sew
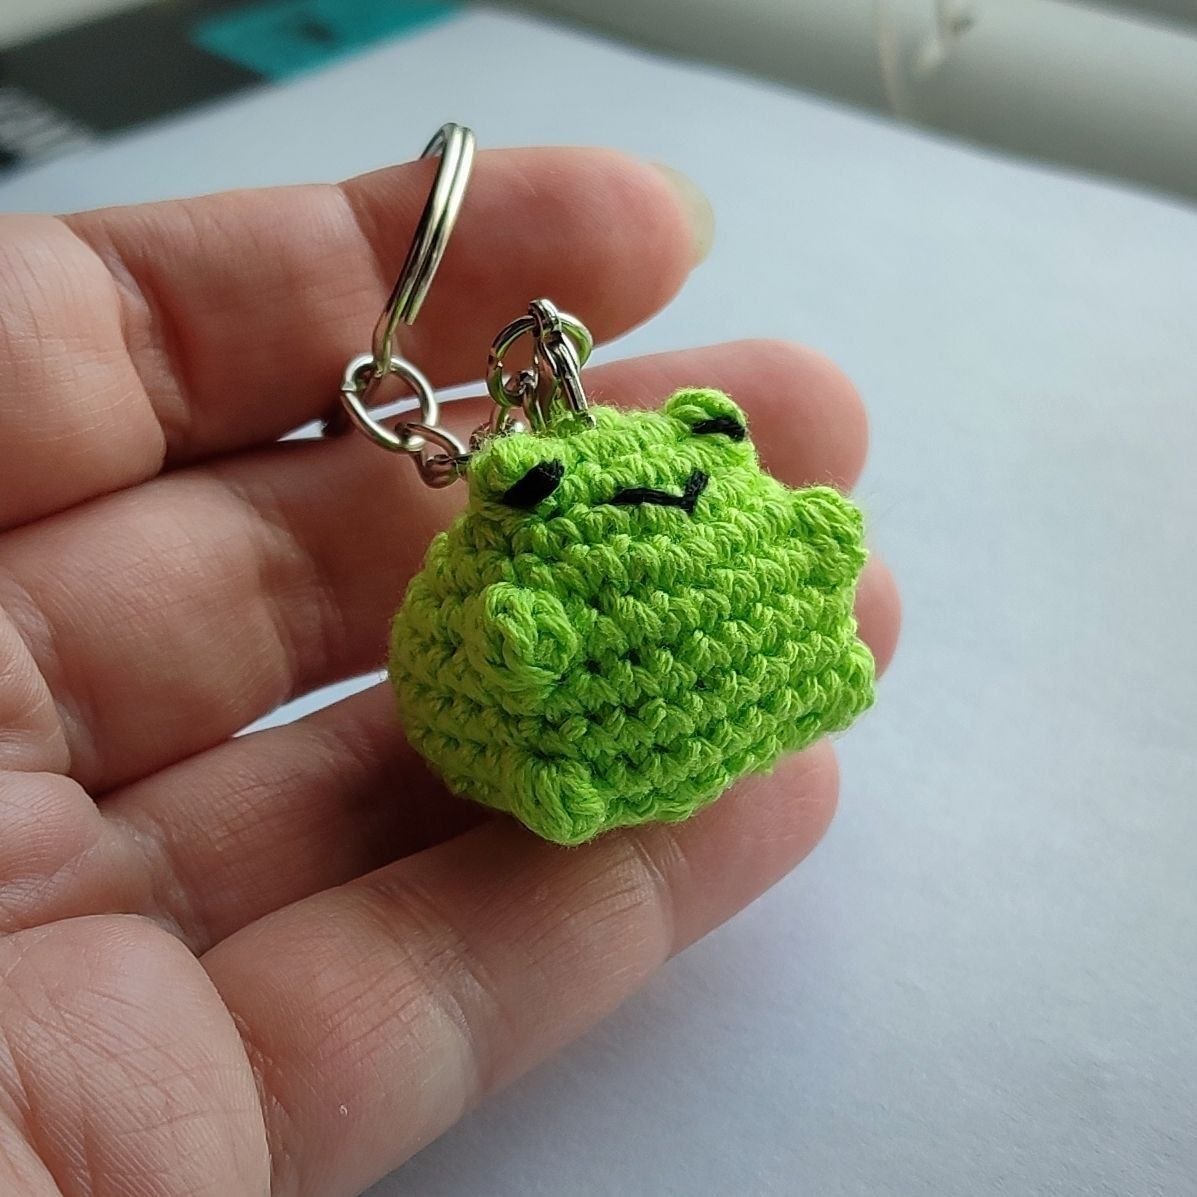
Have you ever wanted to crochet something so cute it makes you smile every single time you look at it? Well, friend, meet Zhabyk — a teeny, chonky, squishy little frog with the most adorable fluffy bobble eyes you’ve ever seen. This little guy is so round, so cozy, and so full of personality that you won’t be able to make just one. Trust me on that.
What makes this pattern truly special — beyond the obvious cuteness — is that it is completely no-sew. That’s right. No sewing pieces together, no fussy assembly, no needle-threading nightmares. The entire frog, head and body included, is worked in one continuous piece. If you’ve ever given up on amigurumi because of all the seaming, this is the pattern that will bring you back to the hook.
This little frog is the perfect beginner-friendly amigurumi project. The stitch count is manageable, the shaping is straightforward, and the only “special” technique is a simple bobble stitch that creates those signature puffy eyes. If you can single crochet in the round, you can absolutely make this frog. And if you’re a more experienced crocheter, this is a wonderful quick project for an afternoon — cozy yarn, a cup of tea, and a tiny frog appearing in your hands like magic.
Zhabyk makes a wonderful gift for absolutely anyone. Tuck one into a birthday card, drop it into a Christmas stocking, or gift it to the frog-lover in your life (we all know one). It’s also a perfect little desk companion, a bag charm, or just a squishy thing to fidget with when you need a moment of calm. Made in chunky, velvety yarn, it has a wonderfully satisfying texture that you’ll want to squeeze all day long.
The pattern is available in two colorways shown in the original photos — a bright neon green and a warm sandy beige — but honestly, this frog looks amazing in any color. Imagine it in lilac, burnt orange, dusty rose, or classic forest green. The world is your lily pad.
So grab your chunkiest, coziest yarn, your safety eyes, and your favorite hook, and let’s make the happiest little frog together
What You’ll Need – Materials
- Yarn: Chunky or super bulky velvet/chenille yarn (any color you love — the original uses bright green and sandy beige)
- A small separate piece of yarn (same color as body, approx. 15 cm / 6 inches) for the bottom cinching detail
- Crochet hook: Appropriate size for your yarn (typically 4.5–6 mm for chunky velvet yarn)
- Safety eyes: 2 black safety eyes (size depends on your yarn weight — around 8–10 mm works well)
- Fiberfill stuffing: Polyfill or any soft toy stuffing
- Yarn needle: For weaving in ends (no sewing required!)
- Scissors
Optional: A strand of cotton yarn in the same color for a crisper cinch detail on the bottom (see Finishing section)
Abbreviations
| Abbreviation | Meaning |
|---|---|
| MR / KA | Magic ring (Кольцо амигуруми) |
| sc | Single crochet (сбн – столбик без накида) |
| inc | Increase – 2 sc in the same stitch (пр) |
| dec | Decrease – invisible decrease over 2 stitches (уб) |
| bobble | Bobble stitch – 4 double crochets in 1 stitch (4ссн в 1у п – шишечка) |
| [ ] | Total stitch count at end of round |
| × | Repeat the sequence the number of times indicated |
A Quick Note on the Bobble Stitch (Shishechka)
The bobble stitch is what creates the raised, puffy eye bumps on this frog — and it looks a lot more intimidating than it actually is! To make a bobble (шишечка), you simply work 4 double crochets into the same stitch, but you don’t finish the last one until all 4 loops are on your hook, then pull through all at once. This creates a little popcorn-like bump that sticks out beautifully. The safety eyes are inserted into the center of these bobbles after Round 10, giving the frog its characteristic wide-eyed, happy expression.
Important: When you work the bobbles in Round 3 and Round 6, make sure both bobbles sit at approximately the same level — this keeps the eyes even and symmetrical. Take a moment to look at your work from the front before moving on to the next round

Crochet Frog Pattern – Head and Body (worked in one piece)
Round 1
Start with a magic ring. Work 8 sc into the ring. [8 stitches]
Round 2
Inc in every stitch around (8 increases). [16 stitches]
Round 3
4 sc, bobble (4 dc in 1 st), 5 sc, bobble (4 dc in 1 st), 5 sc. [16 stitches + 2 bobbles]
💡 Tip: Make sure your two bobbles sit at roughly the same height — these will become the eye bumps! Check from the front as you go.
Round 4
(sc, inc) × 8 [24 stitches]
Round 5
(2 sc, inc) × 8 [32 stitches]
Round 6
10 sc, bobble (4 dc in 1 st), 9 sc, bobble (4 dc in 1 st), 11 sc. [32 stitches + 2 bobbles]
Rounds 7–8
Work 32 sc around, no increases or decreases. [32 stitches — work these 2 rounds straight]
Round 9
11 sc, bobble (4 dc in 1 st), 9 sc, bobble (4 dc in 1 st), 10 sc. [32 stitches + 2 bobbles]
Round 10
(2 sc, dec) × 8 [24 stitches]
⭐ Now is the time to insert your safety eyes! Push each safety eye through the center of the bobble bumps from Rounds 3/6 and secure the washers on the inside. Once the eyes are in, you cannot easily go back, so double-check placement before securing.
Then, begin stuffing the frog with fiberfill. Don’t overstuff — a gentle, soft filling gives the best chonky shape without distorting the stitches. You want it squishy, not rock-hard!
Round 11
(sc, dec) × 8 [16 stitches]
Round 12
8 dec around. [8 stitches]
Fasten off, leaving a short tail. Use your yarn needle to weave the tail through the remaining 8 front loops, pull tight to close the opening, and hide the tail inside. Your frog body is now complete
Finishing – The Cinched Bottom Detail (Bottom Shaping)
This is the little magic trick that gives Zhabyk his iconic chonky, bottom-heavy frog silhouette — two plump “cheeks” on his underside that make him look like he’s sitting proudly on his lily pad.
What you need: A separate piece of yarn in the same color as the body, approximately 15 cm (6 inches) long. For a sharper, more defined cinch, try using a strand of cotton yarn in a matching color instead — it holds the tension better.
How to do it:
- Thread the yarn onto your needle and insert it from the middle of the body, between Rounds 11 and 12.
- Bring the needle out through the center of the back, between Rounds 3 and 4.
- Pull the yarn gently but firmly to create a cinched indent in the bottom of the frog, forming two round “cheeks.”
- Tie a secure double knot, being careful not to pull so hard that you snap the yarn.
- Bury both yarn tails inside the body and trim.
Reference the step-by-step photos in the original pattern for visual guidance on needle placement — it makes a big difference in getting the shape just right
The Finishing Touch – Embroidering the Smile
The very last step is the sweetest one. Using a small amount of black yarn or embroidery thread, stitch a simple curved smile across the frog’s face, just below the eyes. A gentle upward curve is all it takes to give him the happiest, most contented expression. And just like that — your little Zhabyk is done and ready to hop into someone’s heart