Whimsical Crochet Hand Pattern: Create a Posable Amigurumi Hand
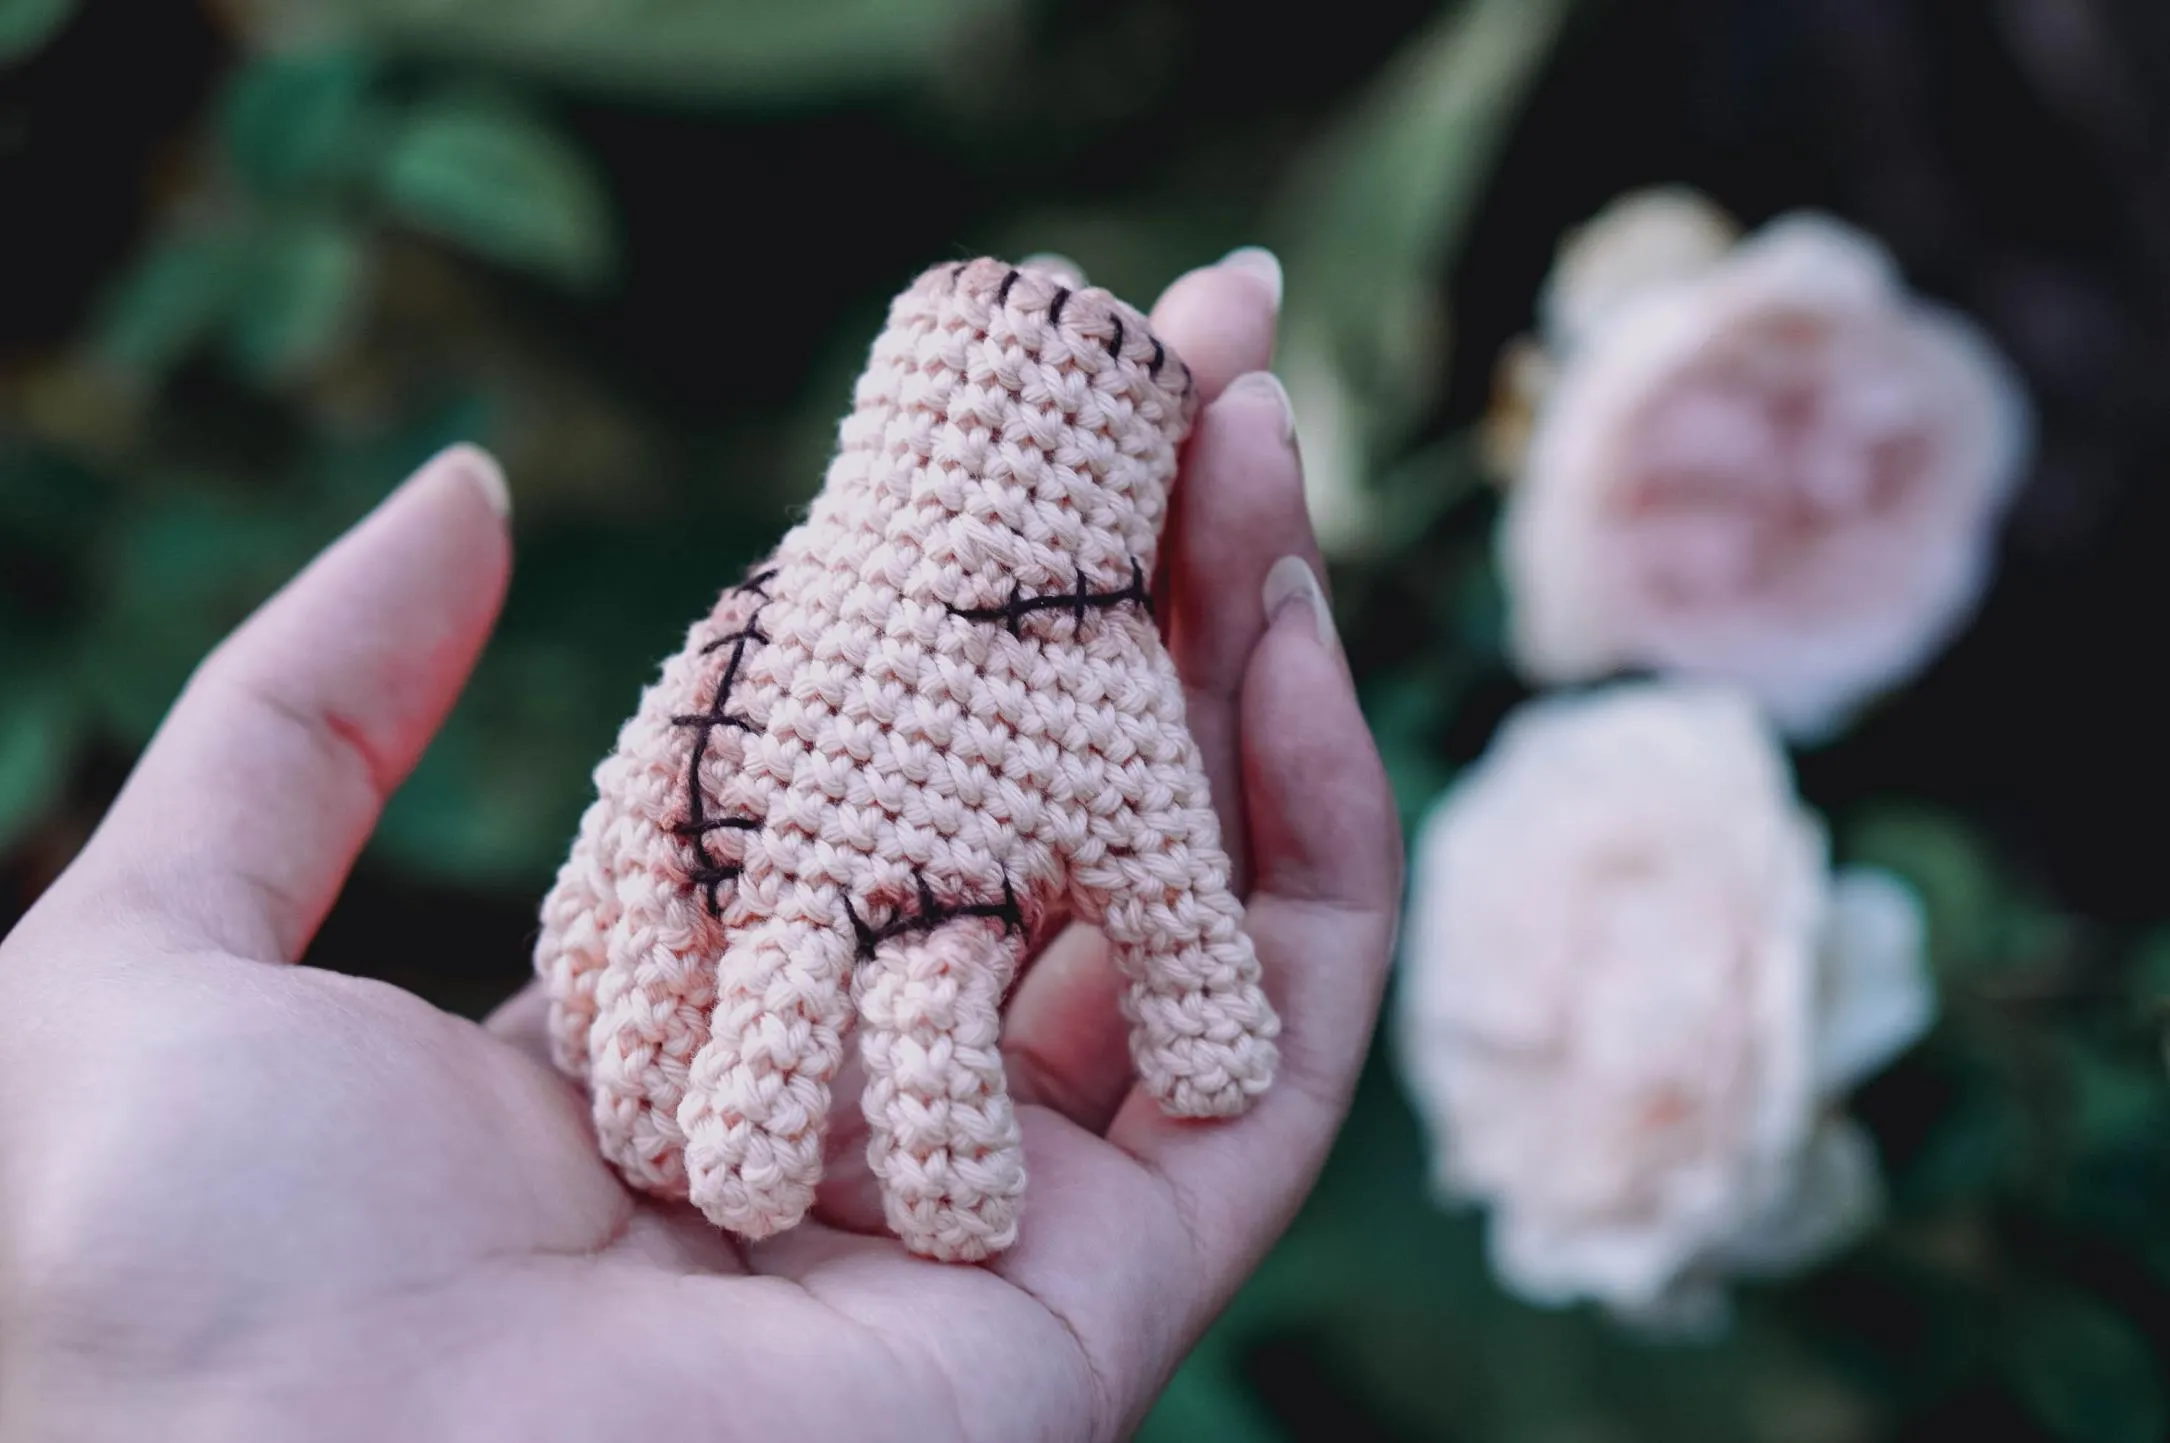
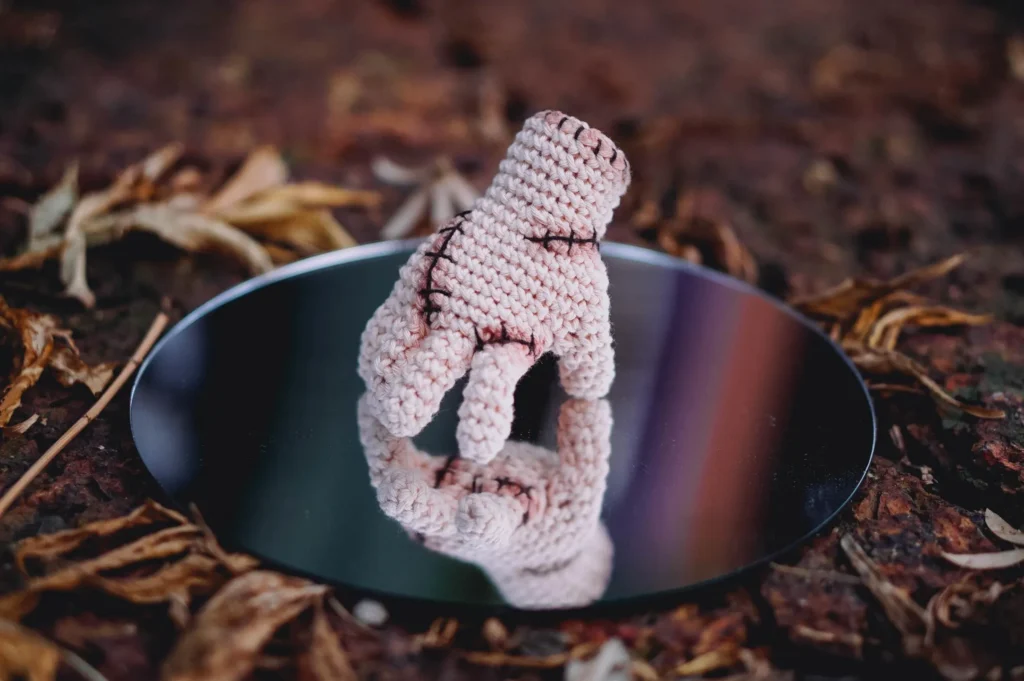
Have you ever wanted to crochet something delightfully quirky? This Guichai Dolls “Thing” hand pattern is just the project for you! Whether you’re making a fun prop, a unique gift, or just exploring creative amigurumi, this posable hand is sure to bring a smile.
This pattern is beginner-friendly, using basic stitches like single crochet (sc), increases (inc), and decreases (dec). The fingers are worked separately and then joined, with the option to add wire inside for posable flexibility. The result? A charming, expressive hand that can hold tiny objects or just look adorable on your shelf.
Why You’ll Love This Pattern:
✅ Simple & Fun – Great for practicing small, detailed work.
✅ Customizable – Add wire for posable fingers or keep it soft.
✅ Quick Project – Works up fast with sport-weight yarn.
Grab your hook, some cream-colored yarn, and let’s crochet a hand that’s full of personality
Materials
- Yarn: Sport-weight cotton yarn in cream (or your preferred color).
- Hook: Size appropriate for sport-weight yarn (check yarn label).
- Optional: Thin wire (for posable fingers).
- Notions: Tapestry needle, scissors, stitch marker.
- Embellishments: Eyebrow paint or powder for shading (optional).
Abbreviations (US Terms)
| Symbol | Abbreviation | Meaning |
|---|---|---|
| ● | sl st | Slip stitch |
| ○ | ch | Chain |
| X | sc | Single crochet |
| V | inc | Increase (2 sc in same stitch) |
| A | dec | Decrease (invisible or sc2tog) |
| T | hdc | Half double crochet |
| F | dc | Double crochet |
| Ft | tr | Treble crochet |
| X | FLO | Front loop only |
| X | BLO | Back loop only |
| MR | MR | Magic ring |
Pattern Instructions
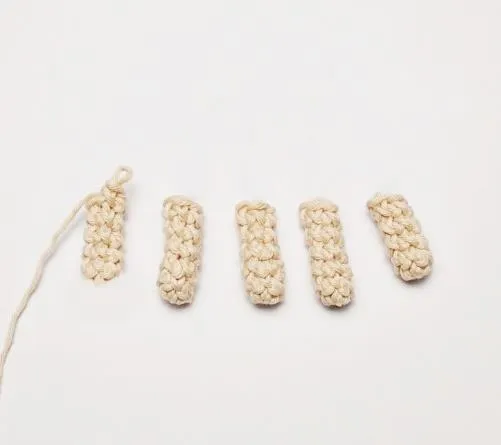
Step 1: Crochet the Fingers
Index, Middle, and Ring Fingers (Make 3)
- R1–6: 5 sc in MR (5 sts each round).
- Close stitch and weave in ends.
Thumb (Make 1)
- R1–5: 5 sc in MR (5 sts each round).
- Close stitch and weave in ends.
Little Finger (Make 1, Attached to Hand)
- R1–5: 5 sc in MR (5 sts each round).
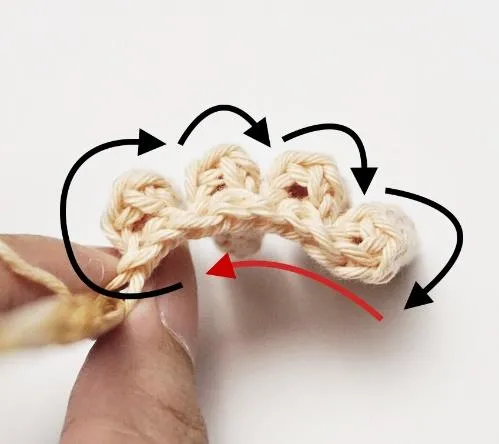
- R6: Work in a continuous spiral to connect all fingers:
- Little finger: 2 sc
- Ring finger: 2 sc
- Middle finger: 2 sc
- Index finger: 5 sc
- Middle finger: 3 sc
- Ring finger: 3 sc
- Little finger: 3 sc (Total: 20 sts).

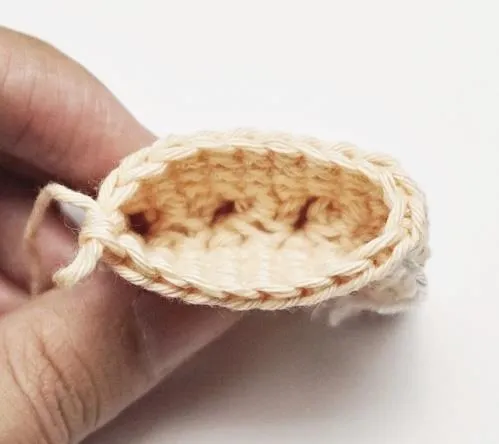
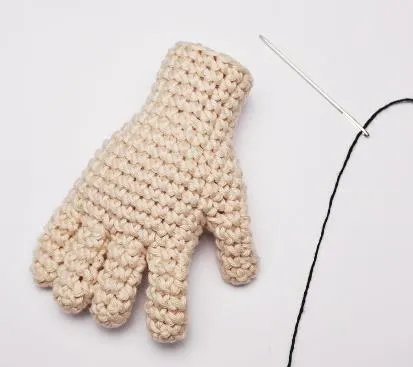
Step 2: Form the Hand
- R7–9: 20 sc (3 rounds).
- R10:
- 8 sc
- Attach thumb: 5 sc
- Continue around hand: 11 sc (Total: 25 sts).
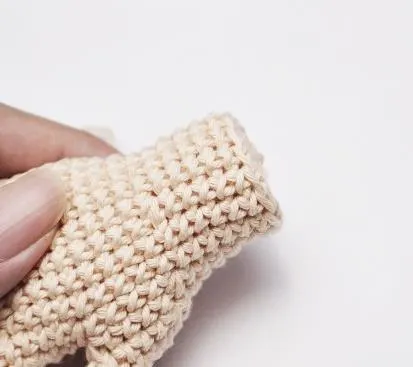
- R11–13: 25 sc (3 rounds).
- Optional: Insert wire into fingers for posability (see Pic. 5 in original PDF).
- R14: (Dec, 8 sc, dec, 10 sc, dec) (22 sts).
- R15: (8 sc, dec, sc, dec, 8 sc) (20 sts).
- R16: [3 sc, dec] x4 (16 sts).
- R17–21: 16 sc (5 rounds).
- R22: BLO [2 sc, dec] x4 (12 sts).
- R23: [sc, dec] x4 (8 sts).
- R24: 4 dec, sl st to close (4 sts).
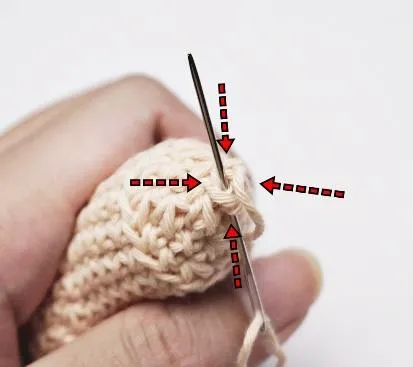
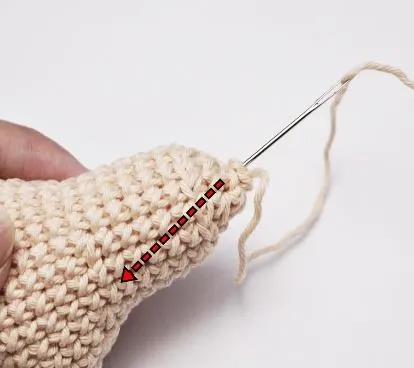
Step 3: Finishing
- Sew the wrist closed: Gather the remaining 4 stitches, pull tight, and secure.
- Embellish (optional): Use eyebrow paint or powder to add shading for a more realistic look.

Tips for Beginners
- Magic Ring Alternative: If the MR is tricky, chain 2 and work the first round into the first chain.
- Wire Insertion: Use thin, bendable wire (like floral wire) for posable fingers.
- Stitch Markers: Helpful for keeping track of rounds in small pieces