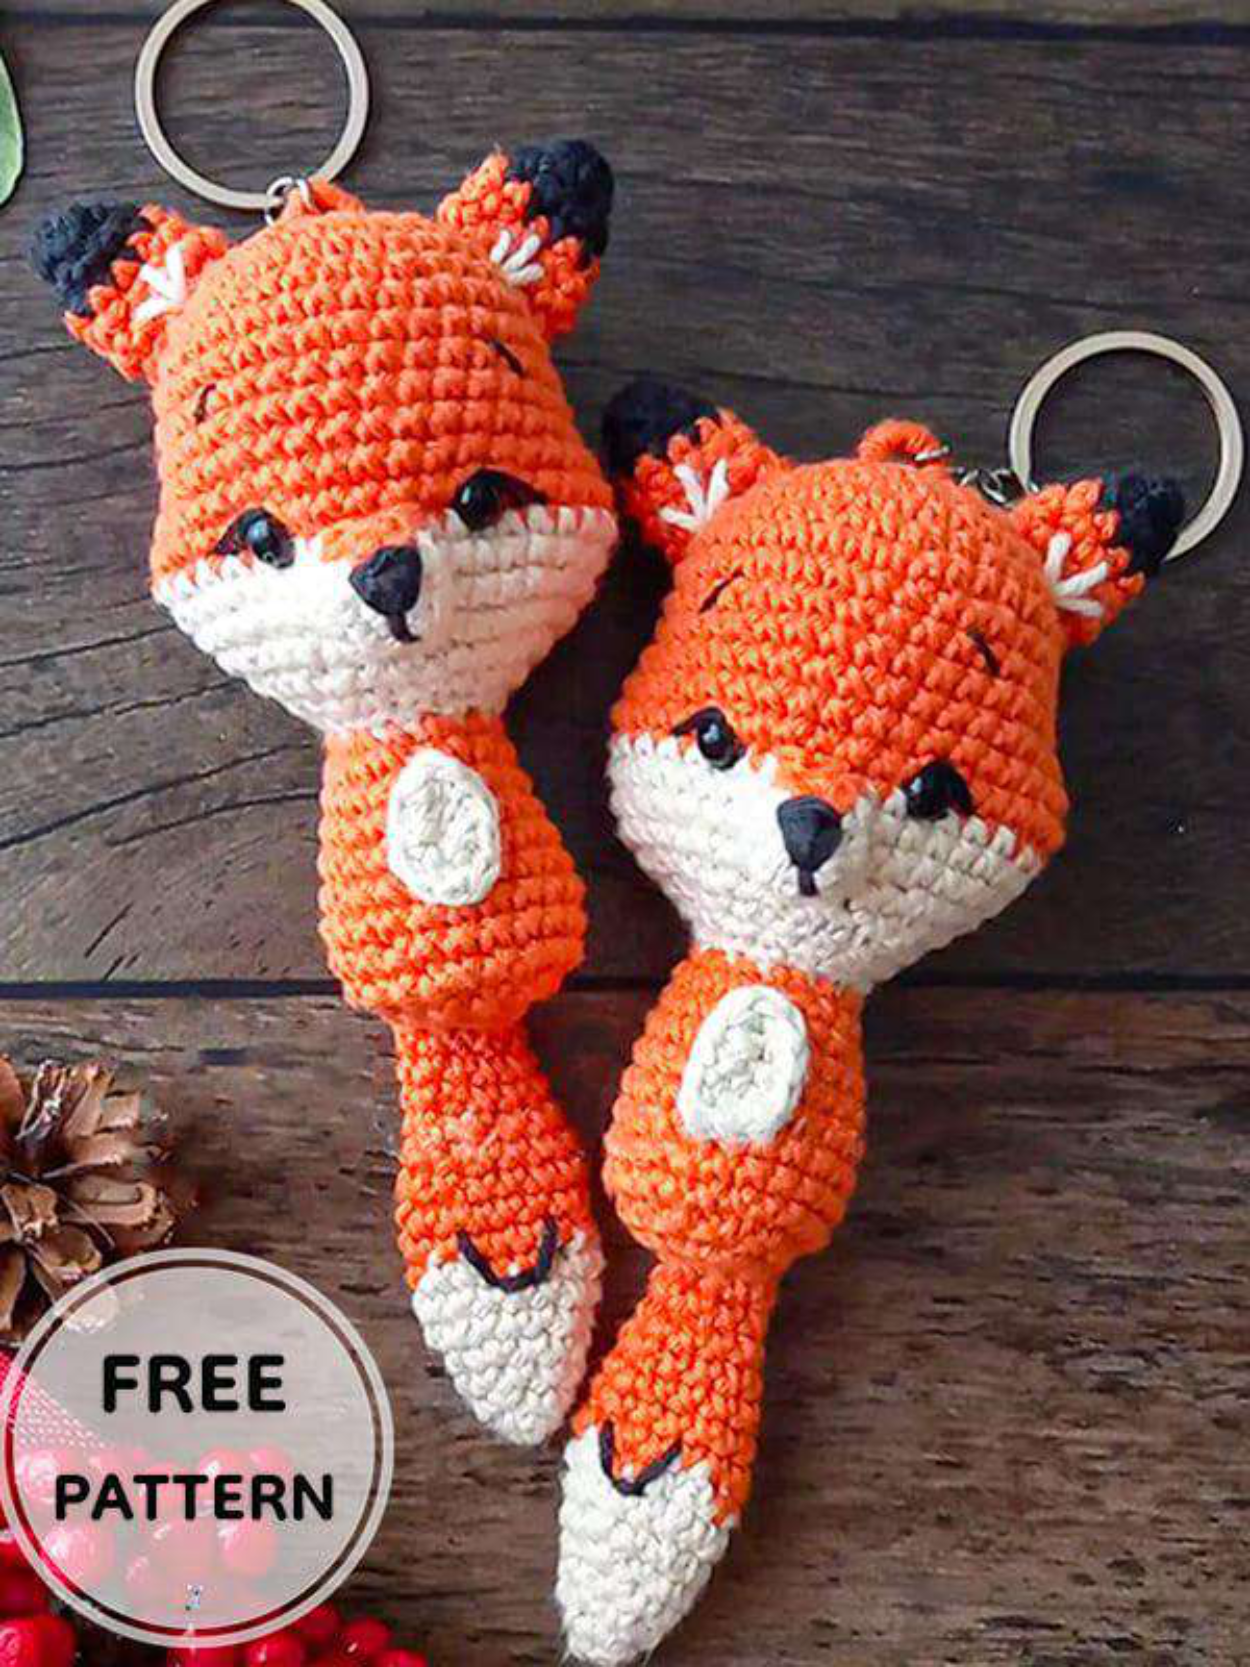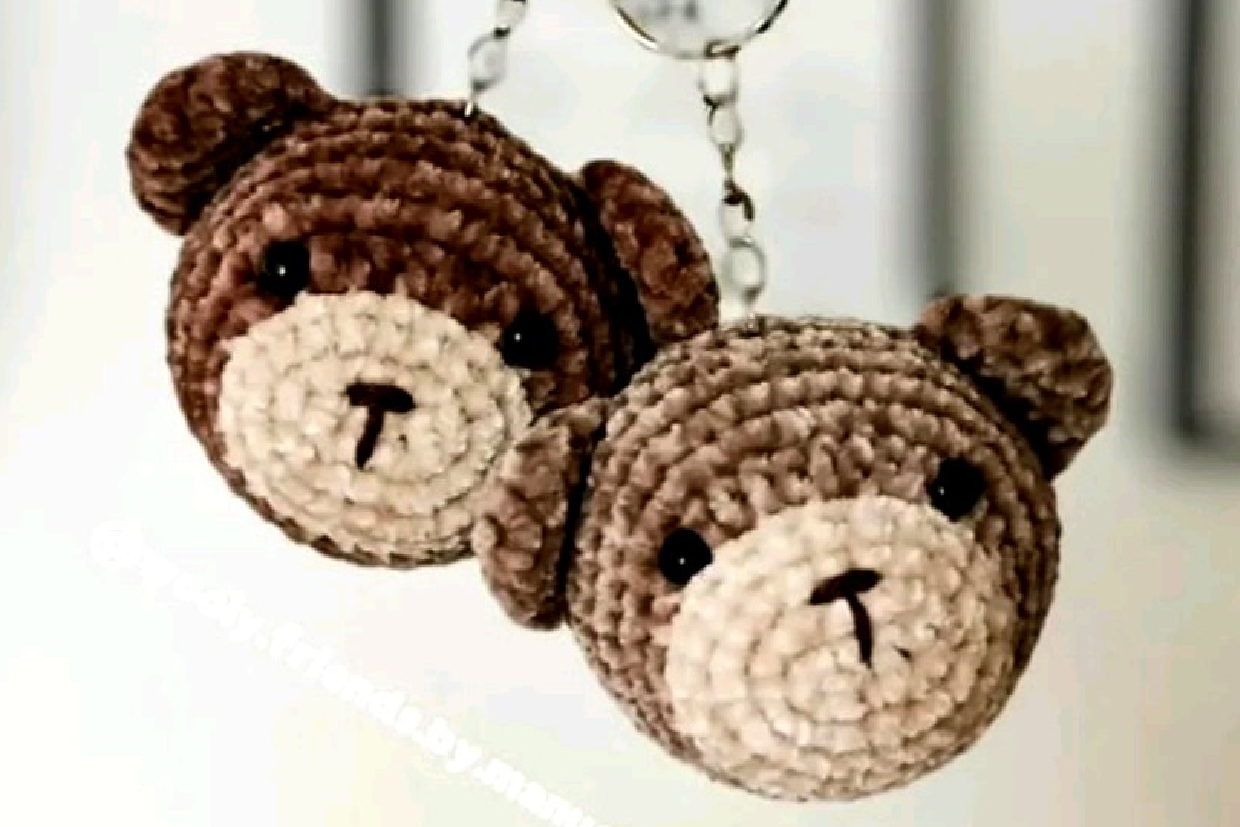
No Sew Bear Keychain Crochet Pattern
Crochet the Head
The head begins with a foundation chain, building the snout area. You’ll start with Ricorumi Nilli Nilli in color 021, then switch to color 022 or 023 for the top part of the head, matching your ear color.
- Chain 4. Start in the second chain from the hook.
- Round 1: Increase (inc) in the first stitch, 1 sc, 4 sc in the next stitch. Continue working on the other side of the chain: 1 sc, increase (inc). (Total: 10 stitches)
- Round 2: 2 increases (inc), 1 sc, 4 increases (inc), 1 sc, 2 increases (inc). (Total: 18 stitches)
- Round 3: Increase (inc), 7 sc, 2 increases (inc), 7 sc, increase (inc). (Total: 22 stitches)
- Rounds 4-5: Single crochet (sc) in each of the 22 stitches around for 2 rounds. (Total: 22 stitches)
- Round 6: Change to color 022 or 023 for this round. 1 sc, increase (inc), 1 sc, 6 half double crochet increases (hdc inc), 1 sc, increase (inc), 11 sc. (Total: 30 stitches)
- Round 7: (1 sc, increase (inc)) repeated 10 times, then 10 sc. (Total: 40 stitches)
- Rounds 8-10: Single crochet (sc) in each of the 40 stitches around for 3 rounds. (Total: 40 stitches)
- Round 11: 6 sc, then make 6 sc attaching the first ear (crocheting through both the ear and head stitches), 9 sc, then make 6 sc attaching the second ear, 13 sc. (Total: 40 stitches) Carefully check that your ears are placed symmetrically and centered on the head.
- Round 12: Single crochet (sc) in each of the 40 stitches around. (Total: 40 stitches)
Insert the 6mm safety eyes between Round 6 and Round 7, approximately 7-8 stitches apart, ensuring they are centered on the face.
- Round 13: (8 sc, decrease (dec)) repeated 4 times. (Total: 36 stitches)
- Round 14: (4 sc, decrease (dec)) repeated 6 times. (Total: 30 stitches)
- Round 15: (3 sc, decrease (dec)) repeated 6 times. (Total: 24 stitches)
- Round 16: (2 sc, decrease (dec)) repeated 6 times. (Total: 18 stitches)
Begin stuffing the head firmly with fiberfill at this stage, ensuring a good shape.
- Round 17: (1 sc, decrease (dec)) repeated 6 times. (Total: 12 stitches)
- Round 18: 6 decreases (dec) around. (Total: 6 stitches)
Continue to stuff the head firmly, shaping it as you go. Fasten off (FO) and use your tapestry needle to sew the remaining hole closed neatly. Weave in any loose ends securely.
Assembly & Finishing Touches
Your no-sew crochet bear keychain is almost complete! A few final details will bring its charming personality to life.
- Embroider the Nose: Using your brown cotton yarn and tapestry needle, carefully embroider a small t-shape for the bear’s nose onto the snout area, typically centered between the safety eyes.
- Attach Keychain: Securely attach the keychain hardware to the top of the bear’s head, ensuring it’s firmly fixed for durability.
Congratulations! Your handmade crochet bear keychain is now finished and ready to be used, gifted, or admired. Enjoy your cute amigurumi creation!
Tips for Beginner Crocheters
This “no-sew” bear keychain pattern, while appearing simple, involves some techniques like working in continuous spirals and color changes. Here are some beginner-friendly tips to help you succeed with your amigurumi project:
- Master the Magic Ring: The magic ring is fundamental for amigurumi to create a tight, closed center. Practice until you’re comfortable with it. If it’s too tricky, a “chain 2, then work sc into the second chain from hook” method works as an alternative.
- Always Use a Stitch Marker: When working in continuous rounds, it’s incredibly easy to lose track of the beginning of your round. Always place a stitch marker in the first stitch of each round and move it up as you progress.
- Maintain Tight Tension: For amigurumi, tight stitches are key to preventing stuffing from showing through. If your work looks too loose, try using a smaller crochet hook or adjust your tension.
- Stuffing Smart: Stuff your amigurumi firmly but gradually and evenly. Overstuffing can distort the shape, while understuffing can make it floppy. Use small bits of fiberfill at a time to achieve the desired density. For the head, ensure it’s packed well to maintain its round form.
- Clean Color Changes: When changing yarn colors (like from the snout to the head), make the last yarn over of the last stitch of the old color with the new color. This creates a smoother, less noticeable transition.
- Invisible Decrease (Optional but Recommended): While this pattern specifies a standard decrease, learning an invisible decrease (insert hook into front loop of first stitch, then front loop of second stitch, yarn over, pull through both loops, yarn over, pull through last two loops) can make your decreases less visible, resulting in a cleaner finish, especially on the face.
- Finishing the Hole: When closing the final hole, use your tapestry needle to pick up the front loop of each remaining stitch, then pull tight to draw the hole completely closed. Weave the yarn tail through the work multiple times to secure it firmly before trimming.
Happy crocheting and enjoy making your adorable bear keychain