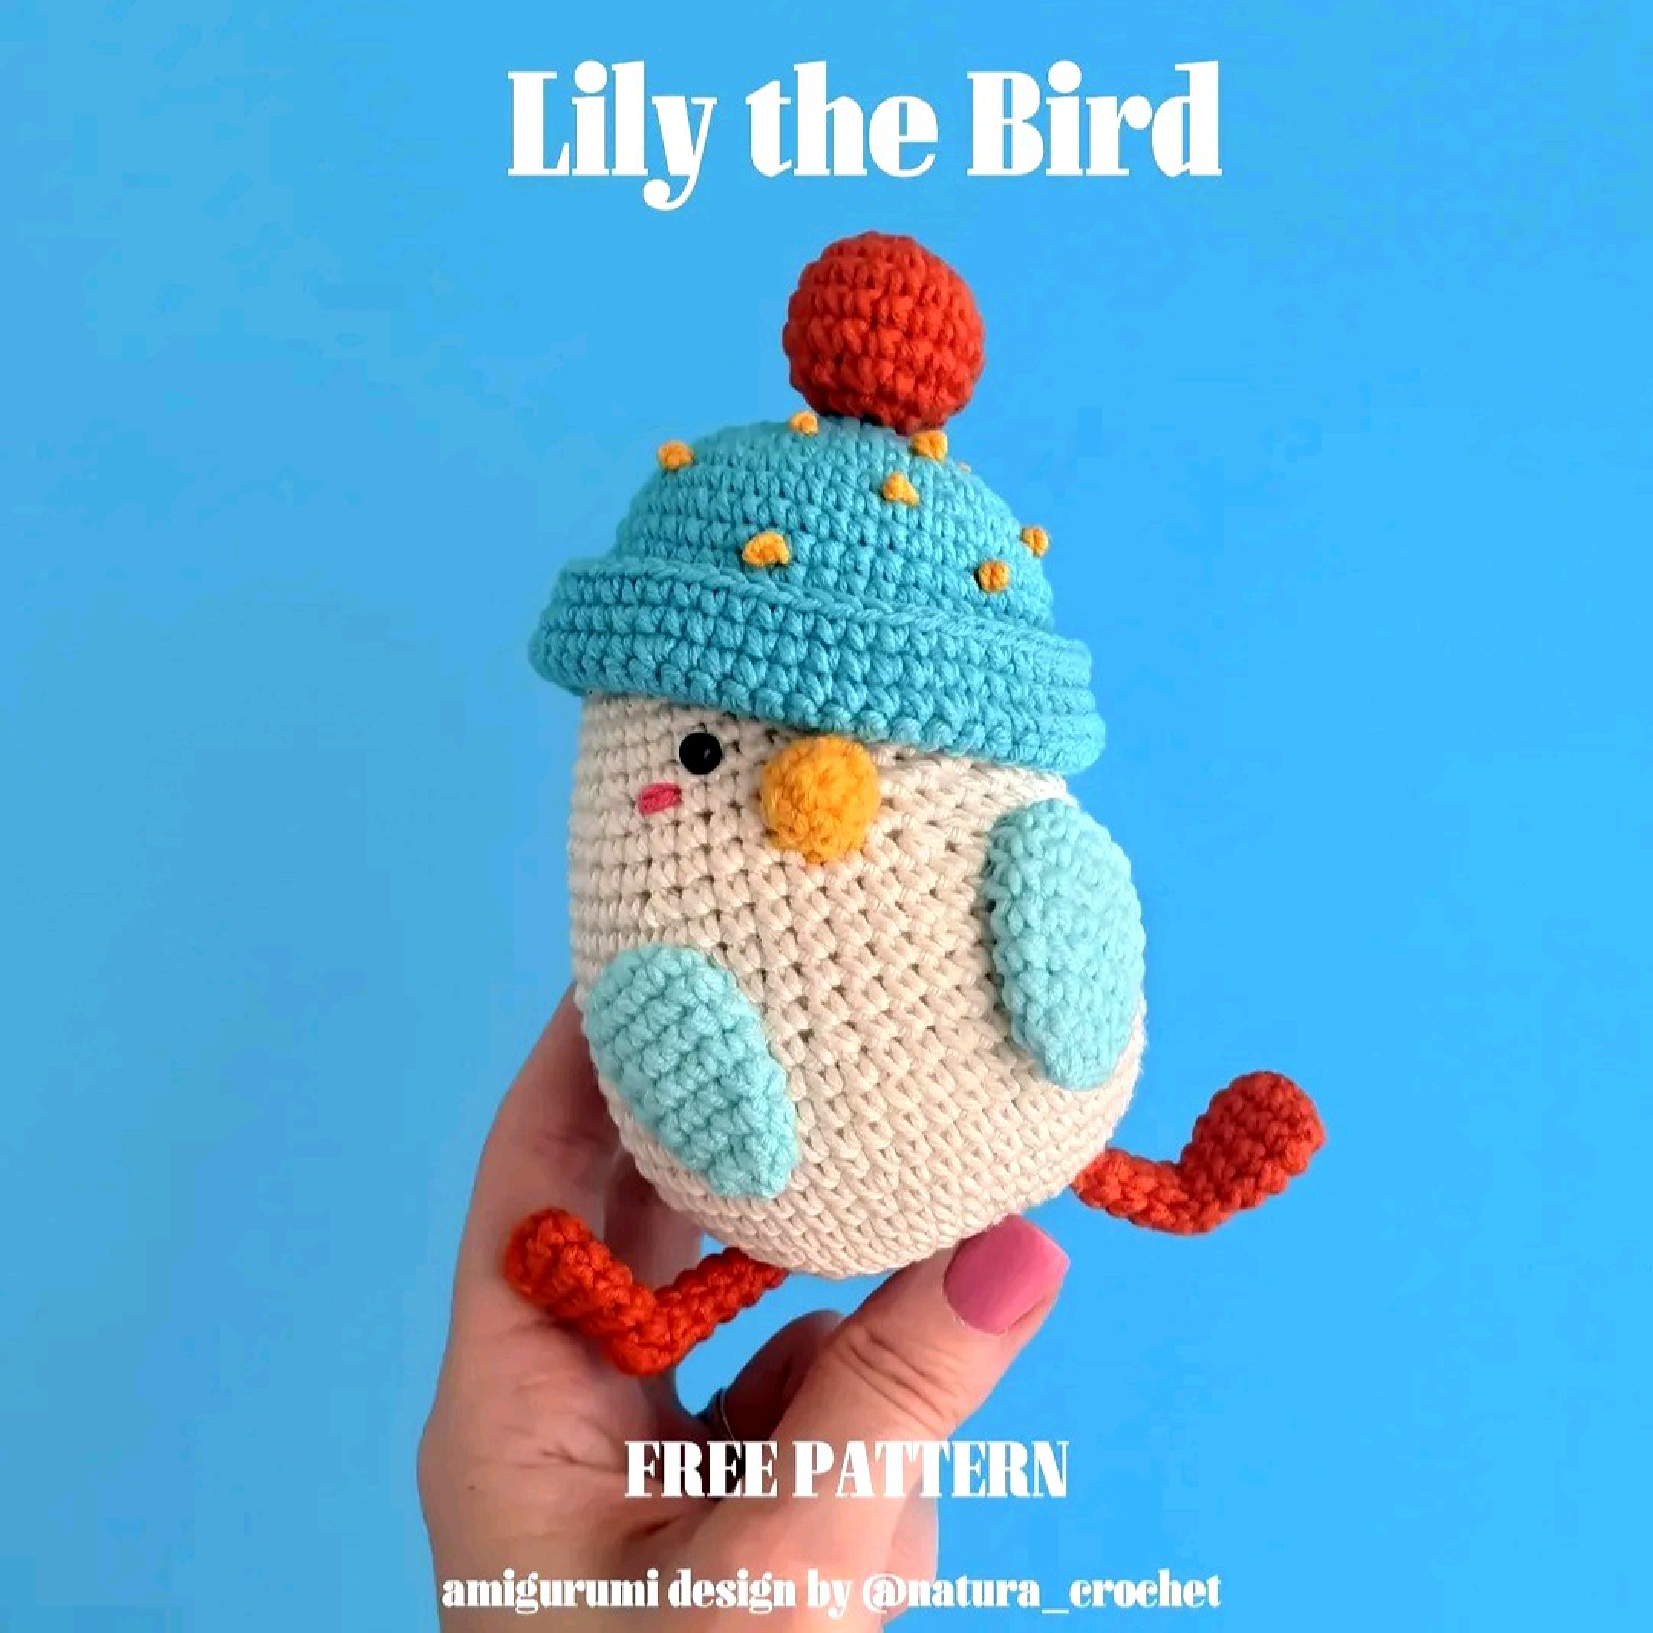
Lily the Bird Crochet Pattern
Materials
To crochet your adorable Lily the Bird amigurumi, gather the following supplies:
- Sport weight yarn in: blue, off-white, yellow, orange, baby blue.
- Scraps of yarn in different colors for embroidery, including pink and yellow (embroidery thread can also be used).
- B-1 / 2 mm crochet hook.
- Sewing needle.
- Yarn needle.
- Pins.
- Stitch markers.
- Fiberfill for stuffing.
- Black glass or safety eyes Ø 4 mm.
Abbreviations
Understanding these crochet abbreviations will help you follow the pattern effortlessly:
- MR – magic ring
- ch – chain
- st – stitch
- sc – single crochet
- inc – increase (work 2 single crochet stitches into one stitch)
- dec – decrease (single crochet 2 together)
- slst – slip stitch
- hdc – half double crochet
- bobble st – bobble stitch (a cluster of 2 double crochet stitches worked into one stitch and joined together at the top)
- FLO – front loops only
- BLO – back loops only
- [n] – number of stitches in round
Pattern Overview
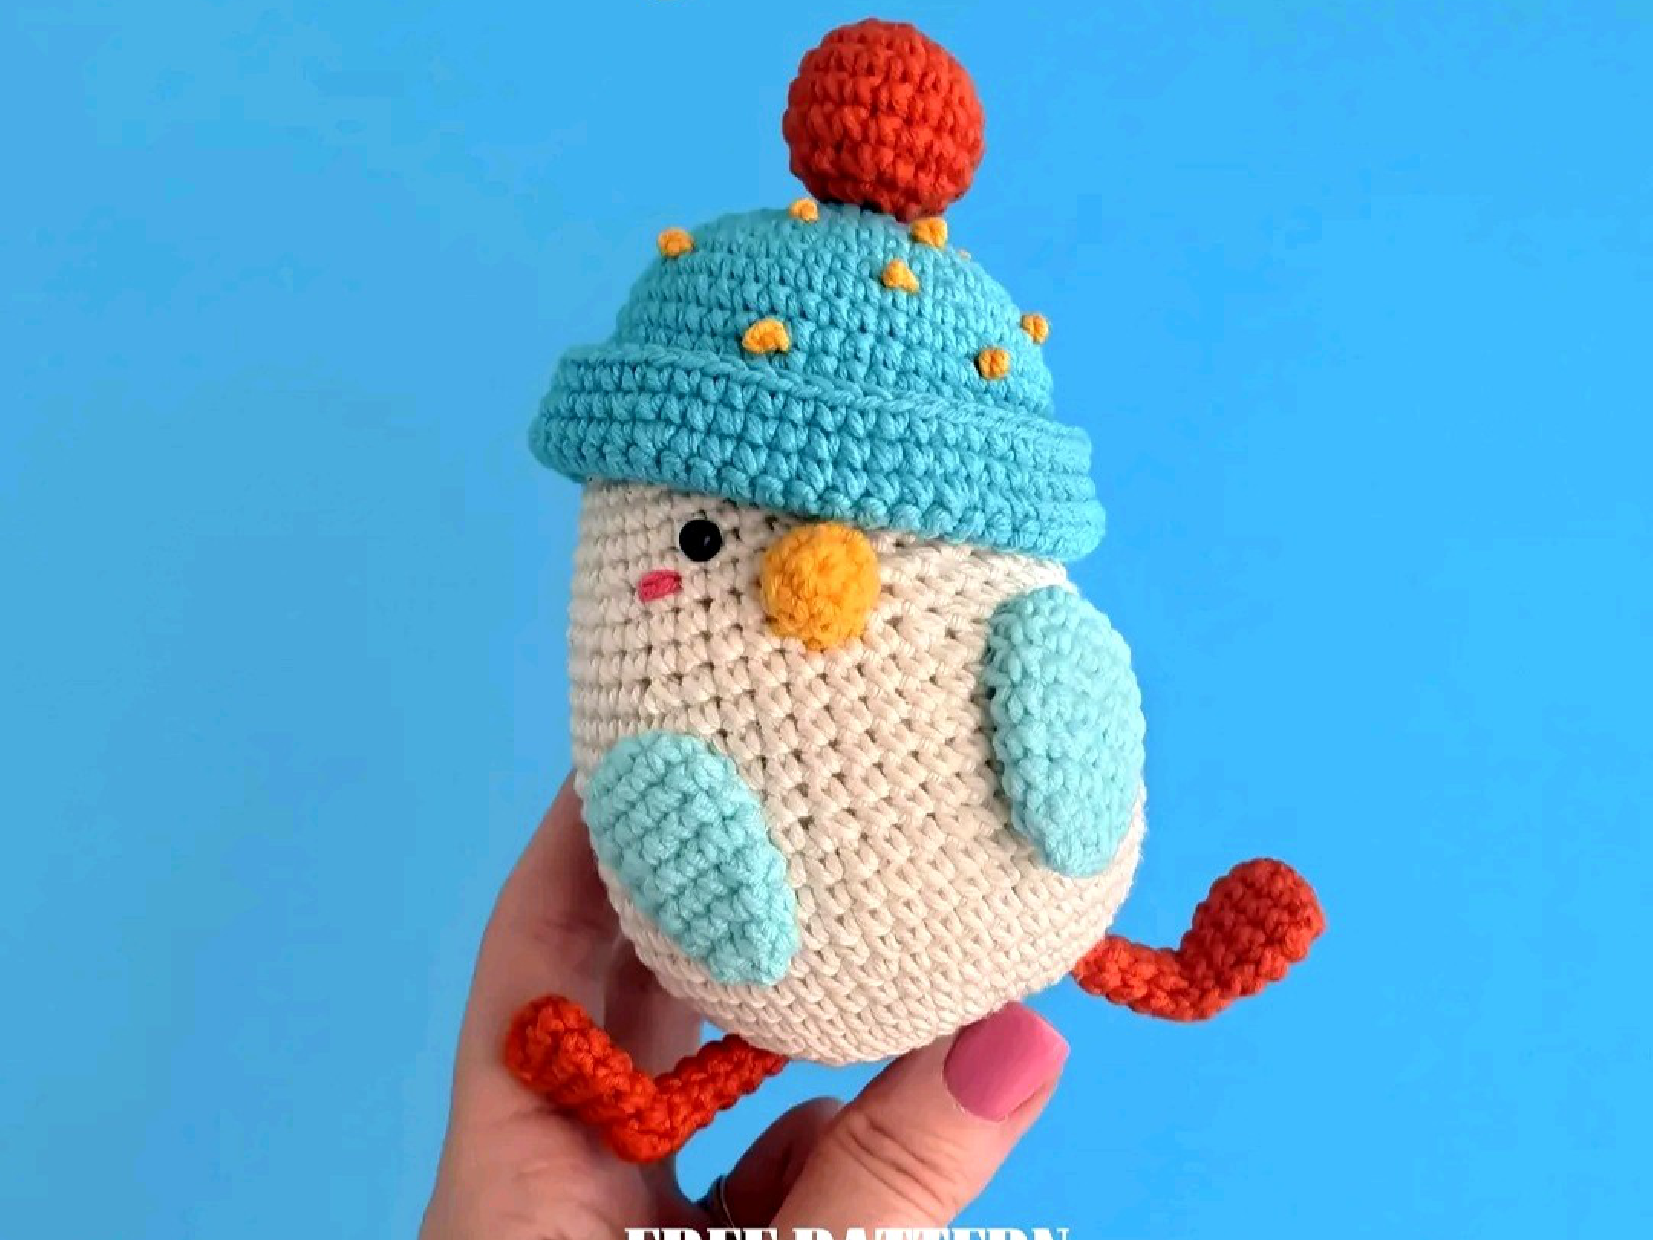
This charming amigurumi bird is a delightful crochet project, perfect for creating a cute stuffed toy or decorative piece. The pattern is designed by @natura_crochet.
Skill Level
** (Intermediate)
Finished Size
When made with the indicated sport weight yarn and hook, your finished Lily the Bird will be approximately 12 cm tall. This makes her a lovely size for cuddling or displaying.
Crochet Instructions
Follow these step-by-step instructions to create each part of your crochet bird. Remember to keep your stitch count accurate for a well-shaped amigurumi.
Body and Head (Off-White)
We’ll start with the main body and head, worked in one continuous piece with off-white yarn. Stuff the body firmly with fiberfill as you go, ensuring a plush and stable form.
- 6 sc in a MR [6]
- inc in all 6 st [12]
- (sc, inc) x 6 [18]
- sc, (inc, 2 sc) x 5, inc, sc [24]
- (3 sc, inc) x 6 [30]
- 2 sc, (inc, 4 sc) x 5, inc, 2 sc [36]
- (5 sc, inc) x 6 [42]
- 3 sc, (inc, 6 sc) x 5, inc, 3 sc [48]
- -10: (2 rounds) sc in all 48 st [48]
- (7 sc, inc) x 6 [54]
- -15: (4 rounds) sc in all 54 st [54]
- (7 sc, dec) x 6 [48]
- -20: (4 rounds) sc in all 48 st [48]
- 3 sc, (dec, 6 sc) x 5, dec, 3 sc [42]
- -24: (3 rounds) sc in all 42 st [42]
- Note for Safety Eyes: If you are using safety eyes, you can insert them between rounds 25 and 26, with an interspace of approximately 5 stitches.
- (5 sc, dec) x 6 [36]
- -27: (2 rounds) sc in all 36 st [36]
- 2 sc, (dec, 4 sc) x 5, dec, 2 sc [30]
- -30: (2 rounds) sc in all 30 st [30]
Stuff the body firmly with fiberfill at this point and continue stuffing as you progress through the head section.
- (3 sc, dec) x 6 [24]
- sc, (dec, 2 sc) x 5, dec, sc [18]
- (sc, dec) x 6 [12]
- 6 dec [6]
Fasten off, leaving a yarn tail. Using a yarn needle, weave the yarn tail through the front loop of each remaining stitch and pull it tight to close. Weave in the yarn end securely.