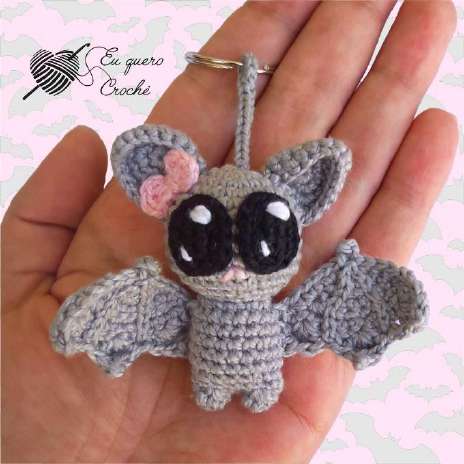
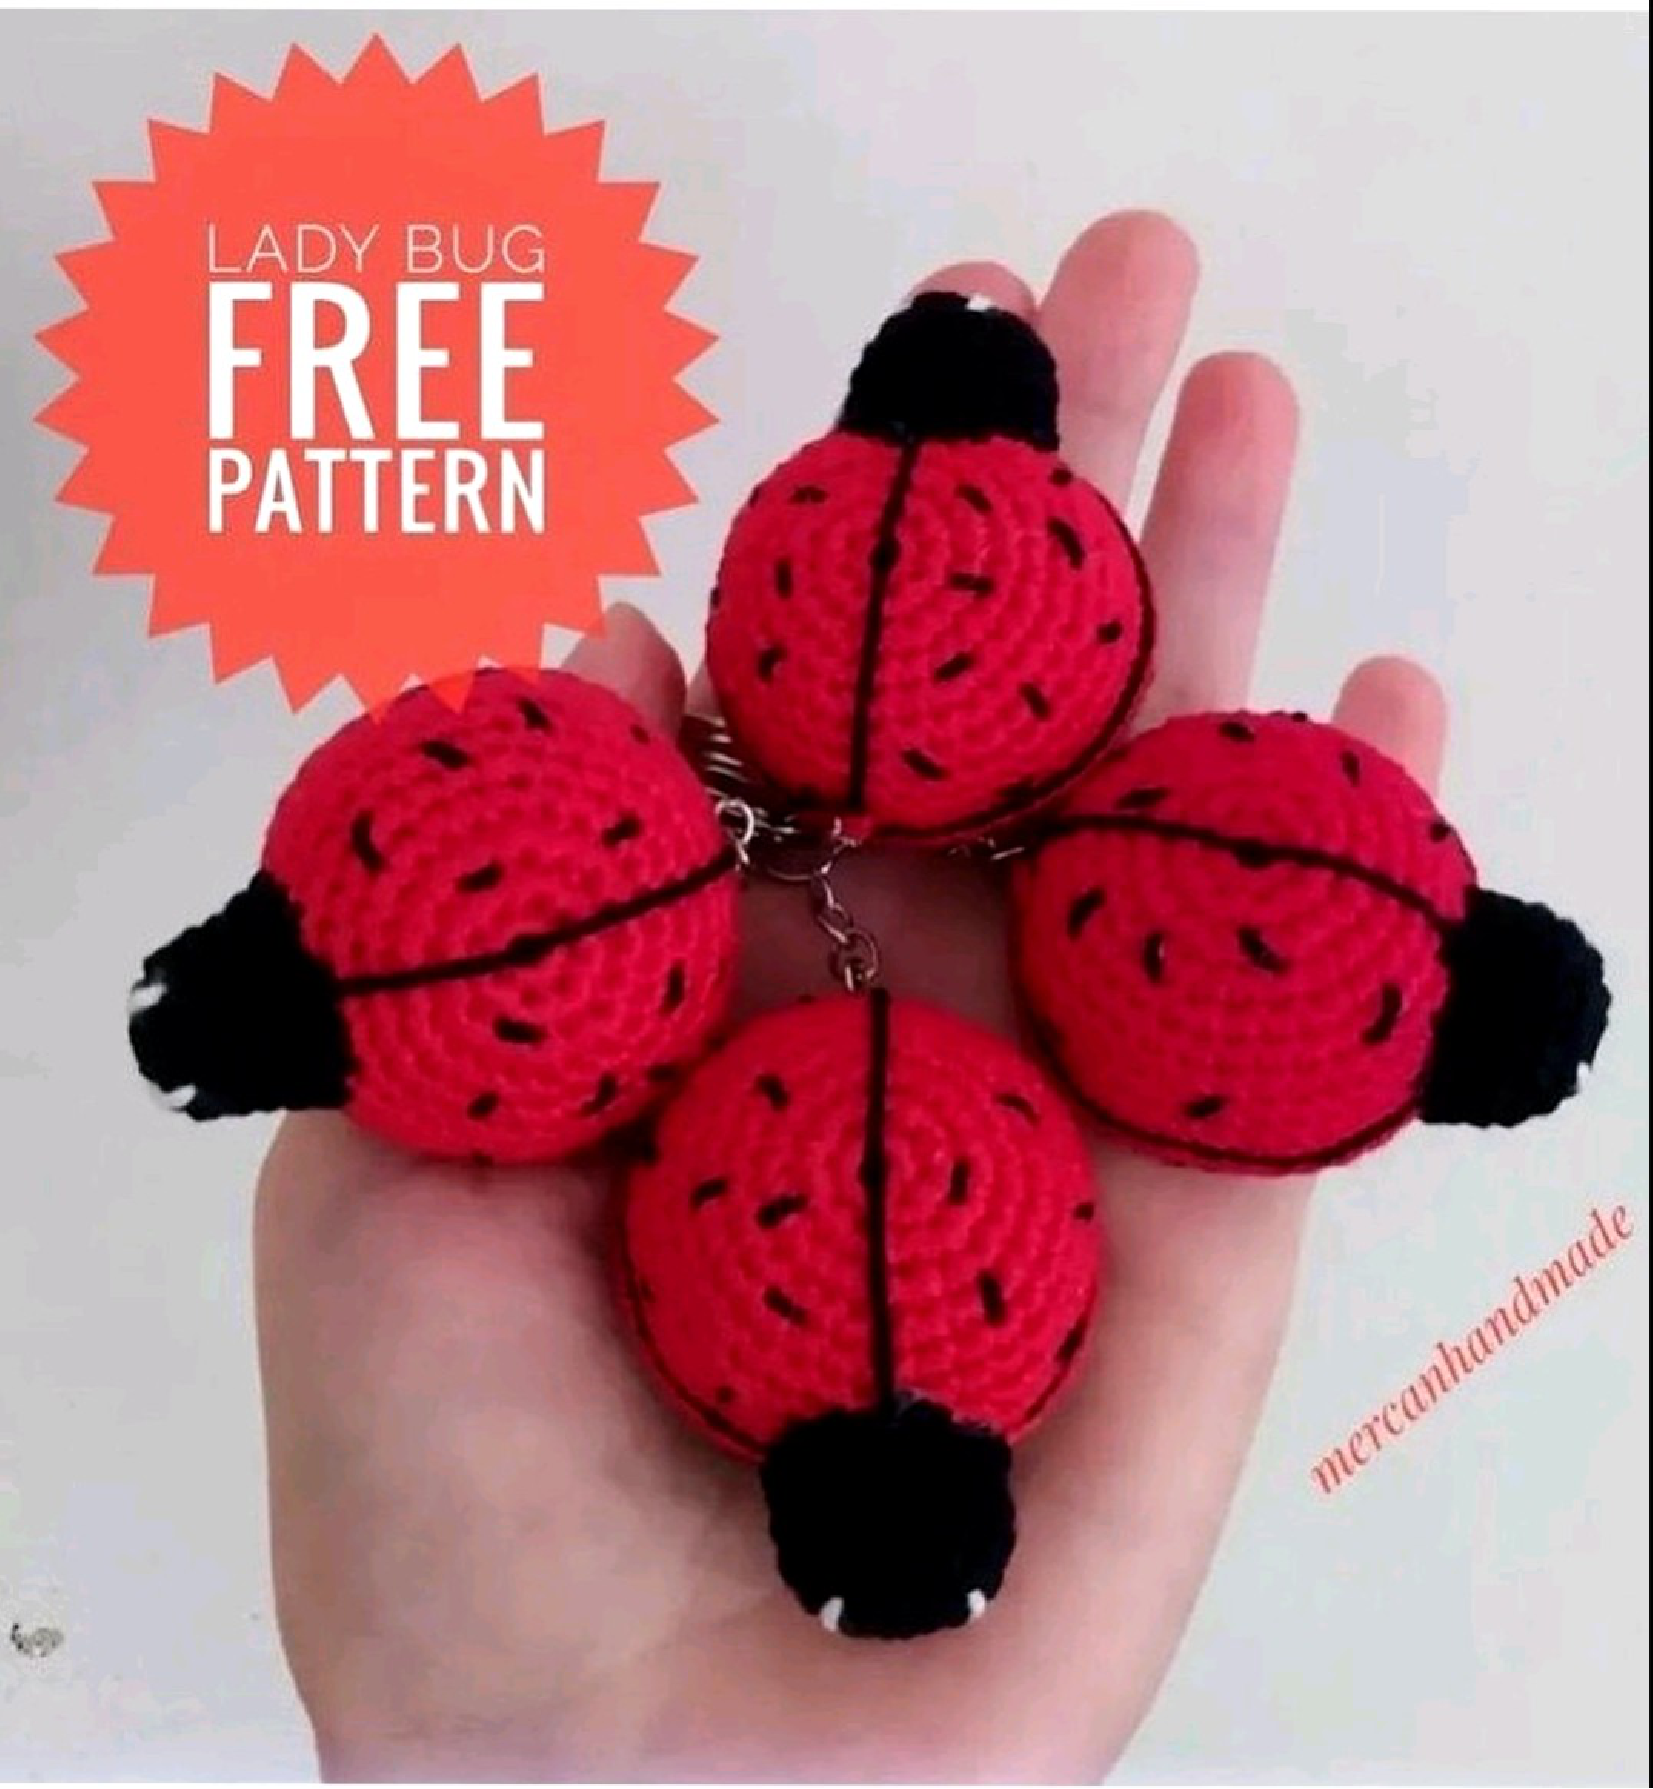
Ladybug Amigurumi Free Crochet Pattern
Materials
To crochet your adorable little ladybug, you’ll need the following supplies:
- Crochet hook size 2.00mm
- Yarn: Red color cotton yarn and black cotton yarn
- Yarn needle
- Fiberfill for stuffing
Abbreviations
Familiarize yourself with these standard crochet abbreviations used in this pattern:
- CH: Chain stitch
- MR: Magic ring
- SC: Single crochet stitch
- SLST: Slip stitch
- INC: Increase (working 2 single crochet stitches into 1 stitch)
- DEC: Decrease (crocheting 2 single crochet stitches in front loops together)
Crochet Instructions
This cute amigurumi ladybug pattern is broken down into three main pieces. Remember to stuff as you go for the body!
Piece 1: Ladybug Body (Red Yarn)
Begin crocheting with your red cotton yarn using a 2.00mm hook. Stuff the piece firmly as you progress through the rounds to create a good shape for your ladybug’s body.
- Round 1: 8 sc into a magic ring (8 stitches)
- Round 2: 8 inc (16 stitches)
- Round 3: (1 sc, inc) x 8 (24 stitches)
- Round 4: 24 sc (24 stitches)
- Round 5: (2 sc, inc) x 8 (32 stitches)
- Round 6: 32 sc (32 stitches)
- Round 7: (3 sc, inc) x 8 (40 stitches)
- Round 8: 40 sc (40 stitches)
- Round 9: 40 sc (40 stitches)
- Round 10: 40 sc (40 stitches)
Cut the yarn, leaving a short tail for weaving in. Set this piece aside.
Piece 2: Ladybug Base (Black Yarn)
Using your black cotton yarn and a 2.00mm hook, create the base of the ladybug which will be connected to the red body piece.
- Round 1: 8 sc into a magic ring (8 stitches)
- Round 2: 8 inc (16 stitches)
- Round 3: (1 sc, inc) x 8 (24 stitches)
- Round 4: 24 sc (24 stitches)
- Round 5: (2 sc, inc) x 8 (32 stitches)
- Round 6: 32 sc (32 stitches)
- Round 7: (3 sc, inc) x 8 (40 stitches)
Do not cut the yarn after completing Round 7 of this piece. You will use the working yarn from Piece 2 to join it with Piece 1.
Piece 3: Ladybug Head (Black Yarn)
With black cotton yarn and your 2.00mm hook, crochet the head for your ladybug. This piece will be sewn on later.
- Round 1: 6 sc into a magic ring (6 stitches)
- Round 2: 6 inc (12 stitches)
- Round 3: (1 sc, inc) x 6 (18 stitches)
- Round 4: 18 sc (18 stitches)
- Round 5: 18 sc (18 stitches)
- Round 6: 18 sc (18 stitches)
Leave a long tail for sewing the head to the body. Refer to the pictures for visual guidance on placement.
Assembly and Finishing Steps
Now that all your ladybug components are crocheted, it’s time to bring them all together!
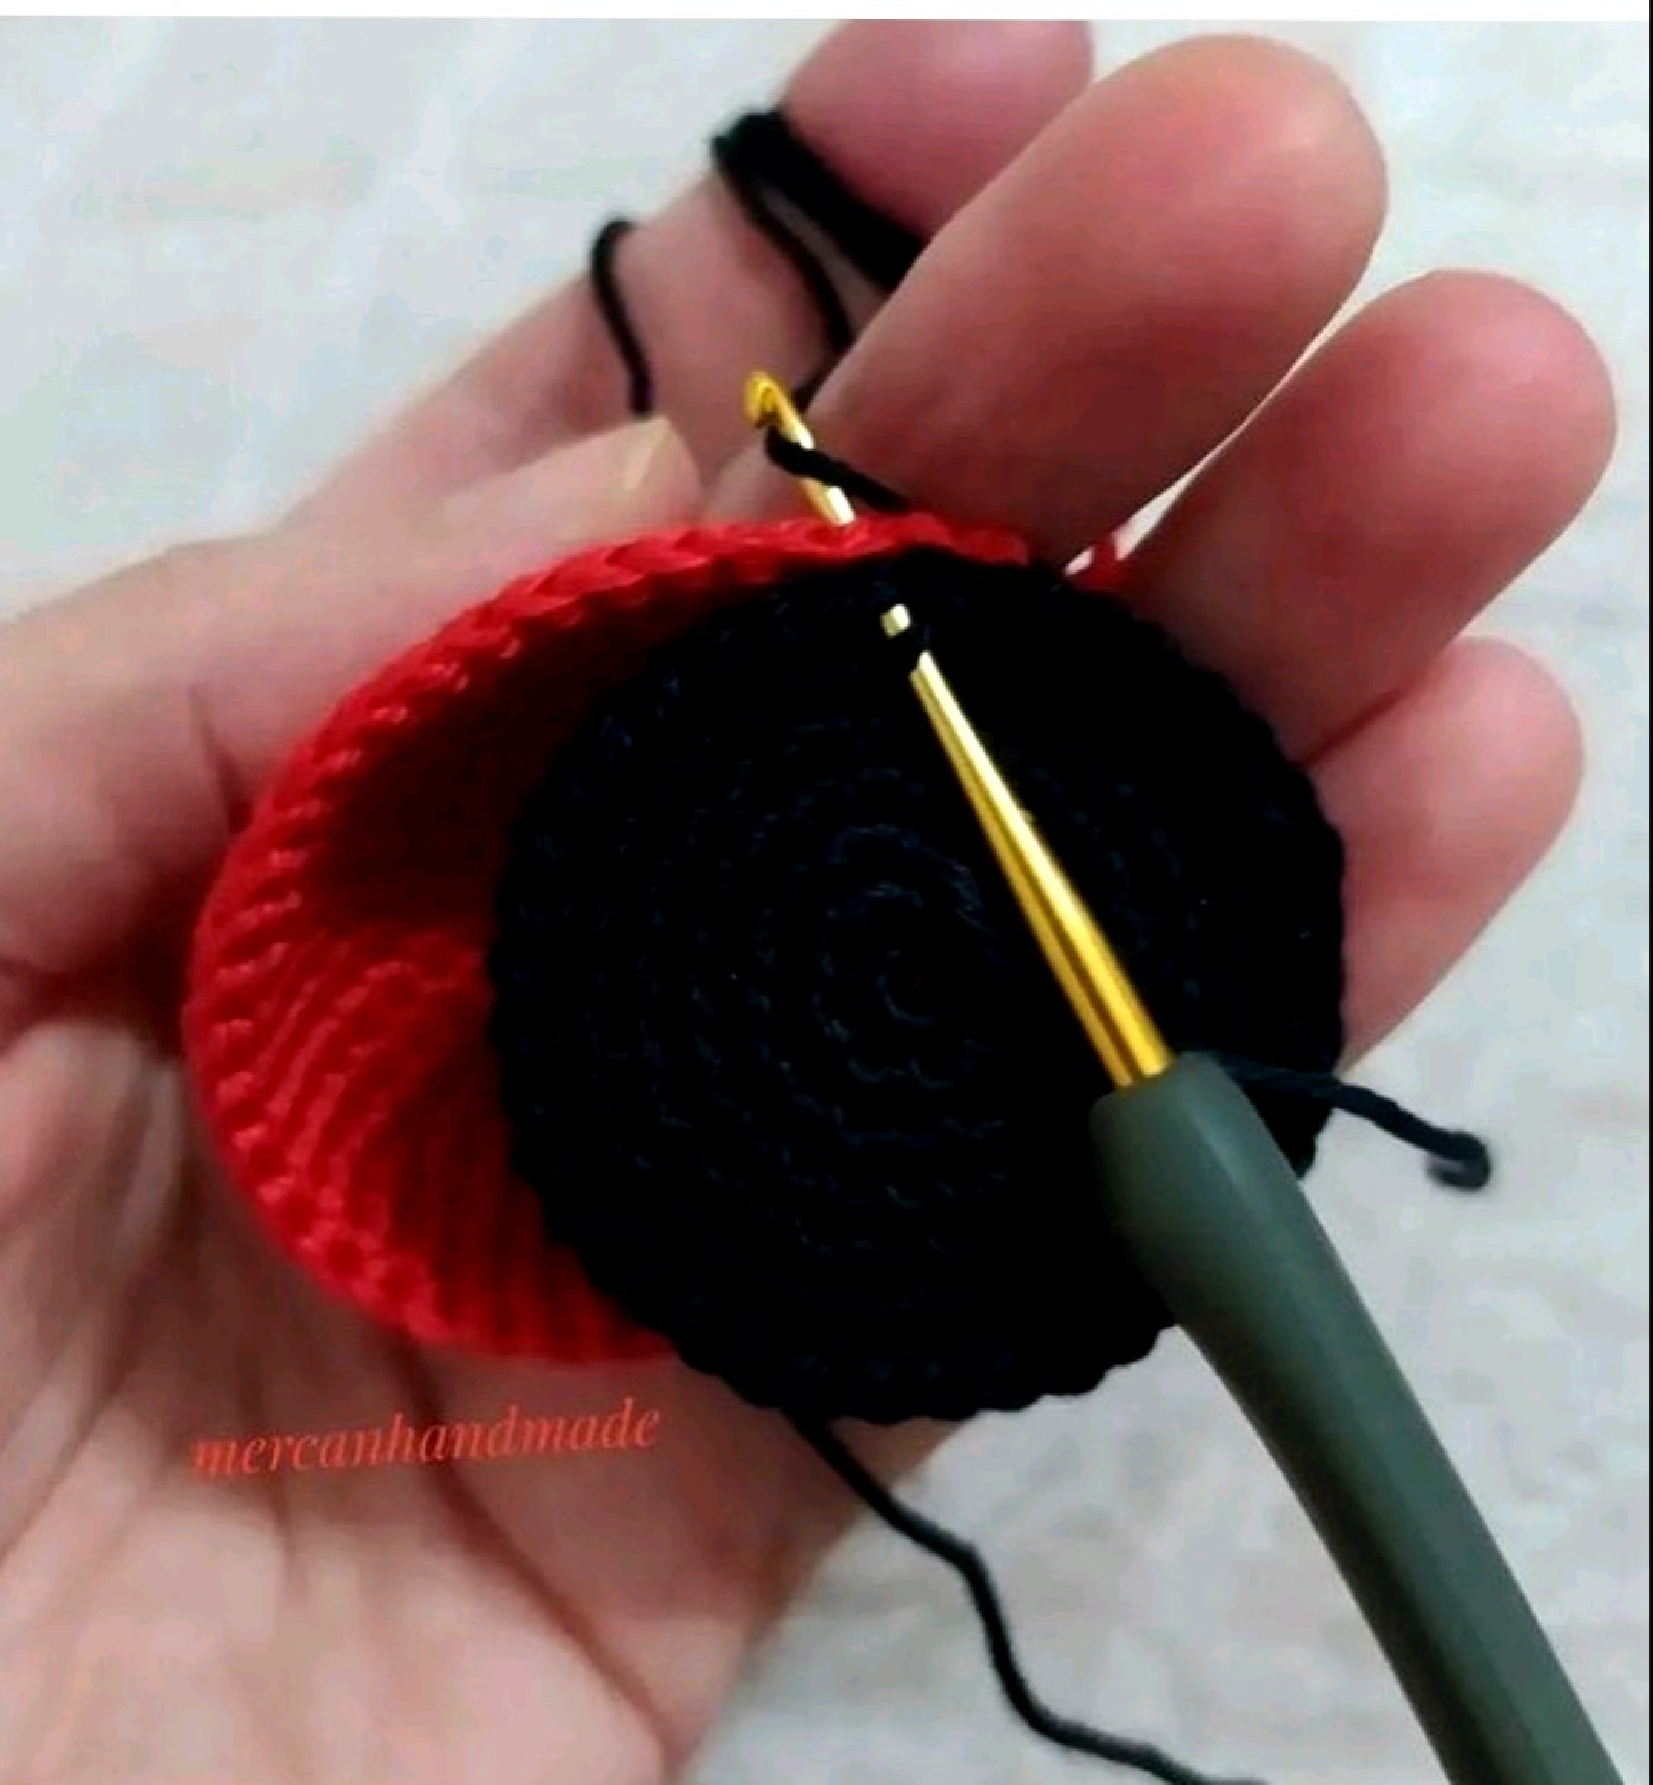
Joining the Body Pieces
Using the working yarn from the black Piece 2, join it to the red Piece 1. You can either slip stitch (SLST) the two pieces together around the edges or sew them neatly with a yarn needle. As you join, ensure you continue to fill the body with fiberfill until it’s firm and plump before closing completely.
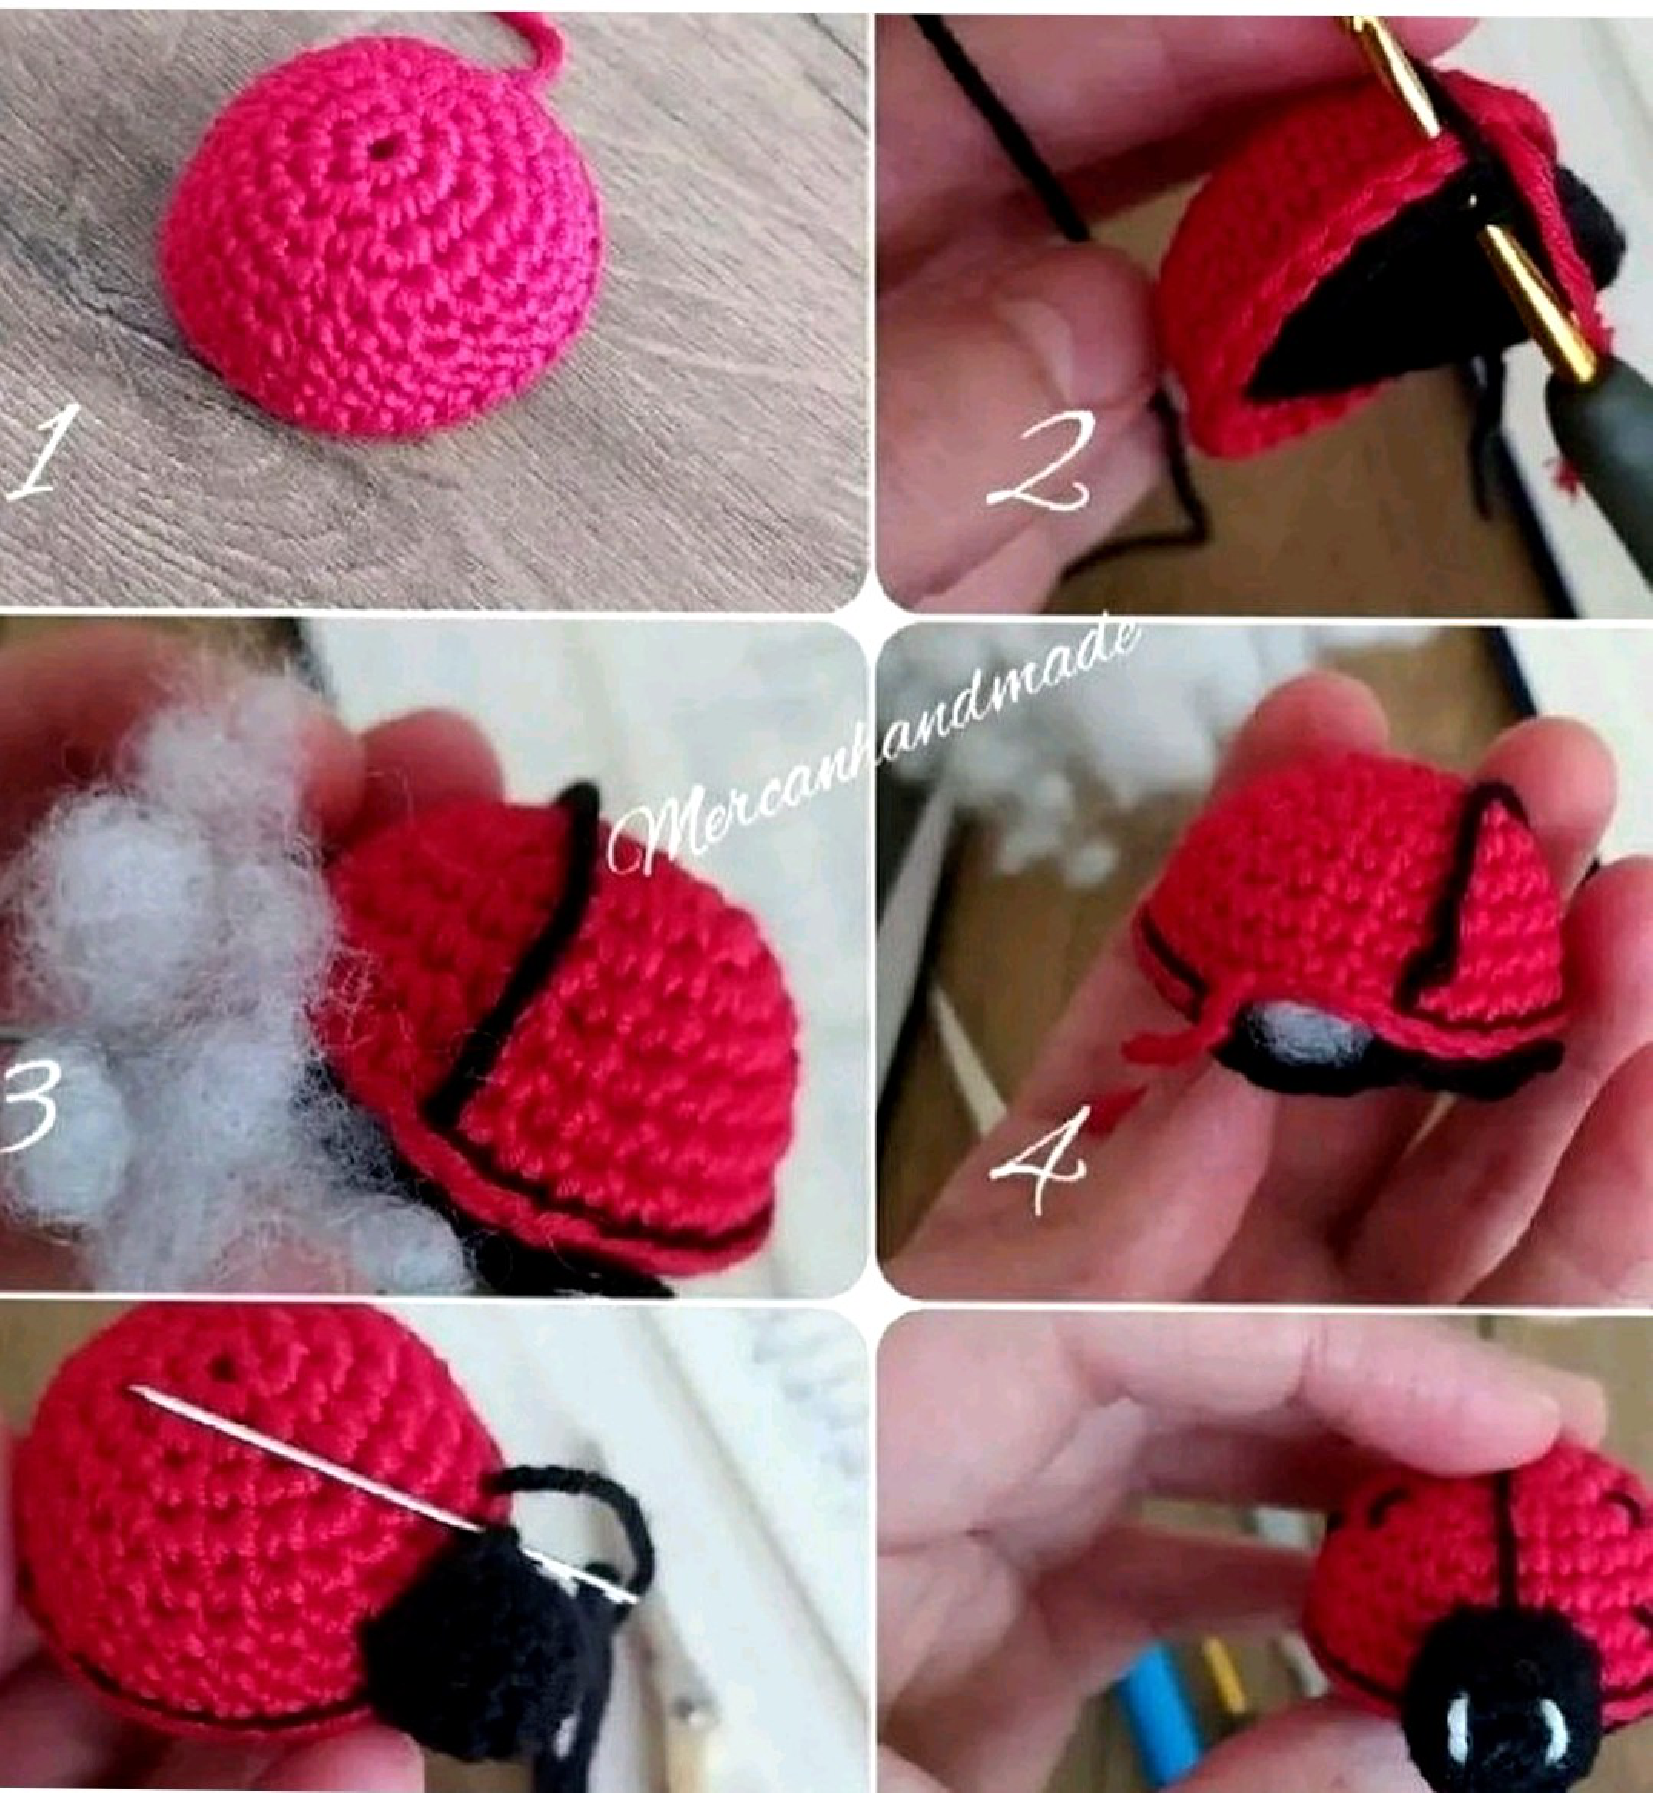
Attaching the Head
Take Piece 3 (the black head) and position it on the joined body. Using the long yarn tail you left earlier and your yarn needle, carefully sew the head securely to the main body. Weave in any remaining yarn ends to hide them within your finished amigurumi ladybug.
Your charming little ladybug is now complete!
Tips for Beginners
- Use a Stitch Marker: When working in continuous rounds for amigurumi, it’s easy to lose track of your first stitch. Place a stitch marker in the first stitch of each round to keep count accurately.
- Stuffing Consistency: For amigurumi, firm stuffing is key to maintaining shape. Stuff small amounts at a time and work it into all areas, but be careful not to overstuff, which can distort stitches.
- Read Through First: Before starting, read the entire pattern once to understand the overall process and identify any potentially tricky steps.