Free Crochet Puppy Pattern
Materials
To crochet your adorable puppy, gather the following supplies:
- Yarn: Worsted weight or desired yarn in your chosen puppy color (e.g., yellow, cream, brown).
- Crochet Hook: An appropriate size crochet hook for your chosen yarn (e.g., 3.0mm – 4.0mm) to achieve a tight fabric, preventing stuffing from showing through.
- Stuffing: Fiberfill for firm shaping.
- Safety Nose: One, appropriate size for your puppy’s head.
- Safety Eyes: Two, appropriate size, placed 8 stitches apart.
- Wooden Stick: Essential for tightly stuffing small parts and firming the body and head.
- Leather Strip: A small piece for the collar.
- Dog Locket: Optional, for collar decoration.
- Glue: Strong craft glue or fabric glue for the collar.
- Tapestry Needle: For sewing parts together and weaving in ends.
- Scissors: For cutting yarn.
Abbreviations
Understanding these abbreviations will help you navigate the crochet puppy pattern with ease:
- ch – chain
- dec – decrease (crochet 2 sc together)
- inc – increase (crochet 2 sc in one loop)
- sc – single crochet
- slst – slip stitch
- 1), 2), 3)… – round number
- (…)xN – repeat those in brackets N-times
- […] – explanation in square brackets
- =N-N – total crochet number after all decreases and increases
Gauge
Gauge is not provided for this free crochet puppy pattern. For best results with amigurumi, work your stitches tightly to prevent stuffing from showing through your finished puppy.
Finished Size
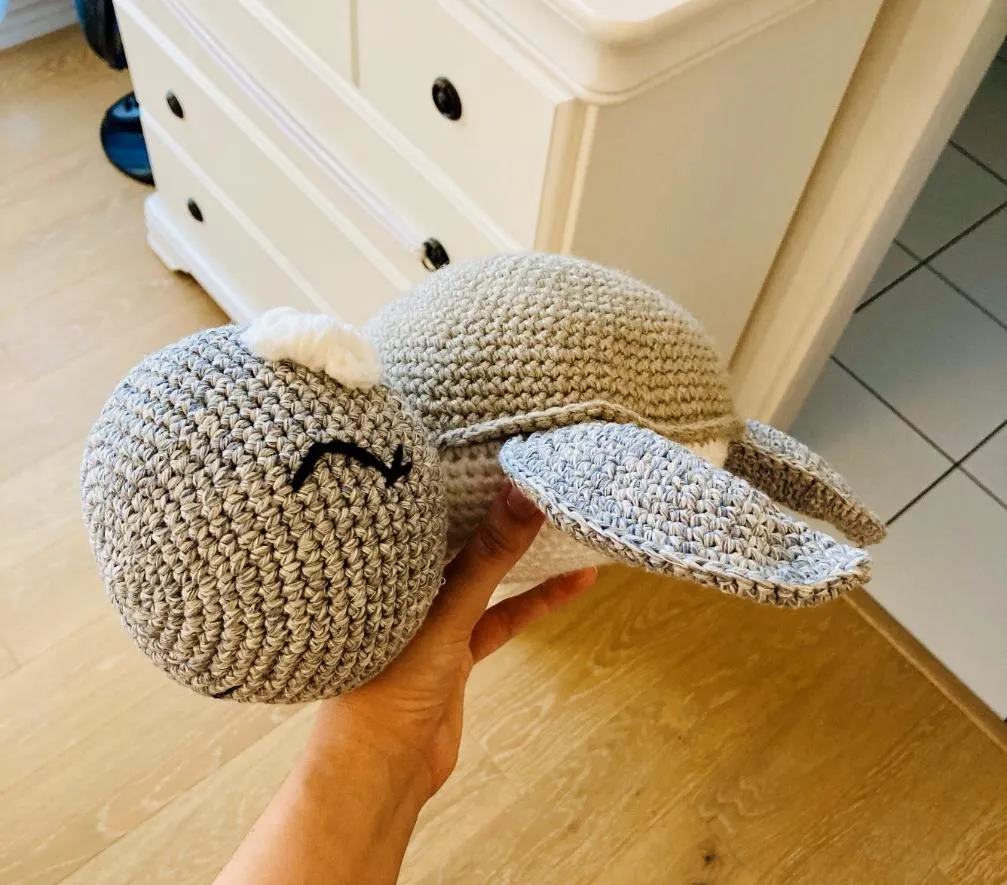
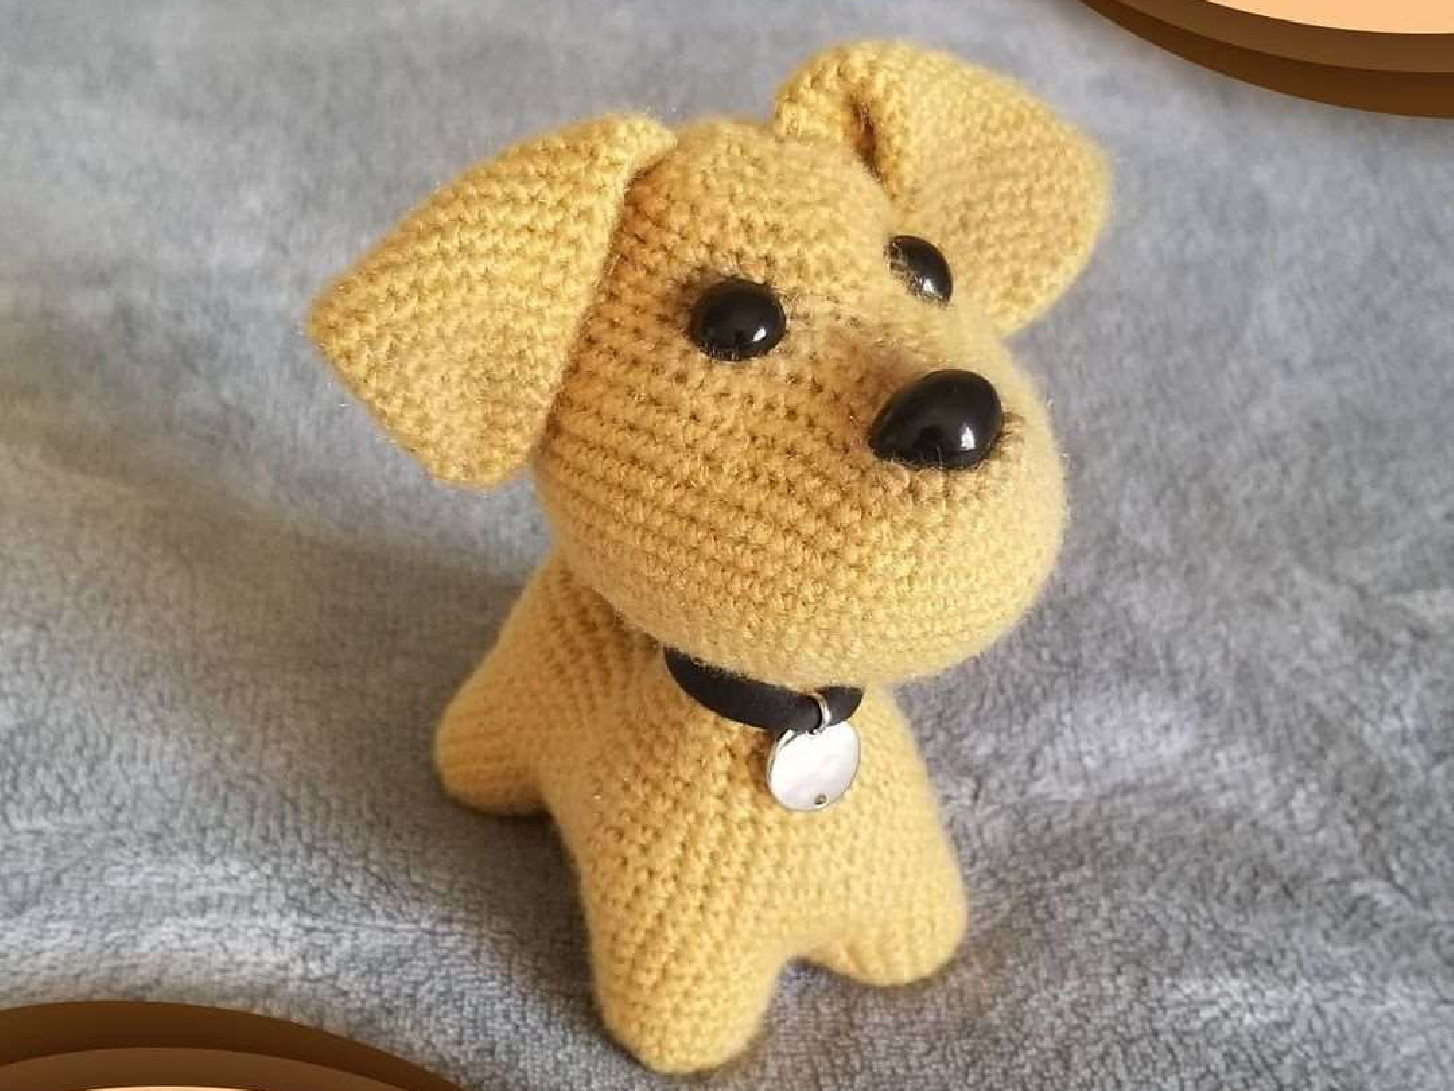
The finished size of your crochet puppy is not specified in the pattern. It will vary depending on the yarn weight and hook size you choose. The example image suggests a small to medium-sized amigurumi puppy.
Instructions for Your Crochet Puppy
Follow these step-by-step instructions to create each part of your cute amigurumi puppy. Remember to stuff parts lightly or tightly as indicated to achieve the desired shape.
Tail
Stuff the tail lightly as you crochet to give it form.
- 6sc in a magic ring
- 6sc [2 rounds]
- 5sc – inc [=7]
- 7sc
- 6sc – inc [=8]
- 8sc
Cut yarn, fasten off, and hide the thread securely. Set aside for assembly.
Legs (Make four)
- 6sc in a magic ring
- 6 inc [=12]
- (1sc – inc)x6 [=18]
- 18sc [5 rounds]
Cut yarn, fasten off, and hide the thread for each leg. You will attach these later to the body, so no need to stuff them at this stage.
Ears (Make two)
- 6sc in a magic ring
- (1sc – inc)x3 [=9]
- (2sc – inc)x3 [=12]
- (3sc – inc)x3 [=15]
- (4sc – inc)x3 [=18]
- 18sc
- (5sc – inc)x3 [=21]
- (6sc – inc)x3 [=24]
- (7sc – inc)x3 [=27]
- (8sc – inc)x3 [=30]
- 30sc [3 rounds]
- 15sc through both sides of the ear [This folds the ear flat, creating its shape]
Fasten off and leave a long thread for sewing the ears to the head later.