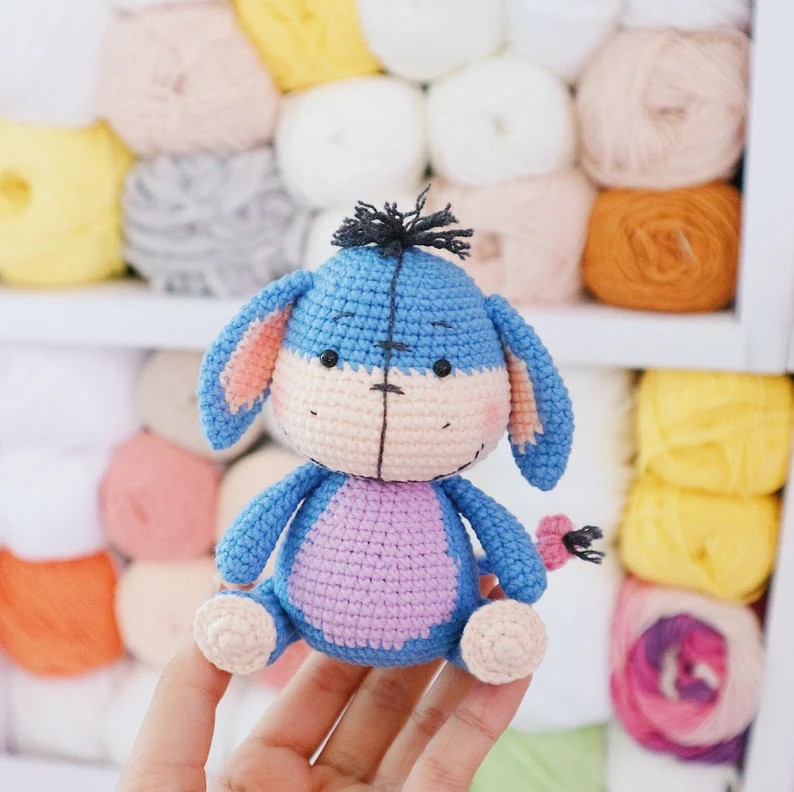
Easy Crochet Donkey Amigurumi: Free Adorable Pattern for Beginners
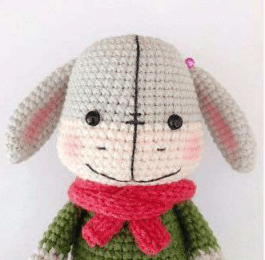
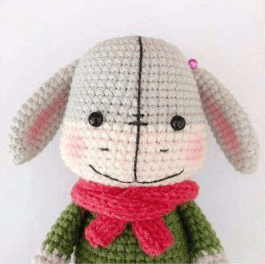
Hey there, crochet lovers! 🧶 Get ready to make the most adorable Little Donkey Amigurumi—a perfect project for beginners and a delightful gift for kids or friends. This pattern uses basic stitches like single crochet (sc) and magic rings, making it easy to follow even if you’re new to amigurumi.
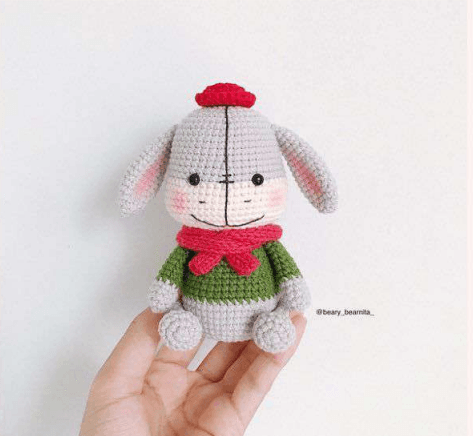
With its tiny ears, knitted scarf, and cute facial details, this donkey is full of personality. Whether you’re looking to practice your crochet skills or create a heartfelt handmade toy, this project is sure to bring joy. Let’s get started
Materials Needed
- Yarn:
- Grey (for the head, body, and ears)
- Skin color (for the muzzle)
- Contrast color for the scarf (optional)
- Hook: 2.5mm (or size needed to match gauge)
- Other Supplies:
- Safety eyes (5mm)
- Black embroidery thread (for nostrils)
- Fiberfill stuffing
- Yarn needle, stitch markers, scissors
- Knitting needles (3.0mm, if making the scarf)
Abbreviations & Notes
Abbreviations:
- MR = Magic ring
- sc = single crochet
- hdc = half double crochet
- dc = double crochet
- inc = increase (2 sc in one stitch)
- dec = decrease (invisible decrease)
- FLO = front loop only
- BLO = back loop only
- slst = slip stitch
Notes:
- Use stitch markers to keep track of rounds.
- Stuff the pieces firmly as you go for a plush finish.
- For the scarf, basic knitting knowledge (knit and purl) is helpful but optional.
Crochet Pattern Instructions
Step 1: Head
- Rounds 1–6: Start with 8 sc in a MR, then increase stitches gradually to shape the head (up to 44 sc).
- Rounds 7–15: Work even rounds (44–48 sc).
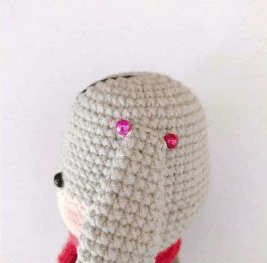
- Round 16: Switch between grey and skin color yarn to create the muzzle. Insert safety eyes between Rounds 15–16, spaced 8 sc apart.
- Rounds 17–26: Continue shaping the head with decreases, switching back to grey yarn for the top. Fasten off and weave in ends.
Step 2: Arms (Make 2)
- Rounds 1–2: 5 sc in MR, then increase to 10 sc.
- Rounds 3–14: Work even rounds (10 sc). Change color for sleeves if desired. Leave a long tail for sewing.
Step 3: Legs (Make 2)
- Rounds 1–2: 6 sc in MR, then increase to 12 sc.
- Rounds 3–13: Work even rounds, decreasing to shape the hooves (9 sc). Leave a long tail for sewing.
Step 4: Ears (Make 2)
- Rounds 1–15: Start with 4 sc in MR, increase to 12 sc, then decrease to 6 sc for a tapered shape. Fasten off and sew onto the head.
Step 5: Scarf (Optional)
- Knitting: Cast on 5 stitches, alternate knit (K) and purl (P) rows until the scarf is 20 cm long.
Step 6: Hat
- Rounds 1–7: Work 6 sc in MR, increase to 24 sc, and finish with a slip stitch. Sew onto the donkey’s head.
Assembly Instructions
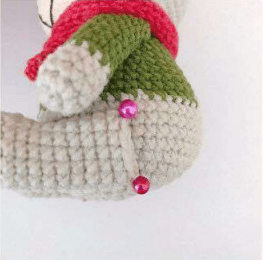
- Attach Limbs: Sew arms and legs to the body using yarn tails.
- Embroider Details: Use black thread to stitch nostrils on the muzzle.
- Add Scarf: Tie the knitted scarf around the donkey’s neck for extra charm.
Helpful Tips for Beginners
- Magic Ring Tip: If the MR is tricky, chain 2 and work stitches into the first chain.
- Stuffing: Use small amounts of fiberfill at a time to avoid lumps.
- Safety Eyes: Secure them tightly before stuffing the head.
cunclosion
Your Little Donkey Amigurumi is complete! 🎉 This cute creation is perfect for gifting, decorating, or simply enjoying as a handmade treasure. I hope you had fun crocheting it and are proud of your work