Crochet the Lina Top: A Customizable & Flirty Bralette Pattern
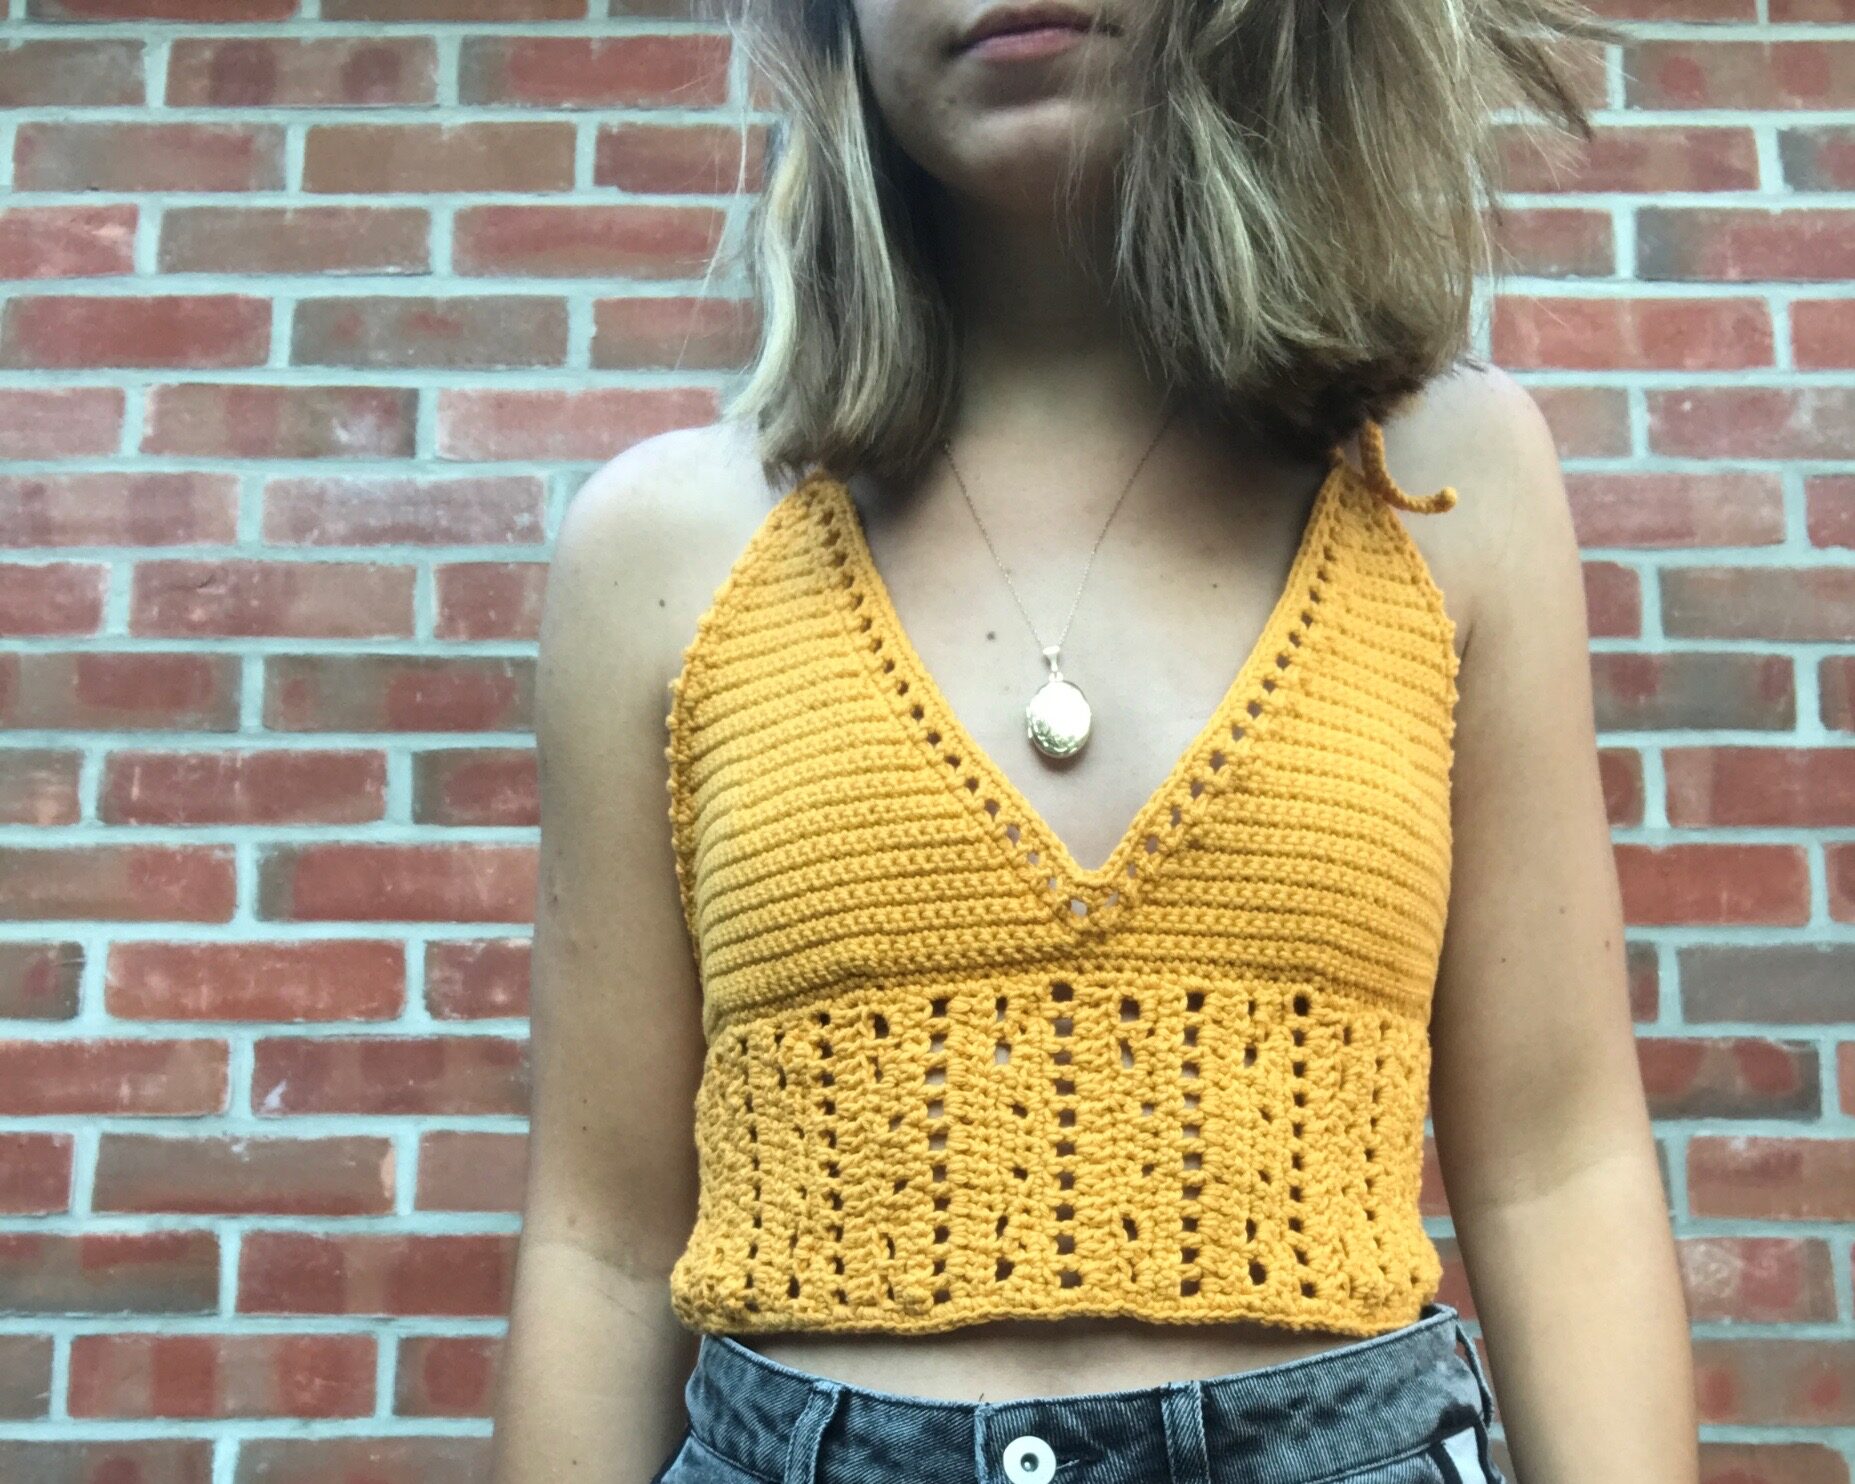
Hello, beautiful makers! Welcome to a pattern that’s all about celebrating your unique shape. The Lina Top is a delightful, customizable bralette designed to fit you perfectly. Whether you’re a seasoned crocheter or just getting comfortable with a hook, this project is a joy to make.
Created by Ernili Crochet, this pattern is measurement-based, which means you don’t have to worry about gauge or finding the right size. You simply use your own body measurements to create a top that fits like a dream. The result is a flattering, comfortable piece that’s perfect for layering, beach cover-ups, or pairing with high-waisted pants for a cute summer look.
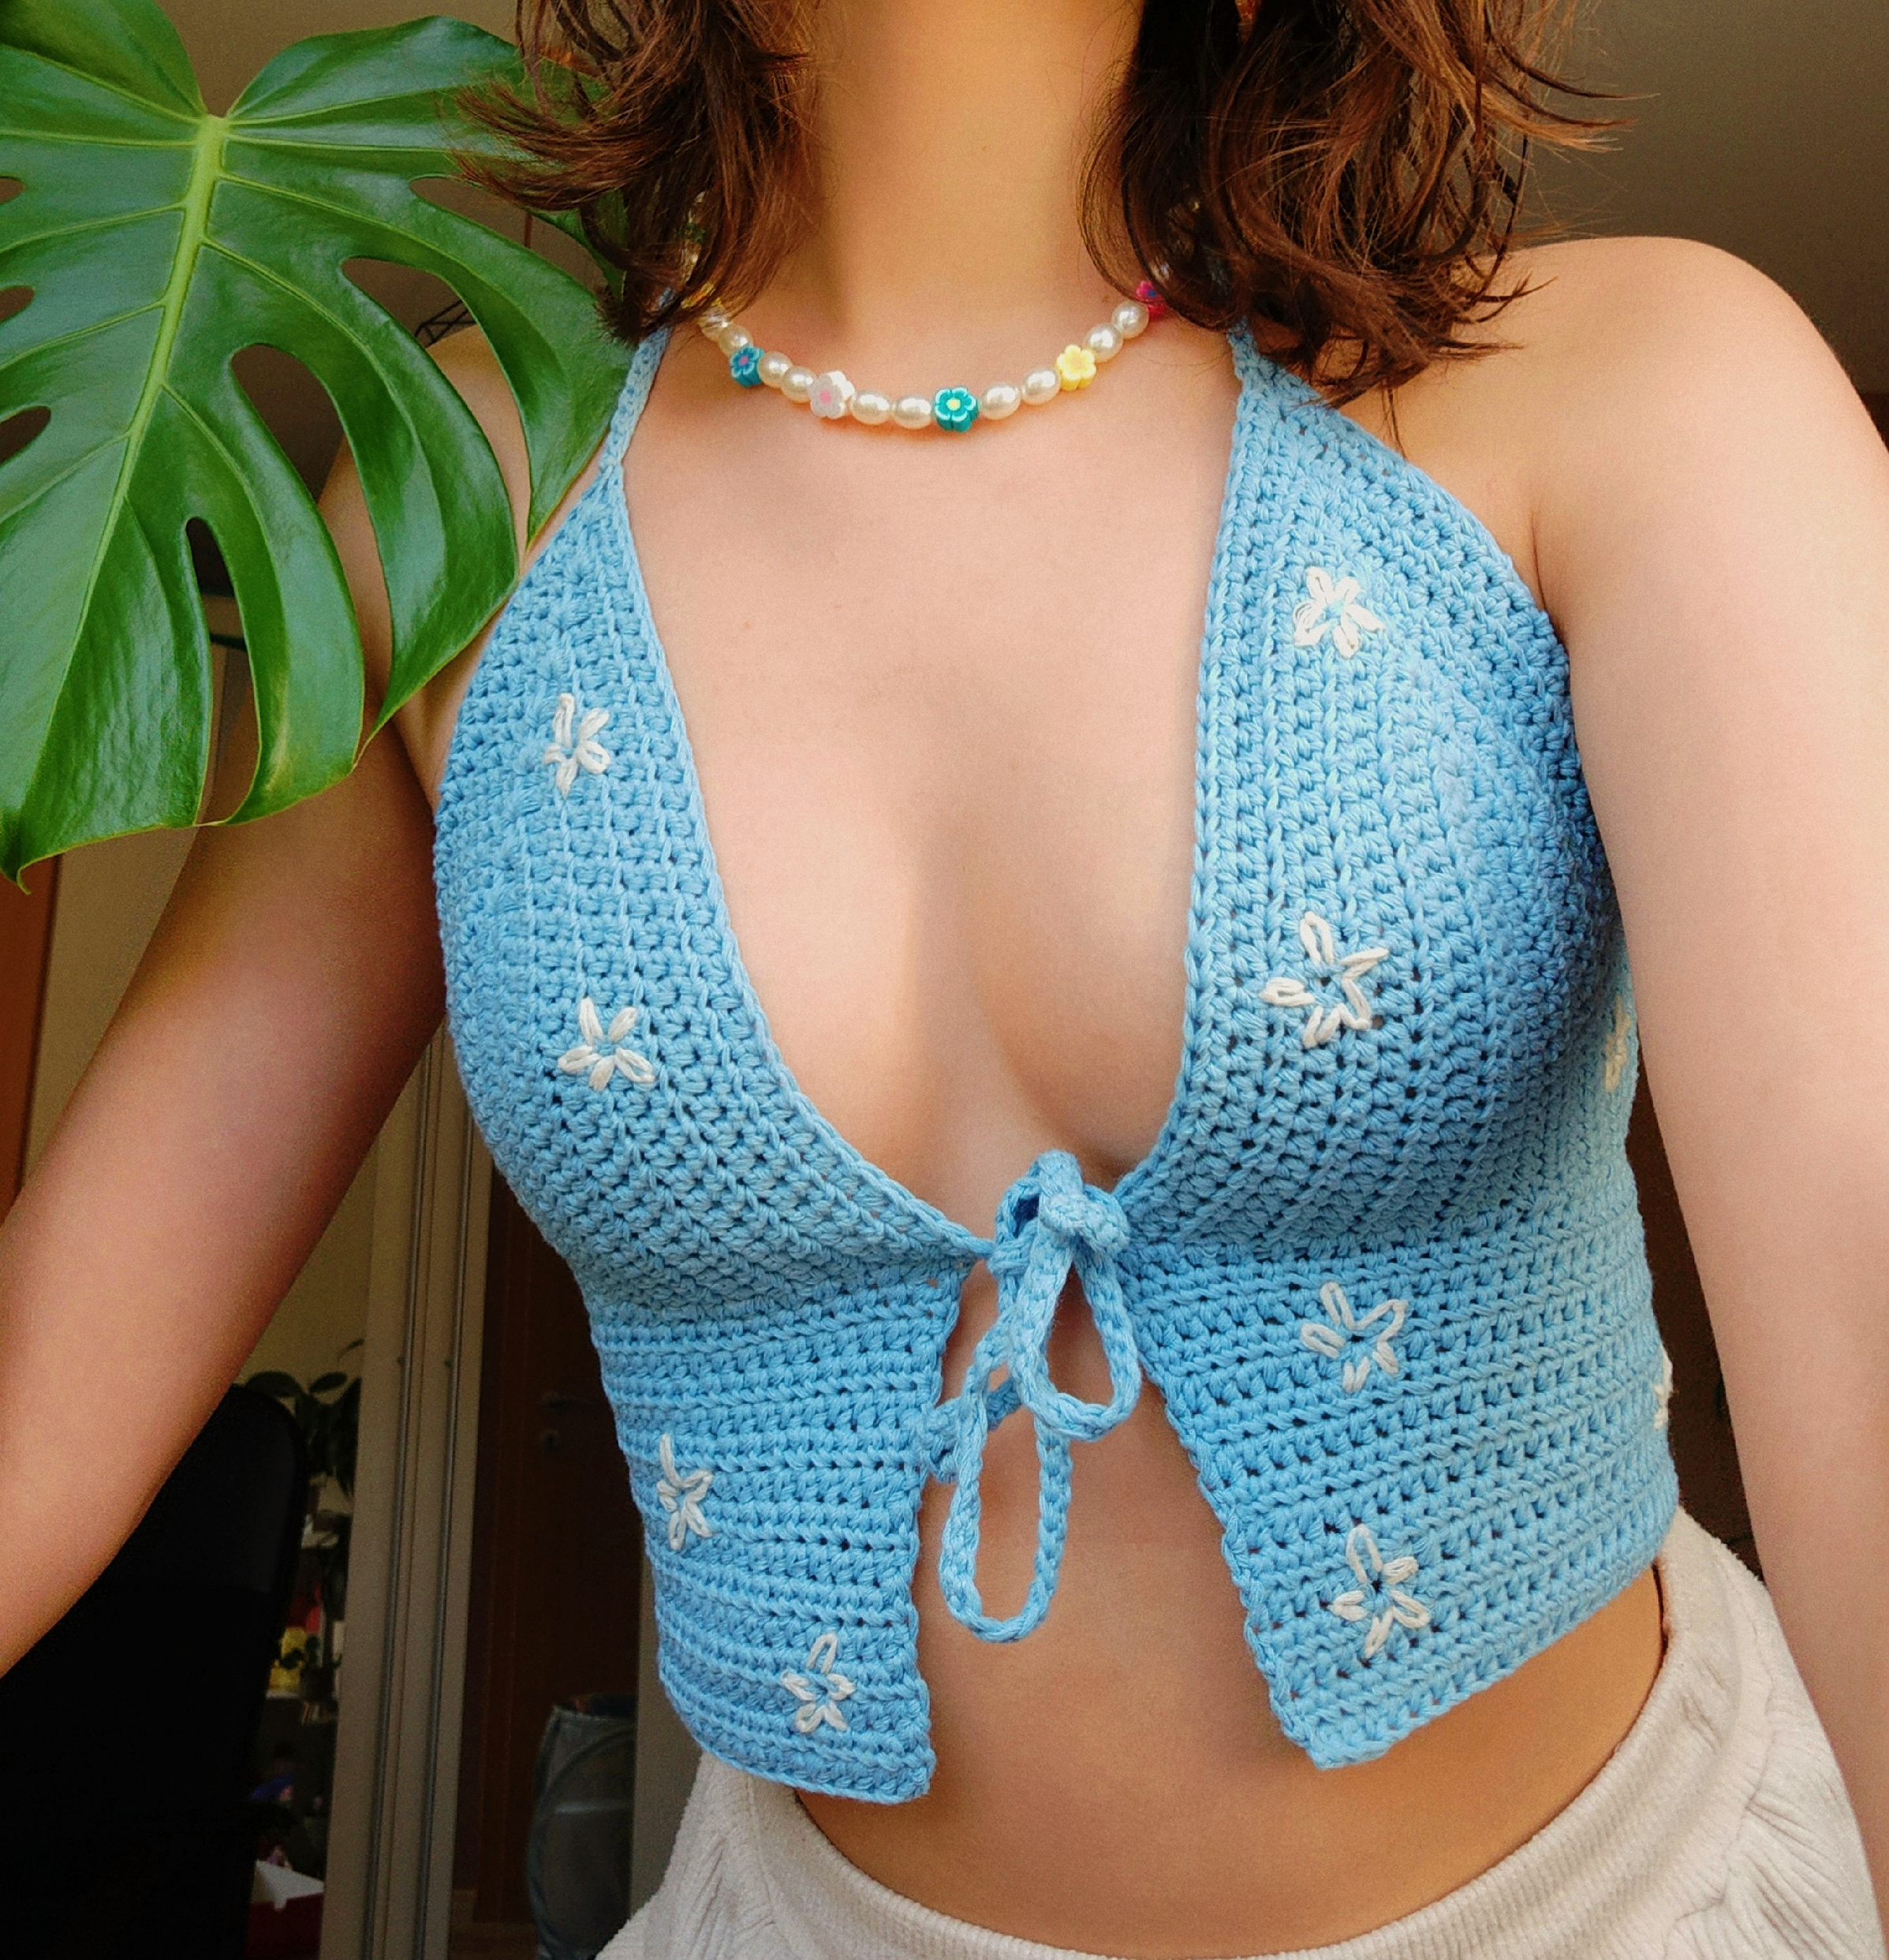
The best part? You get to be the designer of your own fit. We’ll guide you through taking the right measurements and turning them into a gorgeous handmade garment. Plus, we’ll add a touch of whimsy with an easy floral embroidery detail. So, grab your softest yarn, and let’s create something special just for you
Materials You’ll Need
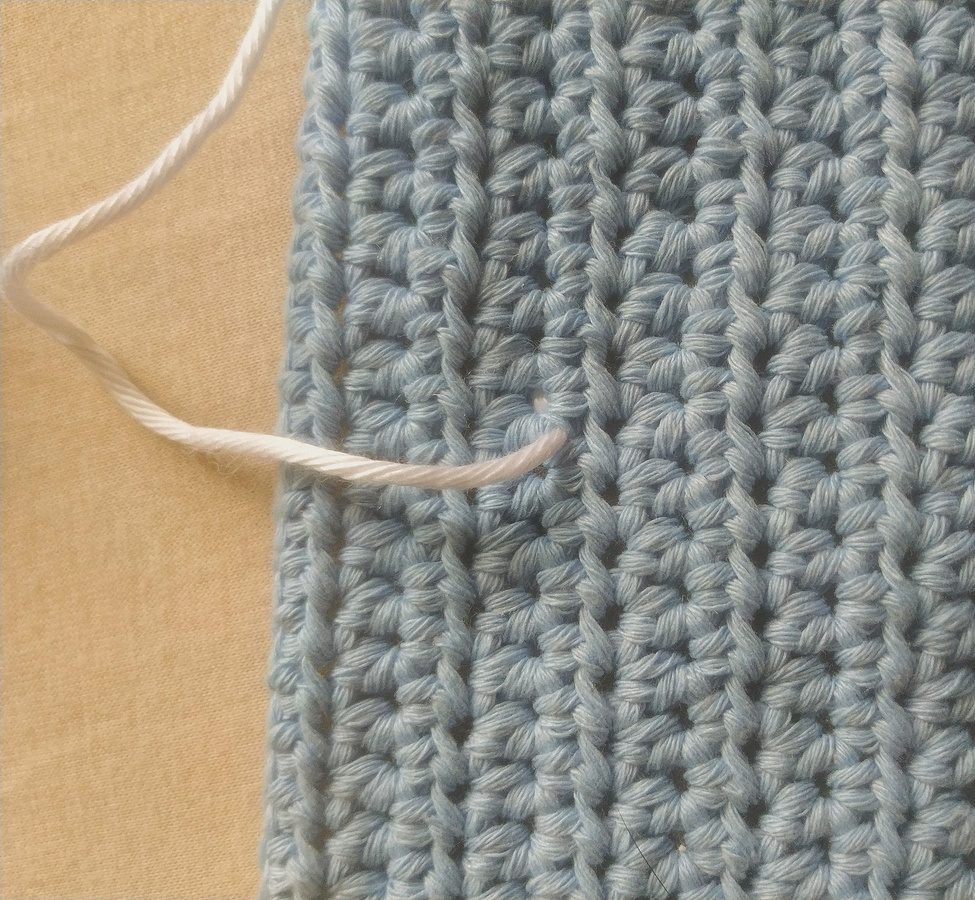
- Yarn: Any weight yarn! The sample uses DK cotton, which is breathable and has great stitch definition.
- Crochet Hook: Use the hook size recommended for your chosen yarn weight. A 3.5mm hook was used for the DK sample.
- Notions:
- Measuring Tape (essential!)
- Scissors
- Tapestry Needle (for weaving ends and embroidery)
- Embroidery Thread or a Contrasting Yarn Color (for the cute flowers)

Stitch Abbreviations (US Terms)
- ch: Chain
- sc: Single Crochet
- hdc: Half Double Crochet
- sl st: Slip Stitch
Getting Your Measurements
Gauge isn’t important for this pattern; your measurements are! Before you start, please take these three measurements:
- Measurement A: From under your bust to your nipple. ______in/cm
- Measurement B: The width of your breast at its bottom curve. ______in/cm
- Measurement C: Your full underbust measurement. ______in/cm
Pro Tip: Yarn has natural stretch, so for Measurement C (the back chain), you may want to make it slightly smaller than your actual underbust for a snug, supportive fit.
Pattern Instructions
Part 1: Making the Cups (Make 2)
Each cup is worked flat from the center top down to the bottom, with increases to create the curved shape.
- Foundation: Make a starting chain that is the exact length of your Measurement A.
- Row 1: Work 1 hdc in the second chain from the hook and in each chain across until you reach the very last chain. In this last chain, work (2 hdc, ch 1, 2 hdc). This cluster forms the center bottom of your cup.
Now, turn your work and hdc in each chain stitch on the opposite side of your starting chain. Turn your work. - Row 2: Ch 1. Hdc in each stitch until you reach the ch-1 space from the previous row. In this ch-1 space, work (2 hdc, ch 1, 2 hdc). Hdc in each remaining stitch to the end. Turn.
- Continuing the Shape: Keep repeating Row 2. Each time you do, you are adding stitches and making the cup wider. Try it against your body periodically until the bottom edge of the cup is one row away from being as wide as your Measurement B.
- The Last Row (This attaches the strap!): Repeat Row 2 until you reach the ch-1 space. Work 2 hdc into the ch-1 space. Now, instead of finishing the row, you will make the strap.
Chain 70 (or make it as long as you need for the strap to tie comfortably behind your neck/back).
Working into the back bumps of this long chain, make 1 sc in each chain all the way back to the cup. When you reach the end of the chain at the cup, work 2 hdc into the same ch-1 space you started in. Finally, hdc in each remaining stitch to the end of the row. - Finishing: For the first cup only, fasten off and weave in your ends. For the second cup, do NOT fasten off. You will use the working yarn to create the body.
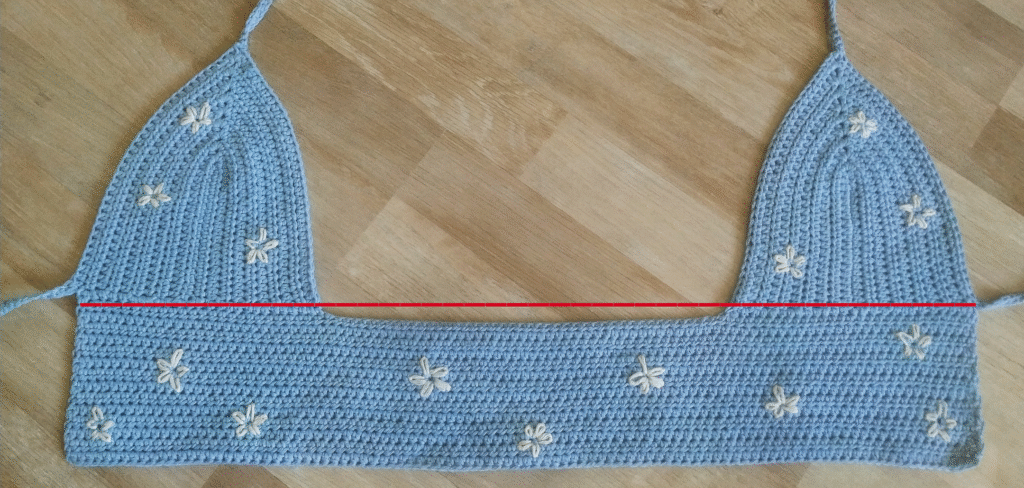
Part 2: Joining the Cups & Making the Body
- With your second cup still on your hook, turn your work so you are facing the bottom edge of the cup.
- Row 1: Ch 1. Work 1 hdc in each stitch across the entire bottom edge of the cup.
- Now, create the back panel. Chain a number of stitches that equals your Measurement C (or slightly less, accounting for stretch). This chain will span across your back.
- After making the chain, work 1 hdc in each stitch across the bottom edge of your first cup. Turn your work.
- Row 2: Ch 1. Hdc in every stitch across (this includes the stitches you just made on the cups and the chains across the back). Turn.
- Building the Body: Repeat Row 2 until the body section (the part below the cups) is your desired length. The sample is about 4 inches (10 cm) long. Fasten off.
Part 3: Adding the Front Ties
- Attach your yarn to the first stitch of the first body row, right where it connects to the cup.
- Chain 51 (or to your desired length for a tie).
- Working into the back bumps of this chain, make 1 sc in each chain all the way back to the cup.
- Join the tie to the cup by making a sl st into the first stitch of the cup. Fasten off and weave in the end.
- Repeat this process on the other side to create the second front tie.
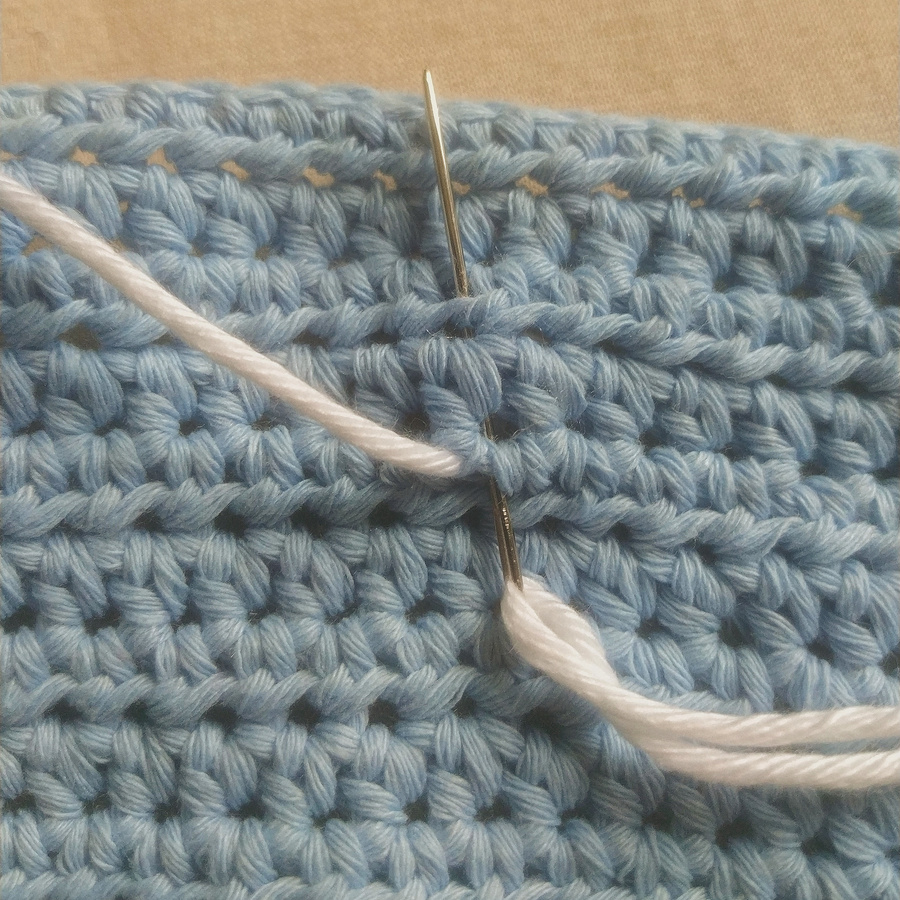
Part 4: Embroidering the Flowers
The lovely floral detail is made using the Lazy Daisy stitch.
- Bring your needle up through the fabric where you want the tip of a petal to be.
- Insert the needle back into the fabric right next to where you came up, but don’t pull the thread all the way through yet.
- Bring the needle back up a small distance away (this distance determines your petal length), keeping the thread looped under the needle.
- Pull the needle through, creating a loop on the surface.
- Secure this loop by making a tiny stitch over the end of it. This forms one petal!
- Work 5-6 petals in a circle to create a sweet little flower.
Final Thoughts
And just like that, you’ve created a gorgeous, made-to-measure Lina Top! We hope you feel incredibly empowered and proud of your beautiful work. This pattern is a wonderful reminder that crochet can be adaptable, personal, and deeply satisfying.