Crochet the Daisy Top: A Free & Flirty Bralette Pattern
Part 2: The Finishing Row (Shell Stitch Edge & Straps)
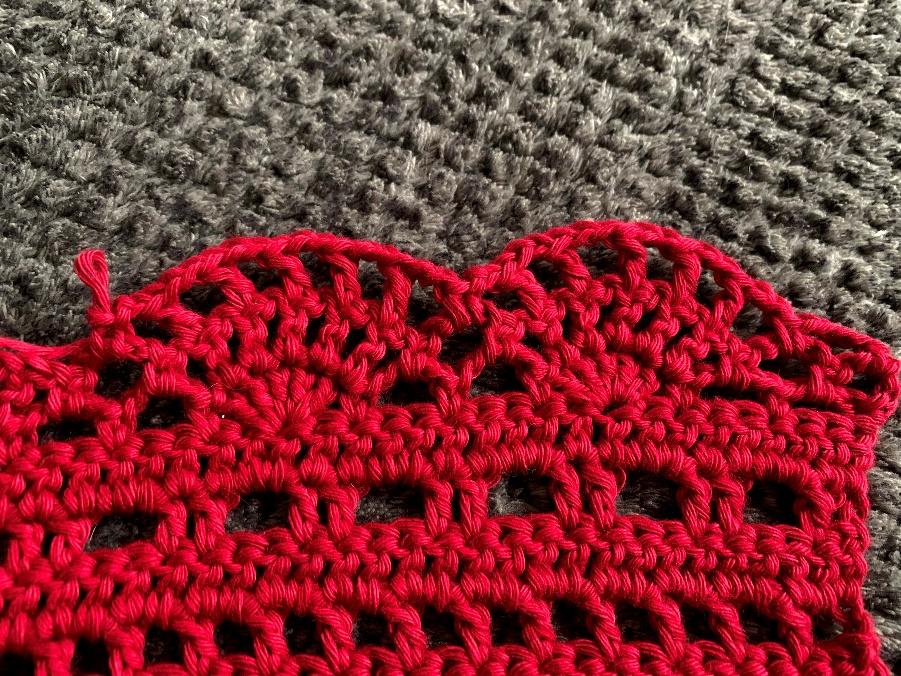
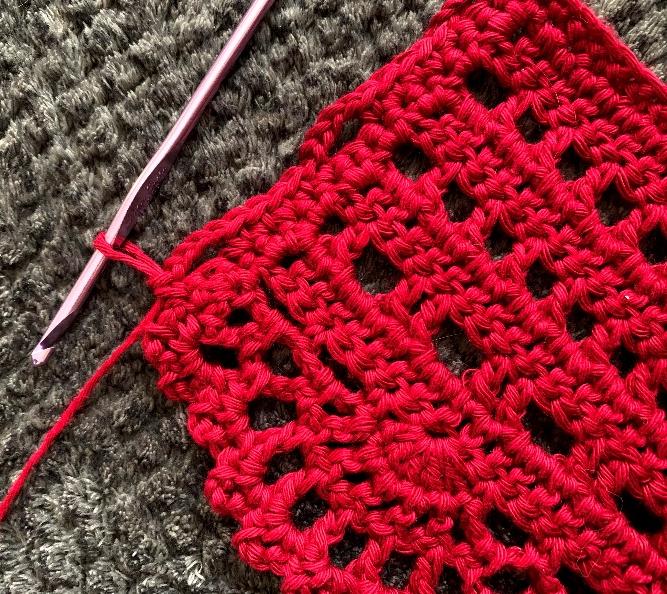
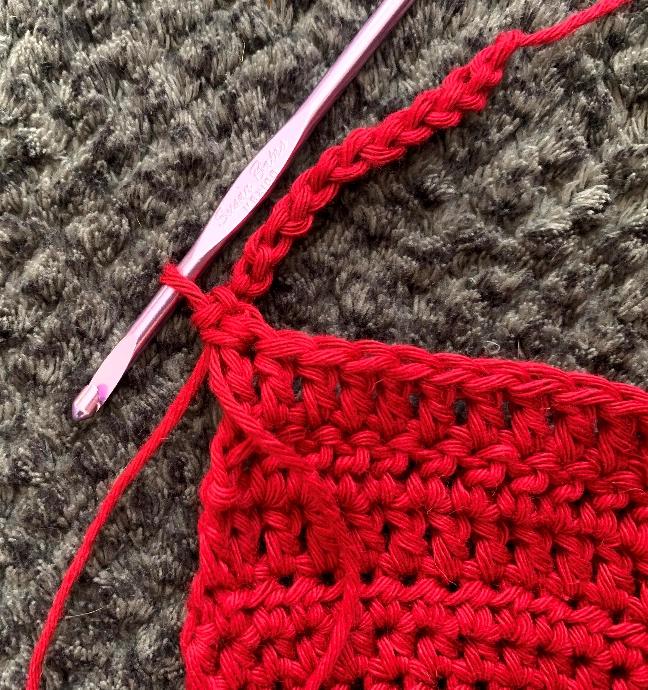
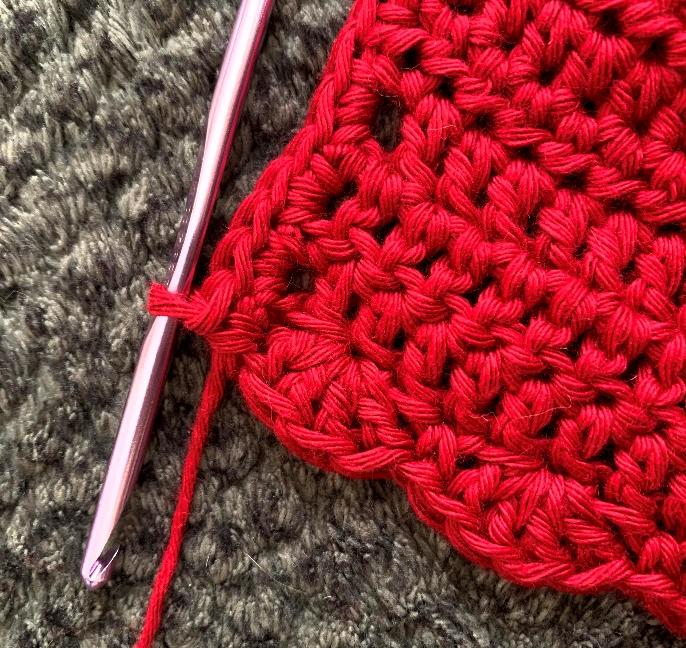
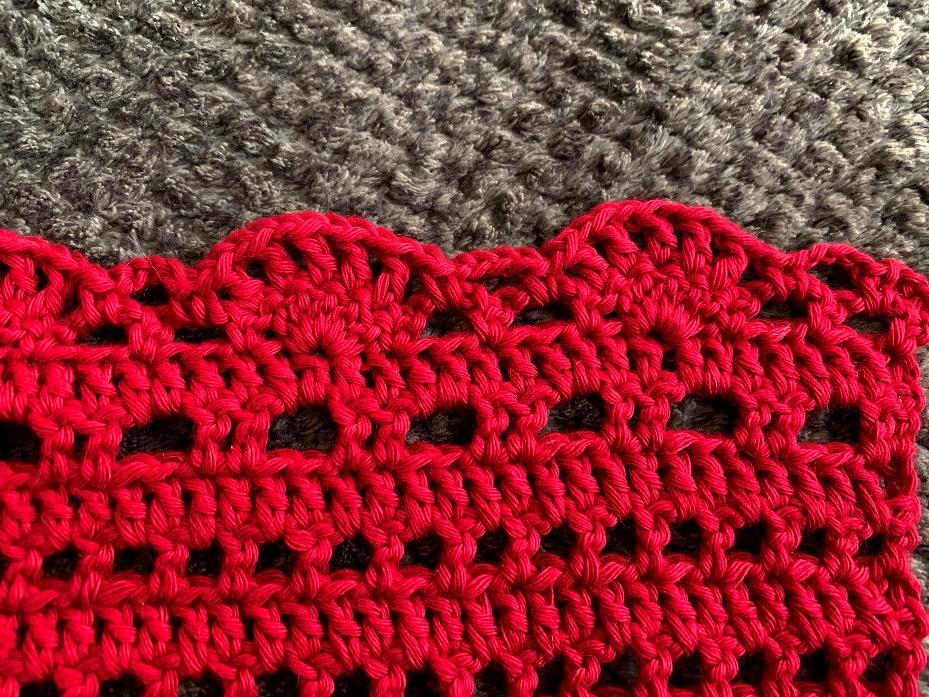
This row creates a decorative edge and forms the top strap. Work this row on one side of the cup first.
For All Sizes: You should have approximately 24 (XS), 26 (S), 31 (M), or 37 (L) stitches on the side you are working on.
- Ch 1 and turn.
- Dc in the 3rd dc from the previous row (the center of the 5-dc group).
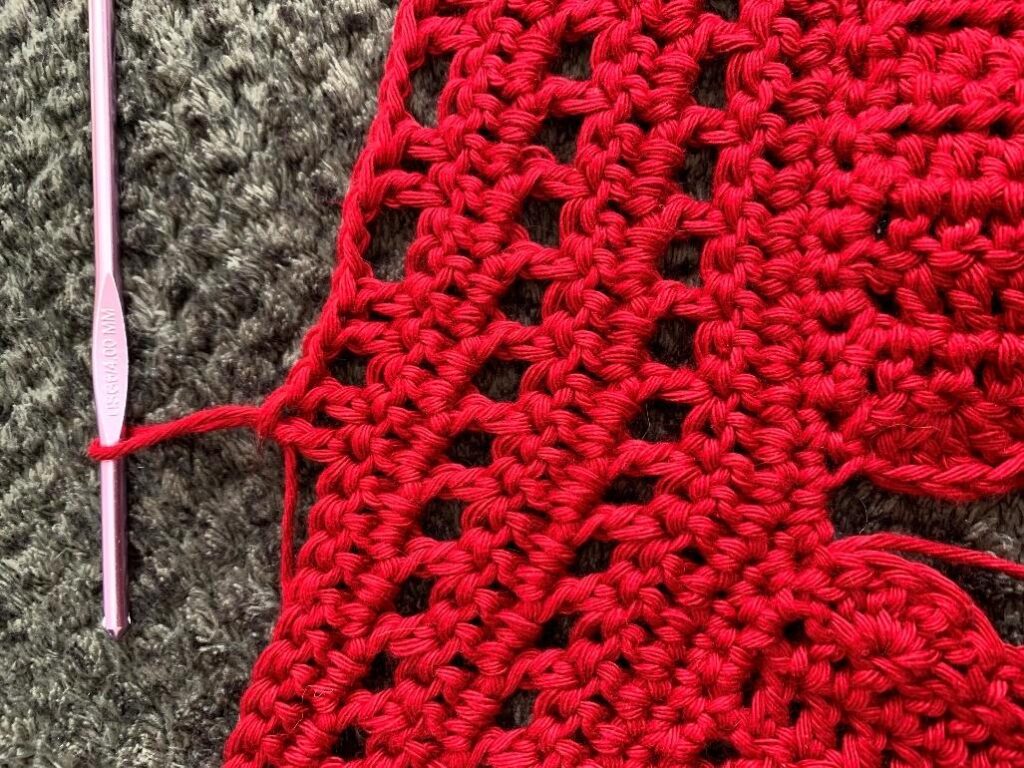
- Work 3 more dc in the same stitch. (You now have 4 dc in one stitch – this is the start of your first “shell”).
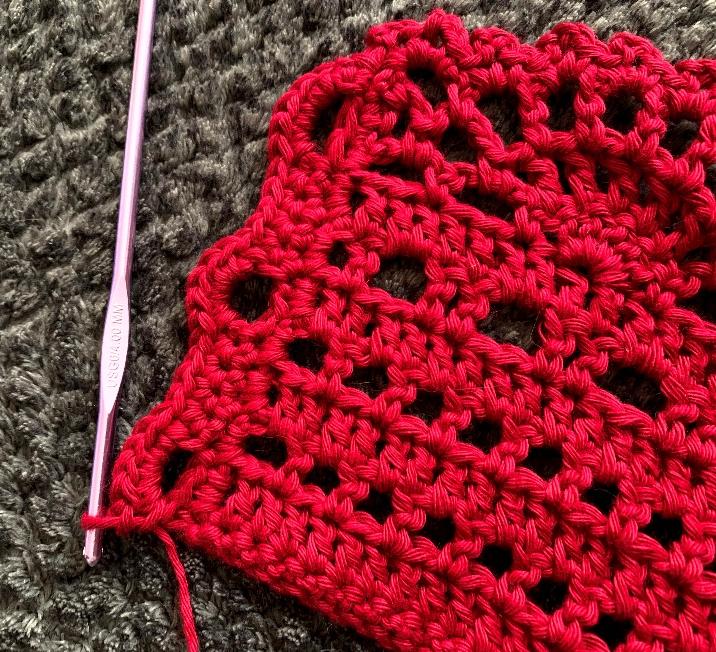
- Skip 1 stitch, work 1 sc in the next stitch.
- Skip 1 stitch, work 4 dc in the next stitch. Skip 1 stitch, work 1 sc in the next stitch.
- Repeat from * across the top of the cup. The number of shells you make depends on your size (see pattern for exact counts).
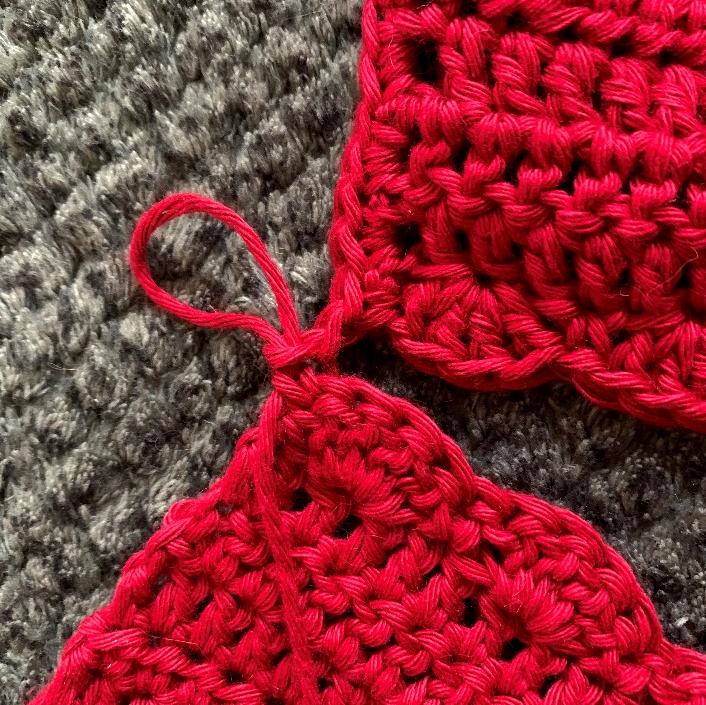
- After placing your last shell, chain until the strap reaches your desired length (approx. 18 inches is standard to tie behind the neck). Fasten off.
Second Cup: Repeat all steps from the Foundation to the DC rows for the second cup. Do NOT work the finishing row yet.
Second Finishing Row: Attach yarn to the opposite bottom corner of the second cup and repeat the Finishing Row steps to create the second strap.
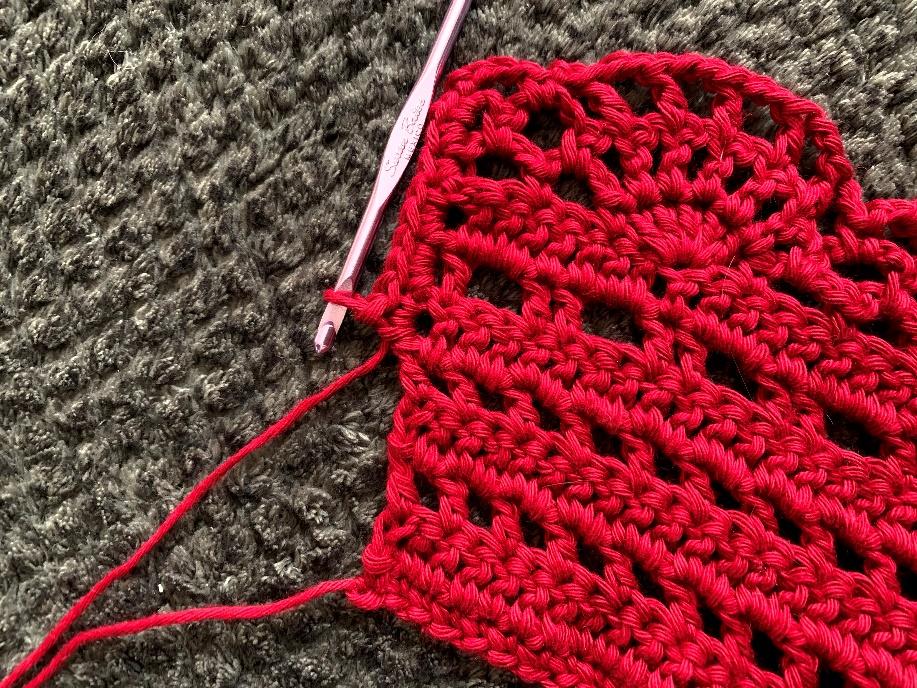
Part 3: Making the Waistband
The waistband is worked directly onto the bottom of the joined cups.
Row 1 (Joining the Cups):
- Chain 10 (12, 15, 18) for your size.
- Sc evenly across the bottom edge of one cup. The pattern provides a guide (2 sc in each dc, 1 sc in each hdc, 1 sc in the center top space).
- Sc into the first dc of the bottom shell stitch on the first cup. Ch 1.
- Sc into the first dc of the bottom shell stitch on the second cup.
- Sc evenly across the bottom edge of the second cup.
- After the last sc, chain 11 (12, 15, 17). You should have approximately 66 (77, 99, 124) stitches.
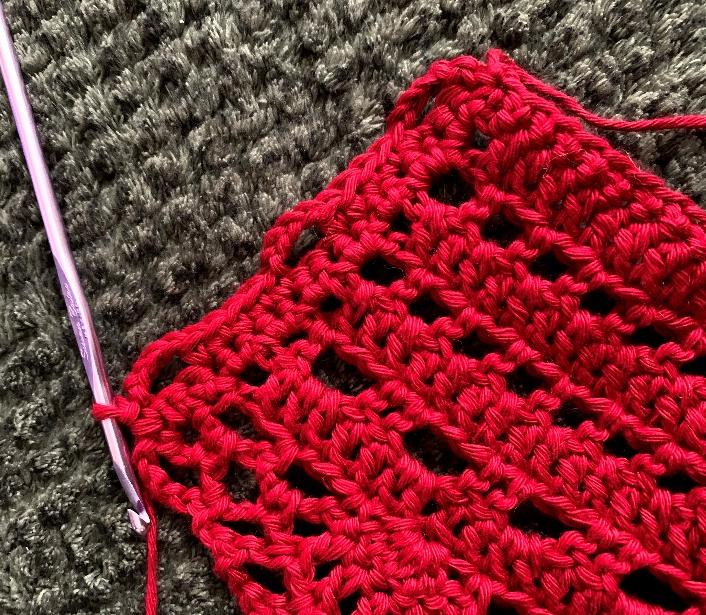
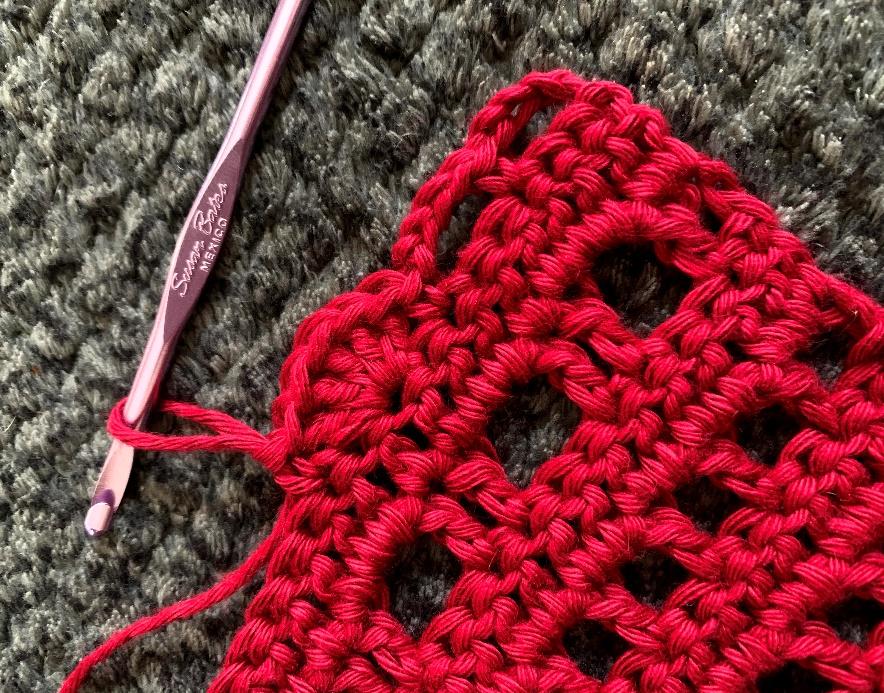
Rows 2-9: Follow the pattern for Rows 2-9 to build the height and texture of the waistband. These rows create a mesh-like fabric.
- Rows 2, 5, 7: Sc or DC across.
- Rows 4, 6: Create mesh: (Ch 1, skip 1, DC) across.
- Row 8: Creates larger spaces for the daisy lace pattern. Follow the specific instructions for your size carefully.
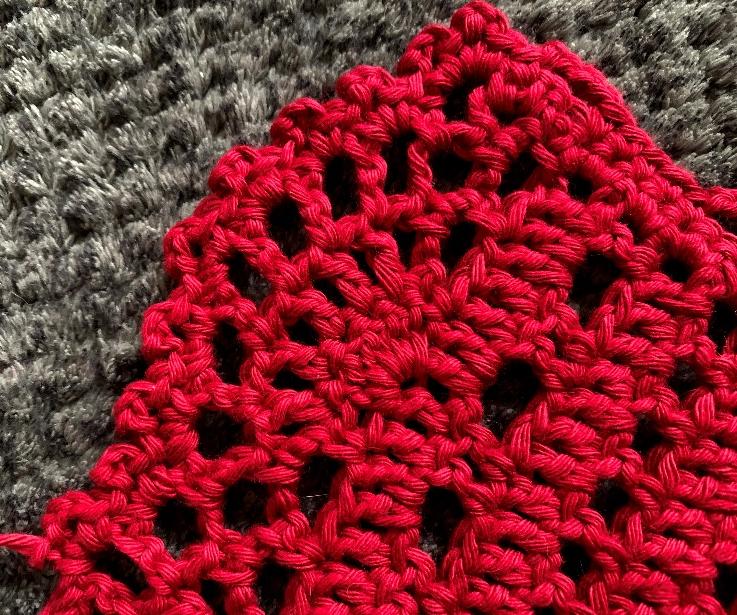
Rows 10-12 (The Daisy Lace): These rows form the beautiful shell (“daisy”) pattern. Follow the pattern meticulously for your size, as the stitch counts change to create the design. It involves working clusters of 5 or 7 dc (the “daisies”) separated by chain spaces.