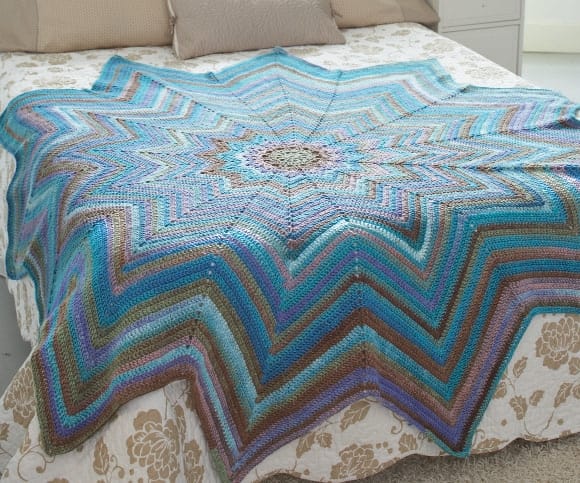
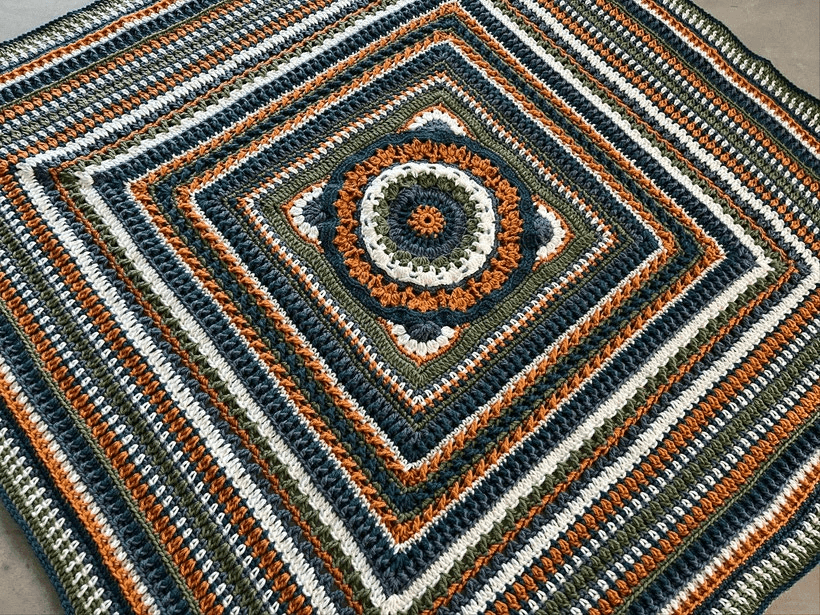
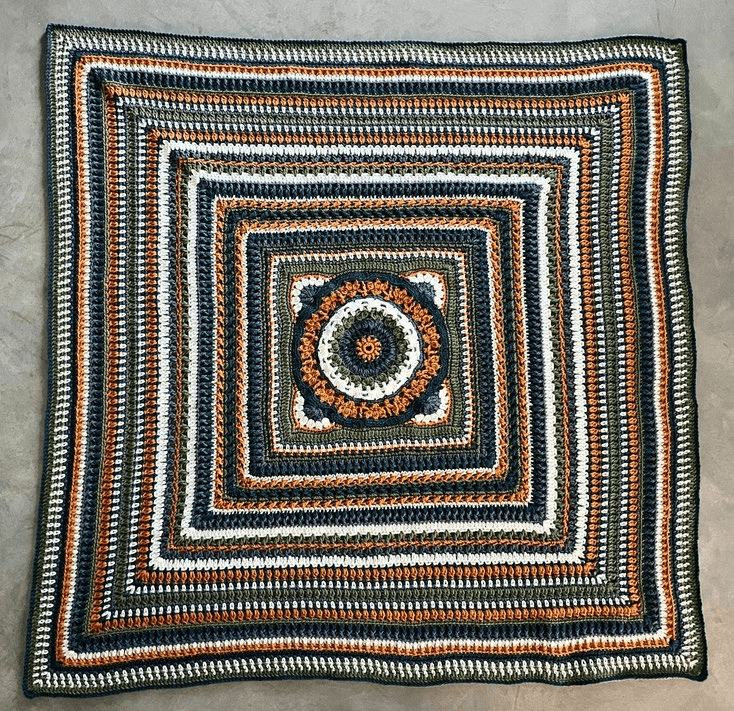
Crochet Study of Reality Blanket
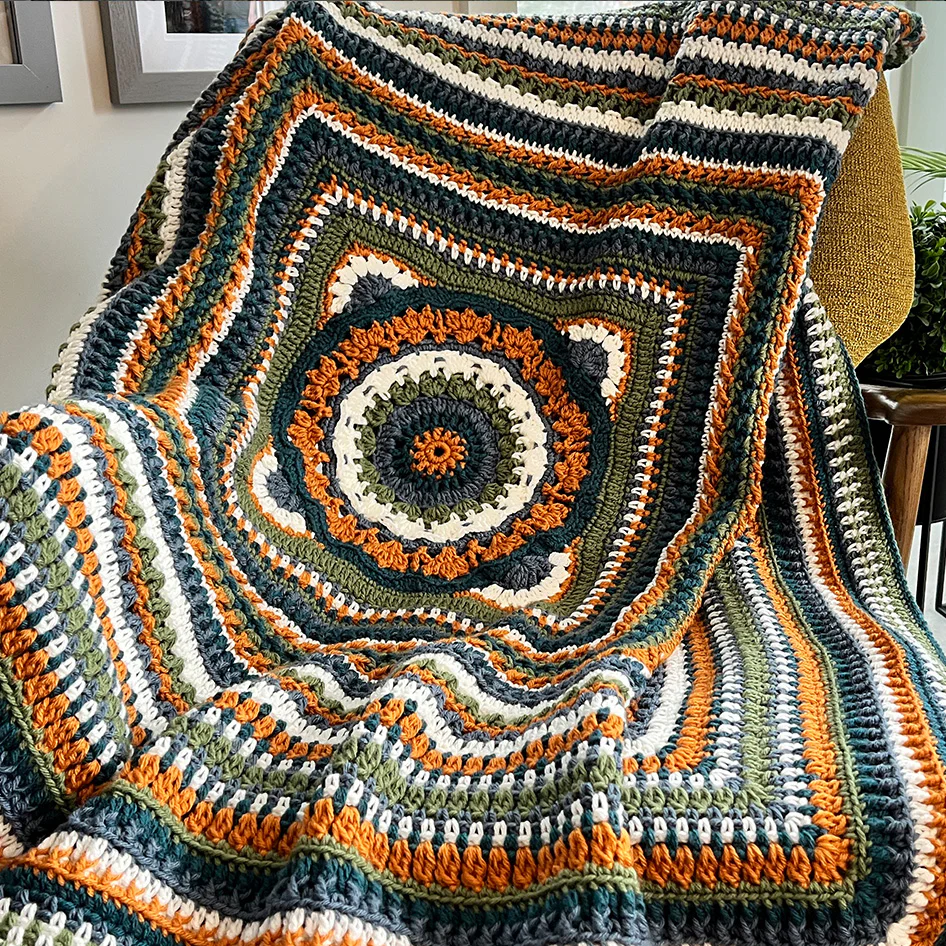
Hello, crochet friends Today, we’re diving into the Crochet Study of Reality Blanket, a gorgeous geometric design that looks complex but is surprisingly beginner-friendly. Created by The Crochet Crowd, this pattern lets you play with beautiful color combinations while mastering essential stitches.
Why you’ll love this blanket:
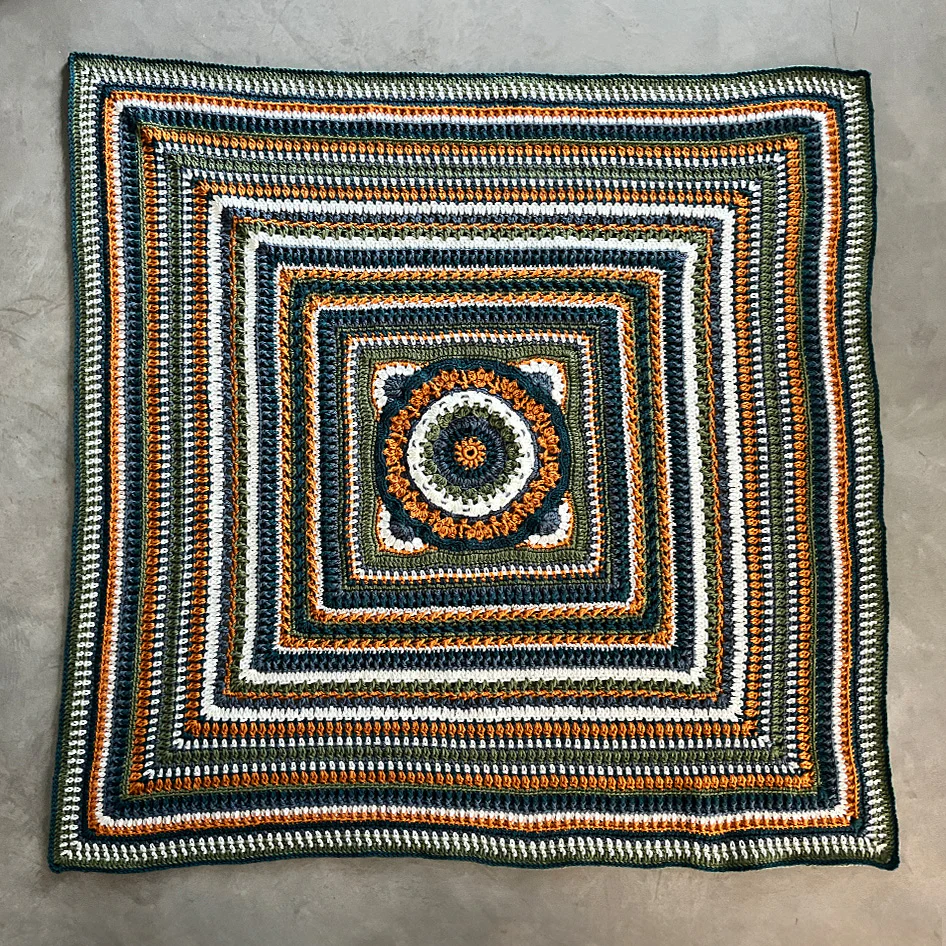
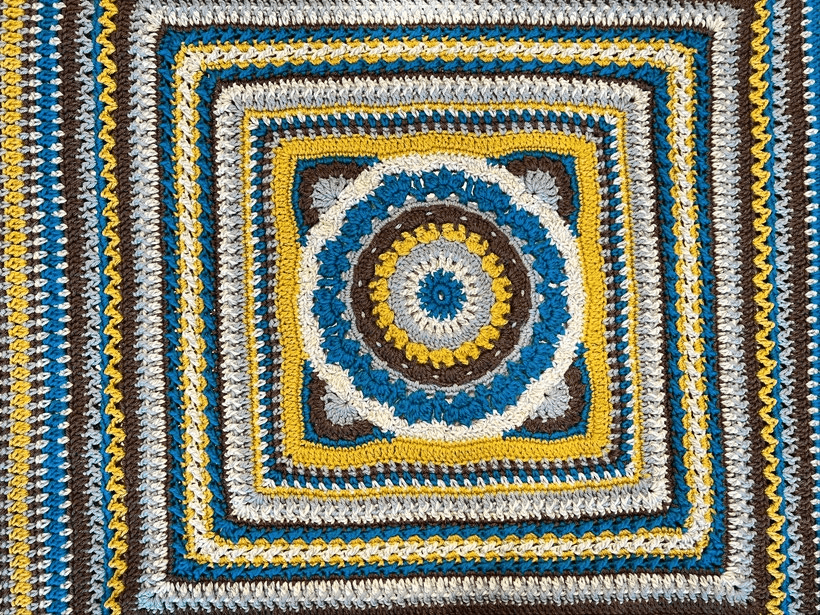
✔ Two stunning colorways (Pines or Sunshine version)
✔ Learn new techniques like post stitches and clusters
✔ Customizable size – make it baby-sized or queen-sized
✔ Perfect TV-project – repetitive rounds make it relaxing
Whether you’re new to crochet or looking for a satisfying long-term project, this blanket is a joy to make.
Let’s gather our supplies
Materials Needed
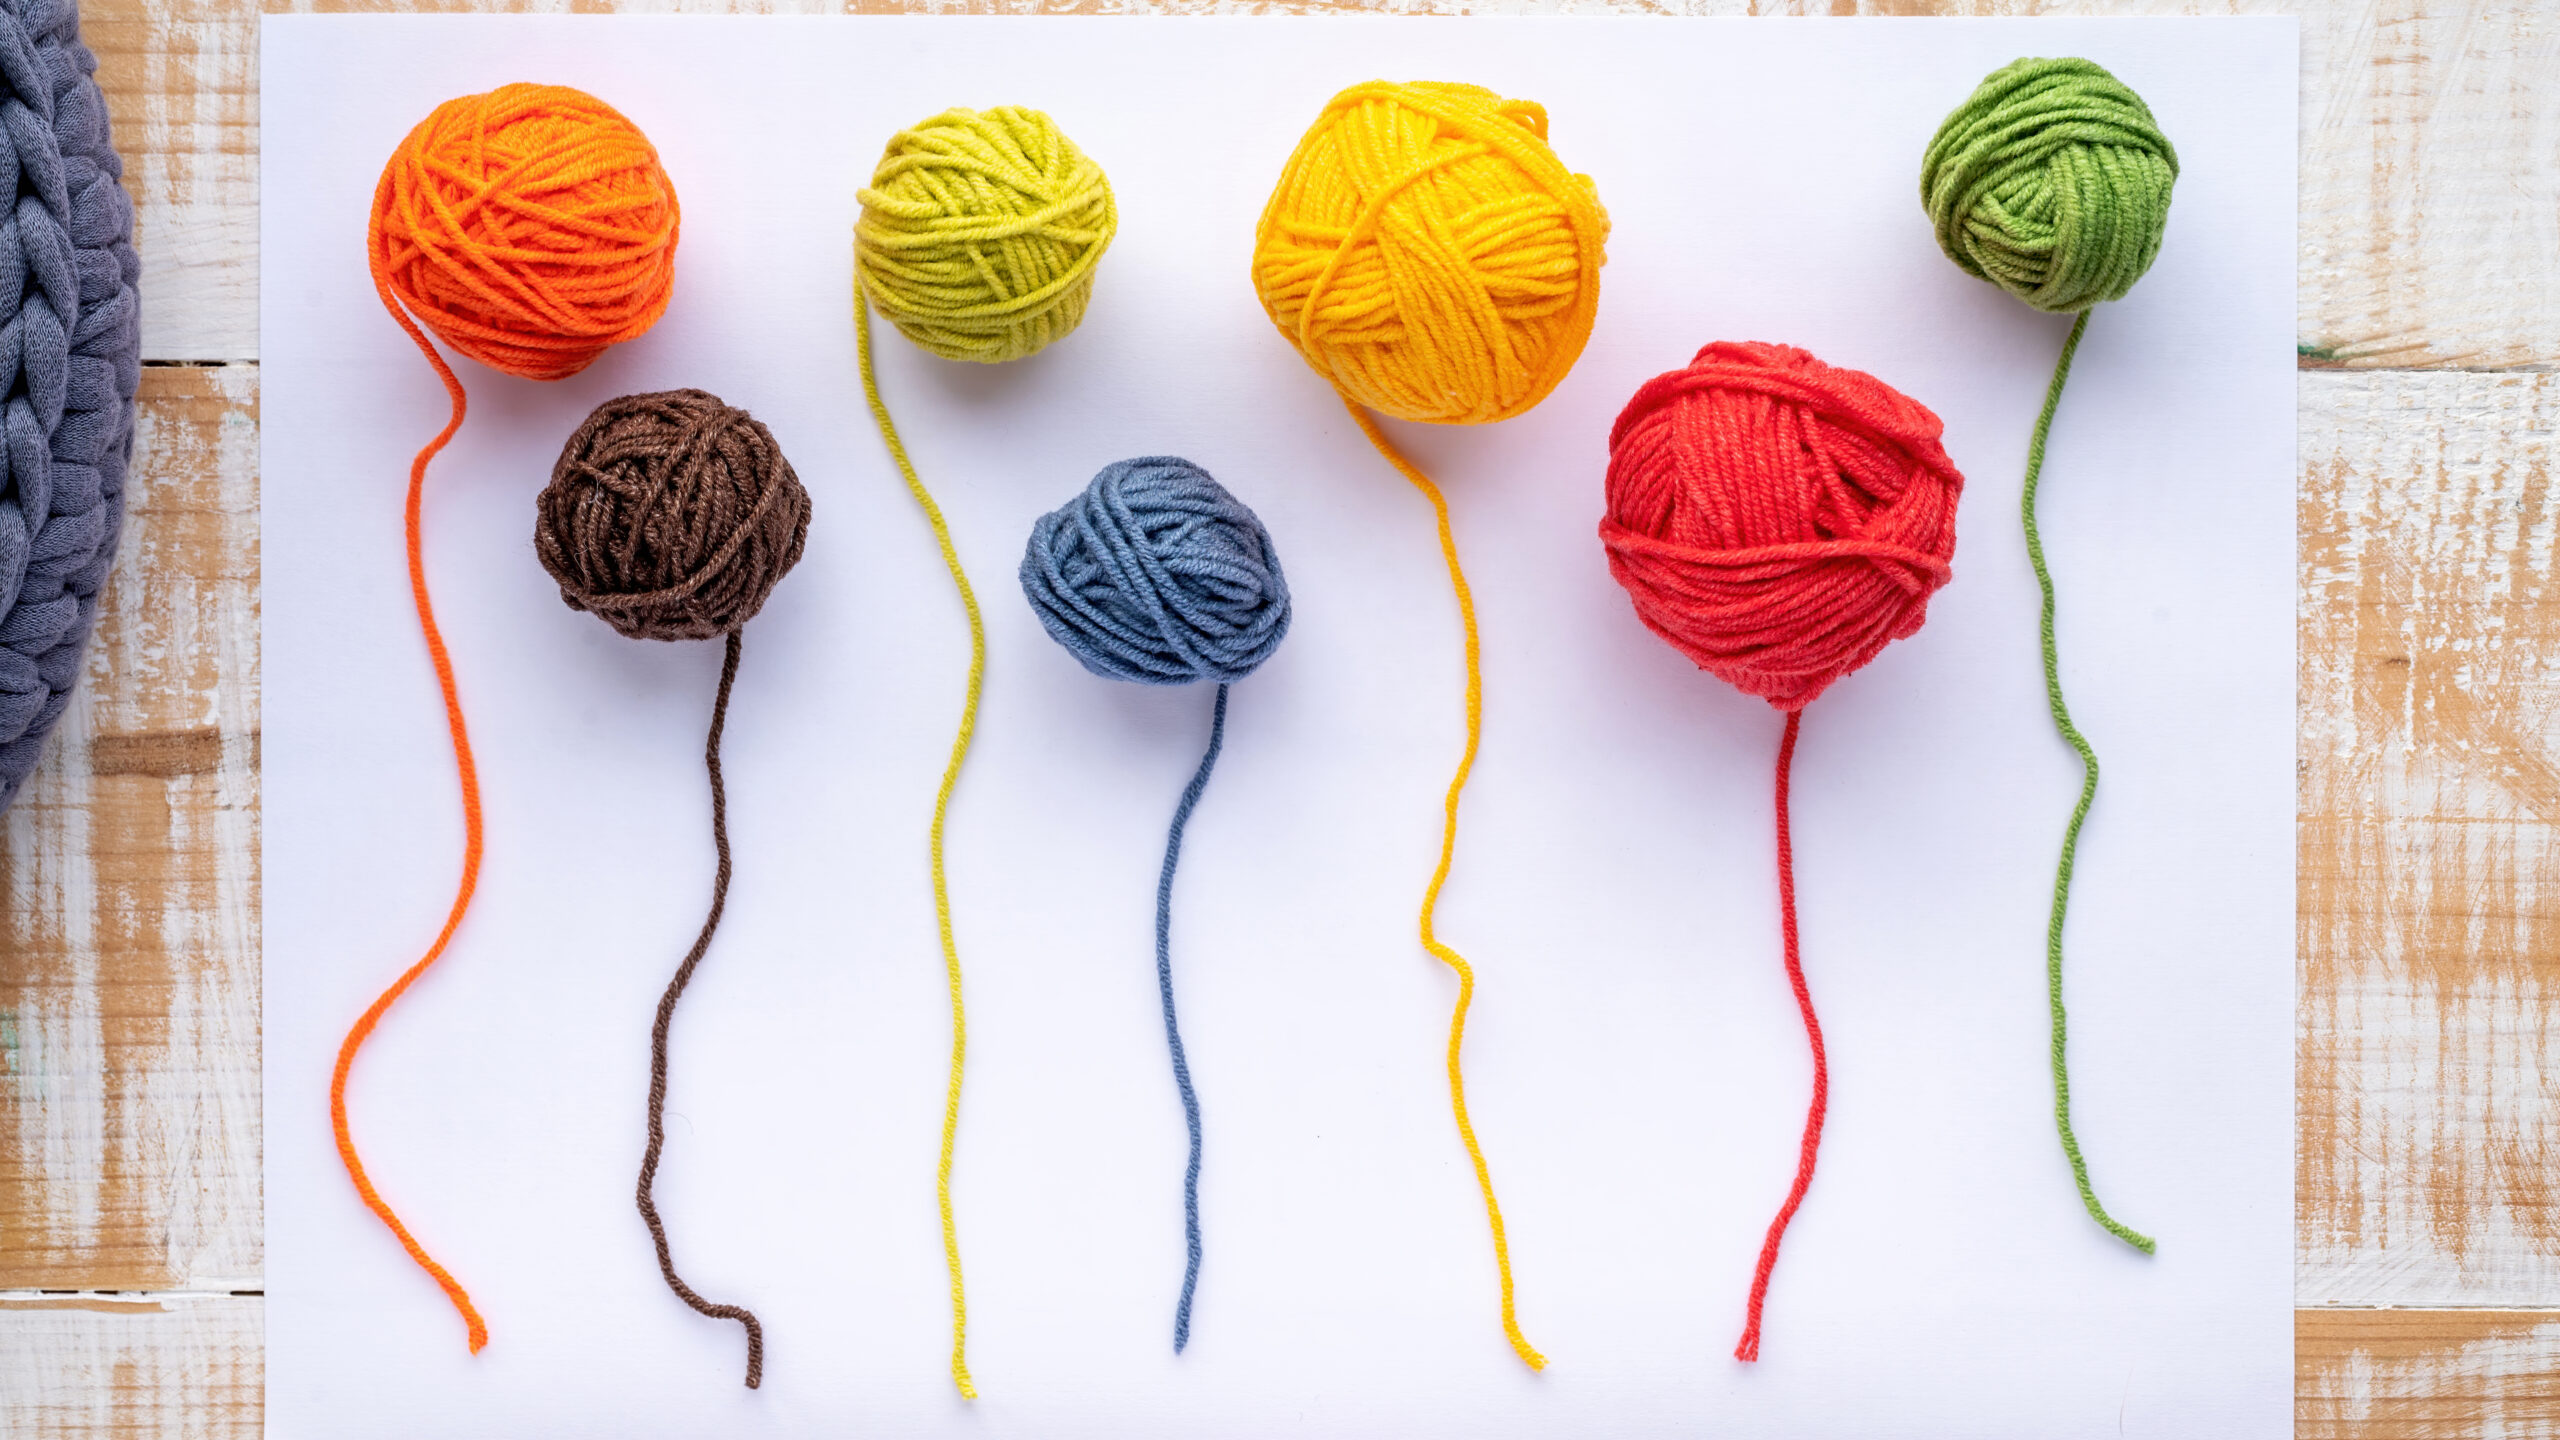
Yarn (Choose one color palette):
Pines Version:
- A: Masala
- B: Teal Heather
- C: Colonial Blue
- D: Forest Green
- E: Winter White
Sunshine Version:
- A: Peacock
- B: Grey Ragg
- C: Cornflower
- D: Curry
- E: Taupe Heather
(Bernat Super Value, 7 oz/197g skeins, 440 yards each)
Tools:
- Hook: 5mm (H/8)
- Yarn needle
- Scissors
- Stitch markers (for tracking corners)
Finished Size: 50″ x 50″ (customizable)
Abbreviations & Notes
Key Stitches:
- sc: Single crochet
- dc: Double crochet
- sl st: Slip stitch
- ch: Chain
- dcbp/dcfp: Double crochet back/front post
- cluster: DC3tog (3 dc worked together)
Pattern Notes:
- Worked in continuous rounds (no joining unless specified)
- Color changes happen frequently—keep yarn labels handy
- Stitch counts are provided for each round

Crochet Pattern Instructions
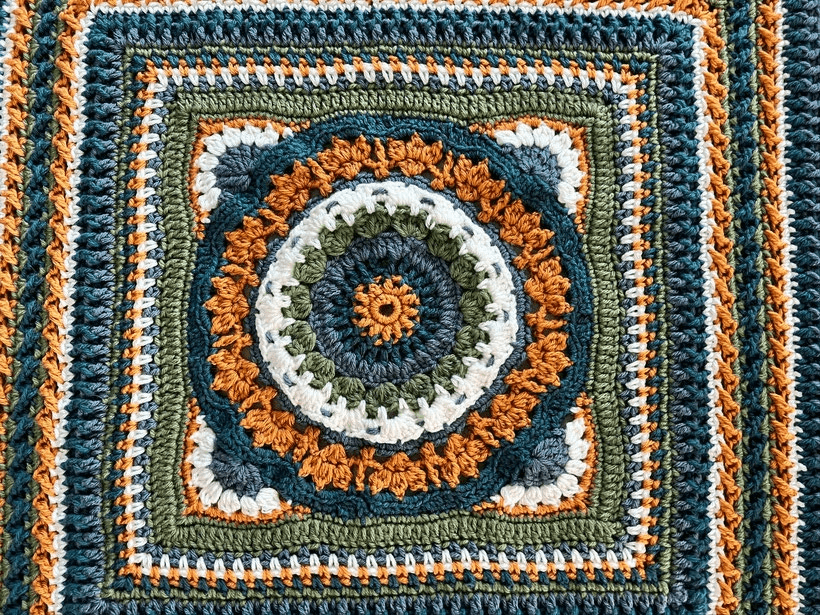
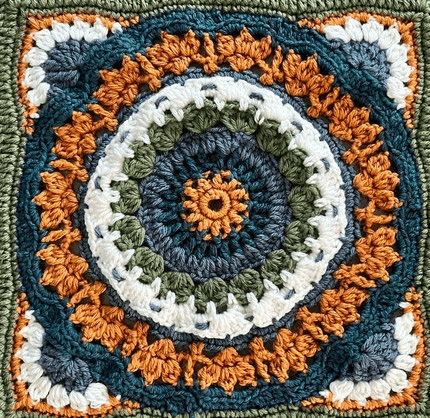
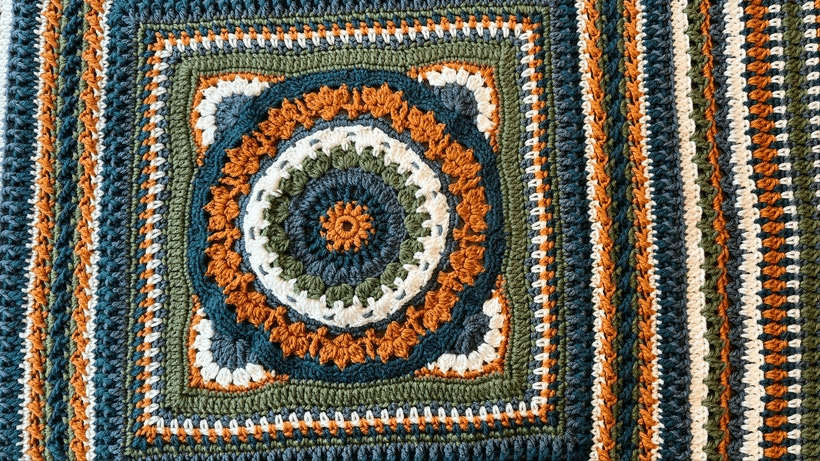
Week 1: The Center Medallion
(Creates a circular base before transitioning to a square)
Rnd 1 (A):
- Ch 4, join with sl st to form a ring.
- 12 sc into the ring. Join.
Rnd 2 (A):
- Ch 3 (counts as dc), 2 dc in each sc around. (24 dc)
Rnd 3 (B):
- Post stitches! Join B with standing scbp around first st.
- Alternate scbp and scfp around. (24 sts)
Continue following the color sequence (C, D, E) while working textured stitches like clusters and fans.
Pro Tip: Use stitch markers to track the start of each round
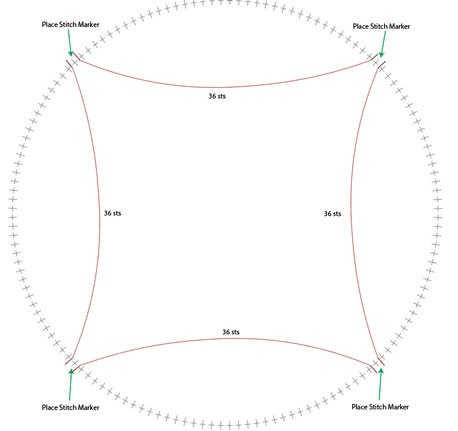
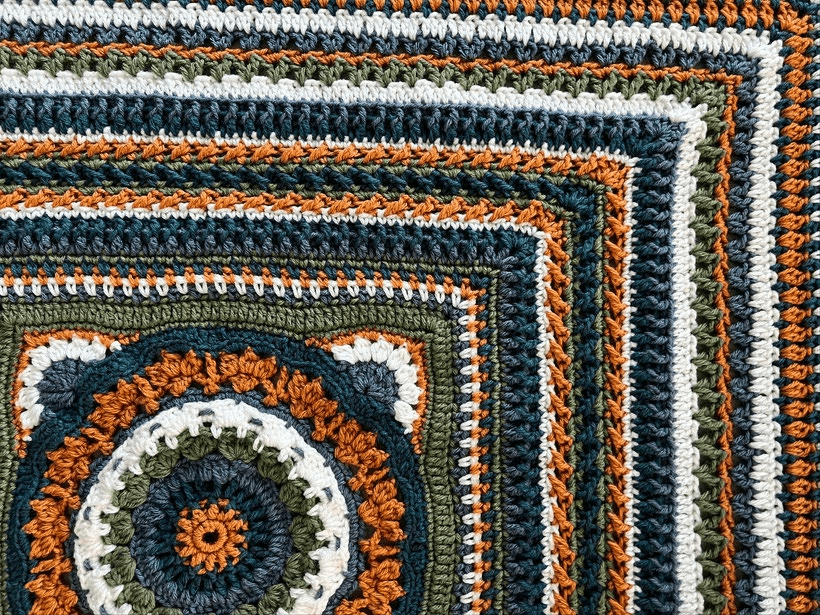
Week 2: Forming the Square
- Mark Your Corners:
- After Rnd 14, place stitch markers every 36 sts to mark 4 corners.
- Build Corners:
- Work 7 tr in each marked corner, then embellish with clusters and sc.
- Square Body:
- Work in panels between corners, increasing evenly.
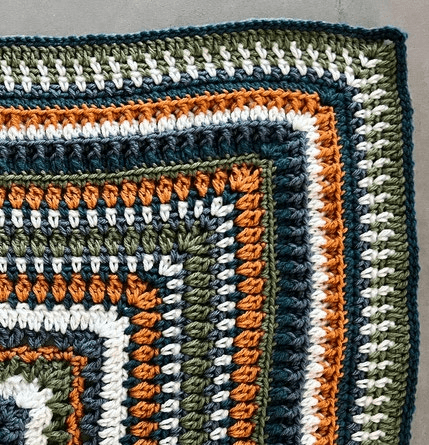
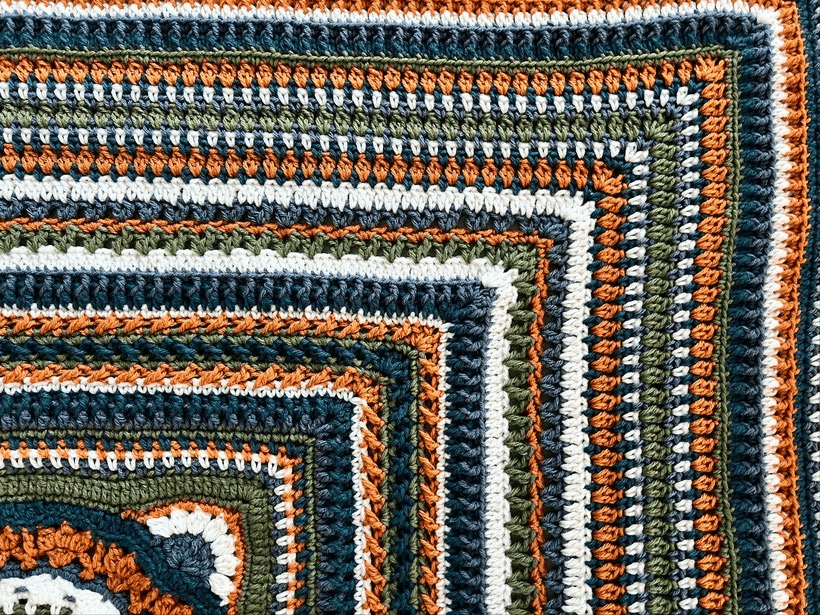
Weeks 3-4: Expanding the Blanket
- Repeat textured stitch patterns (v-stitches, post stitches) while increasing sides.
- Customize Size: The pattern explains exactly where to add extra rounds
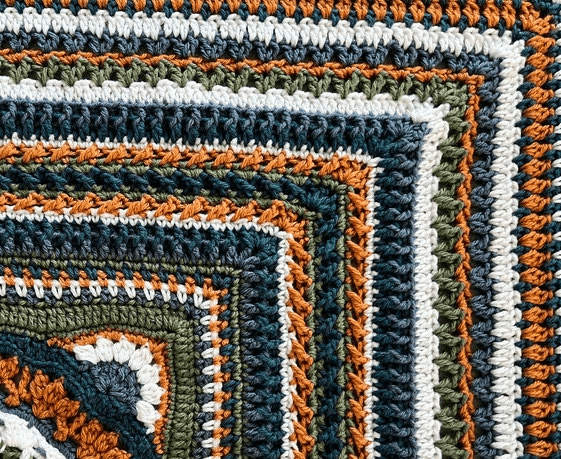
Border & Finishing
Rnds 39-46:
- Work a final hdc border in contrasting colors.
- Use the invisible join method for a seamless finish.
Helpful Tips for Beginners
✔ Weave in ends as you go to avoid a tangled mess later.
✔ Watch tension—keep stitches loose for drape.
✔ Use stitch markers religiously for corners.
✔ Take progress photos to stay motivated