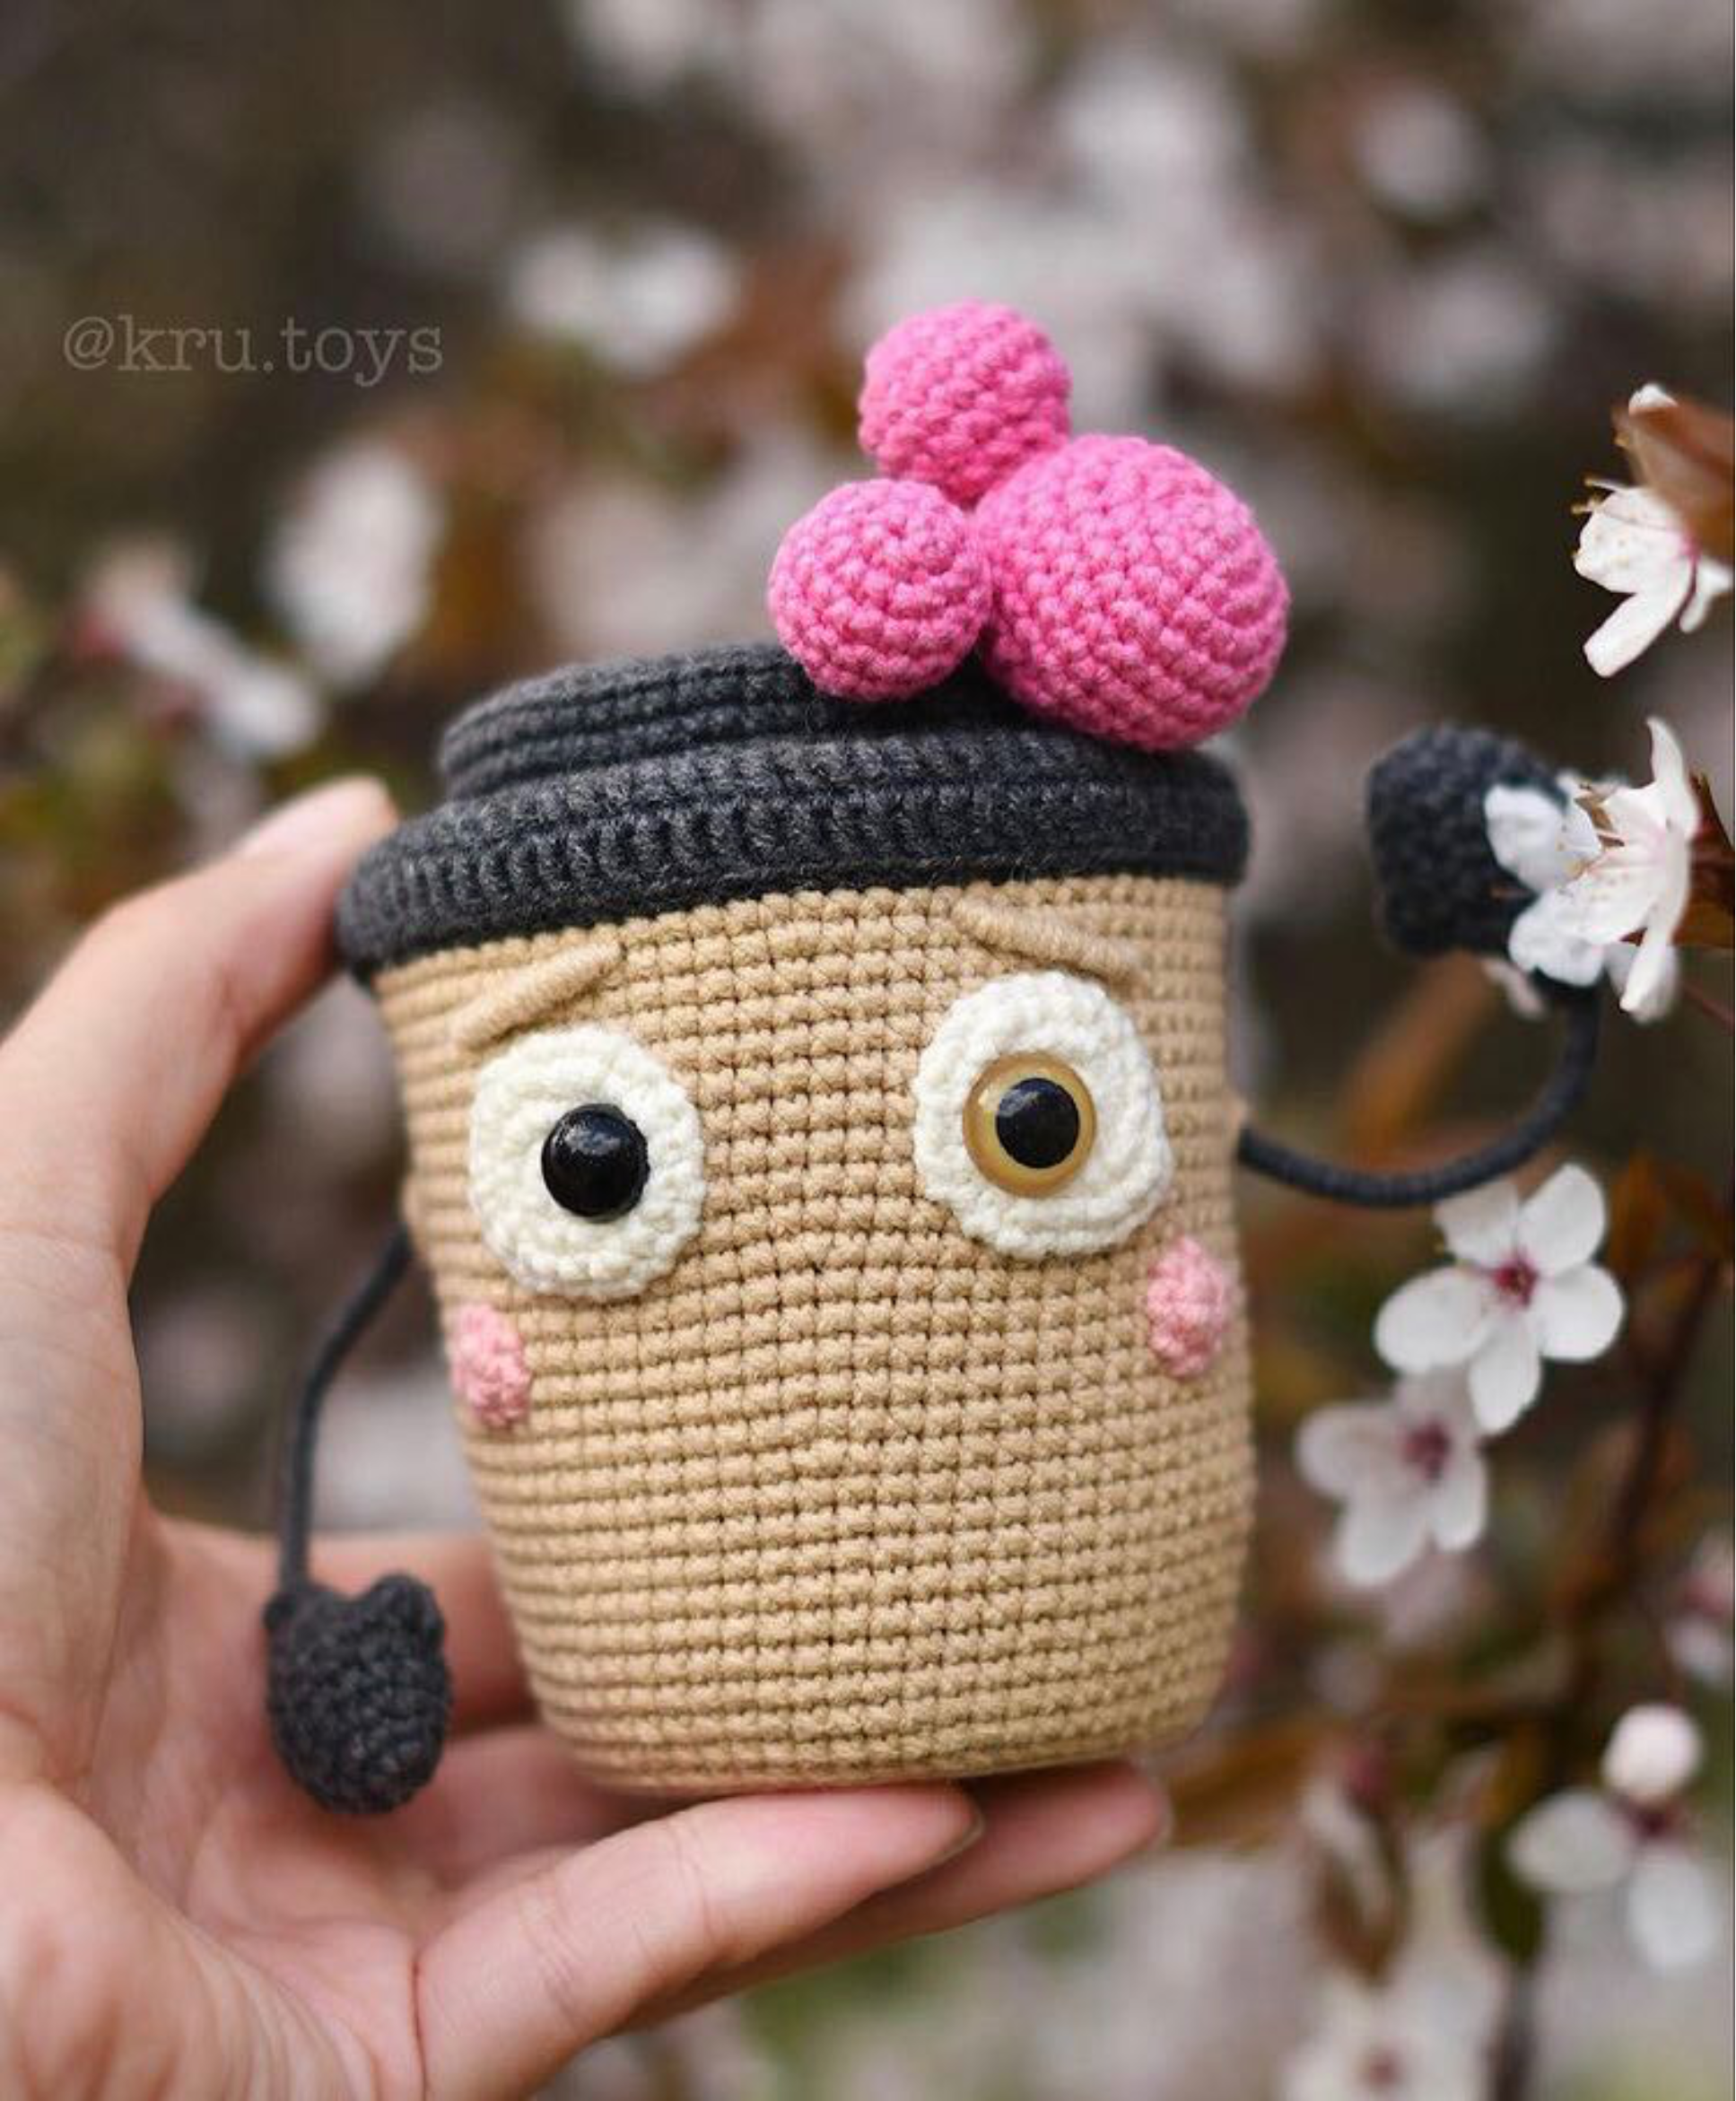
Crochet Bubble Raff Amigurumi Pattern
You can use pins to mark the exact position for the eyes. Create a small hole for the eye post; start with your working crochet hook and then carefully widen it with a larger hook if needed. Insert the safety eyes into the white part one stitch closer to the outer edge from the magic ring. Do not sew the white part of the eyes to the body at this stage; this is best done after the body is fully stuffed for a smoother finish.
Next, determine the placement for the arms. A good starting point is in the middle of the body, between rows 27 and 28. Insert the wire ends of the handles into the cup body, intertwine the free ends of the wire inside, and secure them with plaster tape to prevent sharp edges.
Stuffing and Shaping the Body
As you continue crocheting the top of the cup, remember to stuff the piece firmly and evenly. This will help maintain its shape. Once you’re nearing the top, trace the outline of the top opening onto cardboard or polymer material, cut it out, and insert it before closing the body. This provides a flat top for the lid.
Closing the Body:
Continue with the beige yarn.
- (6 sc, dec)*8 (56)
- (5 sc, dec)*8 (48)
- (4 sc, dec)*8 (40)
- (3 sc, dec)*8 (32)
- (2 sc, dec)*8 (24)
- (sc, dec)*8 (16)
- 8 dec (8)
Close the remaining opening, cut the yarn, and weave in the end. Ensure the top of the cup is flat and well-stuffed.
Lid (Top Part)
Attach black yarn to the front loop of row 41 of the body (this is where you crocheted BLO in row 40, leaving a visible front loop).
- Rows 50-52: 64 sc (64) – 3 rows
- BLO: 64 sc (64)
- (6 sc, dec)*8 (56)
Trace the outline of this lid onto cardboard or polymer material and cut it out. This will be the final rigid insert. Stuff the lid firmly, then insert the cut piece. Continue decreasing to shape the lid:
- (5 sc, dec)*8 (48)
- (4 sc, dec)*8 (40)
- (3 sc, dec)*8 (32)
- (2 sc, dec)*8 (24)
- (sc, dec)*8 (16)
- 8 dec (8)
Pull the opening closed, cut the yarn, and secure it.