Crochet a Plush Giraffe Purse: Free Amigurumi-Style Bag Pattern
Hello, lovely crocheters! 🌟 Today, I am absolutely delighted to share this free crochet pattern for the most charming Plush Giraffe Purse! Designed by the talented Anastasia Konovalova, this pattern is perfect for adding a touch of whimsy to your wardrobe or creating a magical gift for a little one.
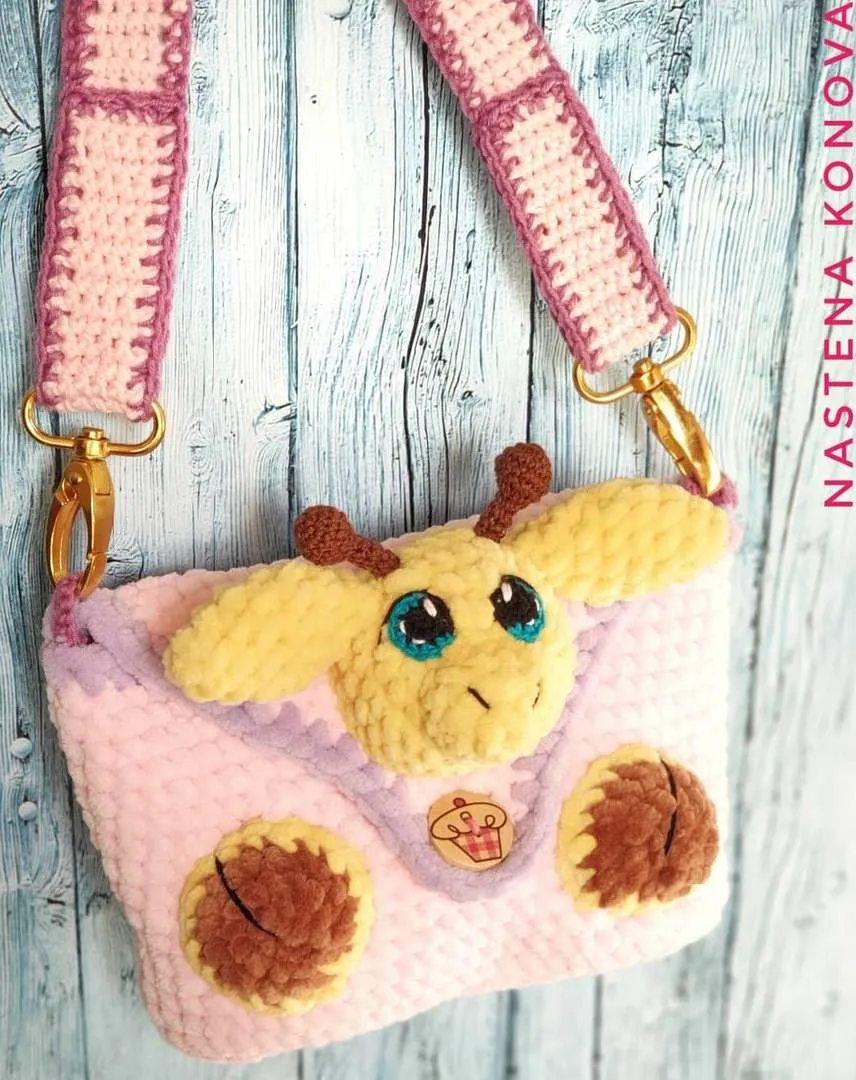
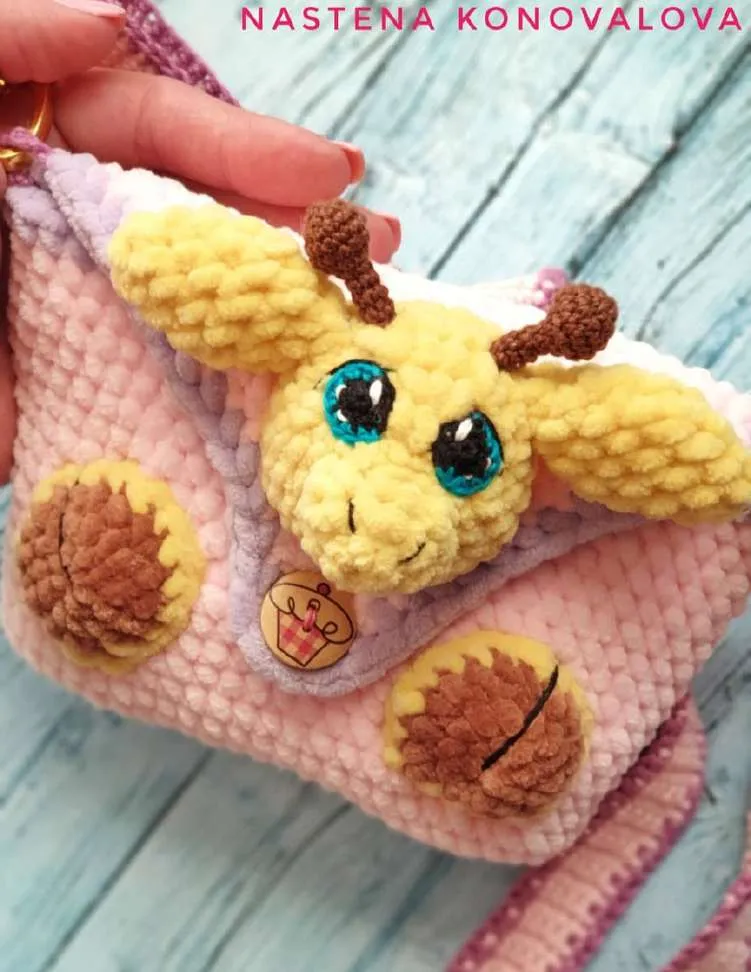
This adorable bag features a soft, plush body with an adorable giraffe face, tiny horns, and even little hooves! It’s worked in cozy, velvety yarn that’s a joy to hold and work with. Whether you’re making it for a special child in your life or just to brighten your own day, this project is sure to bring smiles.
While the pattern assumes you know the basic crochet stitches, I’ve broken everything down into simple, manageable steps. So, if you’ve ever wanted to make a functional amigurumi-style accessory, this is the perfect project to start with! The finished purse is about 15 cm (6 inches) tall and 18 cm (7 inches) wide—a perfectly petite and playful accessory.
Grab your favorite plush yarn, and let’s create some magic together
🧶 Materials You’ll Need
Main Yarn (Plush):
“Dolphin Baby Himalaya” or similar plush yarn.
- Color 80303 (Light Pink): Approximately half a skein for the bag.
- Color 80302 or 80313 (Yellow): A small amount for the giraffe.
- Color 80337 (Brown): A tiny bit for the hooves.
Strap Yarn:
“Gazzaal Baby Cotton” or similar cotton yarn (less than half a skein, any color you like).
Detail Yarn (Eyes & Horns):
“Vita Coco” or similar fine yarn.
- Brown (Color 4306)
- White (Color 3851)
- Black (Color 3852)
Hooks:
- Size 4.0 mm for the main bag.
- Size 2.0 mm for the strap.
- Size 1.25 mm for the small giraffe details.
Notions:
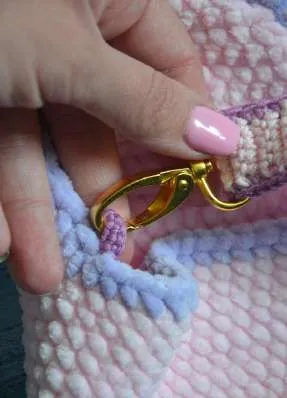
- 2 swivel clasp clasps (karabiners).
- 1 button for closure (approx. 2 cm diameter).
- Yarn needle, scissors, and fiberfill for stuffing.
📖 Stitch Abbreviations & Key Terms
- MR: Magic Ring (Note: For plush yarn, make 2 ch, work 6 sc in 2nd ch from hook, and join to form a ring)
- Ch: Chain
- Sc: Single Crochet
- Inc: Increase (2 sc in one stitch)
- Dec: Decrease (sc2tog)
- Sl st: Slip Stitch
- BLO: Back Loop Only
📏 Finished Size
The finished purse measures approximately 15 cm (6 inches) in height and 18 cm (7 inches) in width
✨ Step-by-Step Crochet Instructions
Part 1: The Purse Base & Body
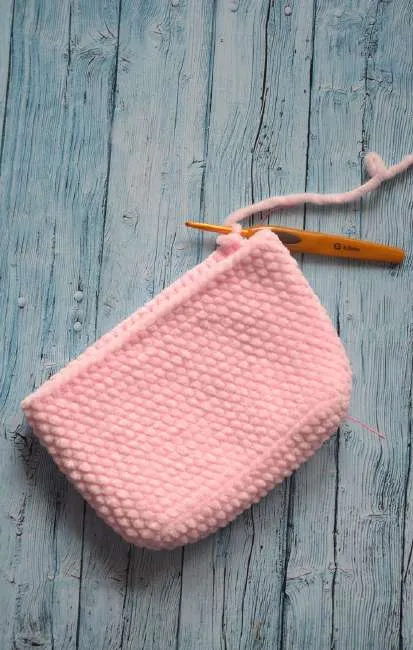
We begin by creating the oval base of the bag.
The Base (Bottom):
- Row 1: Ch 20. Starting in the 2nd ch from the hook: 1 inc, 17 sc. Work 4 sc into the last chain. Now, working down the other side of the starting chain: 17 sc, 1 inc. Join with a sl st to the first sc. (42 sts)
- Row 2: 2 inc, 17 sc, 4 inc, 17 sc, 2 inc. Join. (50 sts)
- Row 3: (1 sc, 1 inc) x2, 17 sc, (1 sc, 1 inc) x4, 17 sc, (1 sc, 1 inc) x2. Join. (58 sts)
The Bag Body:
4. Row 4: Working in BLO for a neat ridge, sc in each st around. (58 sc)
5. Rows 5-19: Sc in each st around for 15 rounds. You can adjust the height here by adding more rounds if you desire.
Part 2: The Flap
The flap is worked in turned rows, decreasing on each side to form a triangle.
- After finishing the last body round, work 2 more sc to move your stitch to the edge of the bag.
- Ch 1, turn your work. Sc across until you reach the other edge (approx. 29 sc).
- You will now work back and forth in rows. At the beginning of each row, ch 1 (does not count as a st), turn.
- Decrease 1 st at each end of every row. Continue until only 3 sts remain.
Buttonhole:
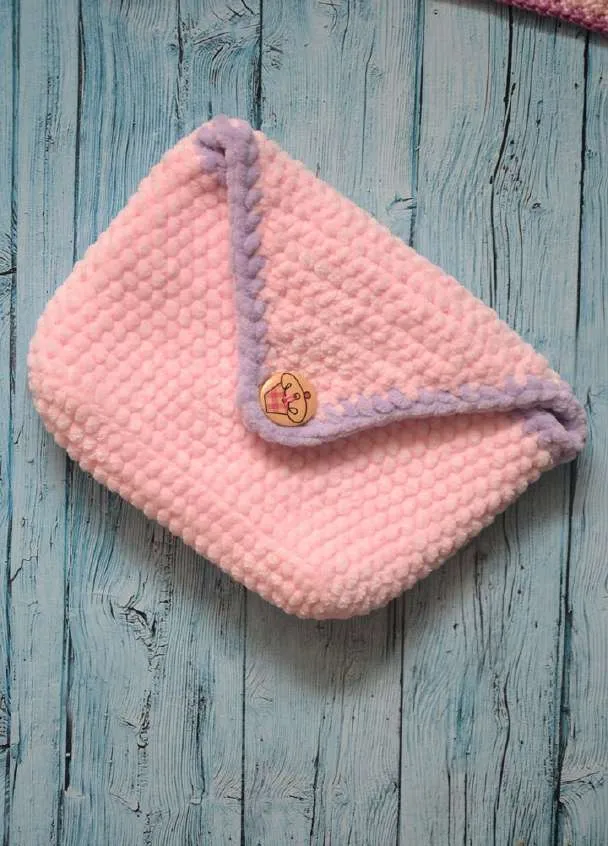
5. Once the flap is complete, make the buttonhole: Ch 4, sl st to the other edge of the flap. Fasten off and weave in the end.
Edging:
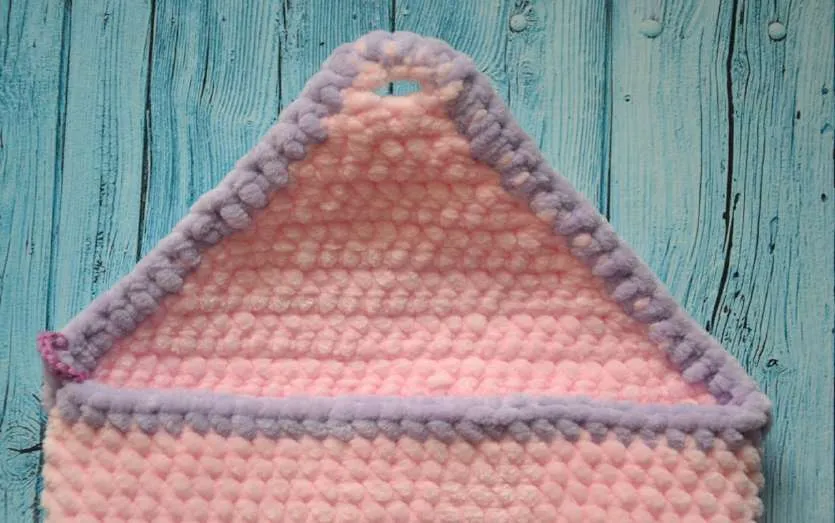
6. Join a contrasting color around the entire top edge of the bag and work 1 round of sc for a finished look.
7. Sew the button onto the front of the bag, about 7 rows up from the base.

