Amigurumi Capybara Lily of the Valley Pattern


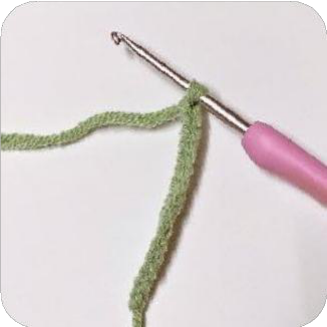
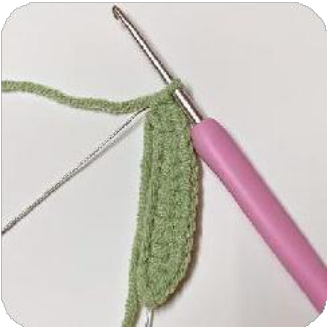
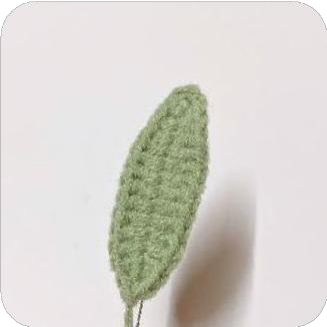
Leaves (Make 3)
Using green yarn, crochet three leaves for your lily branch:
- CH 15, start in 2nd CH from hook.
- Row 1: Attach wire, SC, HDC, 8 DC, 2 HDC, SC, 3 SC in one st, SC, 2 HDC, 8 DC, HDC, SC (29 stitches).
Wrap green yarn around the excess wire extending from the leaf. Cut the yarn once the wire is fully covered, creating a sturdy leaf stem.
Final Assembly & Finishing: Lily Branch & Capybara Pot
Now, let’s bring the entire “Lilies of the Valley” capybara pot together:
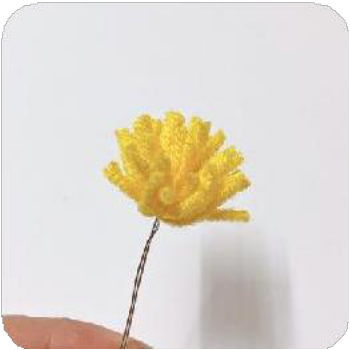
- Make three small flower stems: create one stem with three flowers and two stems with two flowers each.
- Use green yarn to securely wrap and attach the flowers onto each stem, covering the wire completely.
- Continue wrapping the green yarn down the stem to secure a leaf onto it, covering the entire stem length.
- Once all individual branches are made, use green yarn to tie all three flower stems together into one charming bouquet.
- Adjust the flowers and leaves to position them as desired, giving your bouquet a natural and appealing look.
- Finally, place the finished lily bouquet into the capybara pot.
Congratulations on completing your Capybara Pot with “Lilies of the Valley”! This delightful crochet project combines a whimsical animal with beautiful floral elements, making a unique decorative piece or a heartfelt gift. We hope you enjoyed creating this charming amigurumi and are proud of your handmade creation.