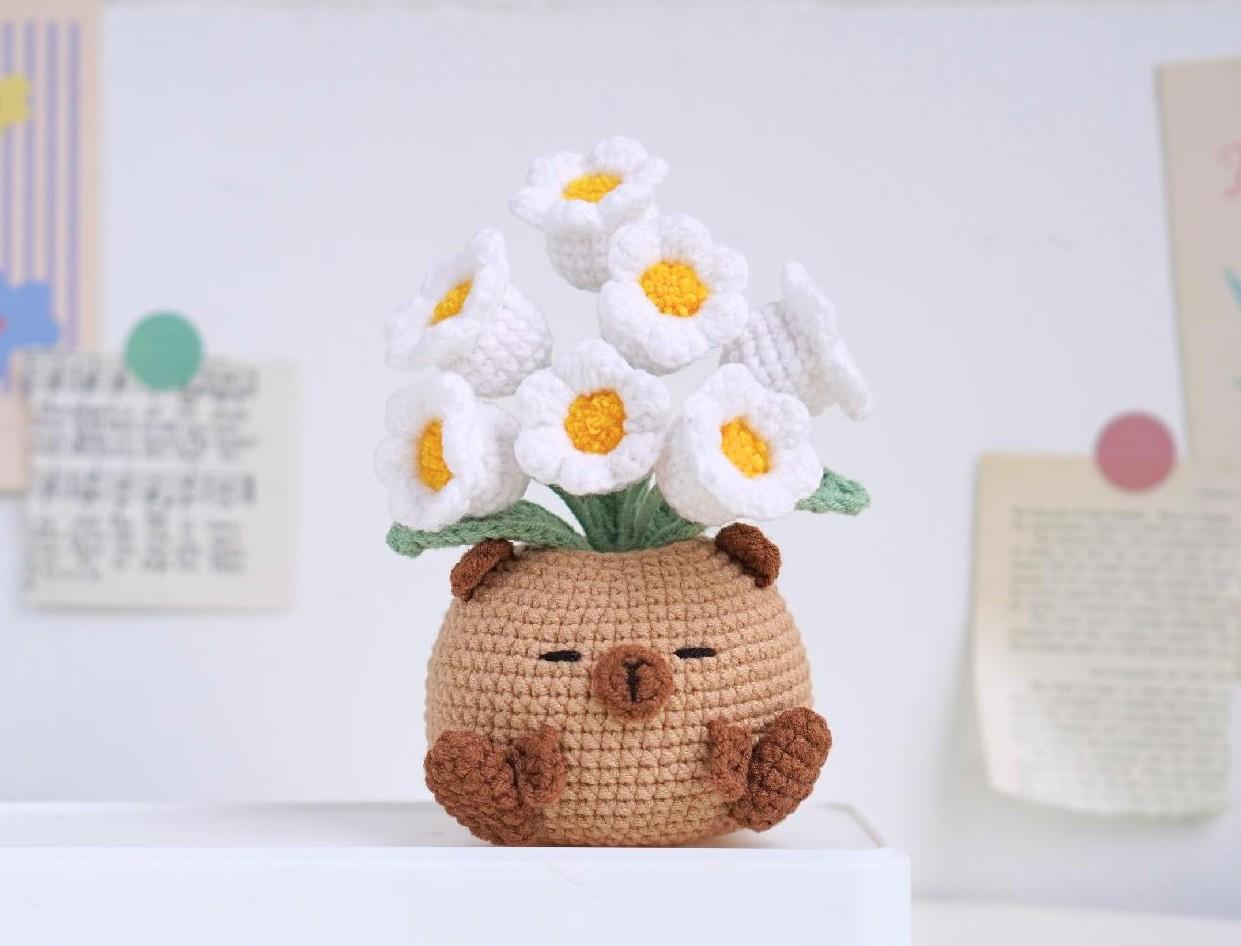
Amigurumi Capybara Lily of the Valley Pattern
- Sew the ears flat between rows 18-21 on the pot, about 14 stitches apart, referring to the sample image for placement.
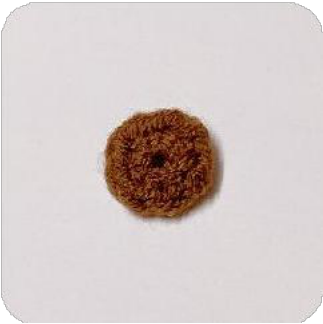
- Use glue to attach the dark brown nose piece between rows 25-27. Once secured, embroider the nose details with black yarn for a realistic touch.
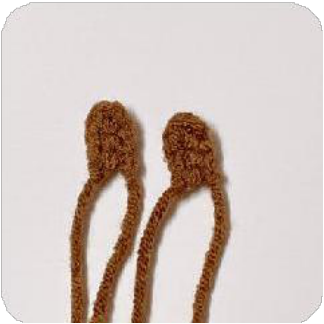
- Attach the front legs symmetrically between rows 29-30, approximately 8 stitches apart.
- Attach the back legs symmetrically between rows 30-34, about 10 stitches apart.
Crochet Instructions: Lily Branch Flowers
Flowers (Make 7)
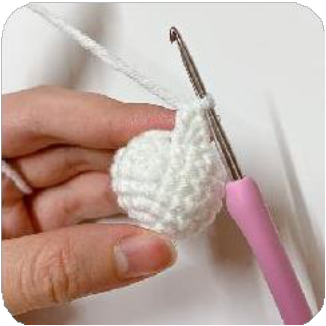
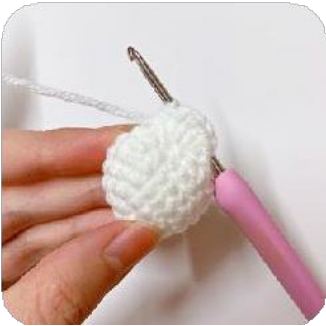
Using white yarn, create the delicate lily flowers:
- Row 1: 6 SC in MR (6 stitches)
- Row 2: 6 INC (12 stitches)
- Row 3: (SC, INC) 6 times (18 stitches)
- Rows 4-6: 18 SC (18 stitches) – Continue for 3 rows.
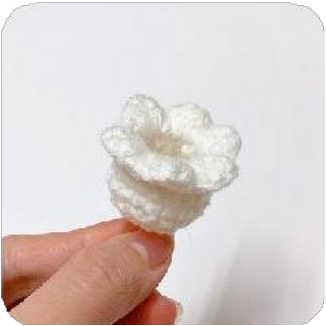
- Row 7: (SC, DEC) 6 times (12 stitches)
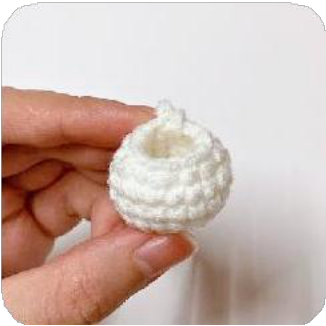
- Row 8: [(SC, DC, DC) in one st, (SC, DC, DC) in one st)] 6 times
Weave in ends and cut the yarn. This creates a cup-like shape that will form the flower.
Flower Pistils
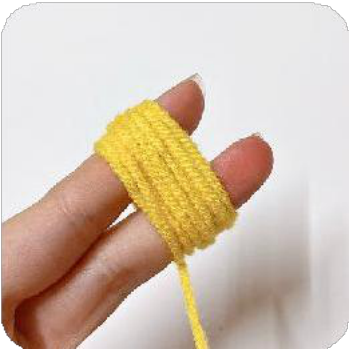
To create the yellow pistils for your lilies:
- Wrap yellow yarn around two fingers about 10 times.
- Use a piece of wire to secure the middle of the wrapped yarn.
- With scissors, cut the loops on both sides, separating the strands.
- Trim the yarn to even out the pistil strands for a uniform look.
- Attach the finished pistil to the center of each white flower.
- Wrap green yarn around the excess wire extending from the pistil to create a stem. Cut the yarn once the wire is covered.