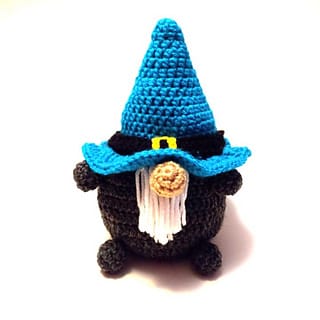
Adorable Crochet Gnome Container Free Pattern
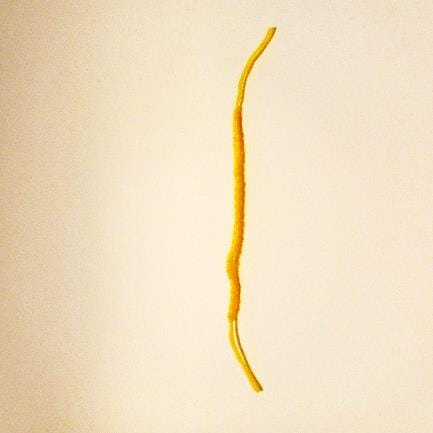
Step 3: Nose (Beige)
- Rounds 1–2: 6 sc in a magic ring, increase to 12 sc.
- Rounds 3–4: Work even (12 sc).
- Round 5: Decrease to 6 sc, sew to the hat.

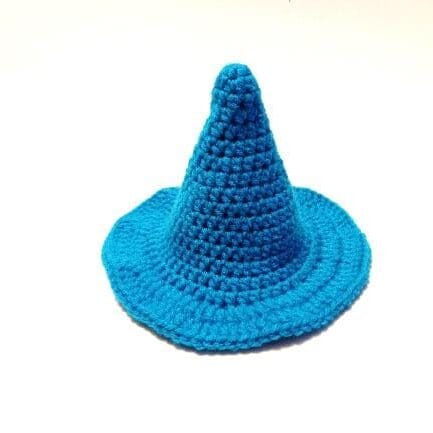
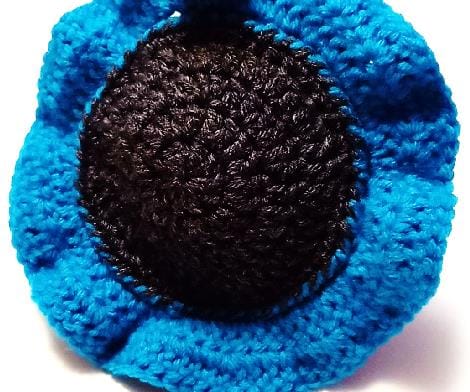
Step 4: Hat (Blue)
- Rounds 1–16: Increase gradually to form a cone (48 sts by Round 16).
- Rounds 17–18: Switch to front loops only, increase to 96 sts for a flared brim.

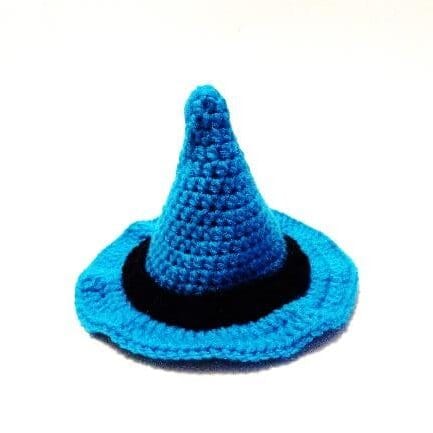
Step 5: Belt & Buckle (Black & Yellow)
- Belt: Chain 50, dc into each chain (48 sts). Sew into a loop and attach to the hat.
- Buckle: Chain 30, sew onto the belt in a square shape.
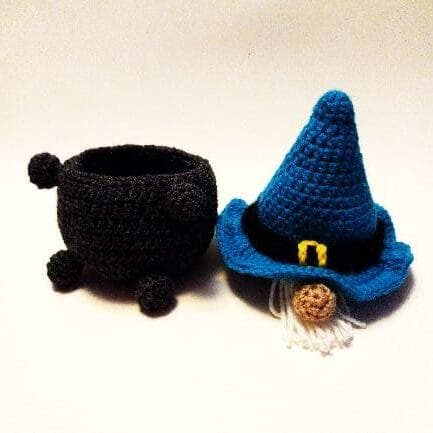
Assembly Instructions
- Attach Limbs: Sew arms and legs to the sides of the container.
- Assemble Hat: Sew the nose to the hat, then attach the hat to the container’s rim.
- Final Touches: Stuff the hat lightly and secure all ends.
Helpful Tips for Beginners
- Magic Ring Tip: If struggling, chain 2 and work stitches into the first chain.
- Stuffing: Use small amounts at a time to avoid lumps.
- Joining: Whip stitch or slip stitch seams for durability.
Conclusion
Your Gnome Container is complete!
Whether used for storage or as a cheerful decor piece, this little gnome is sure to brighten your day. Happy crocheting, and don’t forget to share your makes
Pages: 1 2