Adorable Crochet Bunny Amigurumi Pattern: Step-by-Step Tutorial
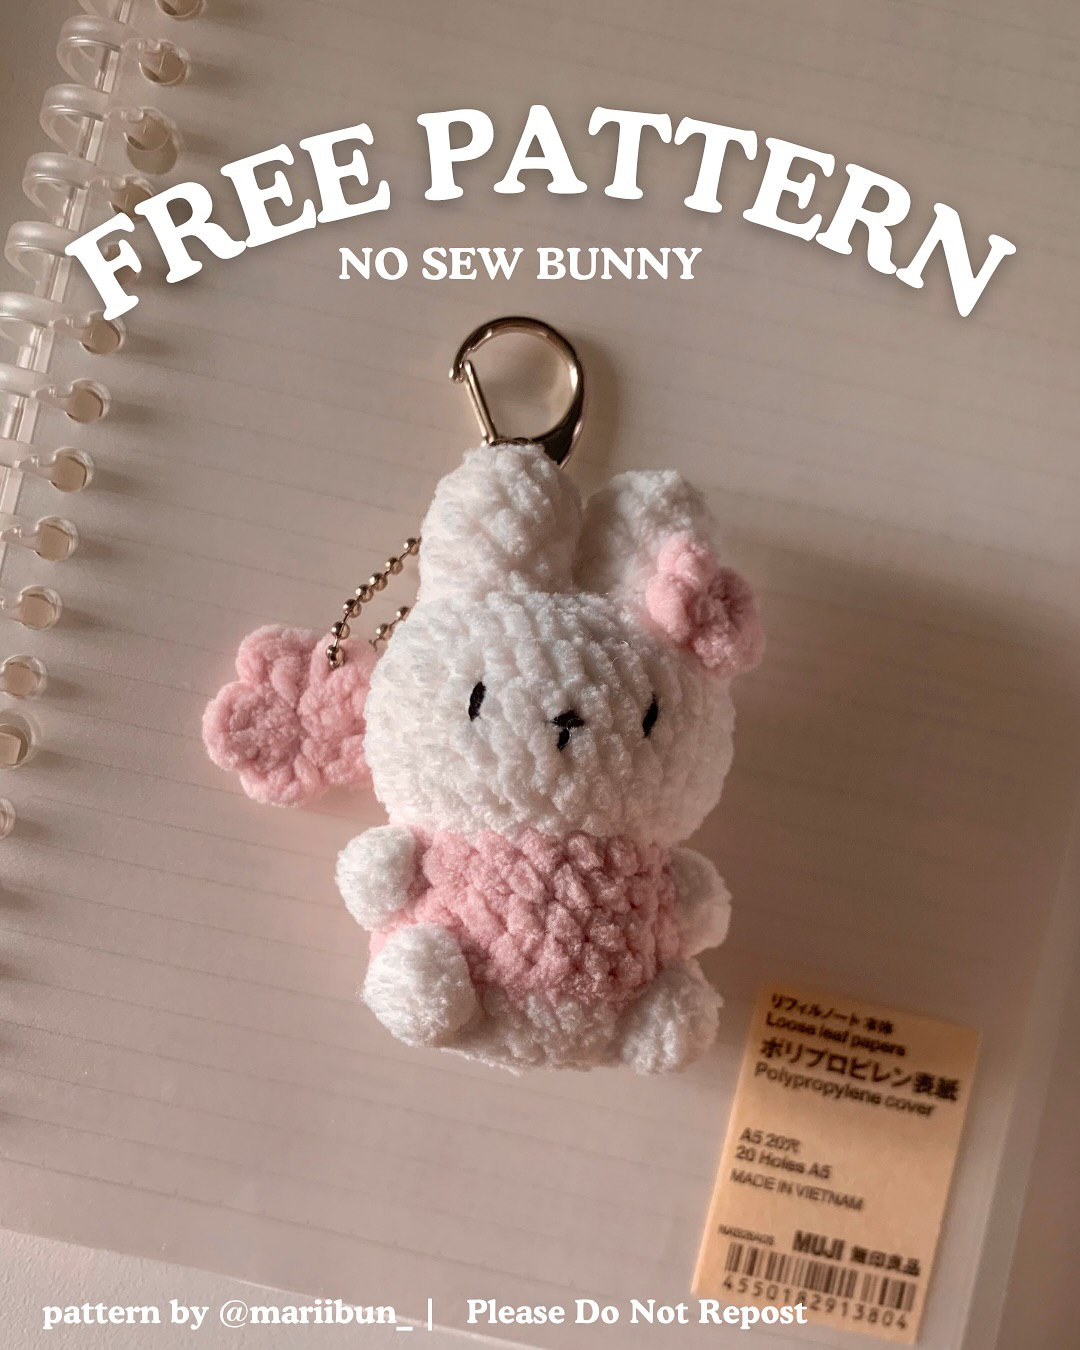
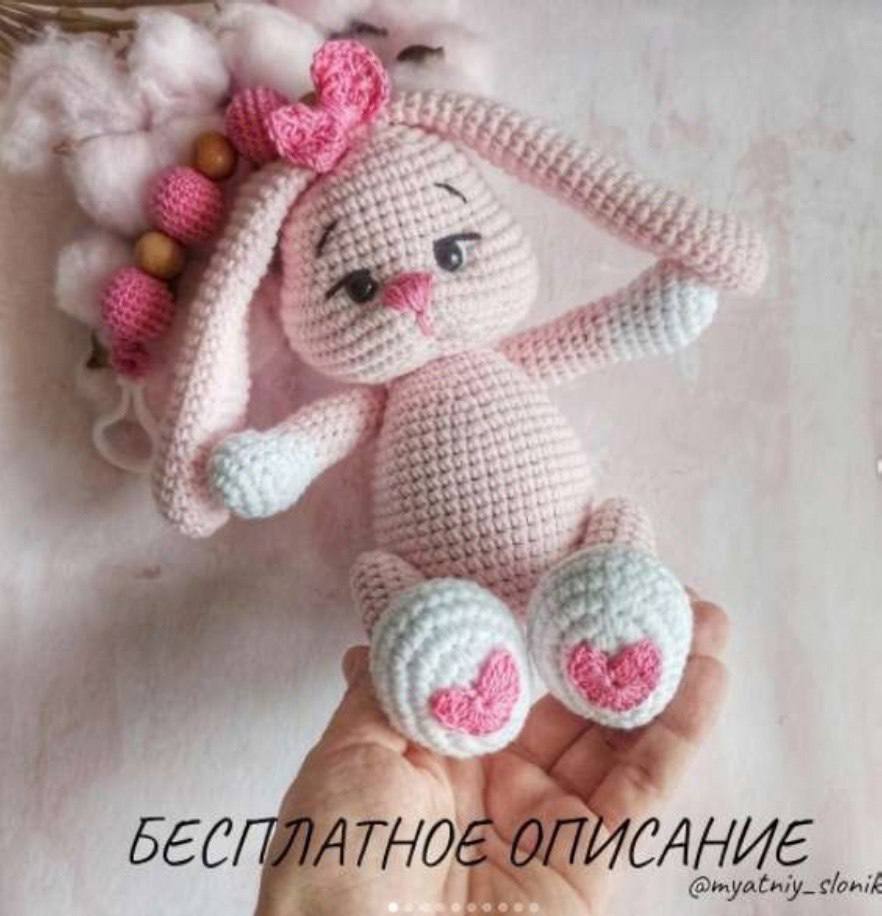
Looking for a heartwarming project to add to your crochet collection? This adorable crochet bunny amigurumi is the perfect companion for beginners and experienced makers alike. With its oversized, floppy ears and an endearing expression, this bunny makes a wonderful handmade gift for baby showers, birthdays, or just a cozy addition to a nursery.
In this tutorial, we will walk you through every stitch needed to create this sweet long-eared friend. We have converted the original instructions into US crochet terms and imperial measurements to make it as easy as possible for you to follow along. Let’s grab our hooks and get started!
Materials & Abbreviations
To create a bunny approximately 5.5 inches tall (without ears) and about 10.6 inches tall including the ears, you will need the following materials:
- Yarn: Sport weight cotton blend yarn (such as YarnArt Jeans) in Main Color (Grey or Beige), White, and a small amount of Pink for the heart details and nose.
- Crochet Hooks: 2.0mm (for the body and head) and 2.5mm (for the ears).
- Safety Eyes: 8mm safety eyes.
- Stuffing: High-quality polyester fiberfill.
- Optional: A 1-inch (2.5cm) plastic head joint for a movable head.
- Tools: Embroidery thread (pink, black, and brown) for facial details, a long yarn needle for assembly and sculpting, and scissors.
Abbreviations (US Terms)
- MR: Magic Ring
- sc: Single Crochet
- inc: Increase (2 sc in one stitch)
- dec: Decrease (sc 2 together)
- ch: Chain
- sl st: Slip Stitch
- st(s): Stitch(es)
Pro Tip: This pattern mentions a “shift stitch.” This is simply a single crochet worked into the first stitch of a round that does not count toward the total stitch count. It is used to align the pattern perfectly.
Step-by-Step Instructions
The Head
Using the main color and a 2.0mm hook:
- Round 1: 6 sc in MR (6)
- Round 2: inc * 6 (12)
- Round 3: (1 sc, inc) * 6 (18)
- Round 4: (2 sc, inc) * 6 (24)
- Round 5: (3 sc, inc) * 6 (30)
- Round 6: (4 sc, inc) * 6 (36)
- Round 7: (11 sc, inc) * 3 (39)
- Round 8: (12 sc, inc) * 3 (42)
- Rounds 9-12: sc in each st around (42)
- Round 13: inc, 8 sc, 8 inc, 7 sc (place a marker in the center stitch of these seven—this is the center of the muzzle), 8 inc, 8 sc, inc, 1 sc (60)
- Rounds 14-19: sc in each st around (60)
Safety Eye Placement: Insert the safety eyes between rounds 12 and 13, spaced 7 stitches apart, centered around the muzzle marker.
- Round 20: (1 sc, dec) * 20 (40)
- Round 21: (2 sc, dec) * 10 (30)
Start stuffing the head firmly with fiberfill.
- Round 22: (3 sc, dec) * 6 (24)
- Round 24: (1 sc, dec) * 6 (12)
- Round 25: dec * 6 (6)
Fasten off. If using a head joint, pull the closing hole tight around the joint screw. Hide the yarn tail inside the head.
The Body
The body is worked from the top down using the main color:
- Round 1: 6 sc in MR (6). If using a head joint, leave the ring loose enough to fit the screw.
- Round 2: inc * 6 (12)
- Round 3: (1 sc, inc) * 6 (18)
- Round 4: (2 sc, inc) * 6 (24)
- Round 5: (7 sc, inc) * 3 (27)
- Round 6: 3 sc, inc, (8 sc, inc) * 2, 5 sc (30)
- Round 7: (9 sc, inc) * 3 (33)
At this point, attach the body to the head by securing the joint screw with the cap.
- Round 8: 4 sc, inc, (10 sc, inc) * 2, 6 sc (36)
- Round 9: (11 sc, inc) * 3 (39)
- Round 10: 5 sc, inc, (12 sc, inc) * 2, 7 sc (42)
- Round 11: 12 sc, 2 inc, 28 sc (44)
- Round 12: 13 sc, 2 inc, 29 sc (46)
- Round 13: 14 sc, 2 inc, 30 sc (48)
- Rounds 14-21: sc in each st around (48)
- Round 22: 2 sc, dec, (6 sc, dec) * 5, 4 sc (42)
- Round 23: (5 sc, dec) * 6 (36)
Begin stuffing the body.
- Round 24: 1 sc, dec, (4 sc, dec) * 5, 3 sc (30)
- Round 25: (3 sc, dec) * 6 (24)
- Round 26: (2 sc, dec) * 6 (18)
- Round 27: (1 sc, dec) * 6 (12)
- Round 28: dec * 6 (6)
Fasten off and weave in ends.
The Ears (Make 2)
Switch to the 2.5mm hook and main color. Work with a looser tension to give the ears a natural drape:
- Round 1: 6 sc in MR (6)
- Round 2: inc * 6 (12)
- Round 3: (1 sc, inc) * 6 (18)
- Round 4: (8 sc, inc) * 2 (20)
- Round 5: 1 sc, inc, 9 sc, inc, 8 sc (22)
- Rounds 6-9: sc in each st around (22)
- Round 10: (dec, 9 sc) * 2 (20)
- Rounds 11-13: sc in each st around (20)
- Round 14: (dec, 8 sc) * 2 (18)
- Rounds 15-17: sc in each st around (18)
- Round 18: (dec, 7 sc) * 2 (16)
- Rounds 19-23: sc in each st around (16)
- Round 24: (dec, 6 sc) * 2 (14)
- Rounds 25-29: sc in each st around (14)
- Round 30: (dec, 5 sc) * 2 (12)
- Rounds 31-37: sc in each st around (12)
Fasten off, leaving a long tail for sewing.
The Legs (Make 2)
Start with white yarn:
- Foundation: ch 6, work in 2nd ch from hook.
- Round 1: inc, 3 sc, 4 sc in one st, 4 sc (13)
- Round 2: 2 inc, 2 sc, 6 inc, 2 sc, inc (22)
- Round 3: (1 sc, inc) * 2, 2 sc, (1 sc, inc) * 6, 3 sc, inc (31)
- Rounds 4-6: sc in each st around (31)
- Round 7: dec, 29 sc (30)
- Round 8: 7 sc, 8 dec, 7 sc (22)
- Round 9: 7 sc, 4 dec, 7 sc (18)
- Round 10: 7 sc, 2 dec, 7 sc (16)
- Round 11: 7 sc, dec, 7 sc (15)
Switch to the main color:
- Rounds 12-18: sc in each st around (15)
- Round 19: (3 sc, dec) * 3 (12)
- Round 20: dec * 6 (6)
Fasten off and weave in ends.
The Arms (Make 2)
Start with white yarn:
- Round 1: 6 sc in MR (6)
- Round 2: inc * 6 (12)
- Round 3: (3 sc, inc) * 3 (15)
- Rounds 4-5: sc in each st around (15)
- Round 6: dec, 2 sc, dec, 9 sc (13)
- Round 7: 2 dec, 9 sc (11)
- Round 8: dec, 9 sc (10)
Switch to main color:
- Rounds 9-17: sc in each st around (10)
- Round 18: dec * 5 (5)
Fasten off and weave in ends.
The Tail
Using white yarn:
- Round 1: 6 sc in MR (6)
- Round 2: inc * 6 (12)
- Round 3: (1 sc, inc) * 6 (18)
- Round 4: dec * 9 (9)
Fasten off, leaving a tail for sewing. Stuff lightly.
Finishing & Assembly
Sculpting the Face
To give your bunny that professional “amigurumi” look, we will use a needle and thread to sculpt the face. Using pink embroidery thread, create a small nose in the center of the muzzle. To create a sweet mouth, pull the thread from the center of the mouth up through the head and back down to the corners of the mouth, pulling gently to create a small indent.
Final Assembly
- Ears: Sew the ears to the top of the head, angled slightly toward each other. For a cute look, pinch the tops of the ears together and sew a small stitch to keep them shaped.
- Legs: Attach the legs between rounds 10 and 11 of the body (counting from the bottom up).
- Arms: Attach the arms between rounds 23 and 24 of the body (counting from the bottom up).
- Tail: Sew the tail to the back of the body between rounds 10 and 13 (counting from the bottom).
- Blush: For an extra cute touch, use a little pink blush or pink yarn to add a soft tint to the cheeks.
Tips for Success
- Tension is Key: To ensure your stuffing doesn’t show through, keep your stitches tight. However, remember to keep the ears loose as instructed so they hang naturally.
- Invisible Decreases: For a smoother look, use the “invisible decrease” method (working in the front loops only of the next two stitches).
- Stuffing: Stuff the body firmly, especially the neck area, to ensure the bunny can sit upright.
- Customization: Feel free to experiment with colors! A soft blue or mint green bunny is just as cute as a classic grey one.