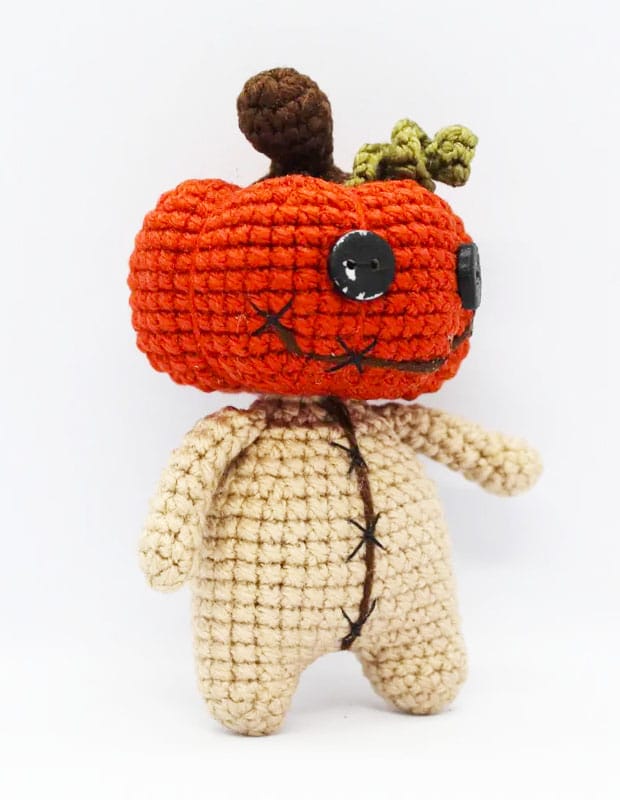
Adorable Crochet Little Pumpkin Doll
Hello, crochet friends! 🎃 Get ready to create the cutest Little Pumpkin Doll—a perfect project for Halloween, autumn décor, or a sweet handmade gift.
This beginner-friendly pattern is designed to be quick (just about 1 hour!) and uses basic stitches like single crochet (sc) and magic rings.
With its tiny arms, leafy stem, and pumpkin-shaped head, this doll is bursting with charm. Whether you’re new to crochet or looking for a fun seasonal project, this little pumpkin will bring a smile to your face.
Let’s dive in
Materials Needed
- Yarn (DK weight):
- Orange (for the pumpkin head)
- Beige (for the body, arms, and legs)
- Brown (for the stalk)
- Green (for the leaf)
- Hook: Size 3mm (or size needed to match gauge)
- Other Supplies:
- Tapestry needle
- Scissors
- Fiberfill stuffing
- Two black buttons (for eyes)
- Stitch marker
Abbreviations & Notes
Abbreviations:
- ch = chain
- sc = single crochet
- hdc = half double crochet
- dc = double crochet
- sl st = slip stitch
- mr = magic ring
- inc = increase (2 sc in one stitch)
- dec = decrease (sc two stitches together)
Notes:
- Stuff the body and head firmly as you go to avoid gaps.
- Use stitch markers to keep track of rounds.
- The magic ring is key for a tight start—check out tutorials if you’re new to it!
Crochet Pattern Instructions
Step 1: Arms (Make 2)
- Round 1: With beige yarn, make a magic ring and work 6 sc into it. Pull tight. (6 sc)
- Rounds 2–8: Sc in each stitch around (6 sc per round). Fasten off after Round 8.
Step 2: Legs (Make 2)
- Round 1: With beige yarn, make a magic ring and work 6 sc into it. (6 sc)
- Round 2: 1 sc, 1 inc around (9 sc).
- Round 3: 2 sc, 1 inc around (12 sc).
- Round 4: Sc in each stitch around (12 sc).
- For the second leg only: Do not fasten off—continue to the body.
Step 3: Body & Head
- Round 5 (Join Legs): Chain 3, then work 12 sc into the first leg, 3 sc into the chain space, 12 sc into the second leg, and 3 sc into the chain space. (30 sc)
- Rounds 6–13: Sc in each stitch around (30 sc per round). Start stuffing here!
- Round 14: 3 sc, 1 dec around (24 sc).
- Round 15: Sc in each stitch around (24 sc).
- Round 16: 2 sc, 1 dec around (18 sc).
- Round 17 (Attach Arms): Work 3 sc (body), 3 sc (through body + arm), 6 sc (body), 3 sc (body + arm), 3 sc (body). (18 sc)
- Rounds 18–20: Follow pattern to decrease to 12 sc.
- Switch to Orange Yarn:
- Rounds 21–26: Increase stitches to shape the pumpkin head (up to 48 sc).
- Rounds 27–33: Sc in each stitch around (48 sc).
- Rounds 34–40: Decrease stitches to close the head. Stuff firmly before closing.
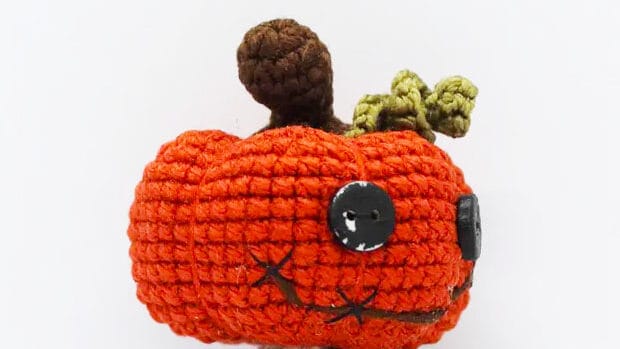
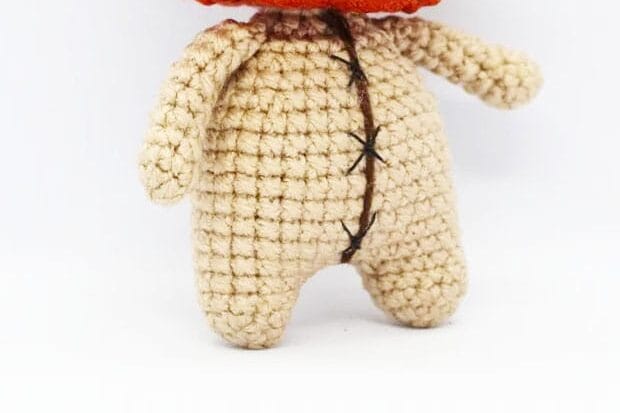
Pumpkin Texture: Use yarn tails to create ridges by stitching lines from the magic ring to the neck.
Step 4: Stalk & Leaf
- Stalk (Brown Yarn):
- Work 6 sc in a mr, increase to 9 sc, then decrease back to 6 sc. Leave a long tail to sew onto the head.
- Leaf (Green Yarn):
- Chain 15, then work 3 sc into each chain from the second ch. Sew onto the stalk.
Assembly Instructions
- Sew the arms to the sides of the body (Round 17).
- Attach the stalk to the top of the pumpkin head.
- Sew the leaf onto the stalk.
- Add black buttons for eyes (or embroider them with yarn).
Helpful Tips for Beginners
- Magic Ring Hack: If the magic ring is tricky, chain 2 and work stitches into the first chain.
- Stuffing: Use small amounts at a time to avoid lumps.
- Counting Stitches: Place a marker in the first stitch of each round to avoid losing track.
Closing Paragraph
Ta-da! Your adorable Little Pumpkin Doll is complete. 🧡 This tiny Halloween buddy is perfect for decorating your space, gifting, or even as a playful keychain. I hope you enjoyed making it as much as I loved designing the pattern