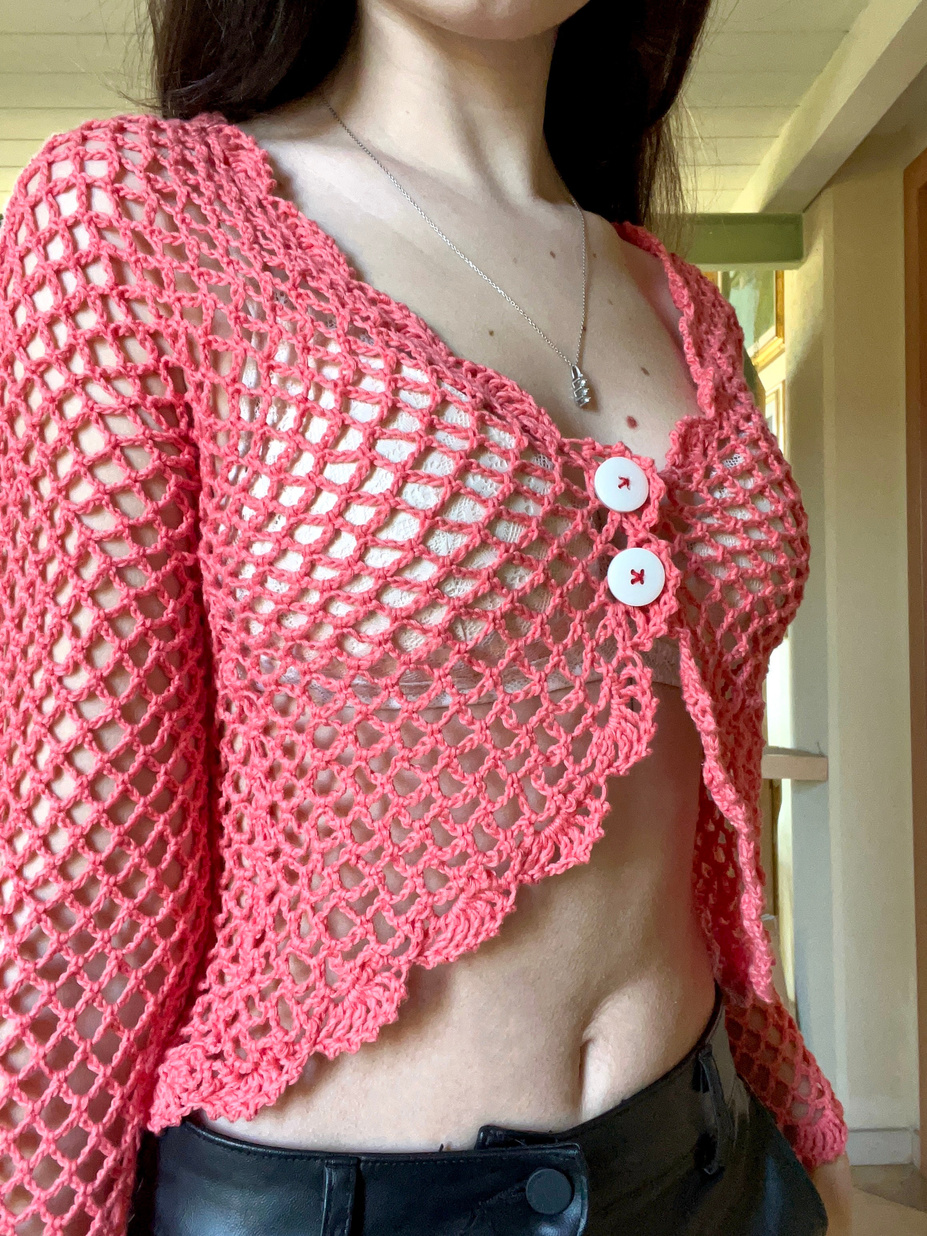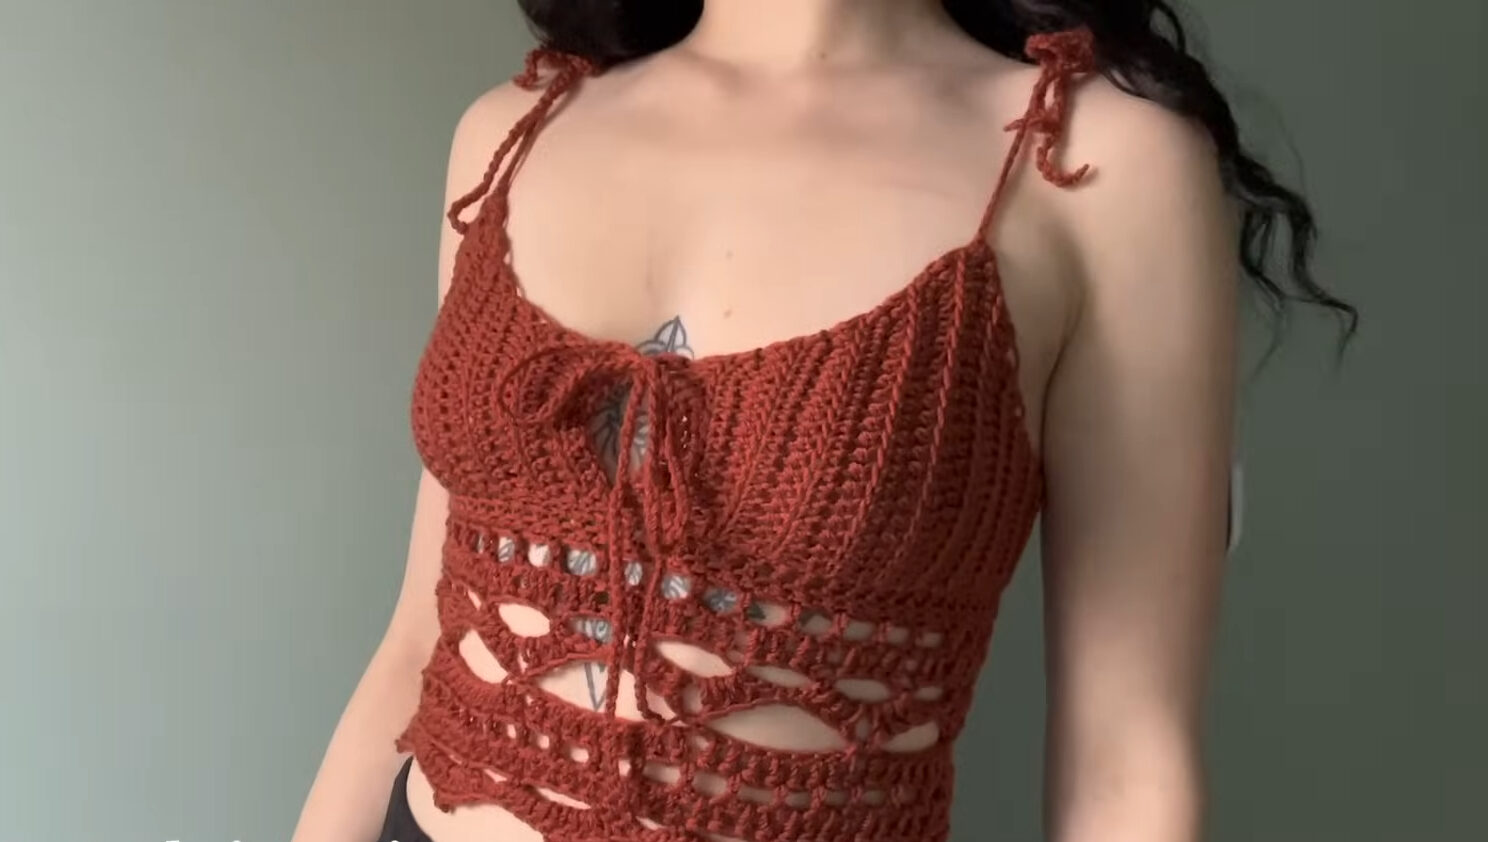
The Lilith Top: A Romantic Crochet Corset Tutorial for All Sizes
How to Make a Double Crochet Foundation Chain:
- Make a slip knot and ch 3
- Yarn over, insert hook into the very first chain you made, yarn over, pull up a loop
- Yarn over, pull through one loop (this makes a chain)
- Yarn over, pull through two loops, yarn over, pull through two loops – you’ve made your first dc!
- Now work into that chain-1 you just made:
- Yarn over, insert hook into that chain-1, pull up a loop
- Yarn over, pull through one (chain)
- Yarn over, pull through two, yarn over, pull through two
- Repeat step 5 until your foundation row reaches your desired length
Pro tip: As your foundation chain gets longer, you’ll notice the stitches forming on the side. Keep going until you reach your multiple-of-8 stitch count!
Check the Stretch!
Once you’ve finished your foundation row, gently stretch it. It should:
- Fit snugly around your underbust when relaxed
- Stretch comfortably to your widest bust measurement
Connect the Foundation Row
- Flatten your work, making sure it’s not twisted
- The tail where you began is the bottom of the stitch – connect on the opposite side
- Insert your hook into the third chain (from the beginning), sl st to connect
- Ch 1, turn your work
- Sc all the way around – maintain your multiple of 8!
- When you reach the end, sl st into the very first sc you made
Don’t worry about that little slit – we’ll fix it later. I promise, it’s all part of the plan!
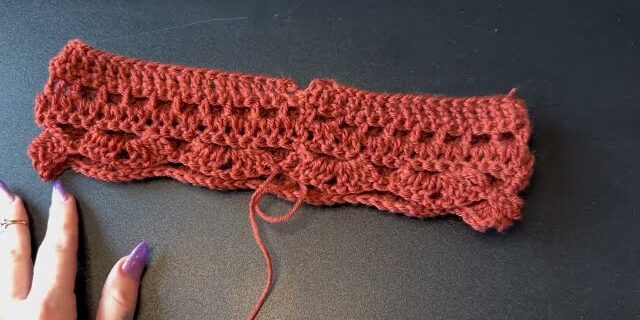
You should now have a cute little “spaghettio” ring – not an infinity scarf!
Part 2: The Lace Pattern (Torso Section)
Row 2: Double Crochet & Chain Spaces
- Ch 1, turn your work
- Stacked double crochet: Start in the first stitch (where you slip stitched)
- Work 1 sc, then re-insert hook into the front loop of that sc and work another sc
- This creates a stacked dc!
- Ch 1, skip the next stitch, dc into the stitch after that
- Repeat: (ch 1, skip 1, dc) all the way around
- Connect with sl st to the top of your stacked dc
Row 3: Double Crochets Only
- Ch 1, turn your work
- Stacked dc into that same stitch
- Dc into every chain space and every dc from the previous row
- Your stitch count should remain consistent (still a multiple of 8!)
- Connect with sl st to the top of your stacked dc
Row 4: Chain Spaces (The “Netting” Row)
- Ch 1, turn your work
- Leave 1 sc in that very first stitch
- Ch 5, skip the next 3 stitches, sc into the 4th stitch
- Repeat: (ch 5, skip 3, sc) all the way around
- At the end with 3 stitches left, ch 5, skip them, and sl st into the very first sc of the row
Row 5: Open Shell Stitches
- Ch 1, turn your work
- Sl st into the first two chains of your ch-5 space
- Sc into the third chain
- Reach over to the next ch-5 space:
- Work 3 dc into that space
- Ch 2
- Work 3 more dc into the same space
- Reach over to the next ch-5 space and sc into it
- Repeat: (3 dc, ch 2, 3 dc in one ch-5 space, sc in next ch-5 space) all the way around
- Connect with sl st into that first sc
Row 6: Long Chains (The “Bridge” Row)
- Ch 1, turn your work
- Sl st into the first three dc of your shell stitch
- Sc into the ch-2 space
- Ch 7 LOOSELY (do not chain tightly!)
- Reach to the next open shell stitch and sc into its ch-2 space
- Repeat: (ch 7 loosely, sc into next ch-2 space) all the way around
- Connect with sl st into that first sc
Row 7: Double Crochets on the Chains
- Ch 1, turn your work
- Stacked dc into that same stitch
- Dc into each chain (not just under the chain – into the chain itself!)
- You’ll work 7 dc along each ch-7
- Continue: (7 dc on chain, dc into the sc on top of the shell) all the way around
- Connect with sl st to the top of your stacked dc

The Pattern Repeats
From here, we simply repeat Rows 2-7 for the desired length of your torso section:
- Row 8: Repeat Row 2 (dc & ch spaces)
- Row 9: Repeat Row 3 (dc only)
- Row 10: Repeat Row 4 (ch 5 spaces)
- Row 11: Repeat Row 5 (open shell stitches)
- Row 12: Repeat Row 6 (ch 7 loosely)
- Row 13: Repeat Row 7 (dc on chains)
For the tutorial example, the torso section ends after completing the open shell stitches one final time.
The Final Row (Special Picot Shells)
For your last row, we’re adding a beautiful picot edge
- Ch 1, turn your work
- Sl st into the first two chains of your ch-5 space, sc into the third chain
- Reach to the next ch-5 space and work 4 dc into it
- Picot stitch: Ch 3, sl st into the top of the dc you just made
- Work 4 more dc into the same ch-5 space
- Reach to the next ch-5 space and sc into it
- Repeat: (4 dc, picot, 4 dc in one space, sc in next space) all the way around
- Connect with sl st into the first sc
- Pull up a long loop, cut your yarn, and weave in the end
Try it on! This is probably going to be a little tight – but it’s supposed to be! Make sure it can go over your bust (one shoulder at a time if needed).
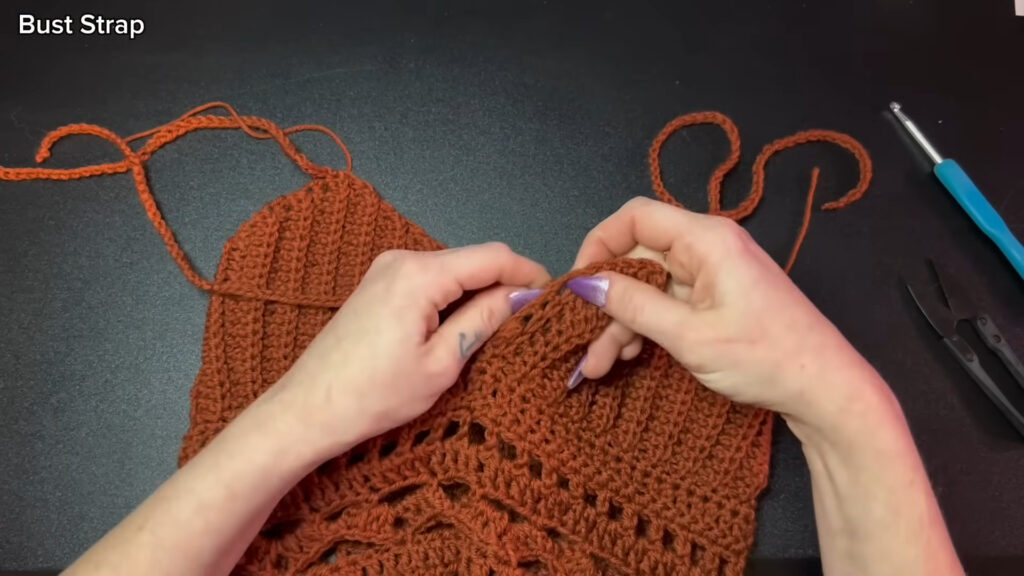
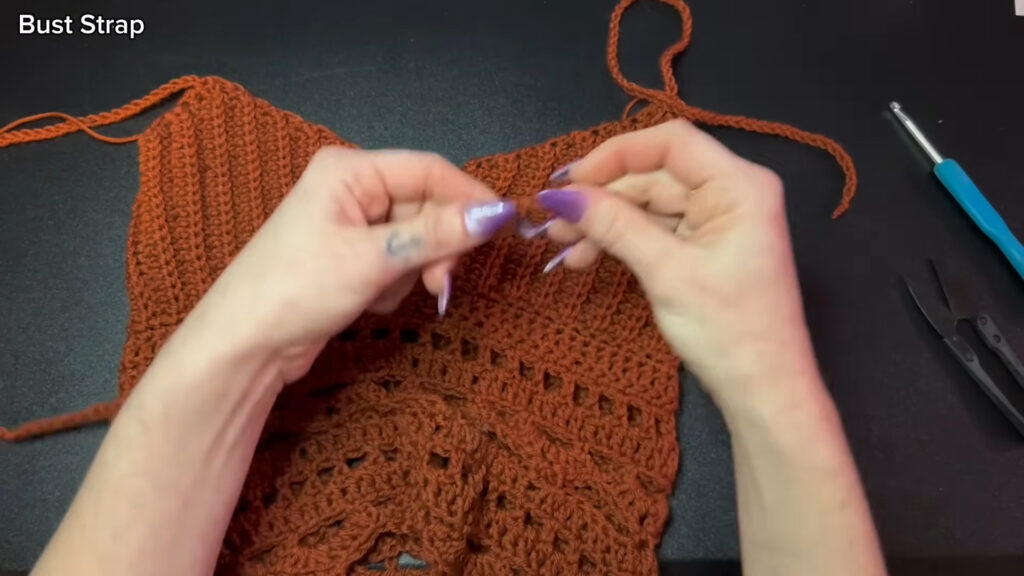
Part 3: Measuring for the Bust Section
Since our yarn is detached, we’ll use it to take a measurement:
- Make a chain from the bottom of your bust to the highest point you want the top to stop (where your straps will sit)
- Count how many chains this takes
- Write this number down – we’ll call it your Bust Height Number
- Unravel the chain
*For the tutorial example: Bust Height Number = 22 chains*
Part 4: The Bust Section & Ribbing