The Brothers Grim Amigurumi Pattern: A Spooky-Cute Crochet Project
Materials Needed
- Crochet Hook: 5.5 mm (US I/9)
- Yarn Needle
- Scissors
- Fiberfill Stuffing
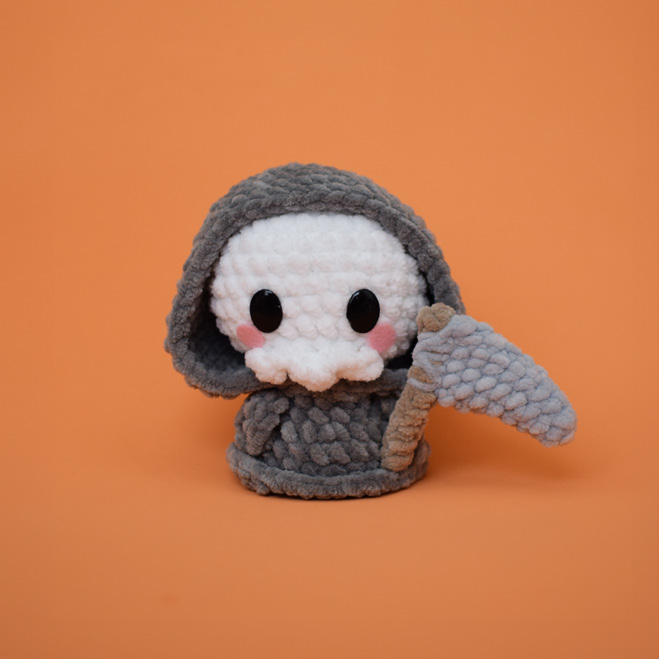
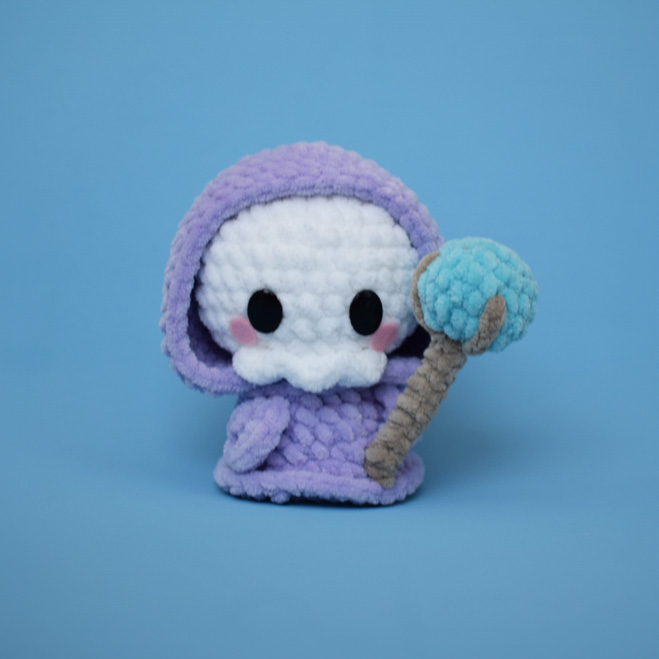
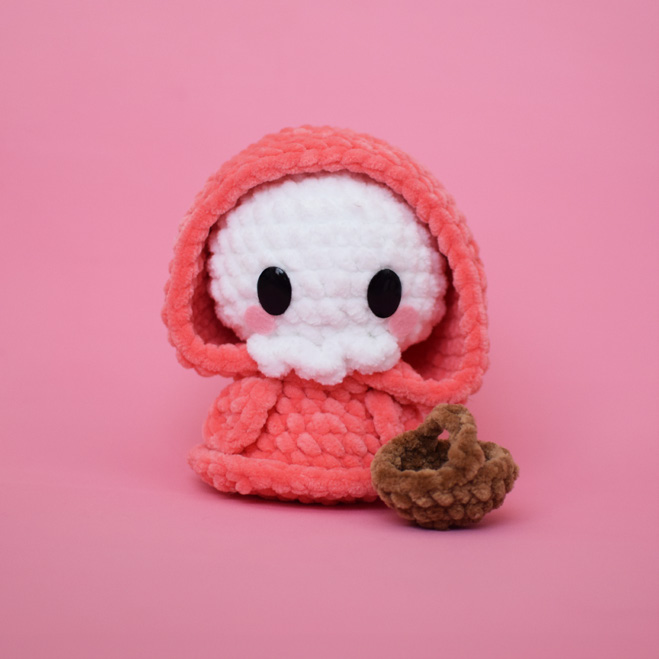
- Safety Eyes: 18mm Black Oval Eyes
- Straight Pins
- Pipe Cleaners: (2) for reinforcing the accessories.
- Felt: Pink for blush details and other small details (optional).
- Glue: For attaching felt details.
Yarn & Color Palette
The sample was made with Premier Parfait Chunky (#6 Super Bulky) in these lovely colors:
- White: For the head and teeth.
- Seal, Lilac, or Coral: For the hood, body, and hands (choose one for the main color!).
- Teddy Bear: For the basket.
- Torree: For the handle of the scythe and staff.
- Turquoise: For the magic ball on the staff.
- Cloudy Day: For the scythe blade.
Abbreviations (US Terms)
- sc: Single crochet
- hdc: Half double crochet
- dc: Double crochet
- trc: Treble crochet
- slst: Slip stitch
- ch: Chain
- inc: Increase (2 sc in the same stitch)
- dec: Decrease (sc two stitches together)
- BLO: Back loop only
- FLO: Front loop only
- Rnd(s): Round(s)
- (-) x #: Repeat the instructions inside the parentheses # number of times
- [ ]: Stitch count at the end of the round
The Pattern
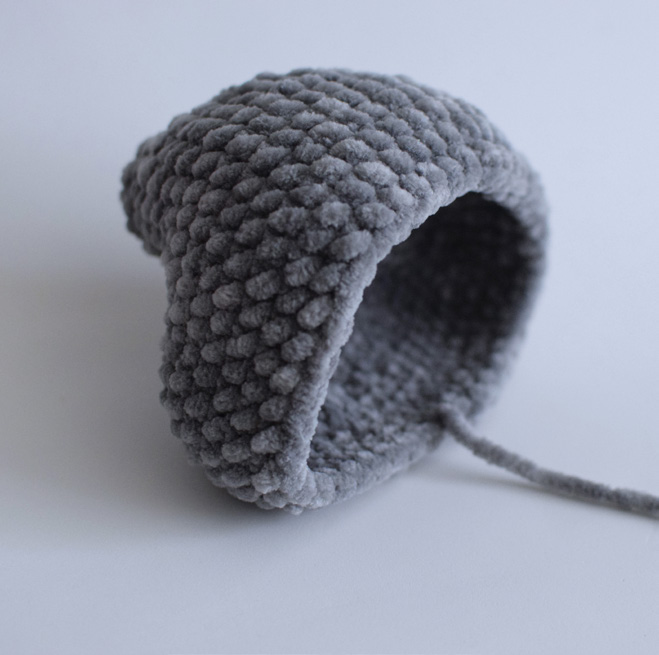
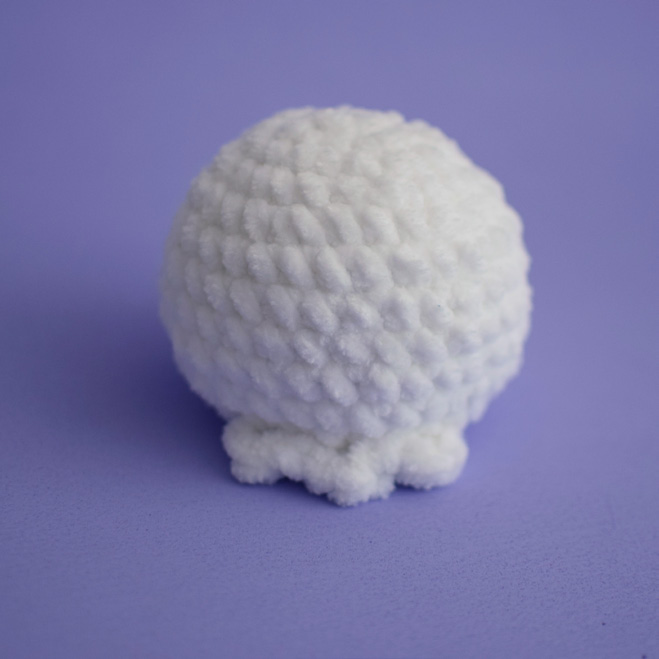
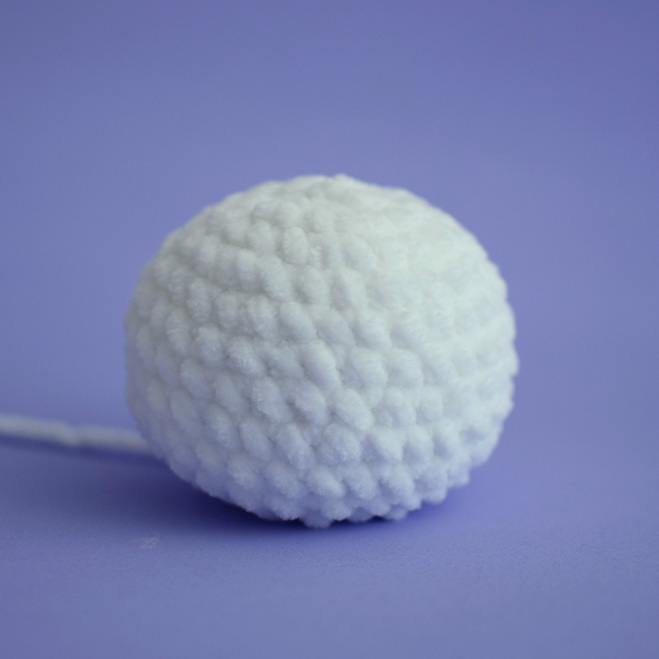
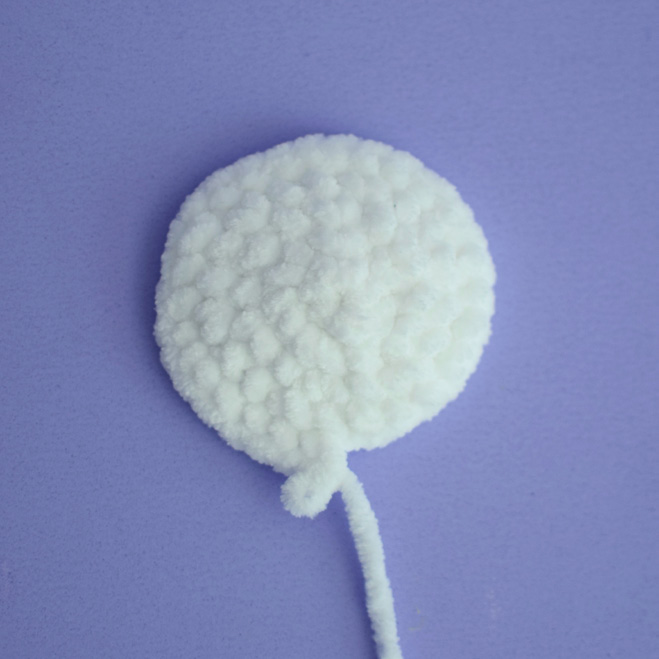
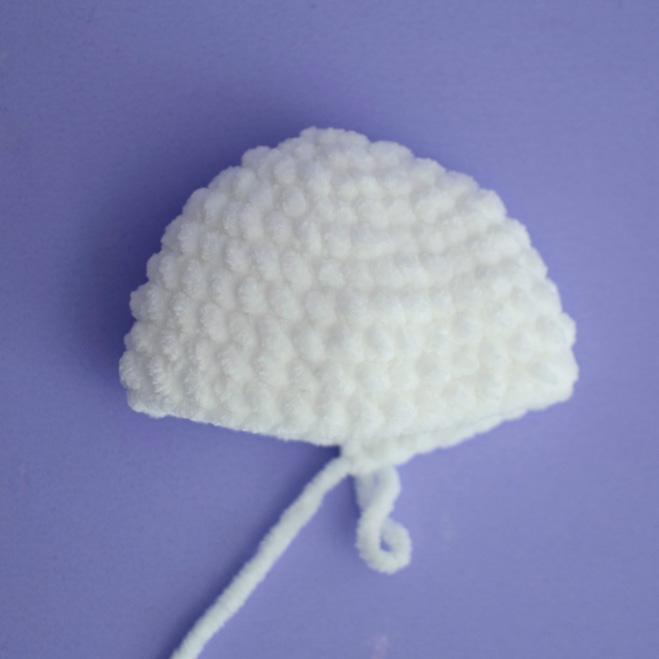
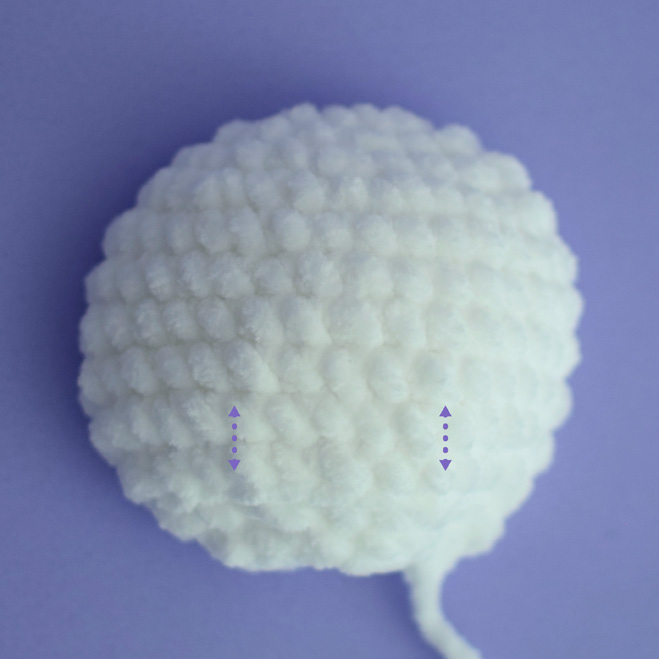
Head (in White)
- Rnd 1: 6 sc into a magic ring. [6]
- Rnd 2: 6 inc. [12]
- Rnd 3: (1 sc, 1 inc) around. [18]
- Rnd 4: 1 sc, 1 inc, (2 sc, 1 inc) 5 times, 1 sc. [24]
- Rnd 5: (3 sc, 1 inc) around. [30]
- Rnds 6-10: 1 sc in each stitch around. [30 per round]
- Rnd 11: (3 sc, 1 dec) around. [24]
- Rnd 12: 1 sc, 1 dec, (2 sc, 1 dec) twice. Now, work into the BLO only for the next 6 stitches: (2 sc, 1 dec, 2 sc). Return to working through both loops: 1 dec, 2 sc, 1 dec, 1 sc. [18]
- Rnd 13: (1 sc, 1 dec) around. [12]
- Place Eyes: Attach the safety eyes between Rnds 9 & 10, with 4 stitches between them.
- Fasten off, leaving a long tail. Use the tail to close the opening by weaving the needle through the front loops of the last round. Pull tight to close. Stuff the head firmly before it’s completely closed.