Rose Crochet Top Pattern
Materials
To create your beautiful crochet rose motifs, gather the following essential materials:
- Yarn A: 1 ball (100g) of Cotton blend yarn, light fingering weight. Choose a color that evokes the beauty of a fresh rose for your project.
- Hook: 2.5 mm crochet hook. This size is recommended to achieve the specified gauge and create a delicate motif.
- Tapestry Needle: Essential for weaving in ends neatly and for assembling your rose motifs.
- Scissors: For cutting yarn and tidying up your work.
Abbreviations
Familiarize yourself with these standard crochet abbreviations used throughout the pattern:
- ch: chain
- sc: single crochet
- dc: double crochet
- sl st: slip stitch
- st(s): stitch(es)
- rep: repeat
- rnd: round
- FO: fasten off
Gauge
Achieving the correct gauge is crucial for your finished project to match the intended size and drape. Using your 2.5 mm crochet hook, your swatch should measure:
- 24 sc and 28 rows = 4 inches (10 cm)
If your swatch is larger, try using a smaller hook size. If your swatch is smaller, switch to a larger hook. Adjusting your hook size ensures your handmade roses will be just right.

Finished Size
When completed, each individual rose motif will have an approximate diameter of 18 cm. This pattern creates a versatile size perfect for various decorative uses or as part of a larger crochet project.
Crochet Instructions: Rose Motif
You will need to create three identical rose motifs. Follow these detailed, step-by-step instructions carefully for each one.
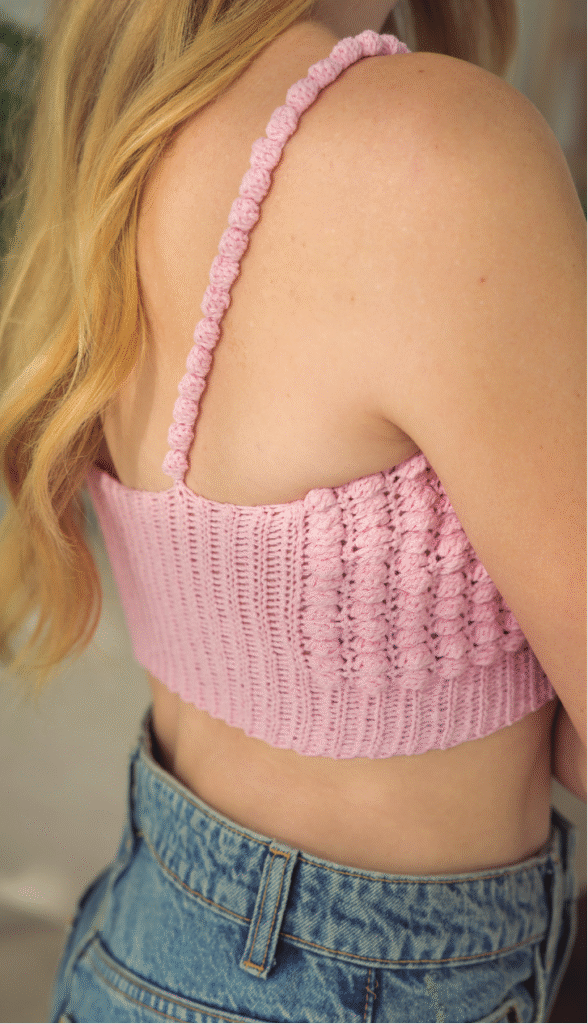
Center (Rnd 1-3)
Begin by creating the solid center of your rose.
- Rnd 1: Ch 2. Work 6 sc into the 2nd chain from your hook. Join with a sl st to the first sc to form a small ring. (You should now have 6 single crochet stitches).
- Rnd 2: Ch 1 (does not count as a stitch). Work 2 sc into each sc around. Join with a sl st to the first sc. (This increases your stitch count to 12 sc).
- Rnd 3: Ch 1. Work *sc in the next sc, then 2 sc in the next sc*. Repeat from * to * around the entire round. Join with a sl st to the first sc. (You should now have 18 sc, setting the base for your petals).
Petals (Rnd 4-5)
Now, let’s create the beautiful, layered petals that give the rose its distinct look.
- Rnd 4: Ch 2 (this counts as your first dc). Work 1 dc in the same stitch. Work 2 dc in the next stitch. Then, *sl st in the next stitch, ch 2, 2 dc in the same stitch, and 2 dc in the next stitch*. Repeat from * to * 5 more times to create a total of 6 petals. Finish by sl st to the first sl st of the round.
- Rnd 5: Ch 1. Work *[sc, ch 1, sc] in the next dc, skip 1 dc, then sl st in the next sl st*. Repeat from * to * 6 times around all the petals. Fasten off (FO) your yarn after the last repeat, leaving a tail for weaving.
Repeat these steps to create a total of three complete rose motifs.
Assembly & Finishing
Once you have crocheted all three rose motifs, it’s time to bring them together to complete your project.
- Arrange Motifs: Lay out your three rose motifs in a triangular shape, allowing them to slightly overlap at their edges. This creates a cohesive and beautiful arrangement.
- Sew Together: Using your tapestry needle and a length of your yarn (or a coordinating thread), carefully sew the overlapping edges of the motifs together. Stitch discreetly through the back loops of the stitches to ensure the seams are invisible from the front. Securely fasten your stitches.
- Weave in Ends: With your tapestry needle, meticulously weave in all remaining loose yarn ends into the back of your crochet work. This creates a neat and professional finish, preventing unraveling. Trim any excess yarn close to the fabric.
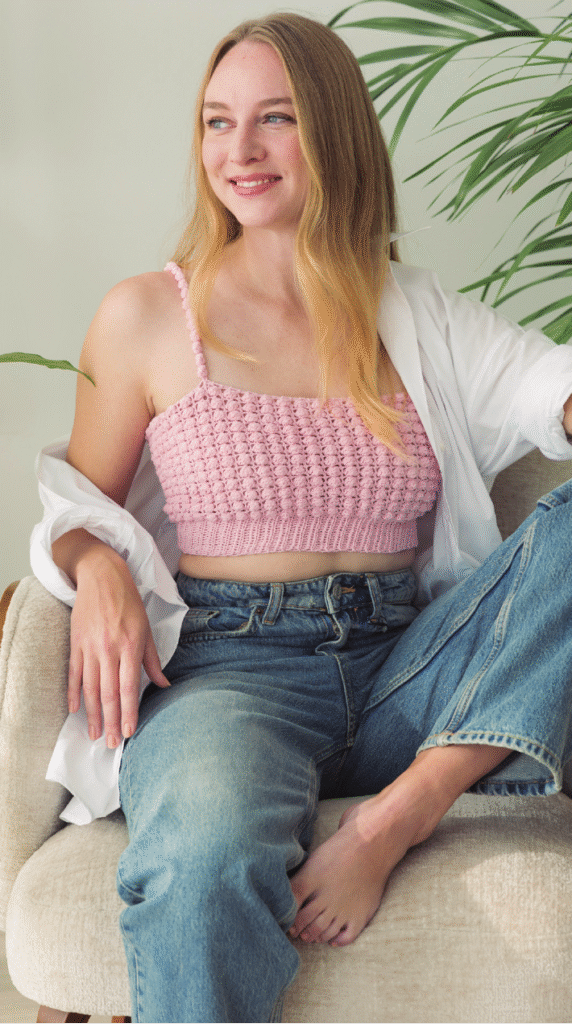
Your beautiful arrangement of crocheted roses is now complete!
Tips for Beginners
If you’re new to crochet, these tips will help you successfully create your rose motifs:
- Practice Basic Stitches: Before diving into the pattern, spend some time practicing your chain (ch) and single crochet (sc) stitches. Consistency in these foundational stitches will make a big difference in your final piece.
- Use Stitch Markers: Especially in the initial rounds of the center and if you find it hard to identify the first stitch, use a stitch marker. Place it in the first stitch of each round after your joining slip stitch. This prevents you from accidentally crocheting too many or too few stitches.
- Maintain Even Tension: Try to keep your yarn tension consistent. Pulling your stitches too tightly can make it very difficult to insert your hook into the stitches of the next round, leading to frustration. Conversely, stitches that are too loose can make your fabric appear gappy and less defined.
- Count Your Stitches: Always count your stitches at the end of each round. This is the best way to catch mistakes early and ensure your motif grows correctly according to the pattern’s stitch counts.


