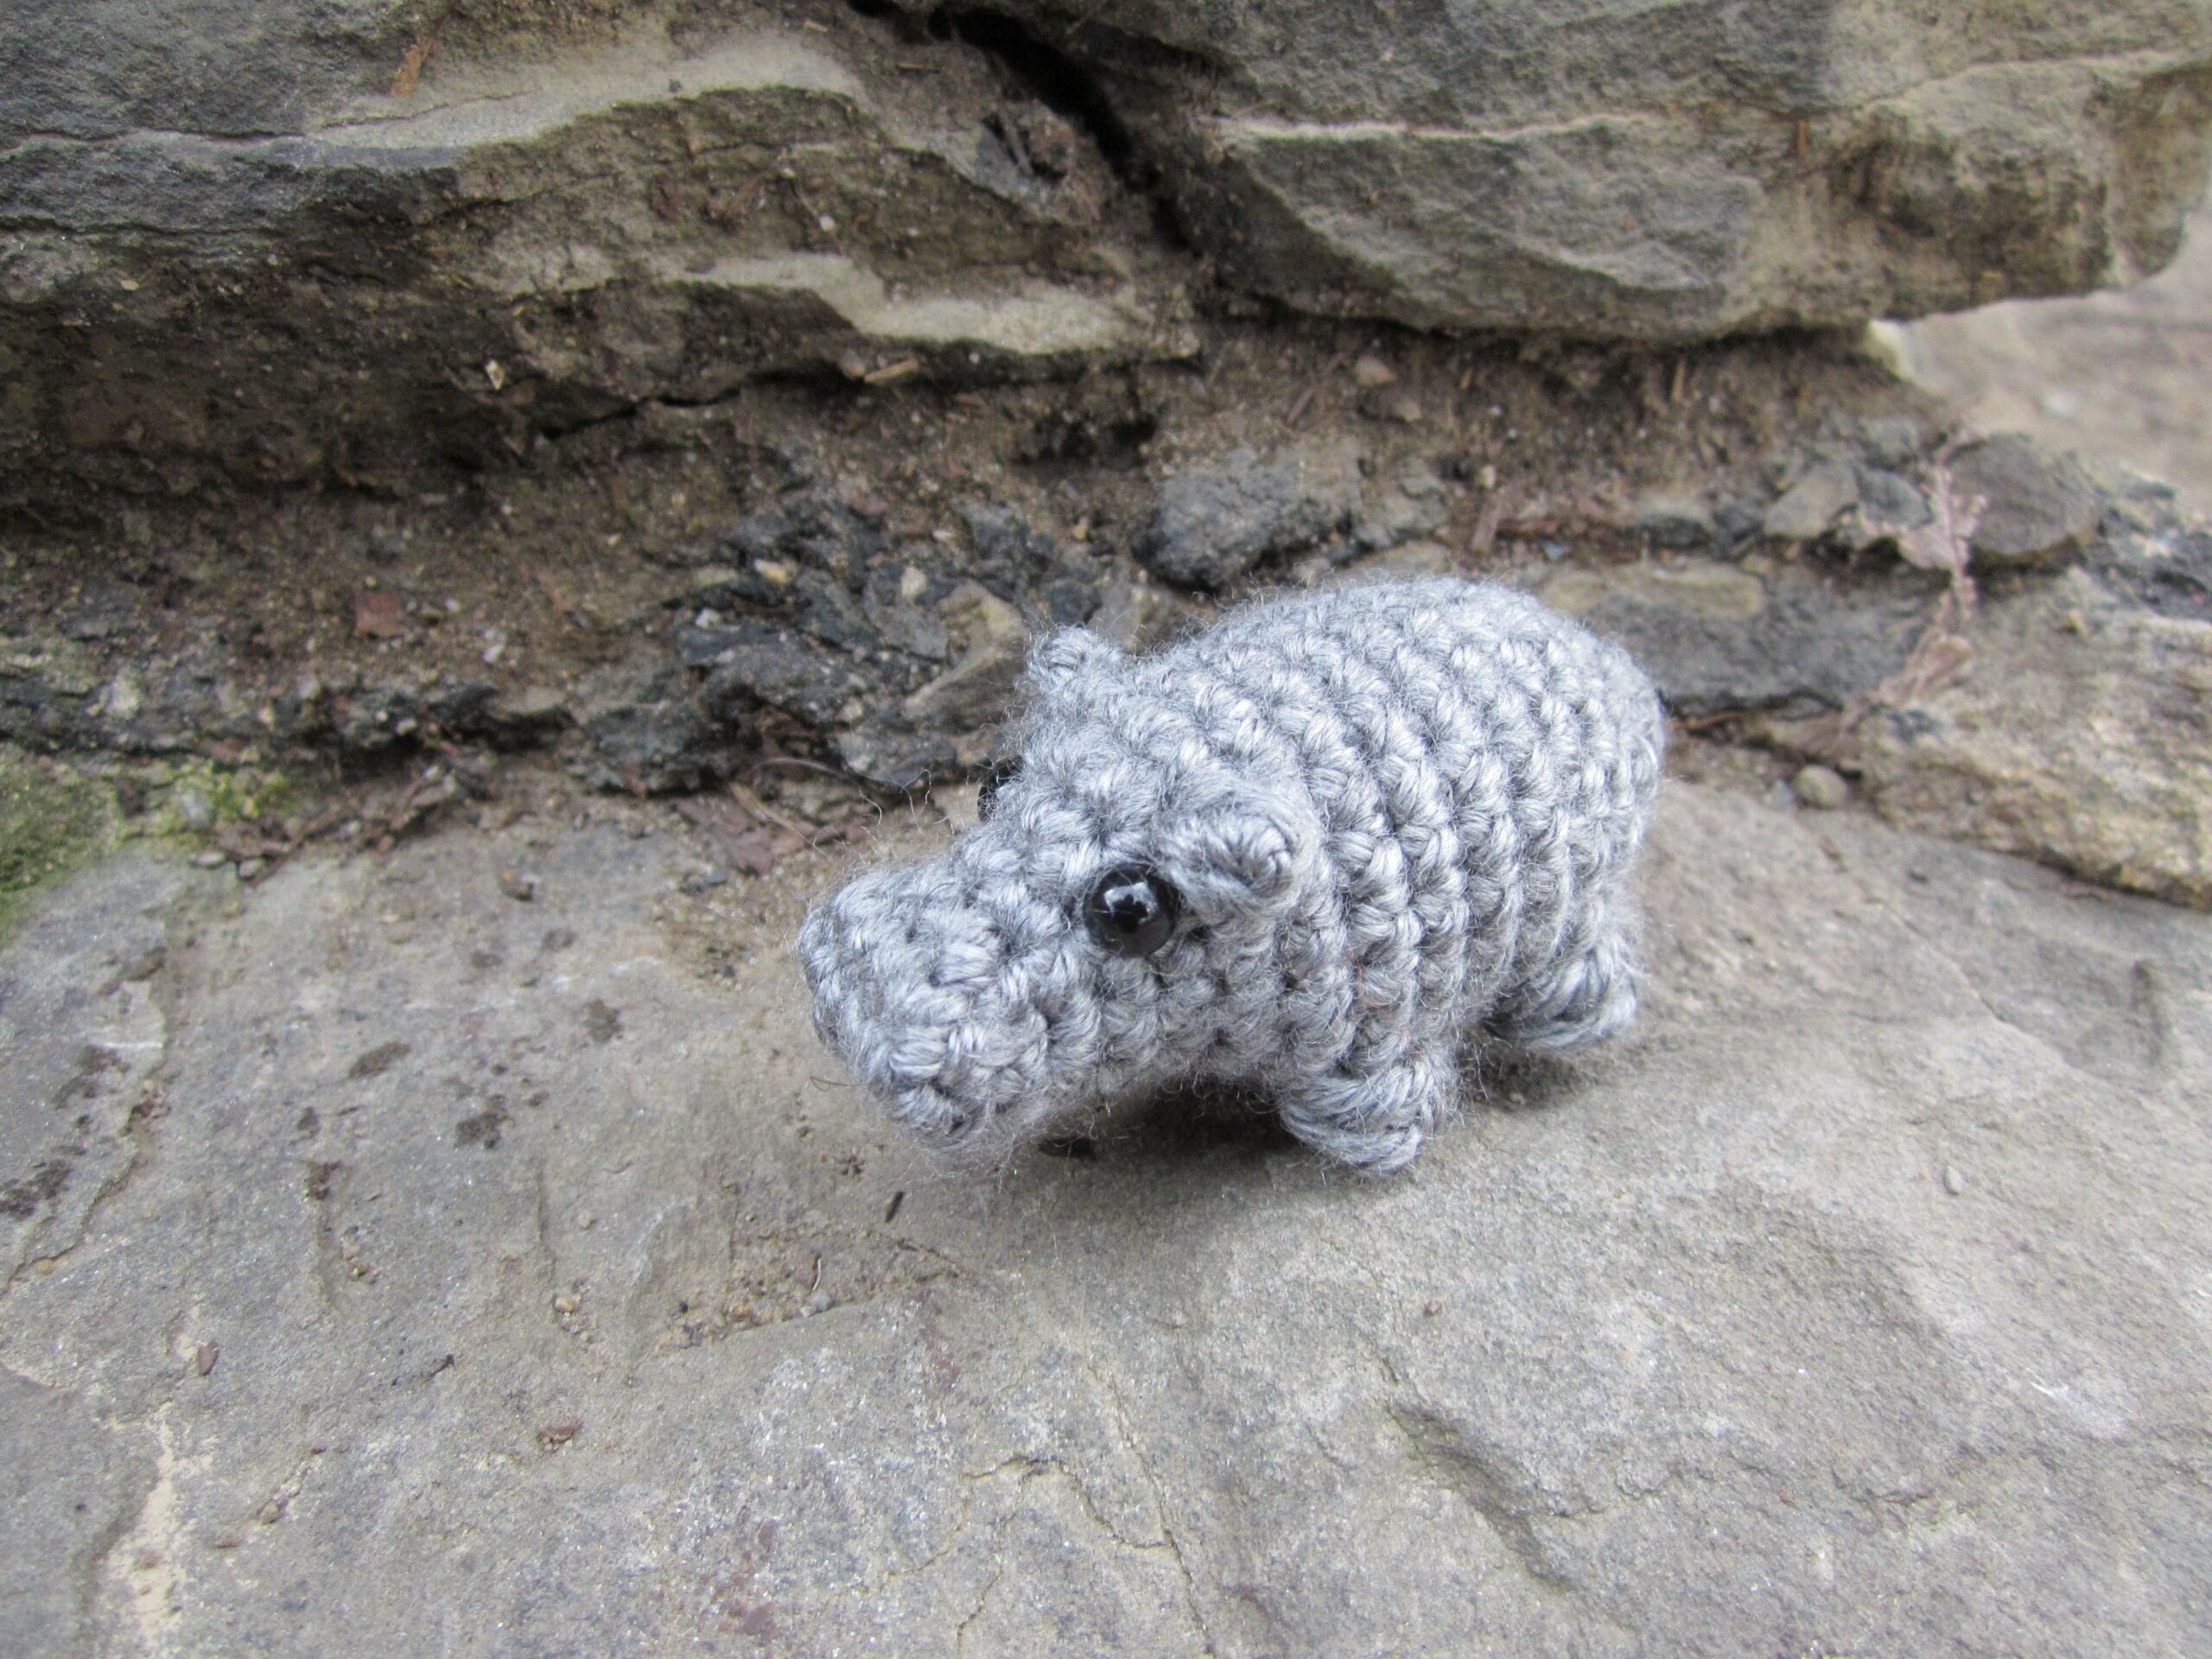
No-Sew Hippopotamus: An Adorable Beginner-Friendly Amigurumi Pattern
Adding Character Features
- Round 6 (Ears):
- Work to marker, then make first ear (ch 2, 2 sc in 2nd ch)
- Continue pattern, adding second ear later in round
- Insert Eyes:
- Place safety eyes just in front of ears
- Alternative: Embroider eyes with black yarn for baby-safe version
- Rounds 7-8 (Legs):
- When pattern indicates, create legs using special stitch:
- Work 5 dc in same st (stopping before final pull-through each time)
- Yarn over, pull through all 6 loops on hook
- When pattern indicates, create legs using special stitch:
Finishing Touches
- Final Rounds:
- Continue decreasing to close body
- Stuff firmly as you go
- Tail:
- After final round: ch 4
- Sl st in 2nd ch, sl st in next ch, sc in last ch
- Attach to body so it curls adorably
💡 Pro Tips for Hippo-Making Success
- Use stitch markers to track rounds (this pattern works in continuous spirals)
- Stuff as you go – especially important for the snout area
- Keep tension even so stuffing doesn’t show through
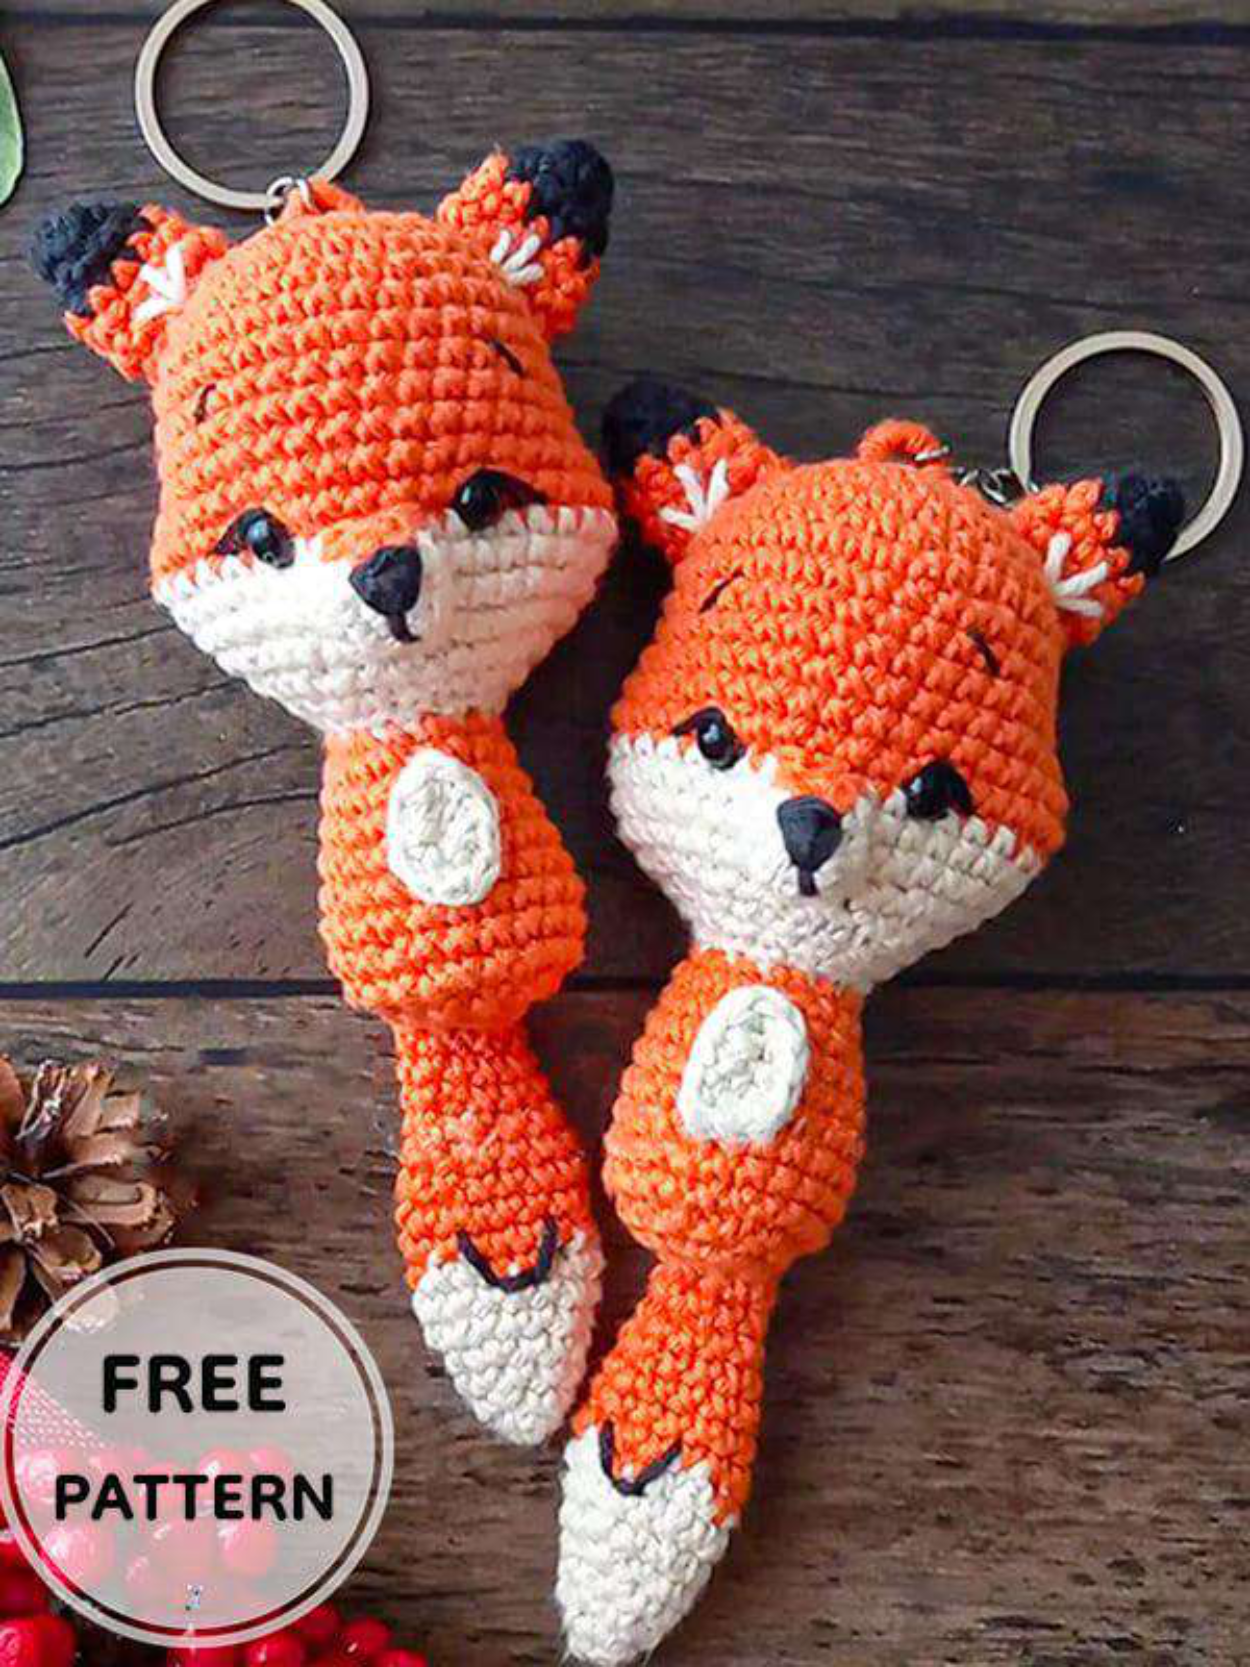
- For keychains: Attach a ring before closing the final rounds
🌟 Make It Your Own!
Personalize your hippo with:
- Different colored yarn for a rainbow herd
- Mini bows or hats for extra charm
- Variegated yarn for a fun watercolor effect
✨ Final Thoughts
This No-Sew Hippopotamus proves big things come in small packages! It’s the perfect project when you need a:
✓ Quick crochet fix
✓ Thoughtful handmade gift
✓ Portable project for trips
✓ Confidence-booster for new crocheters
We’d love to see your hippo creations! Tag us on social media to share your tiny triumphs. Happy crocheting
Pages: 1 2