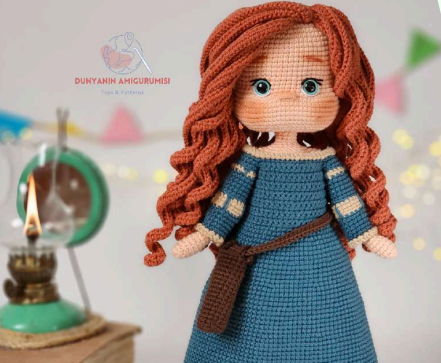
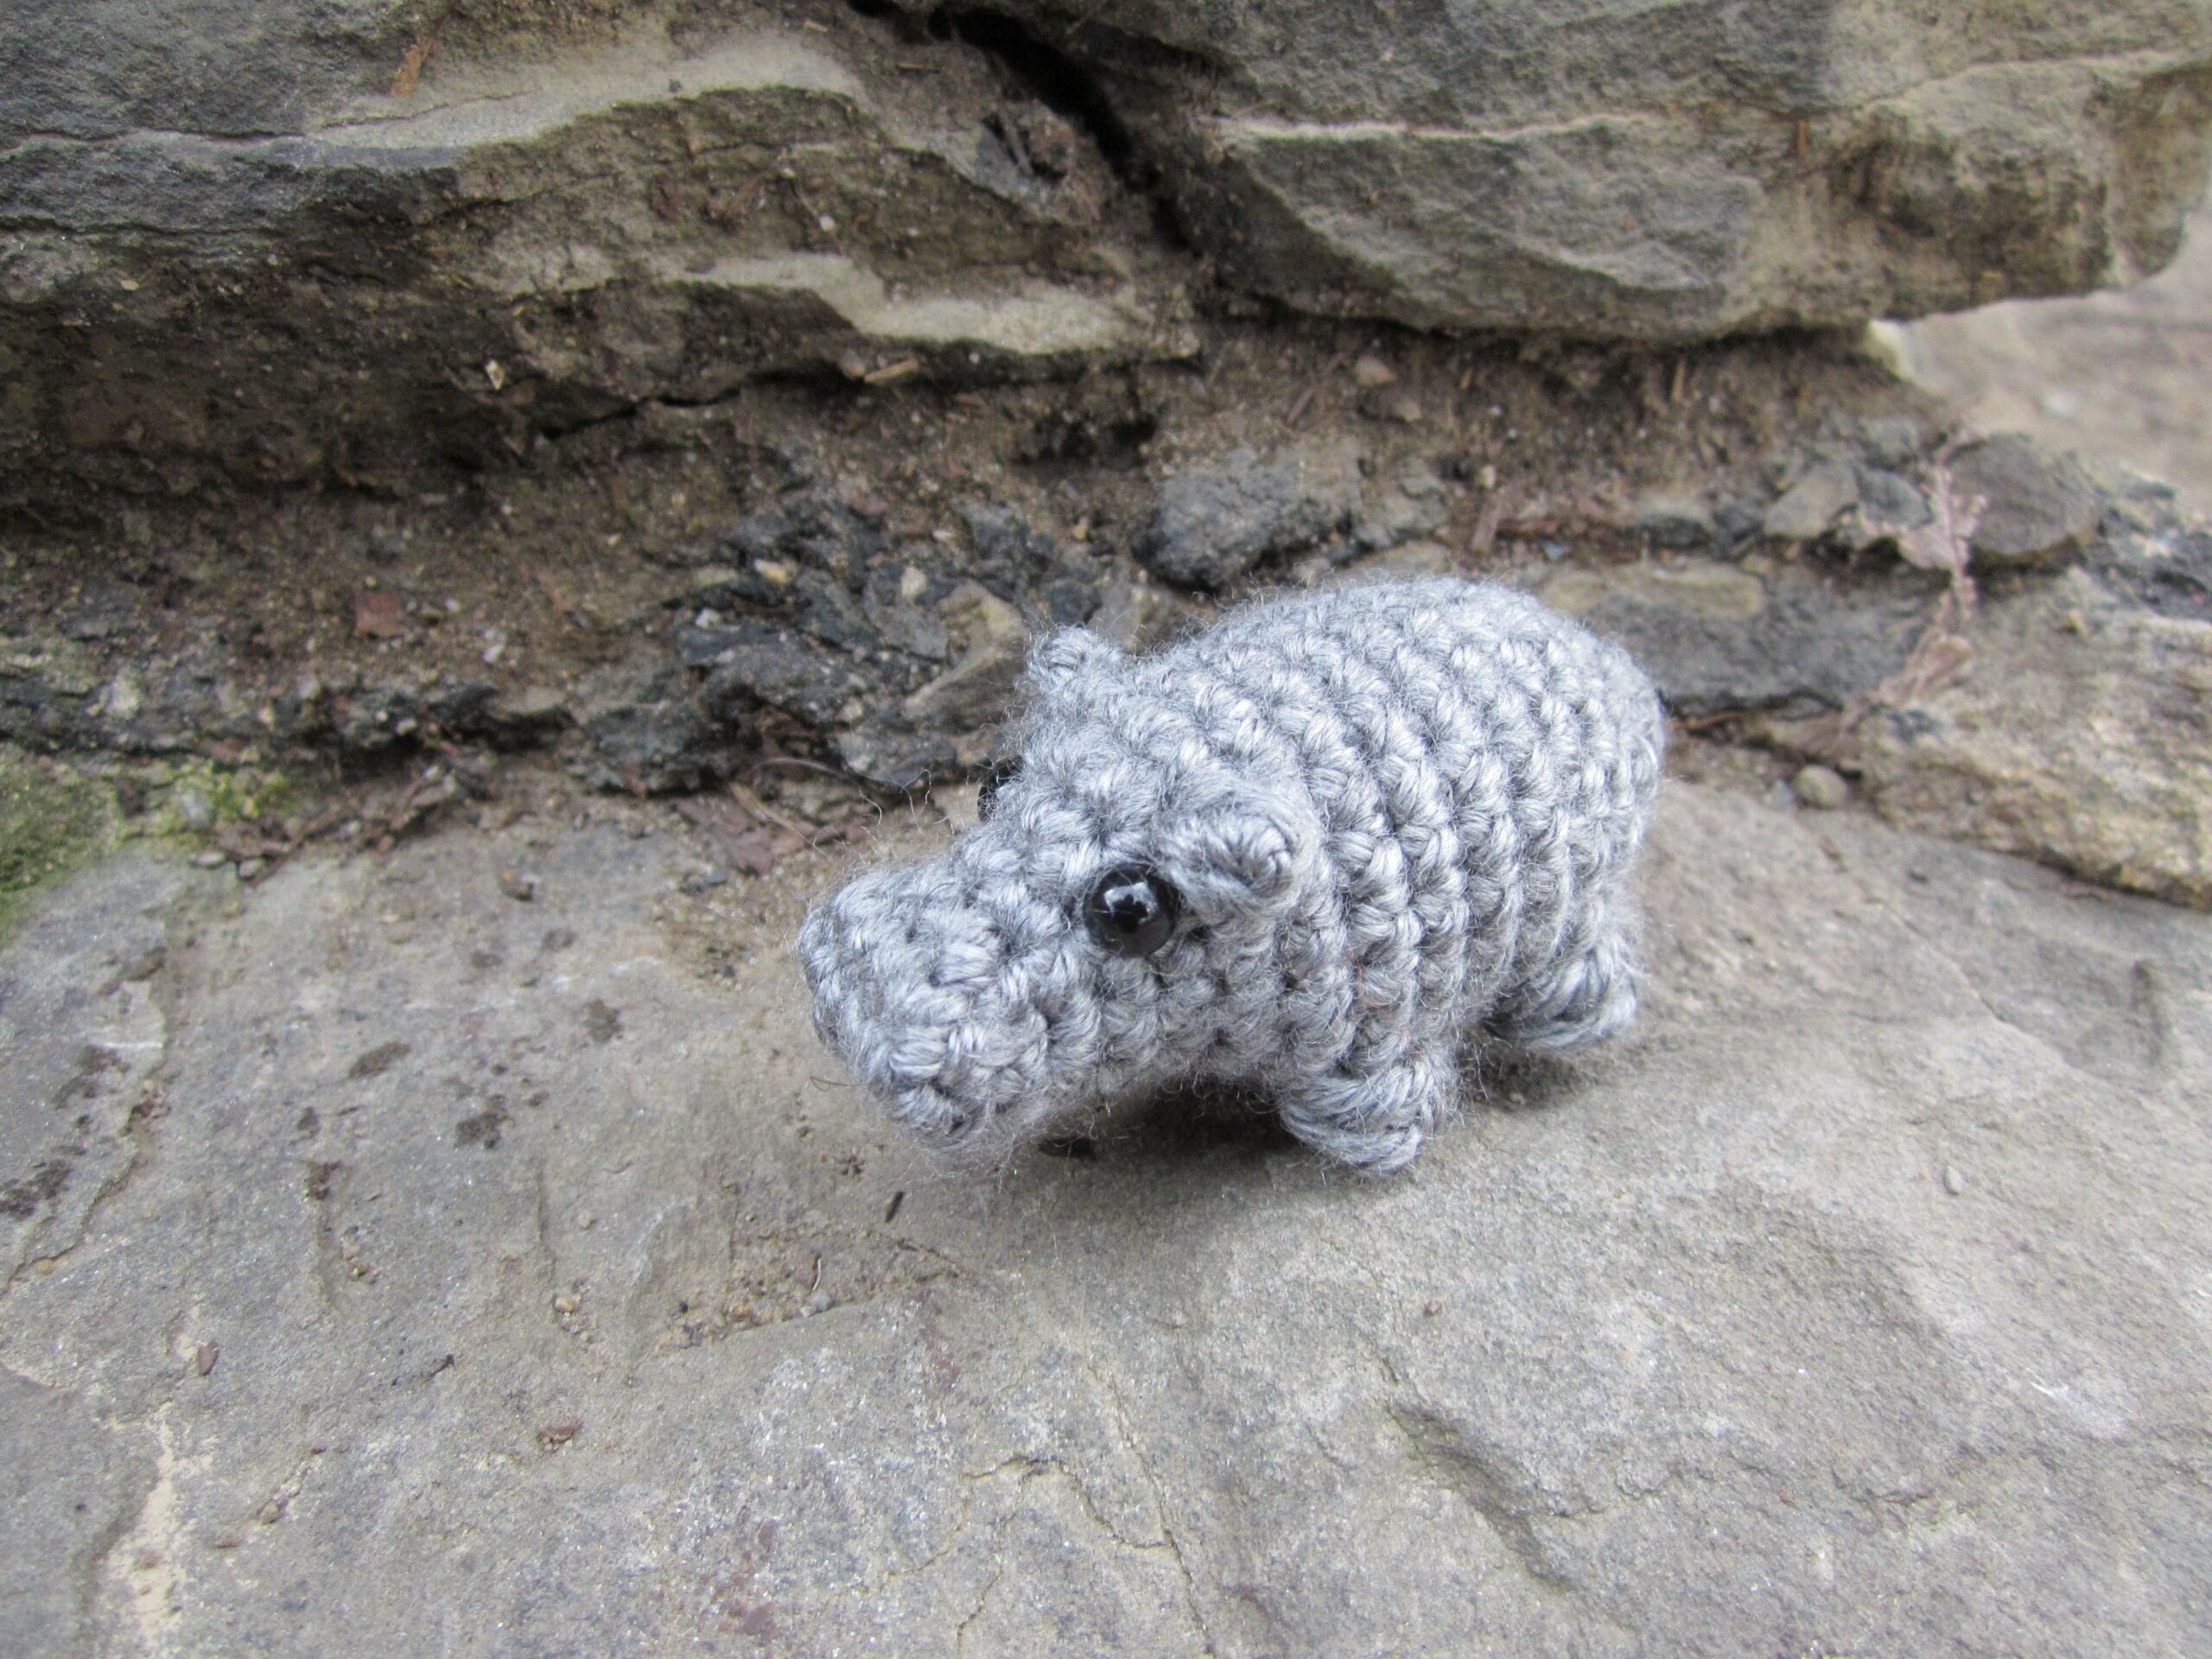
Merida Amigurumi Doll Pattern
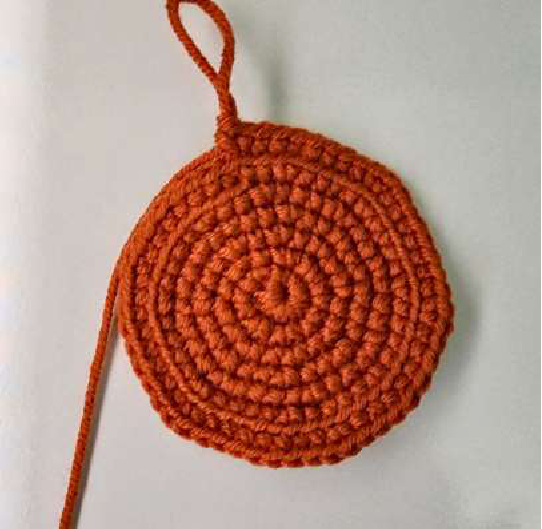
Hair Strands Part 1 (Cinnamon)
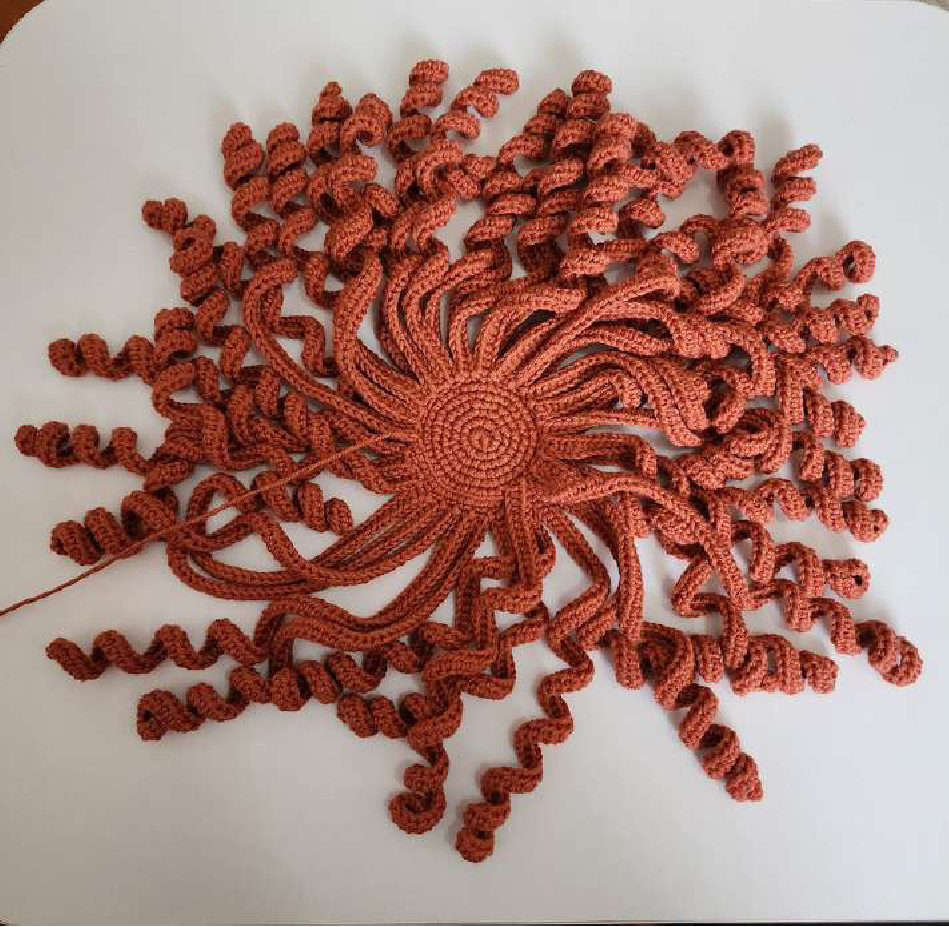
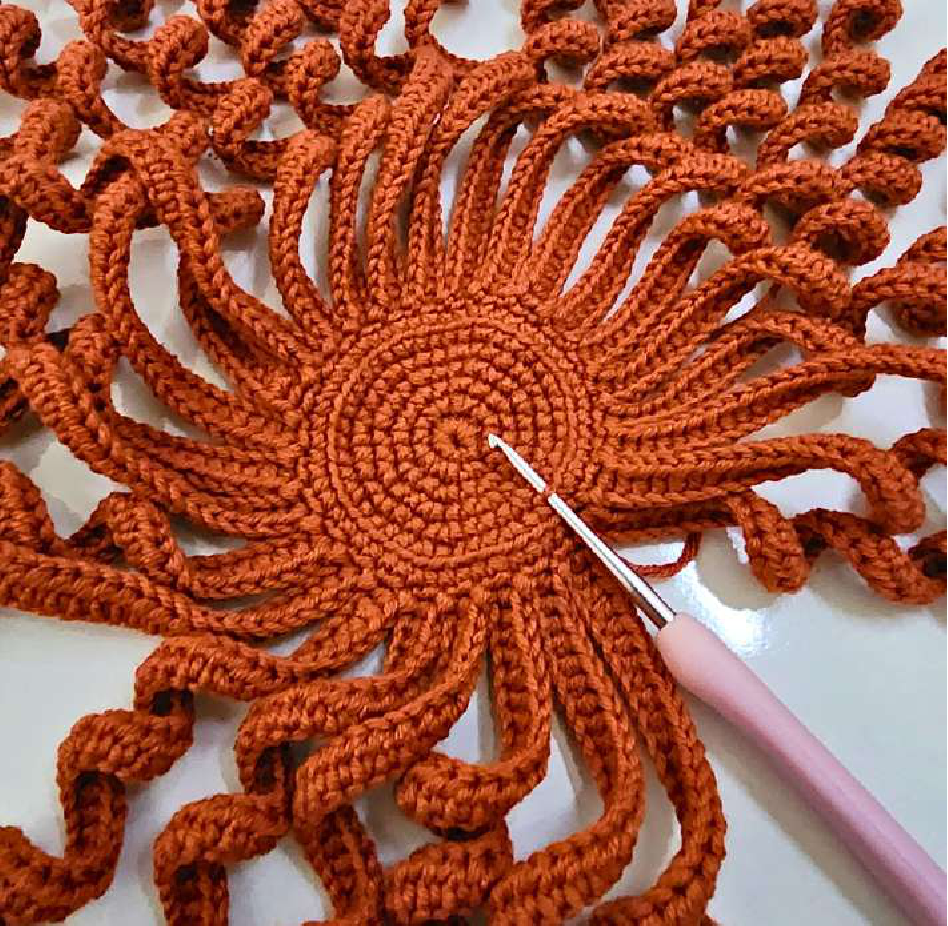
For each strand: chain 85, then starting from the third chain from the hook, work 83 hdc back down the chain. Skip 1 stitch on the wig cap and slst into the next stitch. Repeat this process 27 times around the wig cap. Fasten off and weave in the end.
Hair Strands Part 2 (Orange)
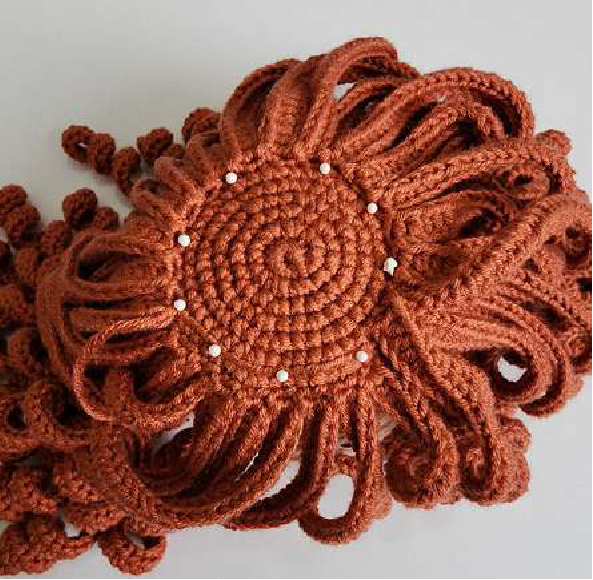
Attach the orange color yarn to the front loops left from Round 7 of the wig cap. Repeat the same process as the first set of hair strands:
For each strand: chain 85, then starting from the third chain from the hook, work 83 hdc back down the chain. Skip 1 front loop on the wig cap and slst into the next. Repeat this 17 times. Fasten off, leaving a long tail for sewing.
Assembly and Finishing
Facial Features
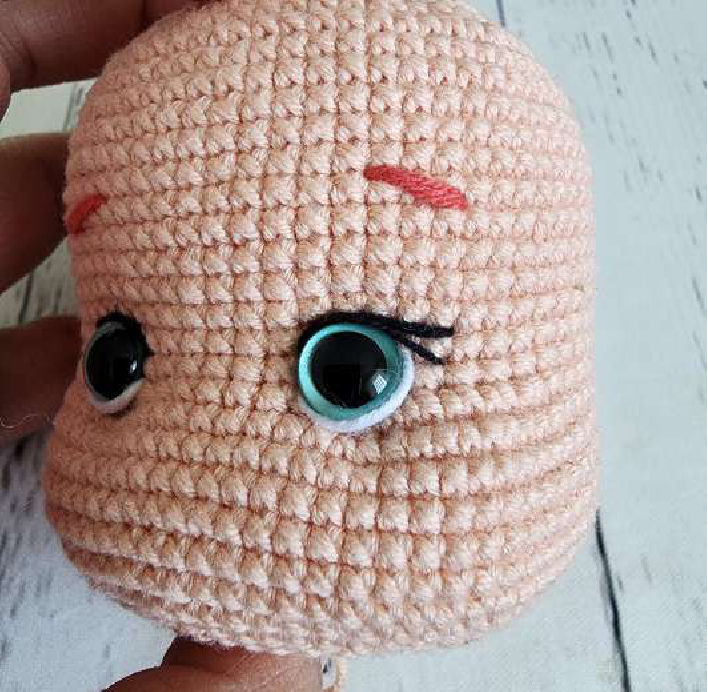
Using black embroidery thread, add eyelashes and eyebrows as shown in the photos. For the nose, use the skin color yarn to embroider a nose between rounds 24 and 25, covering about 4-5 stitches wide.
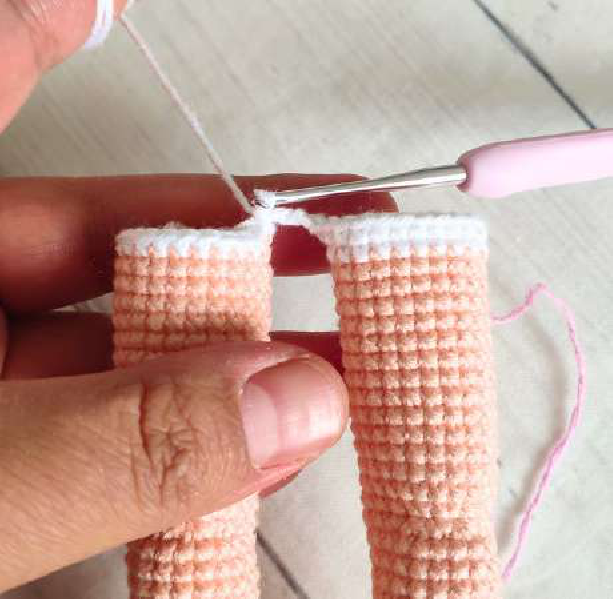
The images below demonstrate the nose embroidery technique.
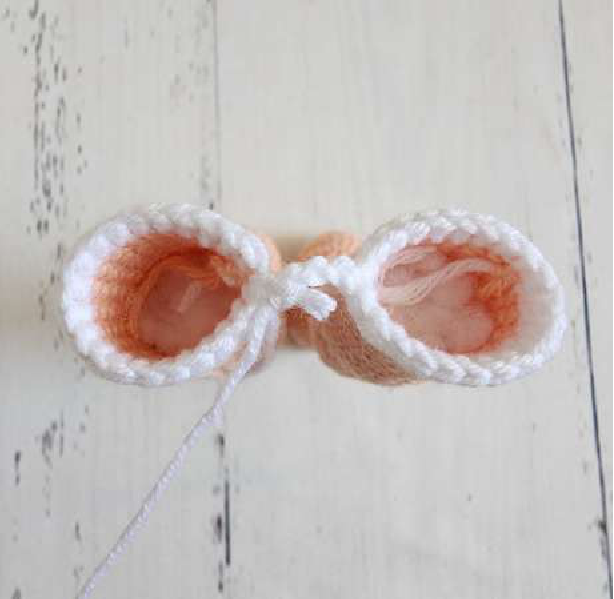
Attaching Hair and Head
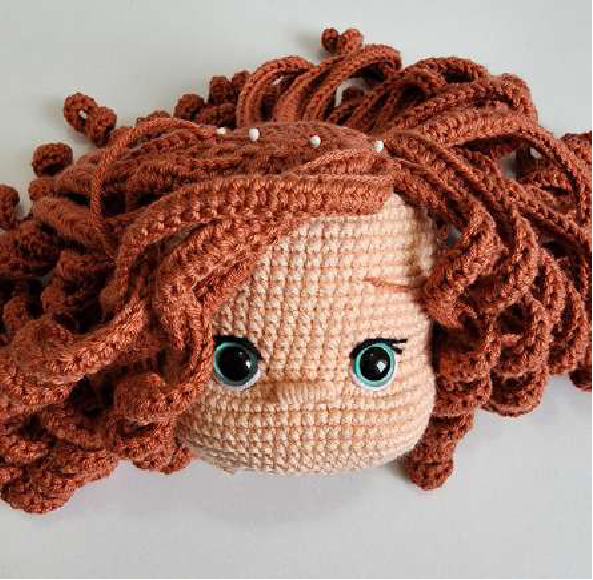
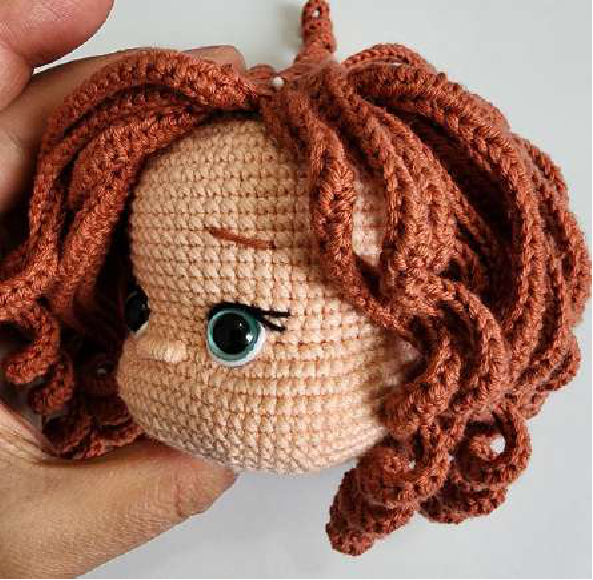
Pin the hair wig to the head, arranging the curls as desired. Sew the wig securely to the head using the long tail you left. The images below show the placement and sewing process.
Insert the electrical wires from the body into the base of the head for neck support. Sew the head firmly to the body using the long tail from the head.
Dress
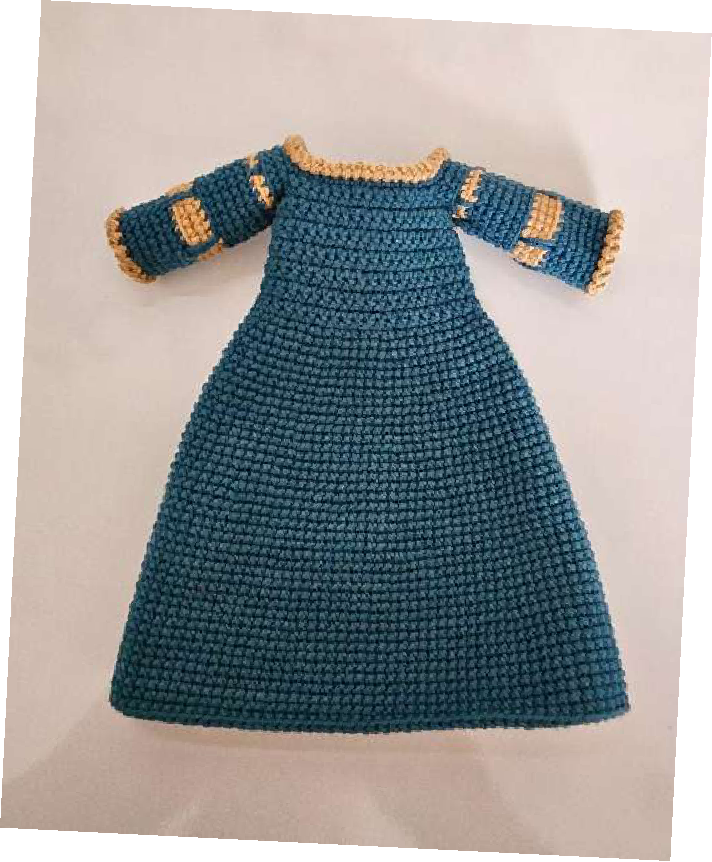
Use the dress color yarn. The dress is worked flat in rows, then joined to work in the round.
- Chain 55. Starting from the 8th chain from the hook (this creates the first buttonhole):
- Row 1: 7 sc, inc, 8 sc, inc, 14 sc, inc, 8 sc, inc, 7 sc. Turn. (52)
- Row 2: ch 1, 8 sc, ch 5, skip 10 stitches, 16 sc, ch 5, skip 10 stitches, 8 sc. Turn. (42)
- Row 3: ch 1, 8 sc, 5 sc on the chains, 16 sc, 5 sc on the chains, 8 sc. Turn. (42)
- Rows 4-6: ch 1, 42 sc. Turn. (3 rows)
- Row 7: ch 7 (for a buttonhole), 42 sc. Turn.
- Rows 8-12: ch 1, 42 sc. Turn. (5 rows)
- Row 13: ch 7 (for a buttonhole), 42 sc. Turn.
- Rows 14-15: ch 1, 42 sc. Turn. (2 rows)
At the end of row 15, slst to the first stitch to join and begin working in the round.
- Round 16: ch 1, (2 sc, inc) x 14. slst to join. (56)
- Round 17: ch 1, 56 sc. slst to join. (56)
- Round 18: ch 1, 3 sc, inc, (6 sc, inc) x 7, 3 sc. slst to join. (64)
- Rounds 19-22: ch 1, 64 sc. slst to join. (4 rounds)
- Round 23: ch 1, (7 sc, inc) x 8. slst to join. (72)
- Rounds 24-27: ch 1, 72 sc. slst to join. (4 rounds)
- Round 28: ch 1, 4 sc, inc, (8 sc, inc) x 7, 4 sc. slst to join. (80)
- Rounds 29-32: ch 1, 80 sc. slst to join. (4 rounds)
- Round 33: ch 1, (9 sc, inc) x 8. slst to join. (88)
- Rounds 34-38: ch 1, 88 sc. slst to join. (5 rounds)
- Round 39: ch 1, 5 sc, inc, (10 sc, inc) x 7, 5 sc. slst to join. (96)
- Rounds 40-45: ch 1, 96 sc. slst to join. (6 rounds)
- Round 46: ch 1, (23 sc, inc) x 4. slst to join. (100)
- Rounds 47-55: ch 1, 100 sc. slst to join. (9 rounds)
Fasten off and weave in ends.


