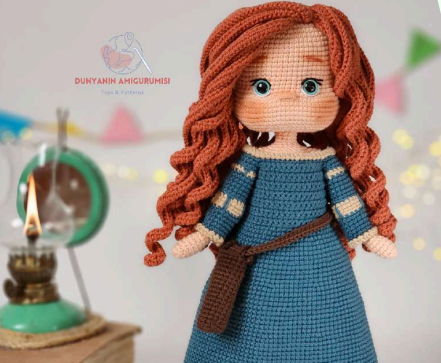
Merida Amigurumi Doll Pattern
Body
Continue from the right leg.
- Round 44: 12 sc on the right leg, chain 3, join to the left leg and work 21 sc around it, 3 sc along the chain, 9 sc on the right leg to complete the round. Place your stitch marker here. (48)
The images below show the progression of joining the legs.
- Rounds 45-52: 48 sc for 8 rounds. (48)
- Round 53: 3 sc, dec, (6 sc, dec) x 5, 3 sc. (42)
- Round 54: 42 sc. (42)
- Round 55: (5 sc, dec) x 6. (36)
Change to skin color yarn.
- Round 56: Work in BLO: 36 slst. (36)
- Round 57: Work in BLO: 36 sc. (36)
- Rounds 58-72: 36 sc for 15 rounds. (36)
In the next round, we will attach the arms.
-
- Round 73: 7 sc on the body, crochet the next 5 stitches through both the arm and the body, 13 sc on the body, crochet the next 5 stitches through the second arm and the body, 6 sc on the body. (36)
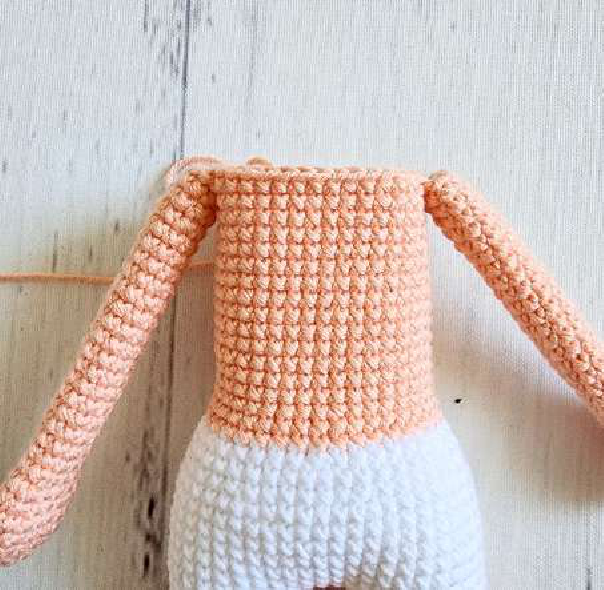
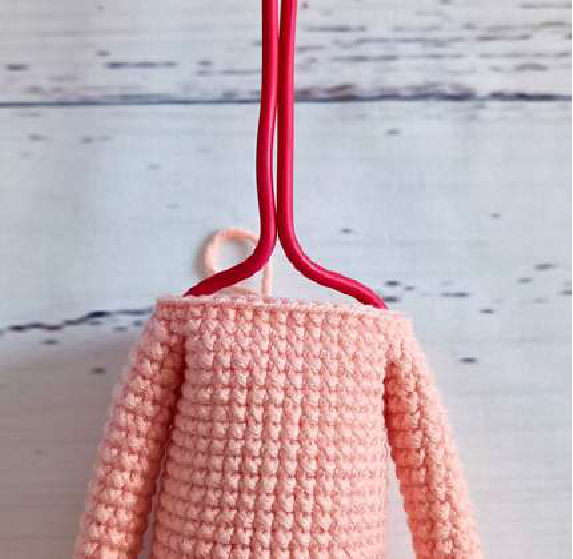
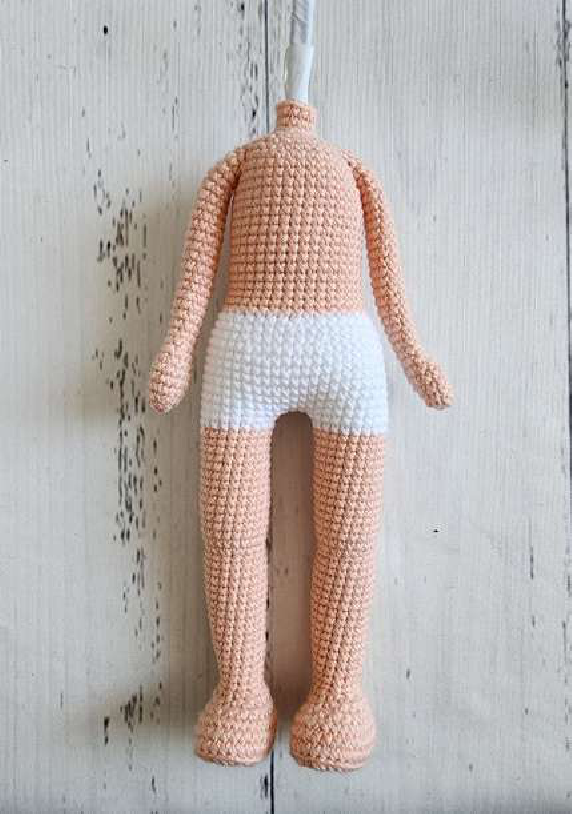
- Round 74: 7 sc on the body, 5 sc on the outer stitches of the arm, 13 sc on the body, 5 sc on the outer stitches of the second arm, 6 sc on the body. (36)
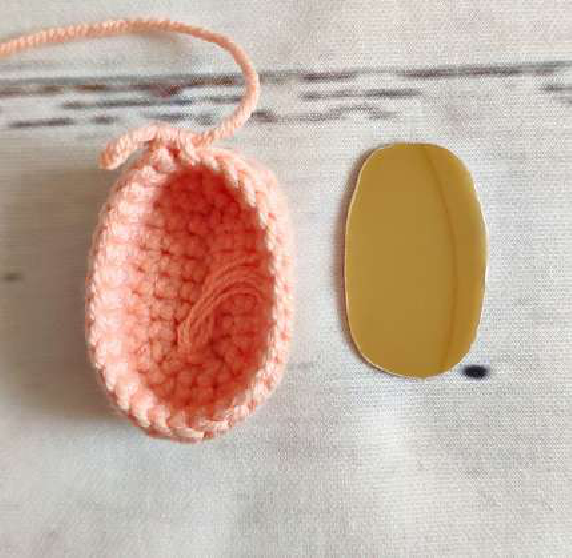
Bend the edges of the electrical wires and insert them into the arms and across the shoulders. Twist the wire in the middle and wrap it with tape for stability.
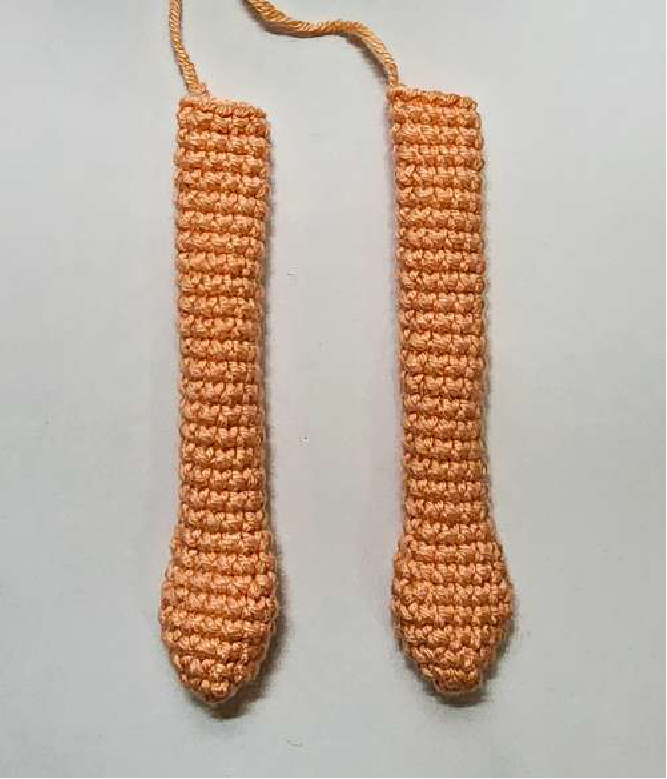
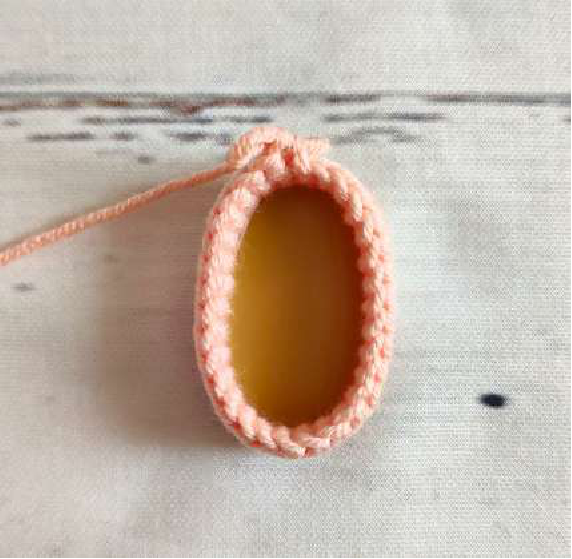
- Round 75: (4 sc, dec) x 6. (30)
- Round 76: (3 sc, dec) x 6. (24)
- Round 77: (2 sc, dec) x 6. (18)
- Round 78: (sc, dec) x 6. (12)
- Rounds 79-81: 12 sc for 3 rounds. (12)
Fasten off, leaving a long tail for sewing later if needed, though the head will be sewn on top.
Head
Use skin color yarn.
- Round 1: Start with 8 sc in a magic ring. (8)
- Round 2: 8 inc. (16)
- Round 3: (sc, inc) x 8. (24)
- Round 4: sc, inc, (2 sc, inc) x 7, sc. (32)
- Round 5: (3 sc, inc) x 8. (40)
- Round 6: 2 sc, inc, (4 sc, inc) x 7, 2 sc. (48)
- Round 7: (7 sc, inc) x 6. (54)
- Round 8: 4 sc, inc, (8 sc, inc) x 5, 4 sc. (60)
- Round 9: (9 sc, inc) x 6. (66)
- Rounds 10-19: 66 sc for 10 rounds. (66)
- Round 20: 4 sc, dec, (9 sc, dec) x 5, 5 sc. (60)
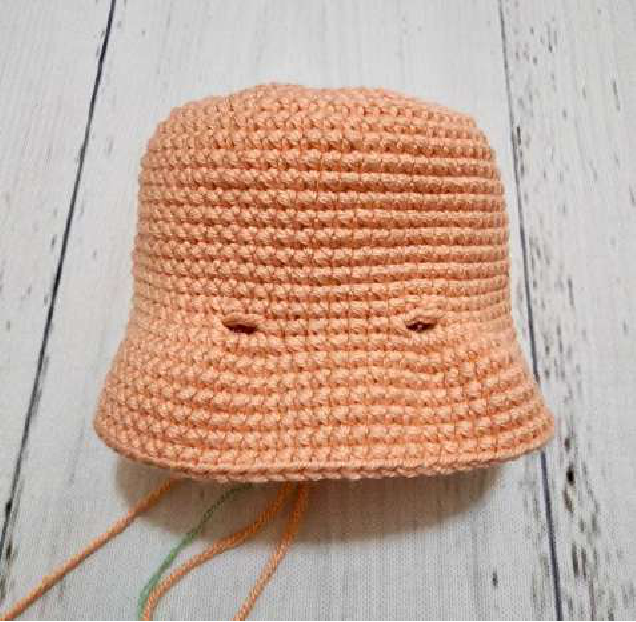
- Round 21 (Eye Sockets): 24 sc, ch 2, skip 2 st, 7 sc, ch 2, skip 2 st, 25 sc. (60)
- Round 22: 20 sc, 4 inc, 2 sc in each of the 2 chains (2 inc), 7 sc, 2 sc in each of the 2 chains (2 inc), 4 inc, 21 sc. (72)
- Rounds 23-28: 72 sc for 6 rounds. (72)
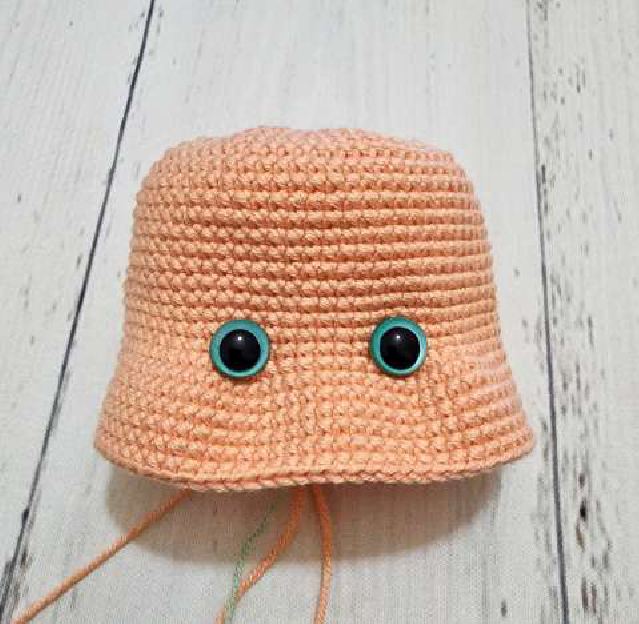
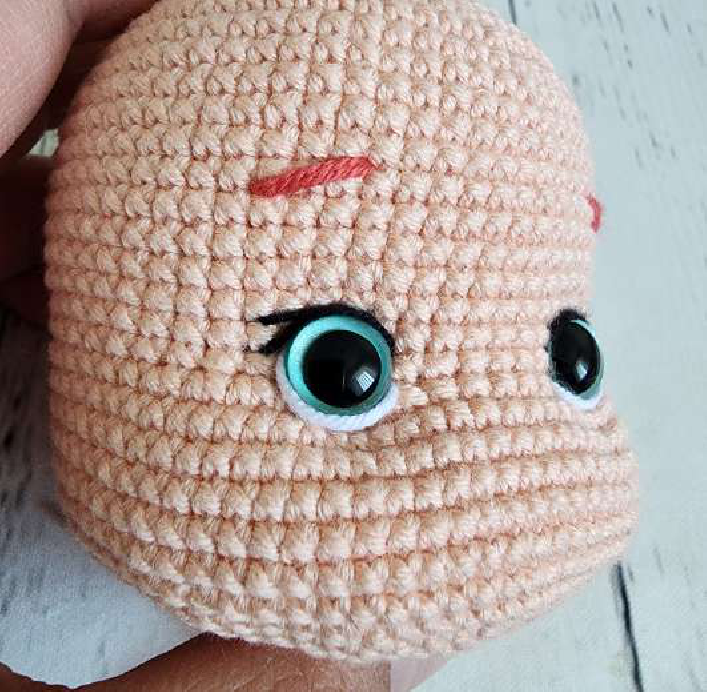
Insert 10 mm safety eyes into the spaces created in Round 21. Begin stuffing the head.
- Round 29: 5 sc, dec, (10 sc, dec) x 5, 5 sc. (66)
- Round 30: (9 sc, dec) x 6. (60)
- Round 31: 4 sc, dec, (8 sc, dec) x 5, 4 sc. (54)
- Round 32: (7 sc, dec) x 6. (48)
- Round 33: 2 sc, dec, (4 sc, dec) x 7, 2 sc. (40)
- Round 34: (3 sc, dec) x 8. (32)
- Round 35: sc, dec, (2 sc, dec) x 7, sc. (24)
- Round 36: (2 sc, dec) x 6. (18)
- Round 37: (sc, dec) x 6. (12)
Finish stuffing the head firmly. Fasten off, leaving a long tail for sewing.
Hair
The hair is made in two parts: a wig cap and then hair strands crocheted onto it.
Wig Cap (Cinnamon Color)
- Round 1: 8 sc in a magic ring. (8)
- Round 2: 8 inc. (16)
- Round 3: (sc, inc) x 8. (24)
- Round 4: sc, inc, (2 sc, inc) x 7, sc. (32)
- Round 5: (3 sc, inc) x 8. (40)
- Round 6: 2 sc, inc, (4 sc, inc) x 7, 2 sc. (48)
- Round 7: Work in BLO: (7 sc, inc) x 6. (54)
Do not cut the yarn. From here, you will start making the first set of hair strands directly onto the wig cap.


