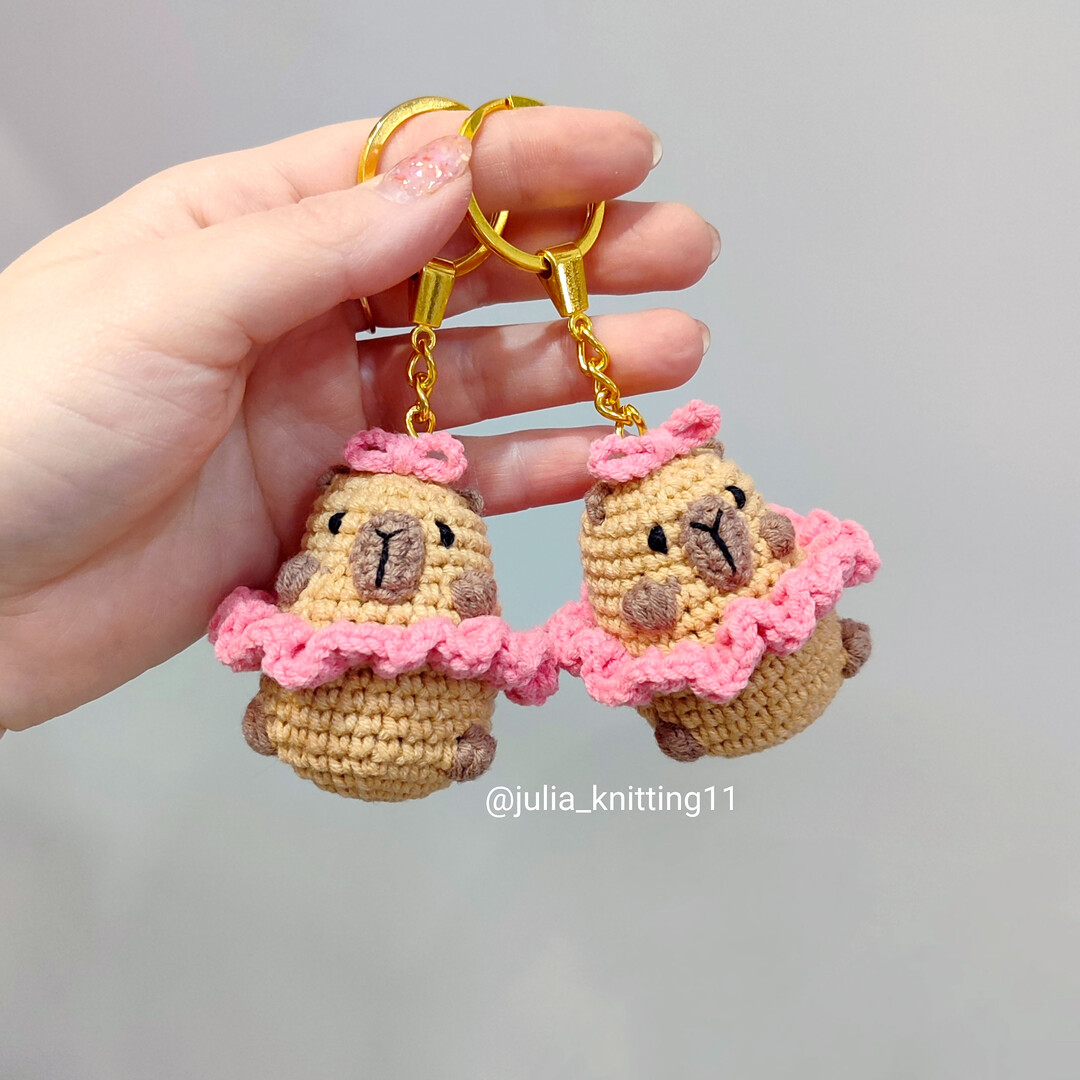
Meet the Capybara: The Coziest Amigurumi Friend You’ll Ever Make
Hello, lovely hooksters! Gather ’round, because I have found the pattern that might just be the coziest, most charming creature to ever grace our crochet hooks—the Capybara If you’re not familiar with these delightful animals, they’re essentially the world’s largest rodents, but in the most endearing way possible. They’re known for being impossibly chill, making friends with everyone from birds to monkeys, and looking like they’re perpetually relaxed at a spa. Honestly, they’re goals.
And now, we get to capture that serene, sweet energy in yarn form! This little capybara is absolutely perfect for so many reasons. He’s small, he works up quickly, and he has the most delightful textured back created with puff stitches. Plus, he comes with the cutest little bow tie—because every capybara deserves to look dapper. Whether he’s sitting on a desk to remind you to chill out, becoming a gift for an animal lover, or joining a collection of amigurumi critters, he’s sure to bring smiles.
This pattern is wonderfully beginner-friendly! If you can crochet a basic sphere and know how to make a puff stitch (don’t worry, it’s easier than it sounds!), you can absolutely make this little guy. The instructions are straightforward, the pieces are minimal, and the finishing touches—embroidered face and tiny bow—are where his personality really shines.
So grab your yarn in those perfect capybara shades of brown and beige, and let’s create the most relaxed, adorable friend you’ll ever meet
Materials & Tools
Yarn: Yarn Art Jeans in the following colors:
- Color 07: Brown (for the body main color)
- Color 71: Beige (for the muzzle, ears, and paws/feet)
- Color 78: Contrast color (for the puff stitches and bow tie)
Hook: 2.0 mm crochet hook
Other Supplies:
- Black iris thread or embroidery floss (for embroidering the nose and eyes)
- Polyester fiberfill for stuffing
- Tapestry needle for sewing and embroidery
- Scissors
Abbreviations (US Terms)
- MR: magic ring
- ch: chain
- sc: single crochet
- dc: double crochet
- puff stitch: 4 dc with a common top worked into one stitch
- inc: increase (2 sc in one stitch)
- dec: decrease (single crochet 2 together)
- sl st: slip stitch
Let’s Begin! The Capybara Pattern
Body (Worked from the Bottom Up)
We’ll start at the bottom of the body and work our way up to the head.
With brown yarn (color 07):
- Rnd 1: 6 sc in a magic ring. (6)
- Rnd 2: 6 inc. (12)
- Rnd 3: (1 sc, inc) repeat 6 times. (18)
- Rnd 4: (2 sc, inc) repeat 6 times. (24)
- Rnd 5: (3 sc, inc) repeat 6 times. (30)
Rnd 6: This round creates the textured spots on the capybara’s back!
- With beige yarn (color 71): 9 sc
- With brown yarn (color 07): 1 puff stitch (4 dc with a common top in one stitch)
- With beige yarn: 10 sc
- With brown yarn: 1 puff stitch
- With beige yarn: 9 sc
(30)
Rnds 7-10: With beige yarn, 30 sc. (4 rounds)
Rnd 11: Working in the back loops only, 30 sc. (30)
- Note: This creates a neat ridge. We’ll come back later to work the “skirt” in the front loops!
Rnd 12: (8 sc, dec) repeat 3 times. (27)
Rnd 13: This round adds the second set of textured spots!
- With beige yarn: 10 sc
- With brown yarn: 1 puff stitch
- With beige yarn: 7 sc
- With brown yarn: 1 puff stitch
- With beige yarn: 8 sc
(27)
Rnd 14: (7 sc, dec) repeat 3 times. (24)
Rnds 15-17: With beige yarn, 24 sc. (3 rounds)
Rnd 18: (2 sc, dec) repeat 6 times. (18)
Rnd 19: (1 sc, dec) repeat 6 times. (12)
Rnd 20: 6 dec. (6)
Fasten off, leaving a tail. Thread the tail through a needle, weave through the front loops of the last 6 stitches, and pull tight to close. Secure and hide the end inside the body.
The Little Skirt
Remember Round 11, where we worked in the back loops only? Now we get to use those front loops to create a cute little frill!
- Return to Round 11. Working in the front loops only that you left unworked:
- Work (3 dc in one stitch, 3 dc in the next stitch) repeat all the way around. This means you’ll be working increases of 3 dc in each front loop stitch. The pattern says “(inc of 3 dc) *30” which creates a lovely ruffled edge.
Fasten off and weave in the end.
Muzzle
With beige yarn (color 71):
- Ch 4.
- Starting in the second chain from the hook: 2 sc, 3 sc in the last chain (to turn the corner).
- Continue working on the other side of the chain: 1 sc, inc in the last stitch. (8)
Fasten off, leaving a long tail for sewing.
Position the muzzle on the face and sew it on securely.
Face Embroidery
Now for the sweetest part—giving your capybara his expression
Using black iris thread or embroidery floss:
- Nose: Embroider a small triangular or oval nose in the center of the muzzle.
- Eyes: Embroider two small eyes above the muzzle, positioned symmetrically. You can make them simple dots or small curved lines for a sleepy, relaxed expression.
Take your time and make him as sweet as can be
Ears (Make 2)
These are worked directly onto the head!
- Attach beige yarn to the area around Row 18 with a sl st.
- Ch 3.
- Make a sl st into Row 19.
Fasten off and hide the ends. This creates a tiny, subtle ear that’s just perfect for a capybara
Bow Tie
With contrast color yarn (color 78):
- Ch 16.
- Fasten off, leaving long tails on both ends.
Tie the ends together to form a bow shape. Take a separate piece of yarn and wrap it tightly around the center of the bow several times to create the middle knot. Secure the wrapping yarn at the back.
Sew the completed bow tie to your capybara, positioning it under the muzzle for that dapper look
Assembly and Finishing
- Attach the Muzzle: Sew the muzzle piece to the front of the face, positioning it between the eyes and above where the bow tie will go.
- Embroider the Face: Add the nose and eyes as described above.
- Attach the Ears: Work the ears directly onto the head as instructed.
- Attach the Bow Tie: Sew the bow tie securely in place.
- Final Shape: Give your capybara a little squeeze and adjust his shape. Make sure he sits flat and looks perfectly relaxed
Tips for Success
- Puff Stitch Practice: If you’ve never made a puff stitch before, practice on a swatch! The idea is to work 4 double crochets all into the same stitch, but leave the last loop of each dc on your hook. Then yarn over and pull through all the loops on your hook at once. It creates a lovely textured bobble!
- Color Changes: When changing colors for the puff stitches, simply drop the beige yarn, pick up the brown, work the puff stitch, and then pick up the beige again. Carry the yarn loosely behind your work or cut and rejoin as preferred.
- Don’t Overstuff: The capybara should be firmly stuffed but not rock-hard. A little squish is part of his charm!
- Tiny Ears: Those little ears are subtle but adorable. Make sure they’re positioned symmetrically on the head.
- Embroidery Practice: If you’re nervous about embroidering the face, practice on a scrap piece first. Simple dots or small stitches can be just as expressive as complicated embroidery.
A Final Word from Our Cozy Corner
And there he is—your very own capybara, the chillest friend you’ll ever make! Isn’t he just the sweetest thing? With his textured back, dapper bow tie, and gentle embroidered face, he’s the kind of companion that makes you smile every time you look at him.
I love how quickly this pattern works up—perfect for a weekend project or when you need a little instant gratification. And those puff stitches? They add such wonderful texture and make him feel extra special. He’s simple enough for beginners but has just enough interesting details to keep more experienced crocheters engaged.
This little guy would make a perfect gift for so many people: the animal lover who appreciates unique creatures, the friend who needs a reminder to relax and take things easy, or the child who loves soft, huggable toys. He’s small enough to be a desk buddy, a car companion, or a sweet addition to a nursery.
Thank you for joining me in creating this charming capybara! I hope every stitch brought you joy and that your new friend brings you many years of cozy companionship. Remember, in a world that moves too fast, sometimes we all need to channel a little capybara energy—calm, friendly, and perfectly content just being ourselves.
Happy crocheting, dear friends, and may your hooks always find their way to the next adorable creation