Maipo Bag Crochet Pattern
Materials
- 2.5mm crochet hook
- 80g fingering weight cotton yarn
- Pins
- Stitch marker
- Ruler or tape measure
- Tapestry needle
- Scissors
- Row counter (optional)
Abbreviations
- ch: Chain
- sc: Single Crochet
- dc: Double Crochet
- R: Row
Gauge
25 stitches x 14 rows in the diamond mesh stitch pattern = 4 in x 4 in
Finished Size
Approximately 8 inches x 8.5 inches
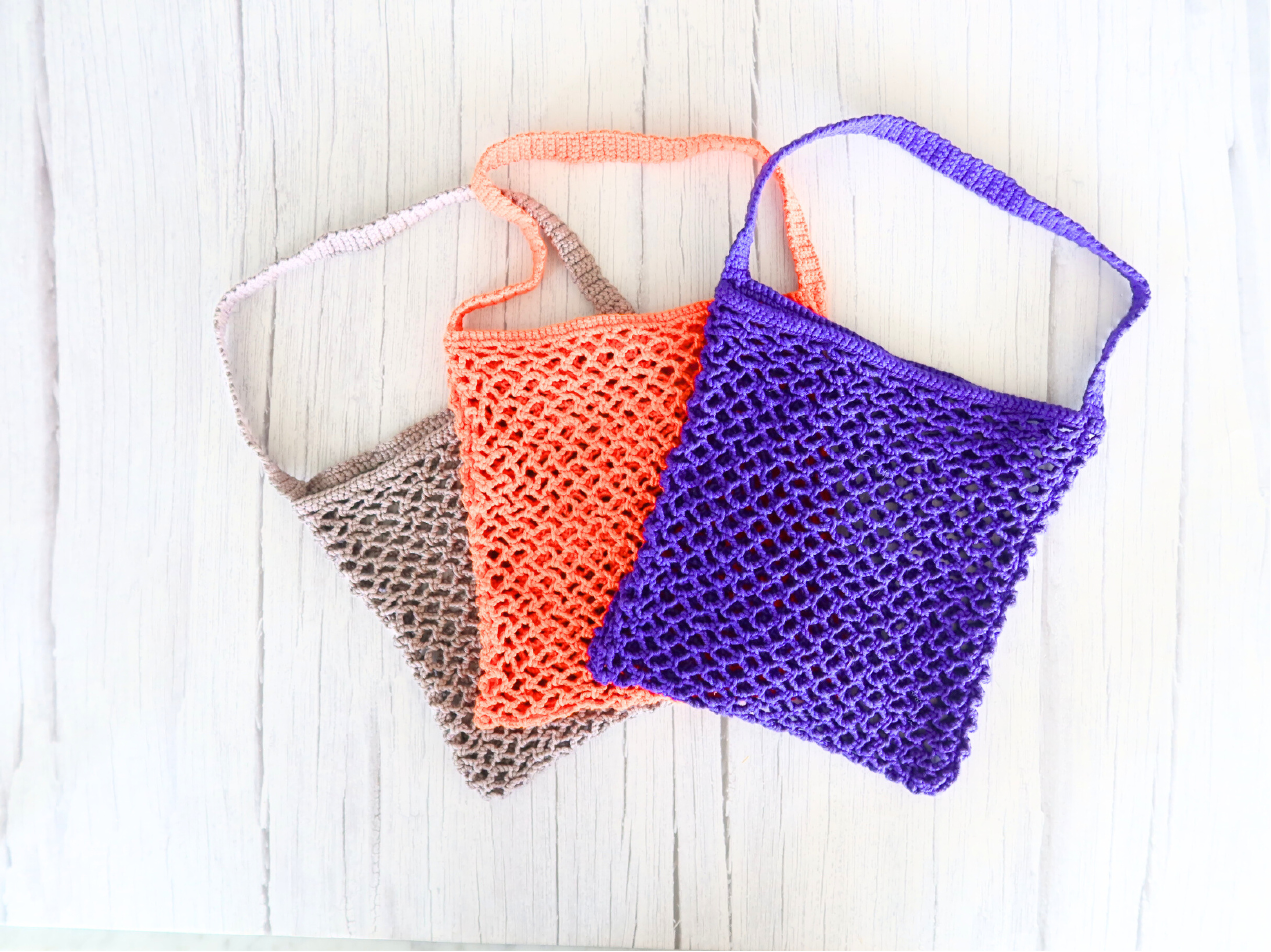
Maipo Bag Crochet Pattern Instructions
This beautiful crochet bag uses the elegant Diamond Mesh stitch to create a light and airy fabric. Follow the steps and the stitch chart below to create your own Maipo Bag.
Diamond Mesh Stitch Chart
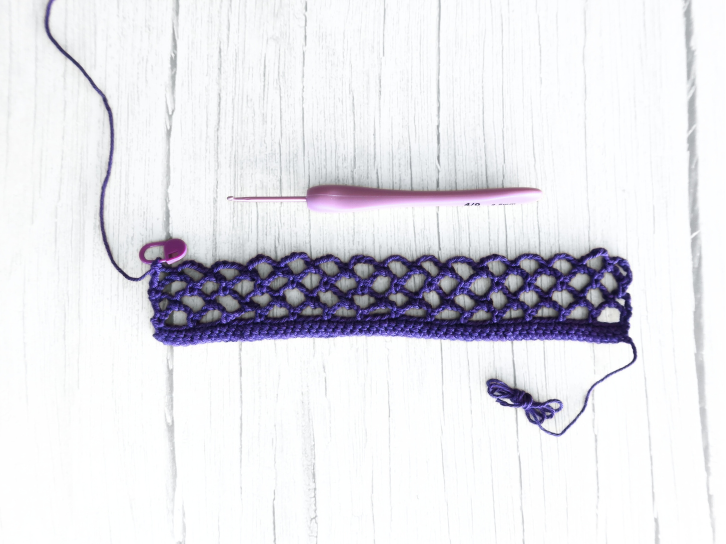
Refer to this chart for Rows 3 through 66 of the bag panel. The stitch pattern is a simple repeat of chains, single crochets, and double crochets.
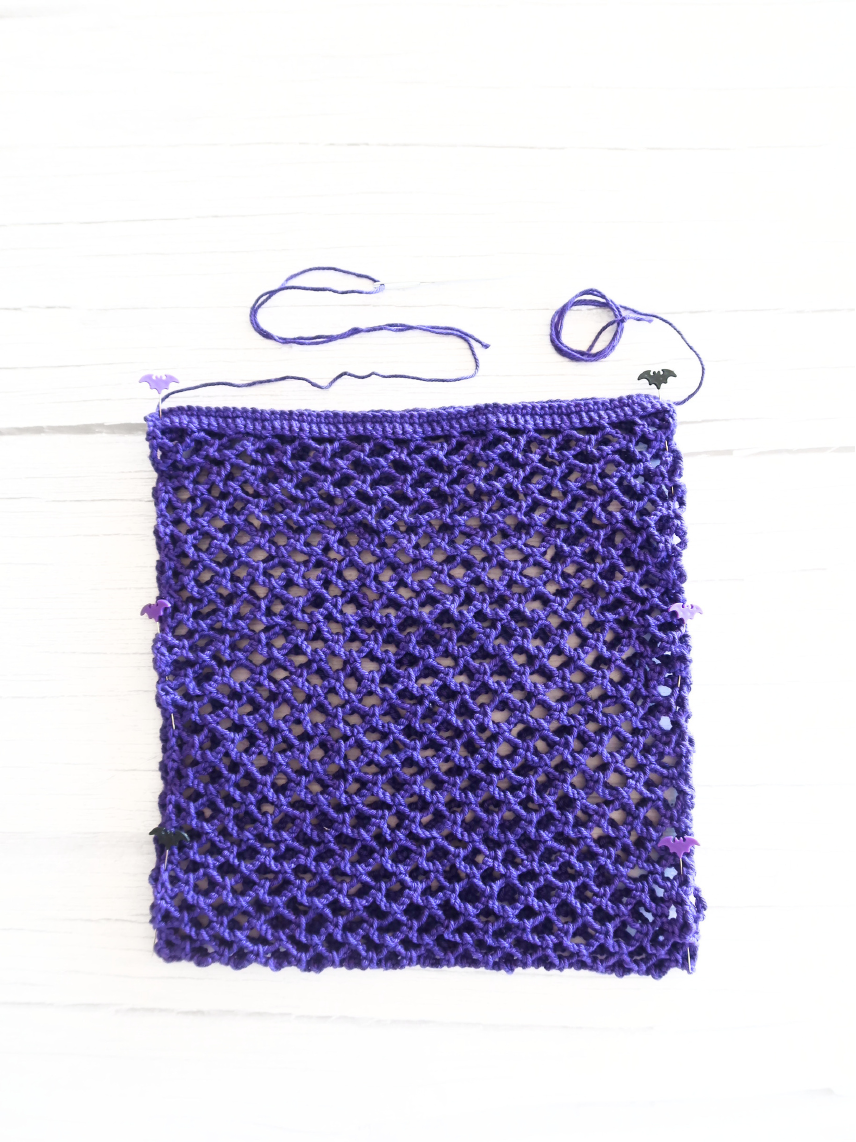
Creating the Bag Panel
Note: If you wish to adjust the bag’s size, start with a foundation chain in a multiple of 4 + 1 stitches.
- Begin by making a foundation chain of 57 chains. Make sure to leave a long 20-inch tail at the beginning; you will use this for sewing later.
- Row 1: Starting in the second chain from your hook, work 1 sc in each chain across. (56 sc)
- Row 2: Chain 1, turn. Work 1 sc in each stitch across. (56 sc)
- Rows 3 – 63: Continue by crocheting the diamond mesh stitch as detailed in the stitch chart. This will form the main body of the bag.
Finishing the Panel Edge
- Rows 64 – 66: To create a solid top edge that matches the base, follow the chart for the final three rows. These will be rows of single crochet.
- Once Row 66 is complete, cut the yarn, leaving another 20-inch tail for sewing the side seams.
Assembly and Finishing
With your rectangular panel complete, it’s time to assemble your Maipo Bag.
Sewing the Bag Body
- Fold the finished crochet panel in half with the wrong sides facing out.
- Line up the edges and use pins to hold the sides together.
- Using the long yarn tails you left and a tapestry needle, neatly sew up each side seam.
- Once both sides are securely sewn, turn the bag right side out.
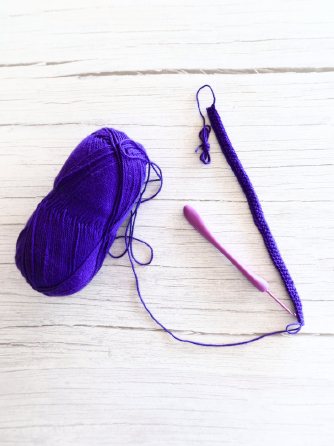
Crocheting the Strap
- To begin the strap, attach your yarn at the top edge of one of the side seams. Pick up 2 stitches on each side of the seam, for a total of 4 stitches.
- Work these 4 stitches in single crochet, turning at the end of each row.
- Continue crocheting rows of single crochet until your strap measures approximately 16 inches long, or twice the width of your bag.
Feel free to make the strap longer or shorter to suit your preference.
- Once the strap is your desired length, cut the yarn, leaving a long tail for sewing.
- Position the end of the strap on the opposite side seam of the bag and sew it securely in place.
Final Touches
- Using your tapestry needle, weave in all remaining loose ends to give your bag a clean, professional finish.
- Block your bag to help even out the stitches and achieve the final dimensions and shape.


