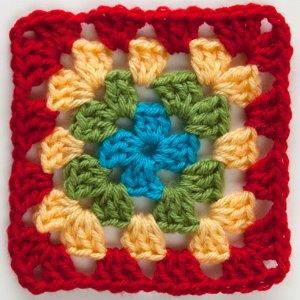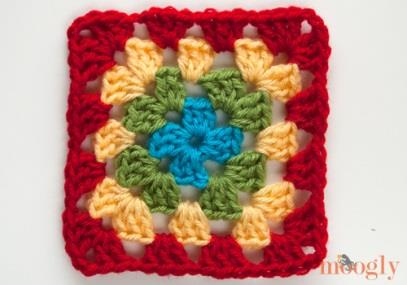
How to Crochet the Rainbow Reduction Granny Square
Materials You’ll Need
- Yarn: Worsted Weight (Category 4) Yarn in multiple colors. Choose a rainbow sequence you love!
- Crochet Hook: US H/8 (5.0 mm) hook.
- Notions:
- Scissors
- Yarn Needle (for weaving in ends)
Stitch Abbreviations (US Terms)
- ch: chain
- sl st: slip stitch
- sk: skip
- sp: space
- dc: double crochet
- CSDC: Chain Start Double Crochet (special stitch)
- STDC: Stacked Double Crochet (special stitch)
Special Stitches Explained
These special stitches are used to create a seamless, non-bulky start to each round, which is perfect for color changes. If you prefer, you can simply ch 3 at the start of each round and join with a sl st to the top of the beginning chain.
Chain Start Double Crochet (CSDC):
This replaces a beginning chain-3. It looks more like a real dc stitch.
- Chain 2.
- Yarn over, insert your hook into the 2nd chain from the hook.
- Yarn over and pull up a loop (3 loops on hook).
- Yarn over and pull through 2 loops (2 loops on hook).
- Yarn over and pull through the remaining 2 loops.
Stacked Double Crochet (STDC):
This is used to join a new color and start a round seamlessly.
- With your new color, make a slip knot and place it on your hook.
- Insert your hook into the designated stitch or space.
- Yarn over and pull up a loop (2 loops on hook).
- Yarn over and pull through 1 loop (this creates the first “chain”) (2 loops on hook).
- Yarn over and pull through both loops on the hook.
- You have now completed one Stacked Double Crochet. It is the same height as a regular dc
Pattern Instructions
The magic of this square is that each round is worked with a new color, creating the “reduction” effect as the colored bands get smaller towards the center.
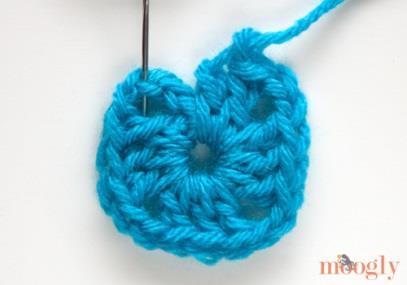
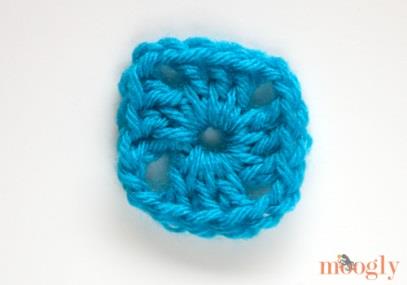
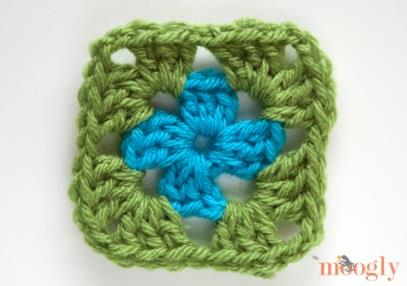
Round 1: The Center
- With your first color, chain 4.
- Join with a sl st to the first chain to form a ring.
- Work 1 CSDC into the ring. (This counts as your first dc).
- Chain 2.
- Into the ring, work (3 dc, ch 2). Repeat this sequence 3 more times. You will have 4 groups of 3 dc separated by ch-2 spaces.
- Work 2 dc into the ring. (This completes the final group, giving you 3 dc in that corner).
- Break yarn and use the seamless join method: yarn over with the tail and pull through the loop on your hook to secure. Do not join with a sl st to the top of the CSDC.
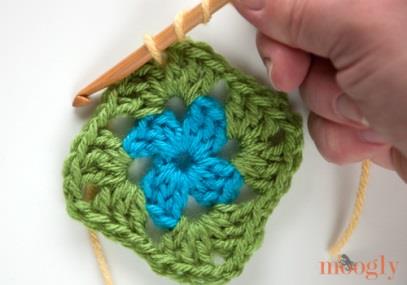
Round 2: The First Color Change
- With your next color, join yarn into one of the chain-2 spaces from Round 1 using a STDC.
- In that same ch-2 sp, work (2 dc, ch 2, 3 dc). This forms your first corner.
- *Chain 1. Skip the next 3 dc stitches.
- In the next ch-2 sp, work (3 dc, ch 2, 3 dc) to form another corner.
- Repeat from * two more times. You will work into the remaining two corners.
- After completing the last corner, chain 1.
- Break yarn and use the seamless join method to the top of the STDC you started with.
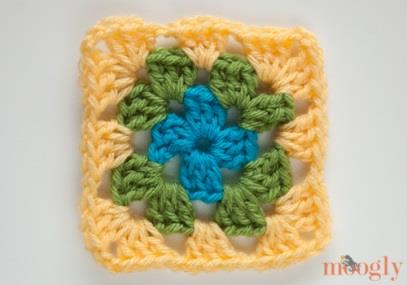
Round 3: The Pattern Emerges
- With your next color, join yarn into one of the chain-2 corner spaces from Round 2 using a STDC.
- In that same ch-2 sp, work (2 dc, ch 2, 3 dc) for the first corner.
- *Chain 1. Skip the next 3 dc stitches.
- In the next chain-1 space, work 3 dc.
- Chain 1. Skip the next 3 dc stitches.^
- In the next ch-2 corner sp, work (3 dc, ch 2, 3 dc).
- Repeat from * two more times.
- Then, you need to work the last side: repeat from * to ^ (so: ch 1, sk 3 sts, 3 dc in next ch-1 sp).
- Chain 1.
- Break yarn and seamlessly join to the top of the starting STDC
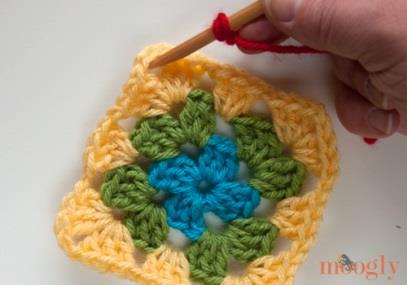
Round 4 and Beyond: Continuing the Sequence
The pattern continues logically. Each round adds another “side cluster” (3 dc in a ch-1 sp) between the corners.
Round 4 Example:
- Join new color with STDC in a corner sp.
- (2 dc, ch 2, 3 dc) in same sp.
- *[Ch 1, sk 3 sts, work 3 dc into the next ch-1 sp] twice.
- Ch 1, sk 3 sts.^
- (3 dc, ch 2, 3 dc) in next corner sp.
- Repeat from * around, then finish the last side by repeating from * to ^.
- Join and break yarn.
To continue making the square larger, simply keep adding rounds following this pattern: each new round will have one more 3-dc group on each side between the corners