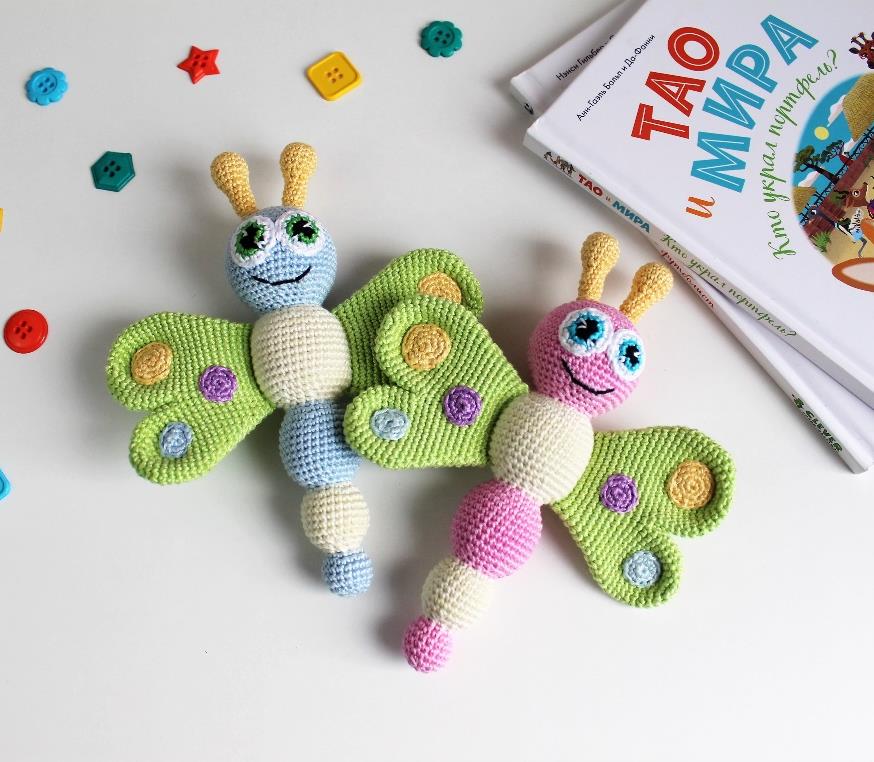
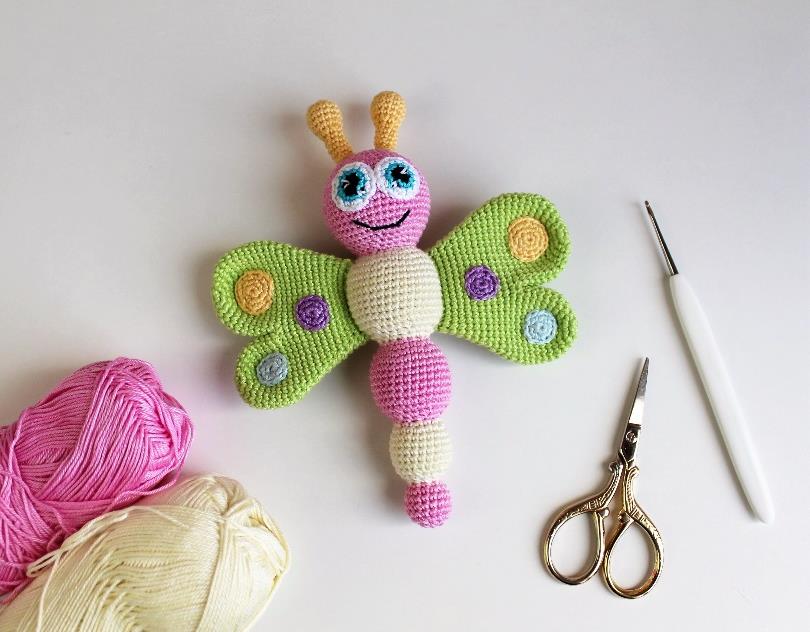
Flutter into Spring: The Adorable Butterfly Rattle Crochet Pattern
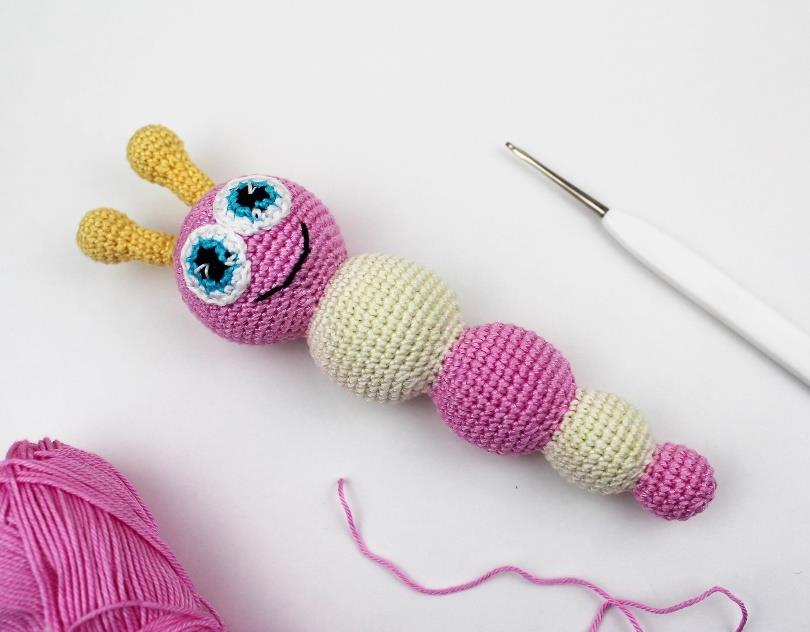
The Body: A Colorful Caterpillar of Segments
Now we continue from the head, building the body downward. Change colors for each new segment to create that beautiful striped look!
Continuing from the head:
- Rnd 22: (2 sc, inc) repeat 6 times. (24)
- Rnd 23: (3 sc, inc) repeat 6 times. (30)
- Rnd 24: (4 sc, inc) repeat 6 times. (36)
- Rnds 25-32: Work 36 sc even. (8 rounds)
- Rnd 33: (4 sc, dec) repeat 6 times. (30)
- Rnd 34: (3 sc, dec) repeat 6 times. (24)
- Rnd 35: (2 sc, dec) repeat 6 times. (18)
- Rnd 36: 1 sc, dec, 4 sc, dec, 4 sc, dec, 3 sc. (15)
Third Segment: Switch to a new color.
- Rnd 37: 1 sc, inc, 4 sc, inc, 4 sc, inc, 3 sc. (18)
- Rnd 38: (2 sc, inc) repeat 6 times. (24)
- Rnd 39: (3 sc, inc) repeat 6 times. (30)
Now, stuff the previous segment (the second one) firmly with fiberfill.
- Rnds 40-46: Work 30 sc even. (7 rounds)
- Rnd 47: (2 sc, inc) repeat 6 times. (24) *Wait—this is an increase round, which seems unusual here. Let’s double-check the original: “47p: (2c6h; prib)*6 = 24c6h.” Yes, it’s an increase, but then the next round is a decrease. We’ll follow the pattern.*
- Rnd 48: (2 sc, dec) repeat 6 times. (18)
- Rnd 49: (1 sc, dec) repeat 6 times. (12)
Fourth Segment: Switch to a new color.
- Rnd 50: (1 sc, inc) repeat 6 times. (18)
- Rnd 51: (2 sc, inc) repeat 6 times. (24)
- Rnds 52-57: Work 24 sc even. (6 rounds? The pattern says 5 rows, but lists 52-57 which is 6 rounds. We’ll do 6 rounds for symmetry.)
Stuff the third segment firmly with fiberfill.
- Rnd 58: (2 sc, dec) repeat 6 times. (18)
- Rnd 59: (1 sc, dec) repeat 6 times. (12)
- Rnd 60: (dec, 2 sc) repeat 3 times. (9)
Fifth Segment: Switch to a new color.
- Rnd 61: (inc, 2 sc) repeat 3 times. (12)
- Rnd 62: (1 sc, inc) repeat 6 times. (18)
- Rnds 63-65: Work 18 sc even. (3 rounds)
Stuff the fourth segment firmly with fiberfill.
- Rnd 66: (1 sc, dec) repeat 6 times. (12)
- Rnd 67: 6 dec. (6)
Stuff the fifth (and final) segment lightly. Fasten off, leaving a tail.
Closing the End: Thread the yarn tail onto a needle. Weave it through the front loops of the last 6 stitches. Pull tight to close the hole completely. Secure with a knot and hide the end inside the body.
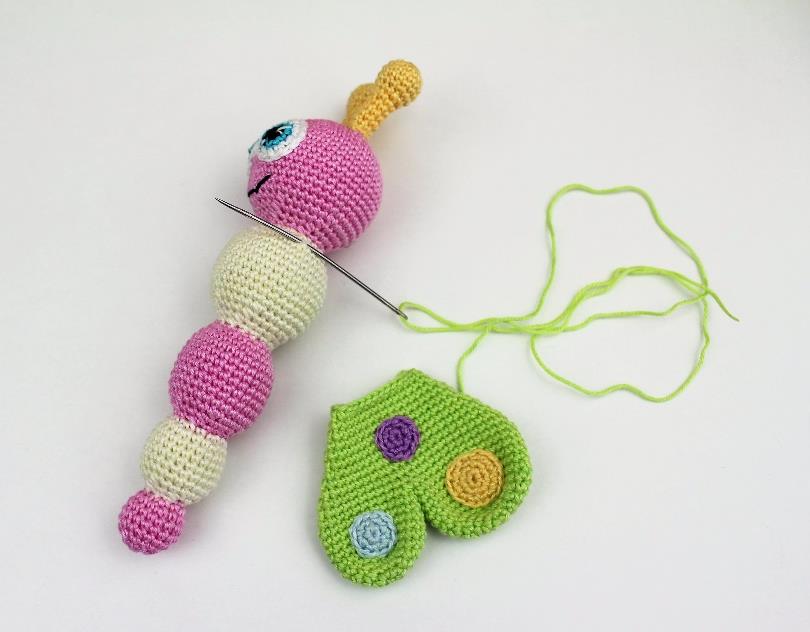
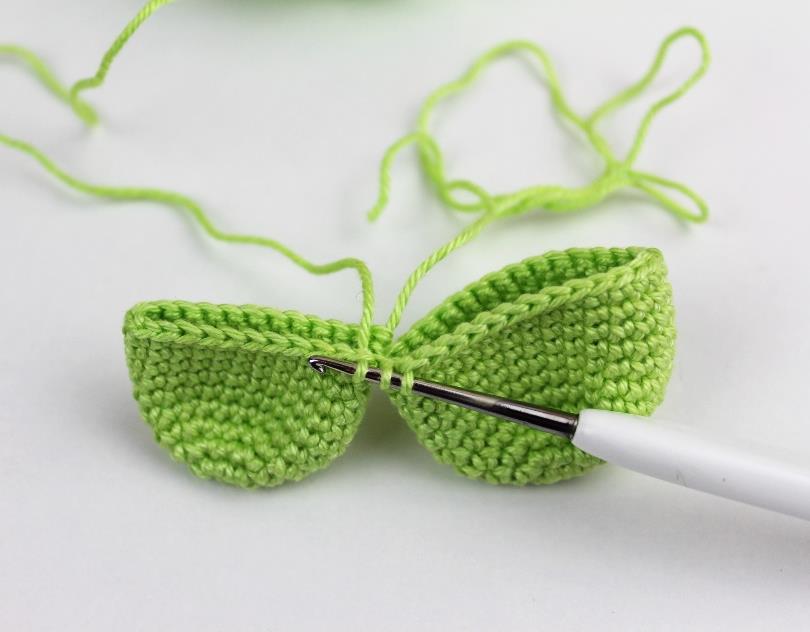
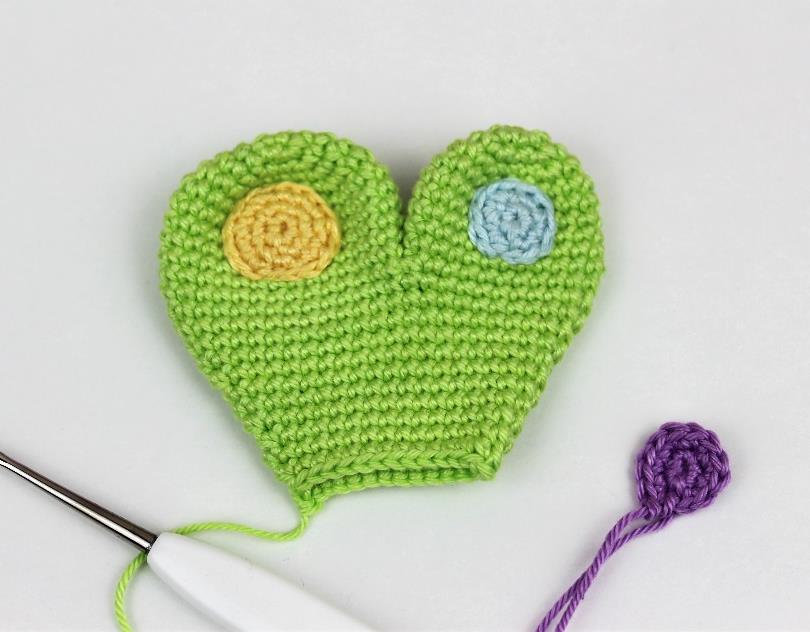
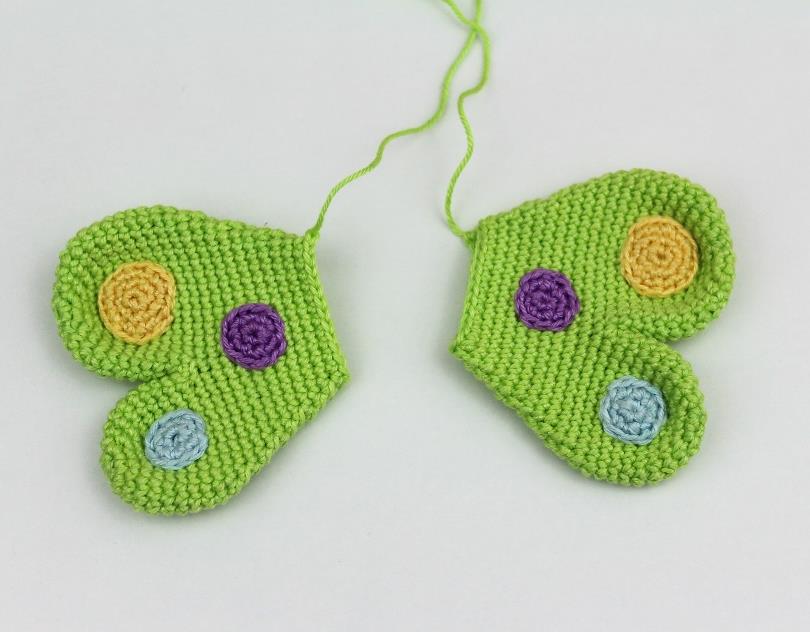
Beautiful Wings: Crocheting and Assembling
The wings are made in two parts that are joined together, then shaped with decreases.
First Wing Piece
- Rnd 1: Ch 2, work 6 sc in the second ch from the hook. (6)
- Rnd 2: 6 inc. (12)
- Rnd 3: (1 sc, inc) repeat 6 times. (18)
- Rnd 4: (2 sc, inc) repeat 6 times. (24)
- Rnds 5-10: Work 24 sc even. (6 rounds)
Fasten off, leaving a short tail. Pull the yarn through the last stitch to secure.
Second Wing Piece
- Rnd 1: Ch 2, work 6 sc in the second ch from the hook. (6)
- Rnd 2: 6 inc. (12)
- Rnd 3: (1 sc, inc) repeat 6 times. (18)
- Rnd 4: (2 sc, inc) repeat 6 times. (24)
- Rnd 5: (3 sc, inc) repeat 6 times. (30)
- Rnds 6-11: Work 30 sc even. (6 rounds)
Do not fasten off. We’ll use this yarn to join the pieces.