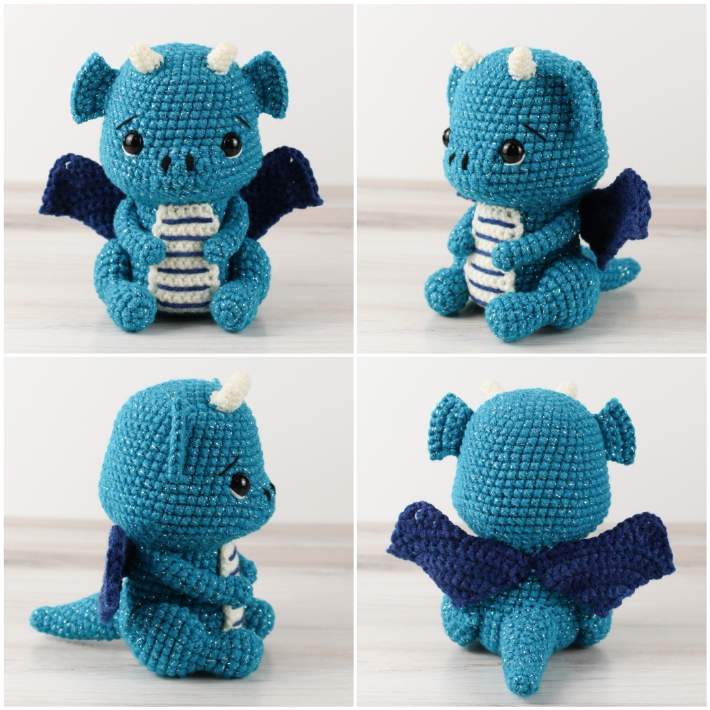
Crochet Your Own George the Dragon
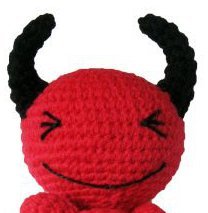
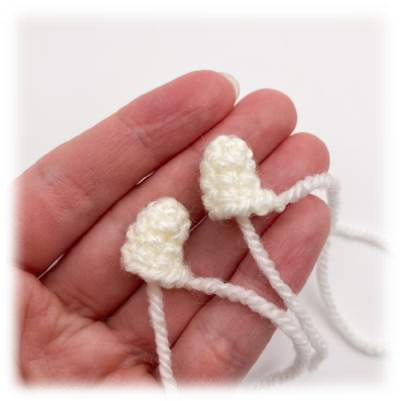
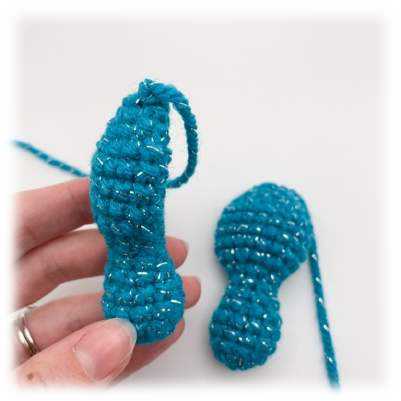
Horns (Make 2, Using Sport Weight Cream & 2.75mm hook)
*Tip: Using worsted weight? Just make R1-R4 and fasten off to prevent oversized horns._
R1: Magic ring, sc 4. (4 sts)
R2: Inc, sc 3. (5 sts)
R3: Inc, sc 4. (6 sts)
R4: Inc, sc 5. (7 sts)
R5: Inc, sc 6. (8 sts)
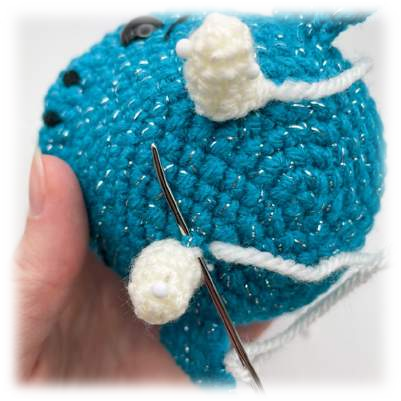
Fasten off, leaving a long tail. Do not stuff. Sew the horns to the top of the head over Rounds 5-7, about 4-5 stitches apart.
Tummy Piece (Using CC2 – Cream Worsted Weight)
Worked in rows.
R1: Ch 8. Starting in the 2nd ch from the hook, sc 7. Ch 1, turn. (7 sts)
R2-R11: Sc 7. Ch 1, turn. (10 rows)
R12: Dec, sc 3, dec. (5 sts)
Fasten off, leaving a long tail.
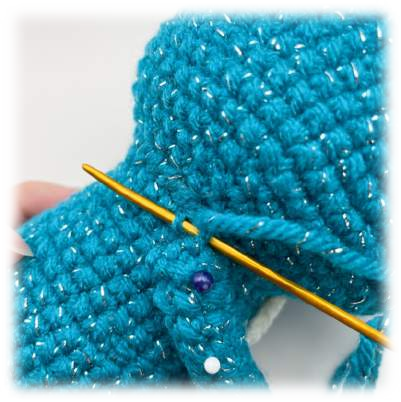
Decorating: Use dark blue yarn to embroider horizontal stripes across the front of the tummy piece. Pin it centered onto the front of the body, with the decreases at the top. Whipstitch it securely in place.
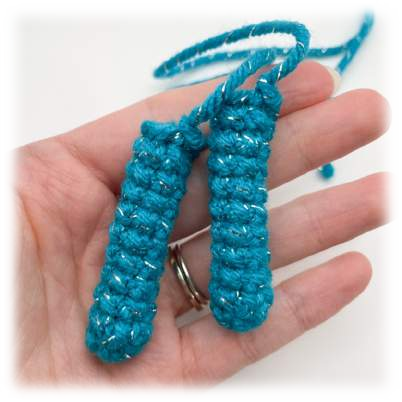
Arms (Make 2, Using MC)
R1: Magic ring, sc 6. (6 sts)
R2-R11: Sc in each st around. (10 rounds of 6 sts)
Fasten off, leaving a long tail.
Sew the open end closed to create a flat edge. Position the arms on the sides of the body over Rounds 13-16, angled slightly and overlapping the tummy. Sew the flat edge to the body. To secure them, bring the yarn through the body and out the tip of the paw, then back through to the body. Tie the tails from both arms together inside the body for extra security.
Legs (Make 2, Using MC)
R1: Magic ring, sc 6. (6 sts)
R2: Inc around. (12 sts)
R3-R5: Sc around. (3 rounds of 12 sts)
R6: Sc 1, dec rep around. (8 sts)
R7-R8: Sc around. (2 rounds of 8 sts)
R9: Sc 1, inc rep around. (12 sts)
R10: Sc 1, inc rep 6 times. (18 sts)
R11-R14: Sc around. (4 rounds of 18 sts)
R15: Sc 1, dec rep around. (12 sts)
R16: Sc 2, dec rep around. (9 sts)
R17: Sc 1, dec rep around. (6 sts)
Fasten off, leaving a long tail.
Stuff the feet firmly and the thighs lightly. Flatten the backs and sew the open end closed. Position the legs on the body so your dragon can sit upright (around Rounds 9-11 is a good start). Sew the flat edge to the body and secure the paws to the body using the same method as the arms.

Tail (Using MC)
R1: Magic ring, sc 4. (4 sts)
R2: Inc, sc 2, inc. (6 sts)
R3: Sc around. (6 sts)
R4: Inc, sc 4, inc. (8 sts)
R5: Sc around. (8 sts)
R6: Inc, sc 6, inc. (10 sts)
R7: Sc around. (10 sts)
R8: Inc, sc 8, inc. (12 sts)
R9: Sc around. (12 sts)
R10: Inc, sc 10, inc. (14 sts)
R11: Sc around. (14 sts)
R12: Inc, sc 12, inc. (16 sts)
R13: Sc around. (16 sts)
Fasten off, leaving a long tail.
Stuff firmly. Pin the tail to the back of the body (around Rounds 5-11), with the tip pointing up, ensuring George can still sit. Whipstitch it securely in place.
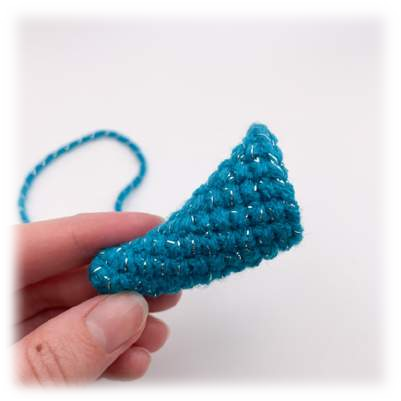
Wings (Make 2, Using CC1 – Dark Blue)
Worked in rows.
R1: Ch 2. Starting in the 2nd ch from the hook, inc. Ch 1, turn. (2 sts)
R2: Inc rep twice. Ch 1, turn. (4 sts)
R3: Inc, sc 2, inc. Ch 1, turn. (6 sts)
R4: Inc, sc 4, inc. Ch 1, turn. (8 sts)
R5: Inc, sc 6, inc. Ch 1, turn. (10 sts)
R6: Inc, sc 8, inc. Ch 1, turn. (12 sts)
R7: Inc, sc 10, inc. Ch 1, turn. (14 sts)
R8: Inc, sc 13. Ch 1, turn. (15 sts)
R9: Sc 14, inc. Ch 1, turn. (16 sts)
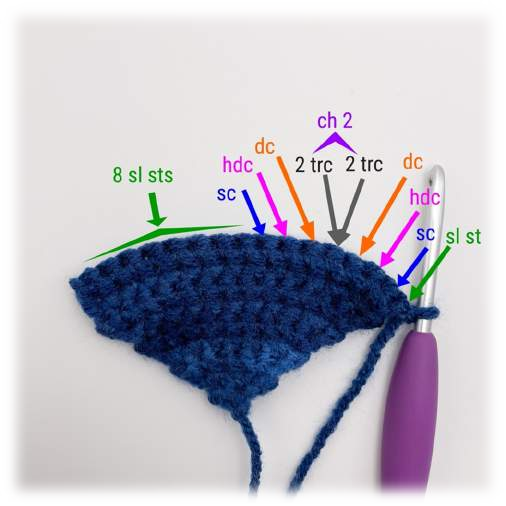
R10: In the next 16 sts work: Sl st 1, sc 1, hdc 1, dc 1, in the next st work [trc 2, ch 2, trc 2], dc 1, hdc 1, sc 1, sl st 1 in each remaining st. (19 sts)
Fasten off, leaving a long tail.
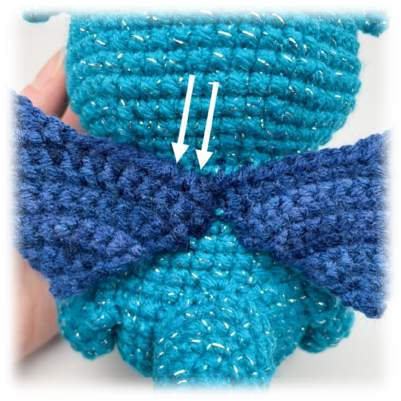
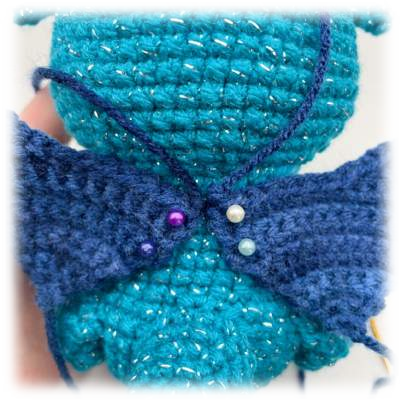
Pin the wings to the back, angling them so the tops are close together and the bottoms flare out. Whipstitch the short straight edge to the body. If needed, add a stitch at the top of the wing (Round 10) to help it stay forward.
You Did It!
Congratulations, you incredible maker! You’ve just created your very own George the Dragon. Give him a little squeeze—he’s been waiting to go on an adventure with you