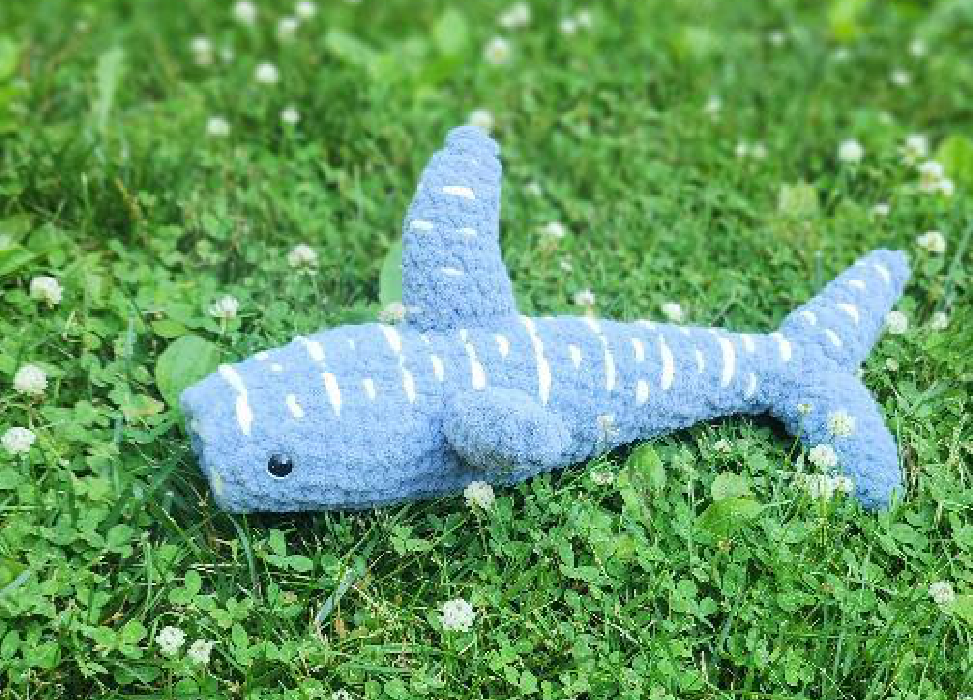
Crochet Whale Shark Pattern
Assembly & Finishing
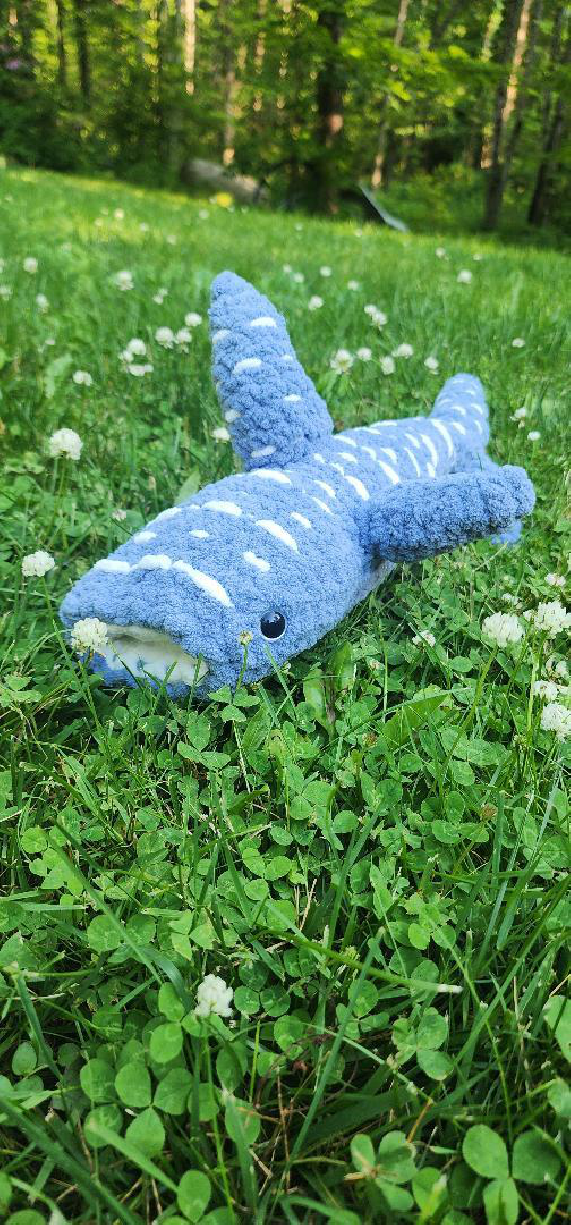
Now it’s time to bring all your crocheted pieces together to form your majestic whale shark!
-
- Stuffing: Ensure all fins are lightly stuffed.
- Side Fins: Attach two of the smaller fins to the sides of the body, sewing them between Rnds 22 and 26.
- Dorsal Fin: Sew the dorsal fin onto the top of the body, positioning it from Rnd 21 to Rnd 27.
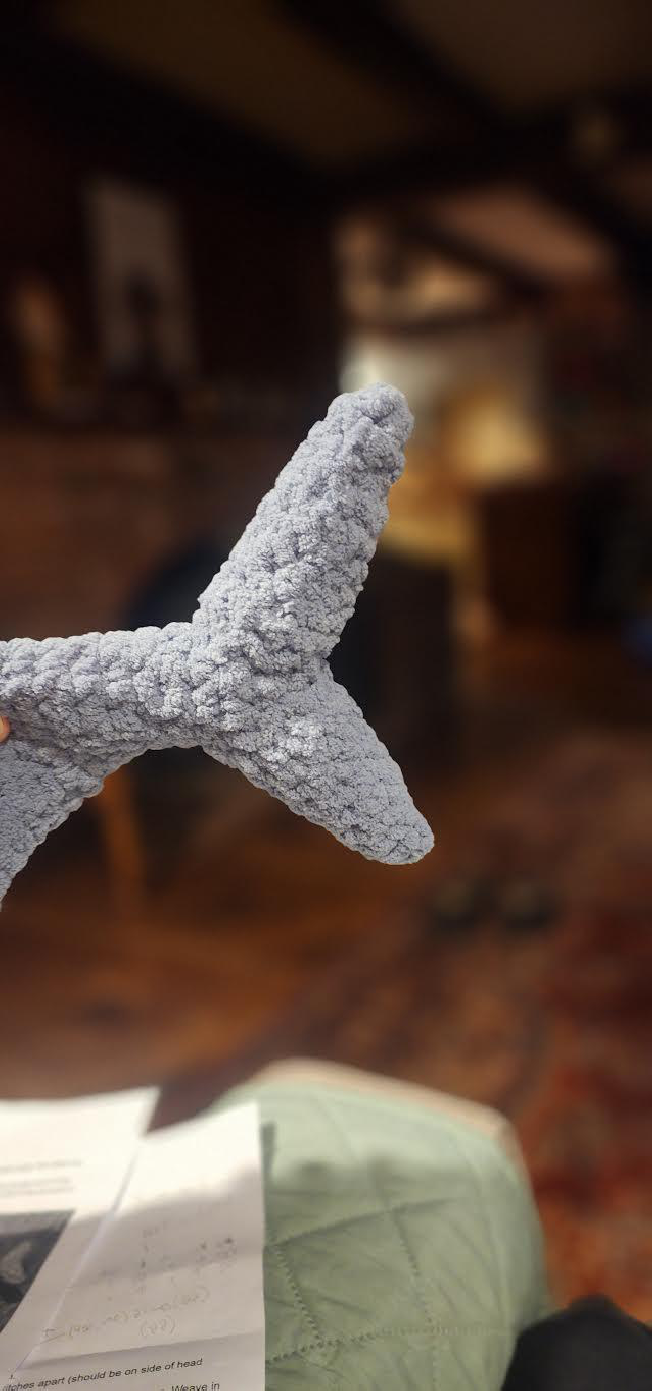
- Tail Fins: Take one of the remaining fins and sew it to the very end of the body at a slightly upward angle. Then, attach the second fin to the base of the first tail fin, creating a split tail effect.
- Mouth: Gently push the folded mouth piece into the body opening. Line up the open part of the mouth with the last round of the body. Use the long tail left from the body to securely sew the mouth in place, ensuring it fits snugly.

Tips for Beginners
Working with Bernat Blanket Yarn and a larger hook can be a fun experience! If you’re new to amigurumi or this type of yarn, here are a few pointers:
- Stitch Markers are Your Friend: The fluffy nature of blanket yarn can make stitches hard to see. A stitch marker at the beginning of each round is crucial for staying on track.
- Counting is Key: Double-check your stitch counts after each round, especially on increase/decrease rounds, to maintain the correct shaping of your whale shark.
- Stuffing Consistency: For amigurumi, stuff firmly but evenly. Avoid overstuffing, especially for the body, as the pattern suggests to allow for a flatter profile and mouth insertion.
- Practice Sewing: Attaching pieces neatly is a skill that improves with practice. Take your time, use plenty of pins to hold pieces in place before sewing, and hide yarn tails well.
Enjoy creating your adorable large crochet whale shark! This amigurumi project makes a wonderful gift or a charming addition to any ocean-themed collection.