Crochet the Daisy Top: A Free & Flirty Bralette Pattern
Part 4: Edging and Final Straps
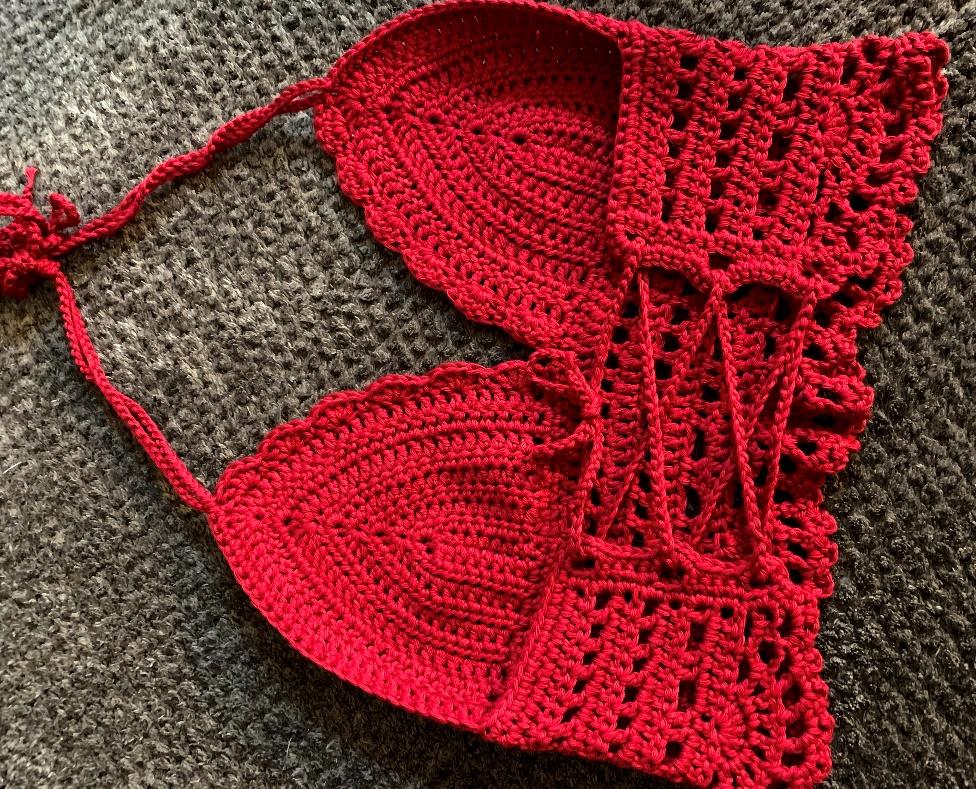
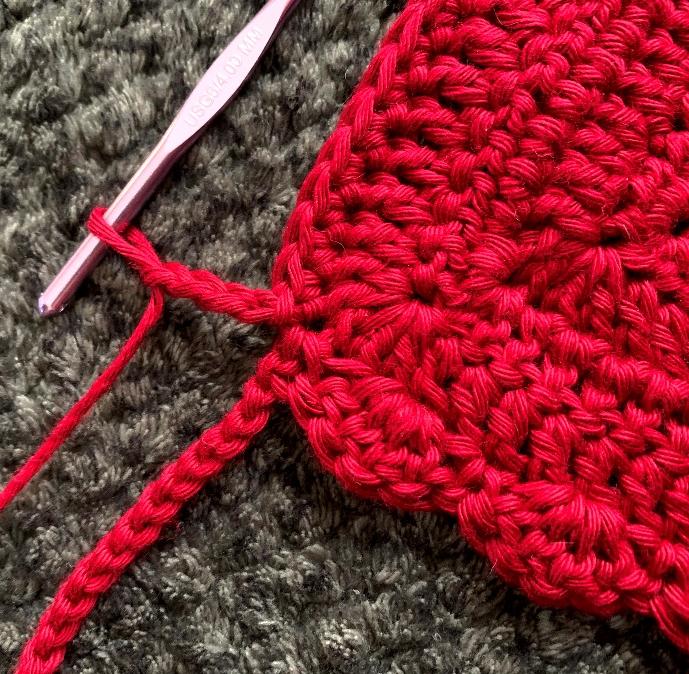
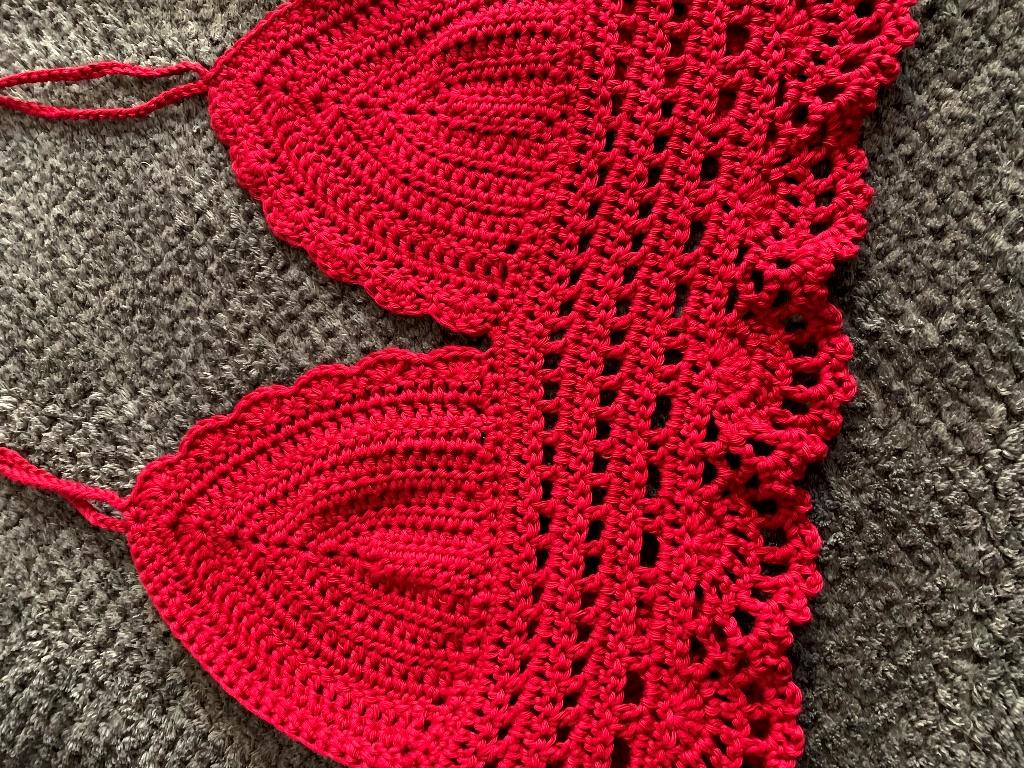
- Side Edging: Turn your work 90 degrees and work single crochet (sc) evenly along the side of the waistband and cup. You can add multiple rows of sc here to widen the side band for more coverage.
- Bottom Edging: Work a decorative picot-like edging along the bottom of the waistband: (Sc, Ch 3, Sc) in chain spaces.
- Second Side Edging: Repeat the side edging on the other side of the top.
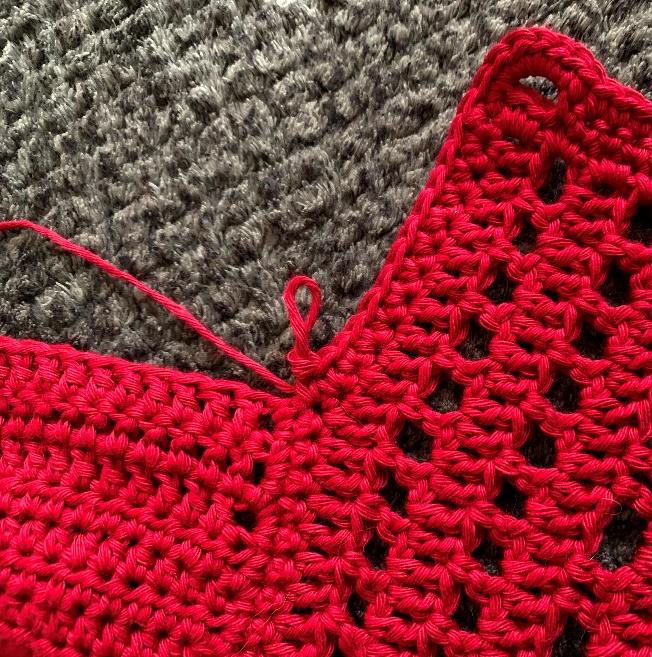
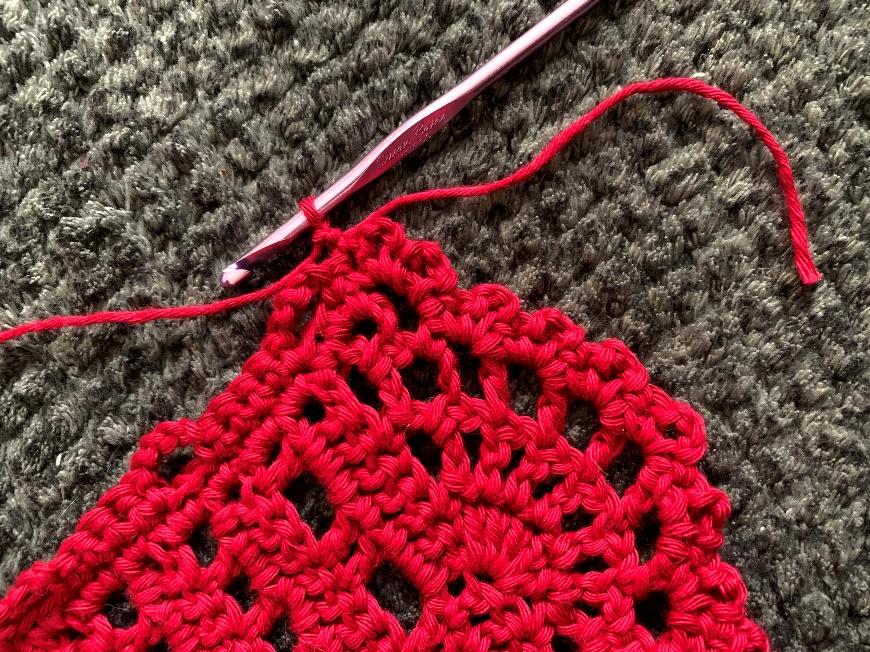
- Perimeter Edging: Work a round of sc around the entire top for a clean finish. Make sure to work 5 sc in each chain-4 space along the sides.
- Final Straps: Chain a long strap (approx. 3-4 feet) to weave through the waistband. Chain a second strap to match the first neck strap on the other side if needed.
- Weave in all ends.
Tips for Success
- Check Gauge: This is crucial for a garment! Make a small swatch to ensure your measurements match the pattern’s gauge.
- Try As You Go: Don’t be afraid to try the cups on as you make them to check for fit. You can always add an extra increase row for more coverage.
- Mark Your Place: Use stitch markers to denote the center of your cups and the beginning of rounds in the waistband. It will save you a lot of counting!
- Blocking: Gently block your finished top. It will even out the stitches and give it a more professional finish.
Final Thoughts
Congratulations! You’ve just created a beautiful, handmade Daisy Top that is uniquely yours. This project is a fantastic way to build your garment-making skills and create a trendy, customizable piece for your wardrobe.