Crochet Smile Coaster Pattern
Materials
Get ready to create this cheerful crochet smile coaster! Here’s what you’ll need to get started.
- 5 mm crochet hook
- Bernat Premium #4 worsted (medium) yarn in Yellow, Red, and Black
- Yarn needle
- Scissors
Abbreviations
This pattern is written using standard US crochet terminology.
- st/sts: stitch/stitches
- sl st: slip stitch
- Ch: chain
- HDC: half double crochet
- DC: double crochet
Finished Size
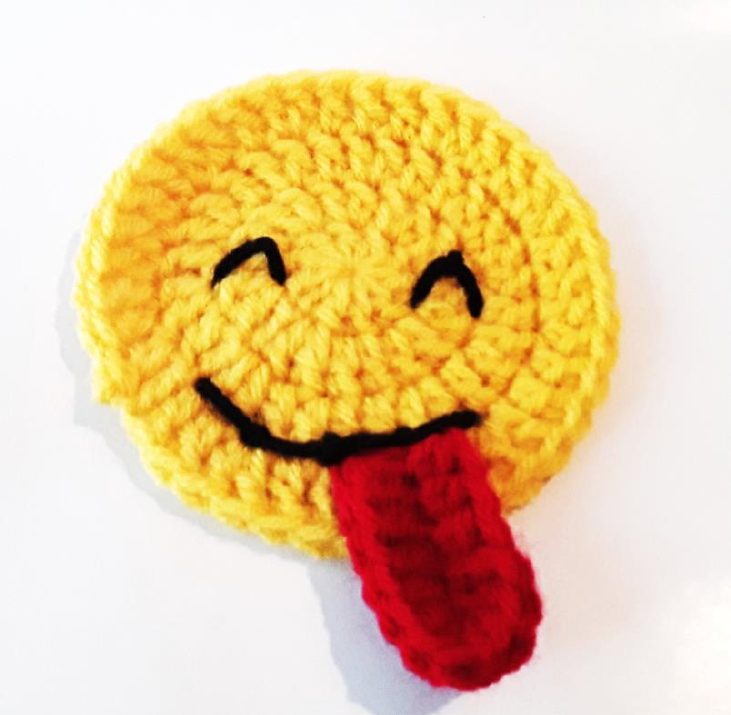
When complete, your coaster will have a diameter of approximately 10 cm.
Pattern Notes
- All rounds are joined with a slip stitch.
- Work the joining slip stitch into the first actual stitch of the round, not into the starting chains.
- The stitch count at the end of each round is noted in brackets, like this: (10 sts).
- The stitch count does not include chains or slip stitches.
Crochet Smile Coaster: Free Pattern Instructions
Follow these steps to crochet the main parts of your coaster.
The Face (Yellow Yarn)
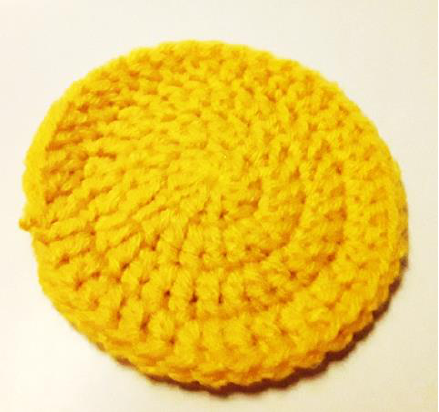
This creates the main circular base of the coaster.
Round 1: Make a magic circle, Ch 2, then work 10 DC into the magic circle. Join with a sl st to the first DC. (10 sts)
Round 2: Ch 2, make 2 DC in each st around. Join with a sl st. (20 sts)
Round 3: Ch 2, *make 2 DC in the first st, followed by 1 DC in the next st.* Repeat from * to * around. Join with a sl st. (30 sts)
Round 4: Ch 2, *make 1 DC in the next 2 sts, followed by 2 DC in the next st.* Repeat from * to * around. Join with a sl st. (40 sts)
Fasten off and weave in the ends.
The Tongue (Red Yarn)
This small detail adds a playful touch to your coaster.
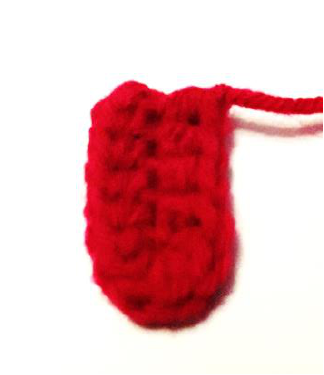
Round 1: Ch 6. Starting in the second Ch from the hook, make 1 HDC in each of the next 4 sts. In the last st, make 5 HDC. Your work will naturally start to turn; allow it to turn and continue working along the other side of the starting chain. In the remaining 4 sts, make 1 HDC in each st. (13 sts)
Fasten off, leaving a 10 cm yarn tail for sewing the tongue to the face later.
Tip: To hide the starting yarn tail, hold it along the edge of the stitches as you work the final 4 HDC, crocheting around the tail to secure it within your stitches.
Assembly and Finishing
Now it’s time to bring your coaster to life by adding the facial features.
How to Embroider the Smile
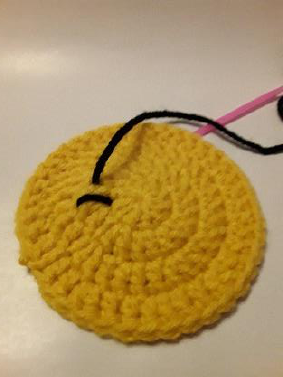
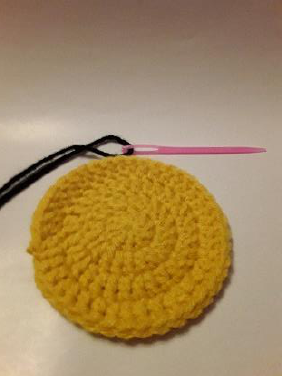
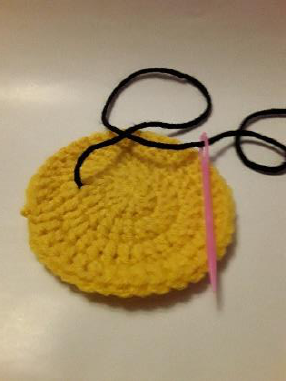
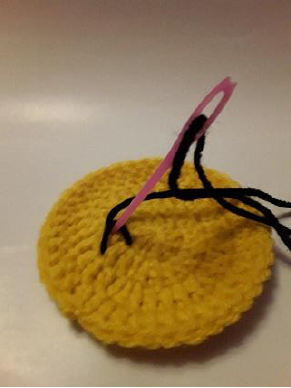
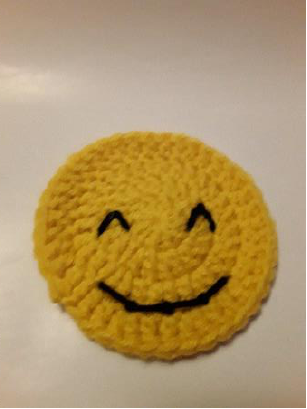
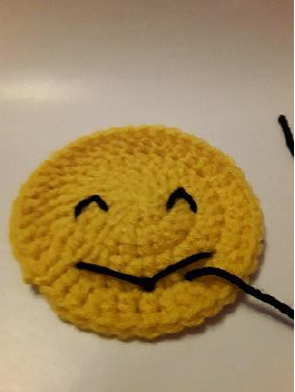
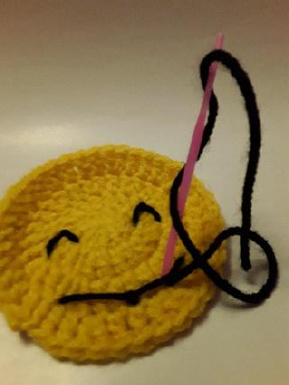
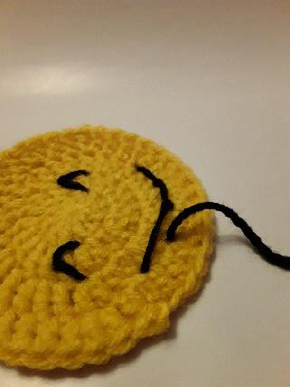
You will need about 40 cm of black yarn and a yarn needle for this step. Follow the images below for a visual guide.
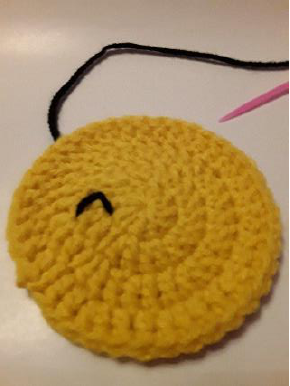
Step 1: Create the Eyes
Using the black yarn, embroider two small “^” shapes for the eyes, positioning them between rounds 2 and 3 of the yellow face.
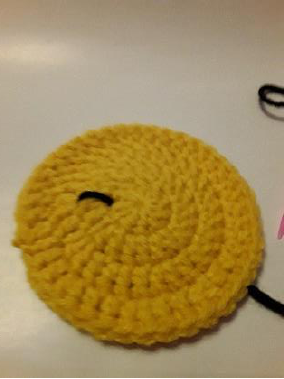
Step 2: Create the Mouth
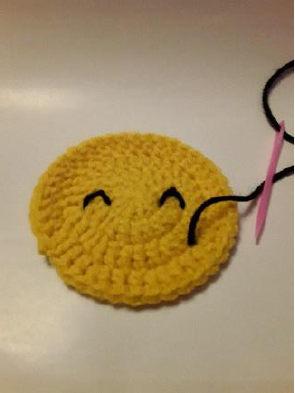
Next, stitch a wide, curved smile below the eyes, stretching between rounds 3 and 4.
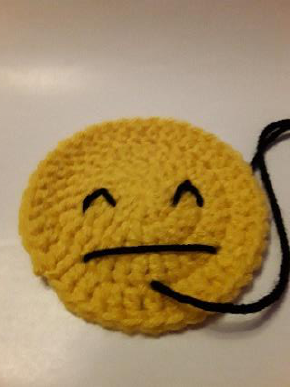
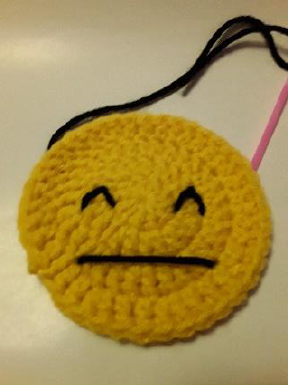
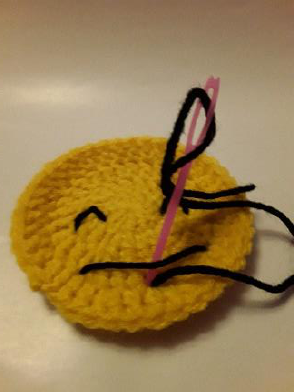
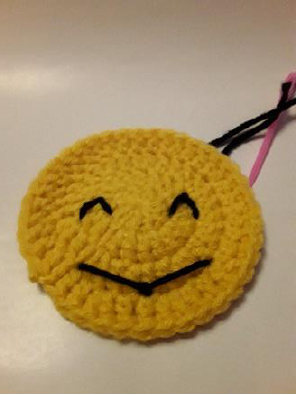
Step 3: Secure and Trim the Yarn
On the back of the coaster, securely tie off the black yarn ends and trim any excess to keep the back neat.
Attaching the Tongue
Using the long red yarn tail left from making the tongue, sew it onto the face. Position it slightly off-center on the mouth for a cute, winking-face emoji look. Once secure, weave in the final end on the back of the coaster.
Your cheerful smile coaster is now complete and ready to brighten up your day!


