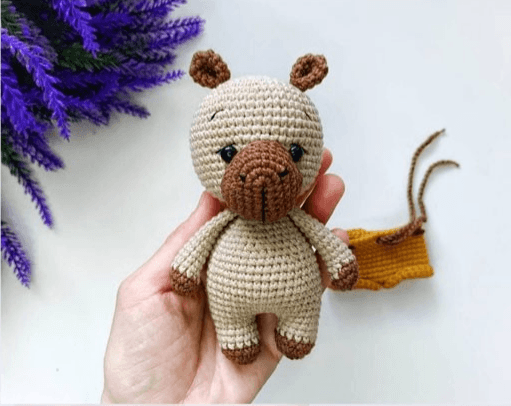
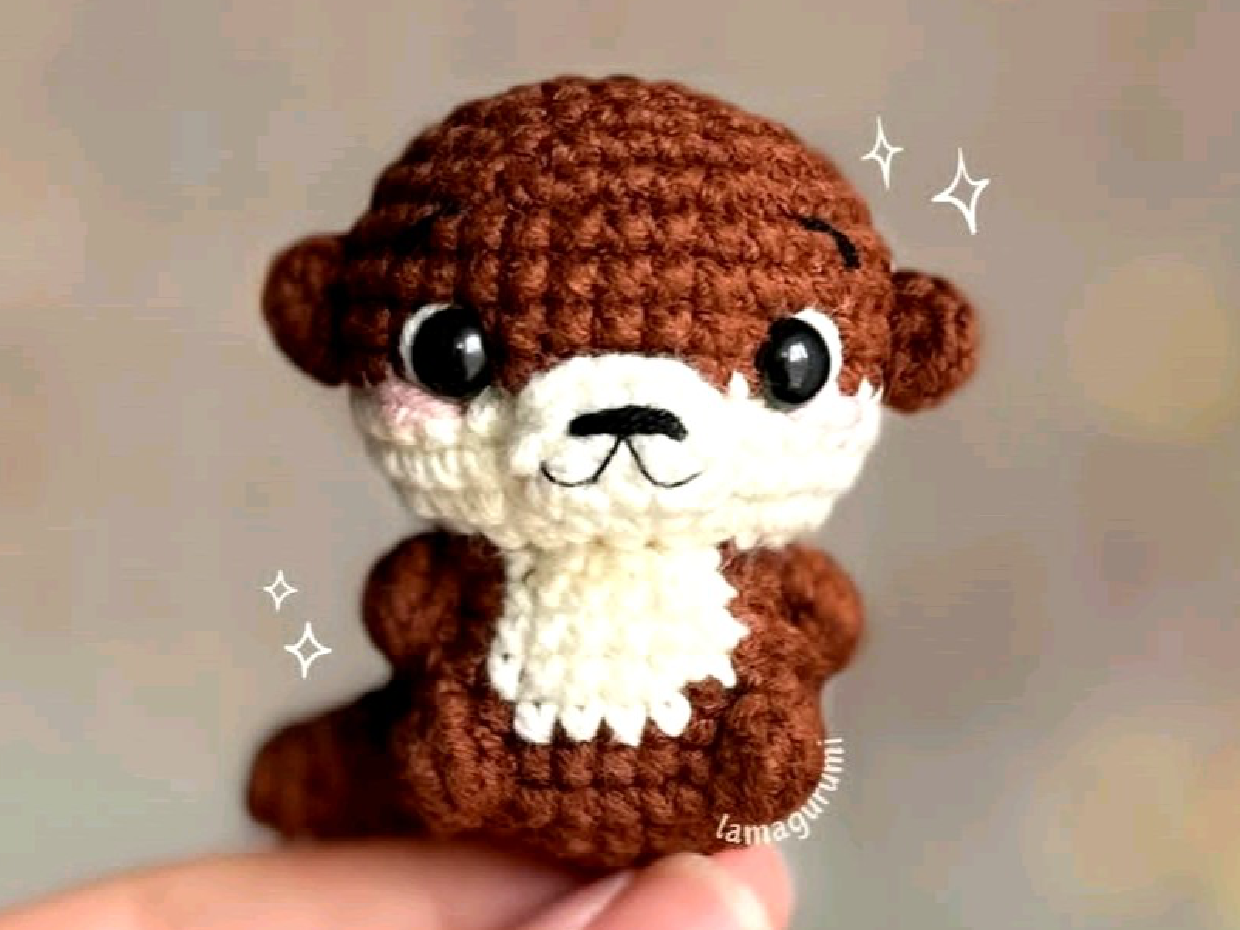
Crochet Otter Amigurumi Pattern
Materials for Your Amigurumi Otter
To crochet your adorable amigurumi otter, gather the following supplies:
- Yarns: Alize Cotton Gold 690 (Brown), Alize Cotton Gold 01 (Cream)
- Hook: 2.00 mm crochet hook
- Tools: Scissors, Needle, Tweezers
- Eyes: 6 mm safety eyes
- Stuffing: Soft stuffing (fiberfill)
Abbreviations Used in This Pattern
Familiarize yourself with these standard crochet abbreviations before you begin:
- Sc: Single Crochet
- Inc: Increase (2 single crochets in the same stitch)
- Dec: Decrease (single crochet 2 stitches together)
- Dc: Double Crochet
- Pc: Popcorn Stitch
- Flo: Front Loops Only
- Sl St: Slip Stitch
- Ch: Chain
- FO: Fasten Off
Special Techniques: Popcorn Stitch Tutorial
The popcorn stitch adds a lovely texture to your amigurumi. Here’s a step-by-step guide:
- Step 1: Make 5 double crochets (dc) into the same stitch.
- Step 2: Remove your hook from the last stitch you made.
- Step 3: Insert your hook into the first double crochet you made (of the 5 dc).
- Step 4: Now, re-insert your hook into the last stitch of the 5 dc.
- Step 5: Pull the loop from the last stitch through the first double crochet. Once the loop is around your hook, you can gently tighten it.
Crochet Instructions for Your Otter
This pattern includes instructions for making the ears, nose, tail, and body of your adorable otter. The main body and appendages are typically crocheted with brown yarn, while the nose area uses cream yarn for a distinctive look.
Ears (Make 2)
Start by creating two identical ears using your brown yarn.
- R1: In a magic ring, work 6 sc.
- Tighten the magic ring to close.
Make a second ear following these same steps. Set them aside for assembly later.
Nose
The nose gives your otter character! Use cream yarn for this part.
- R1: Make a slip knot and chain 4.
- R2: Starting from the 2nd chain from the hook, work (1 inc, 1 sc, 1 inc) twice. (10 stitches)
- R3: Sl st, chain 1, then work 10 sc around. Finish with a sl st into the first sc. (10 stitches)
Fasten off (FO) and cut the yarn, leaving a long tail for sewing.
Pages: 1 2