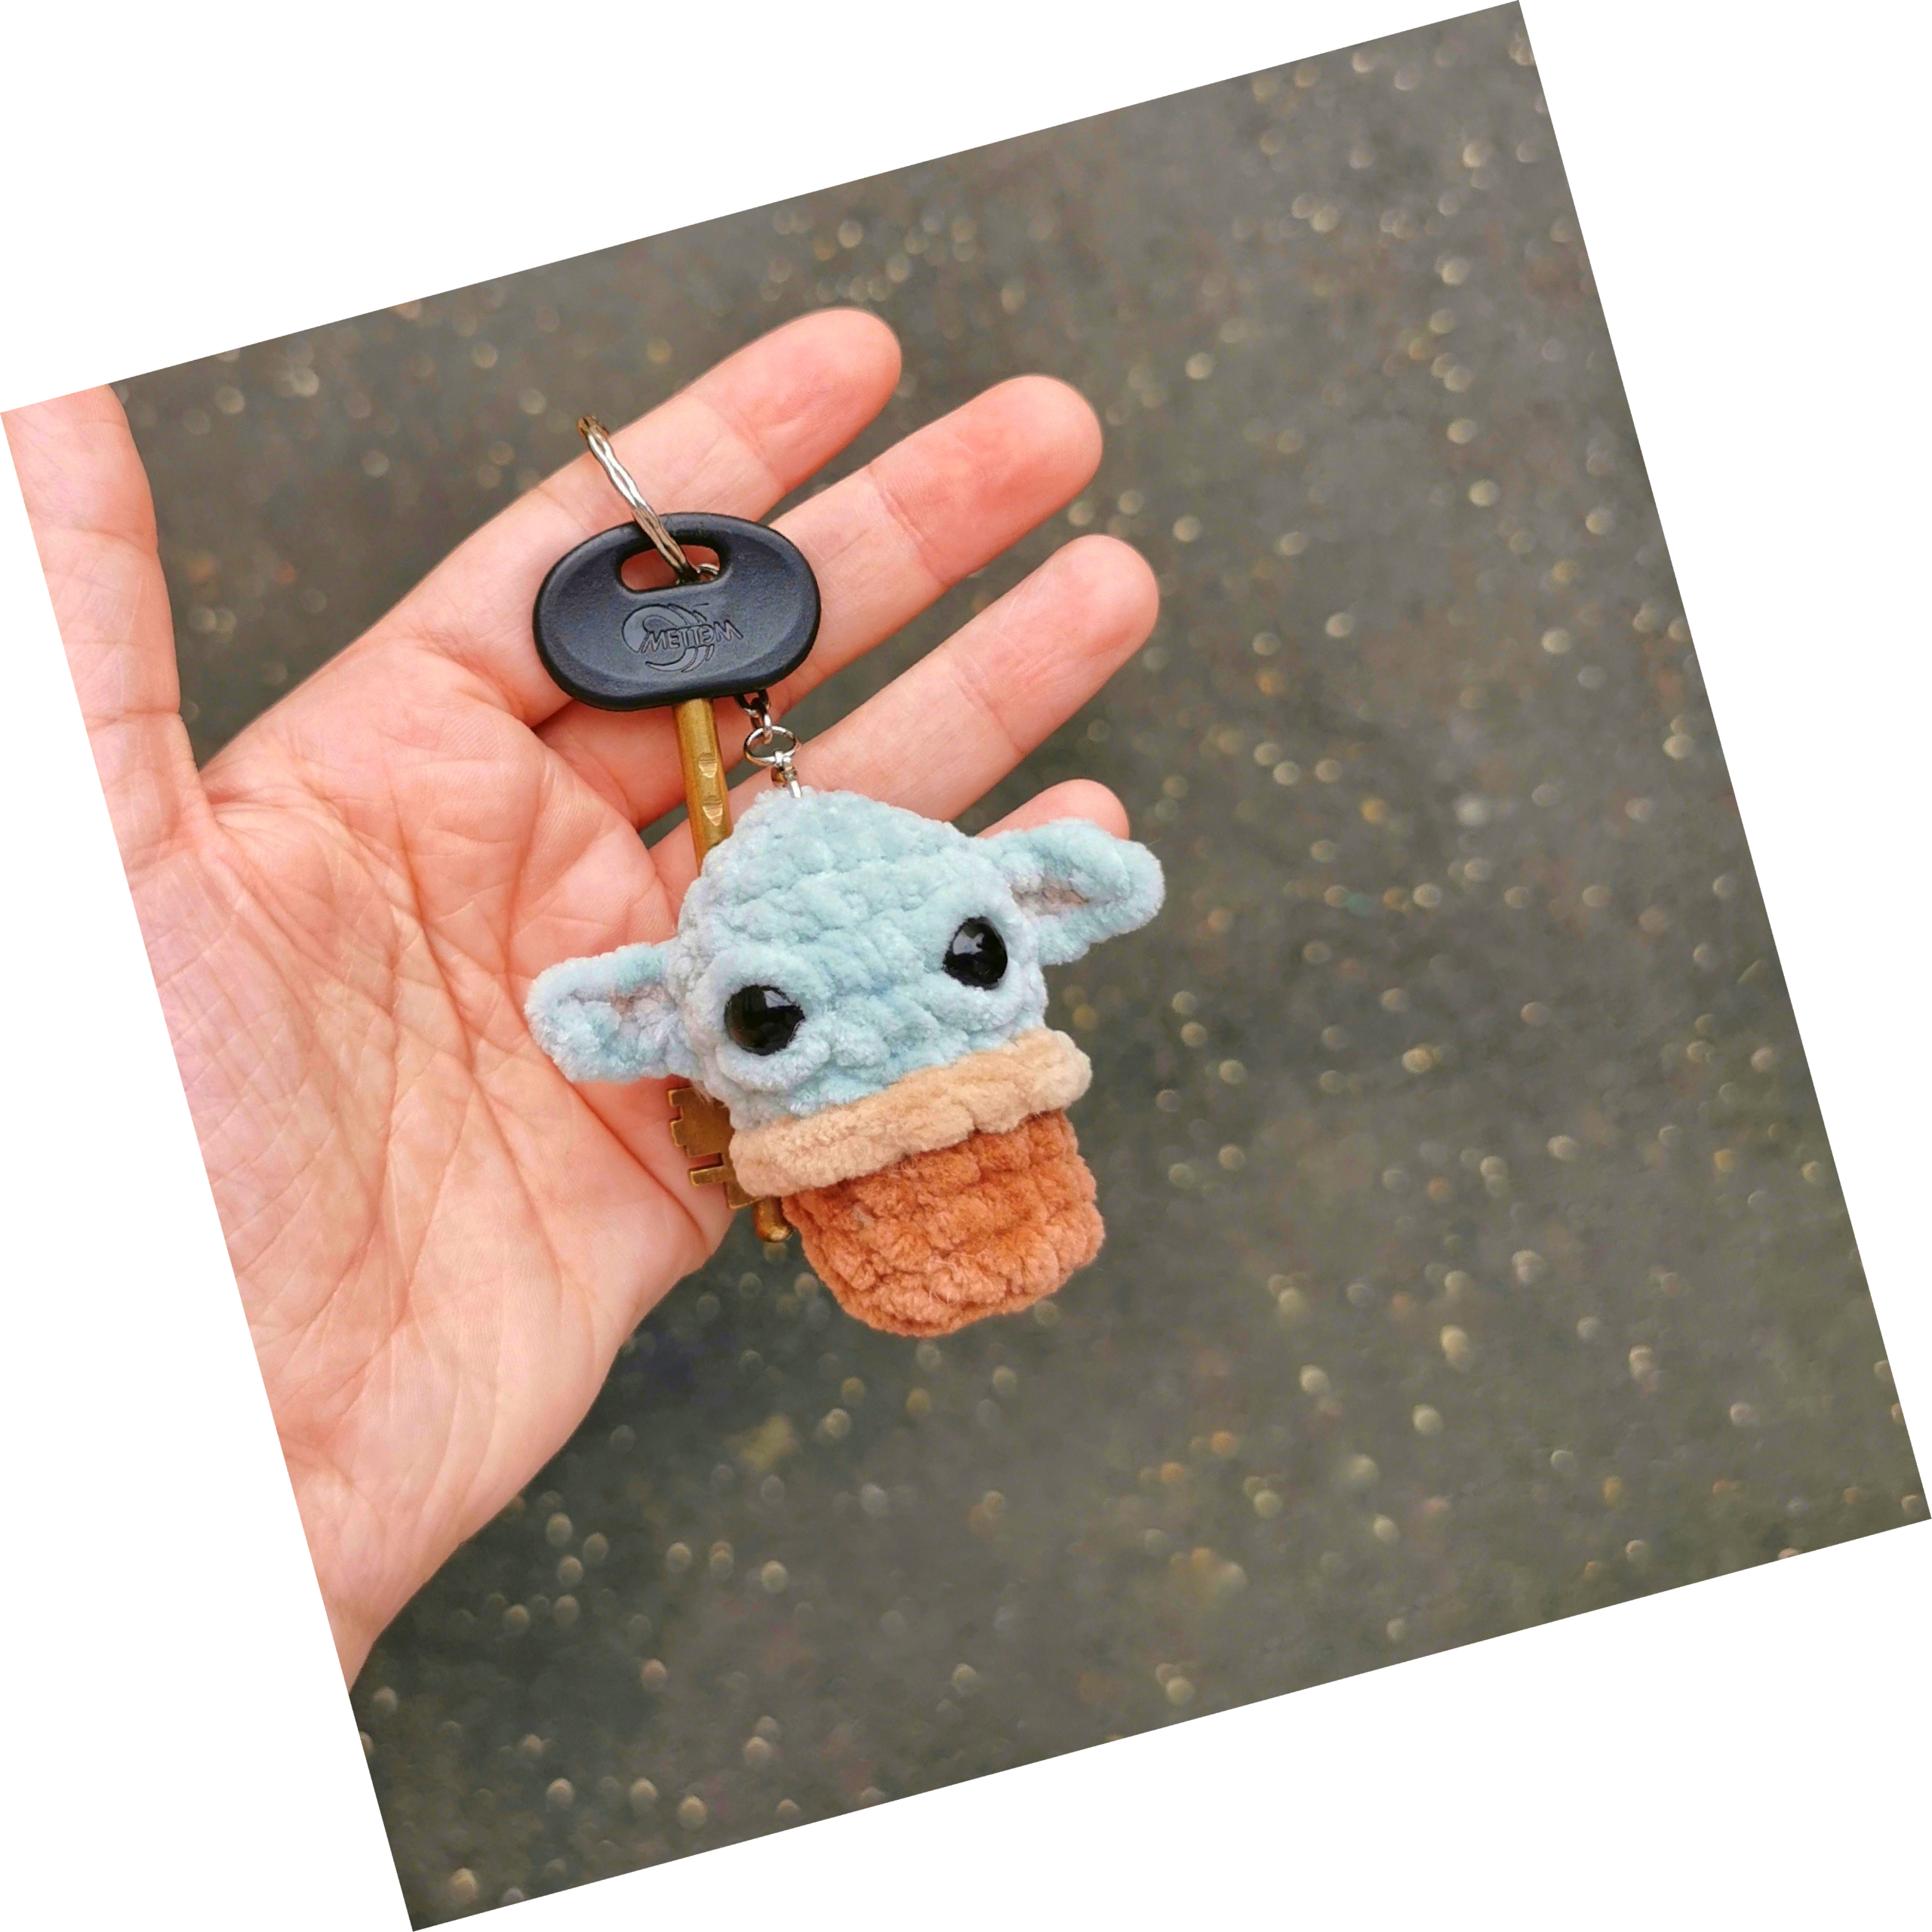
Crochet Baby Yoda Metten No Sew Pattern
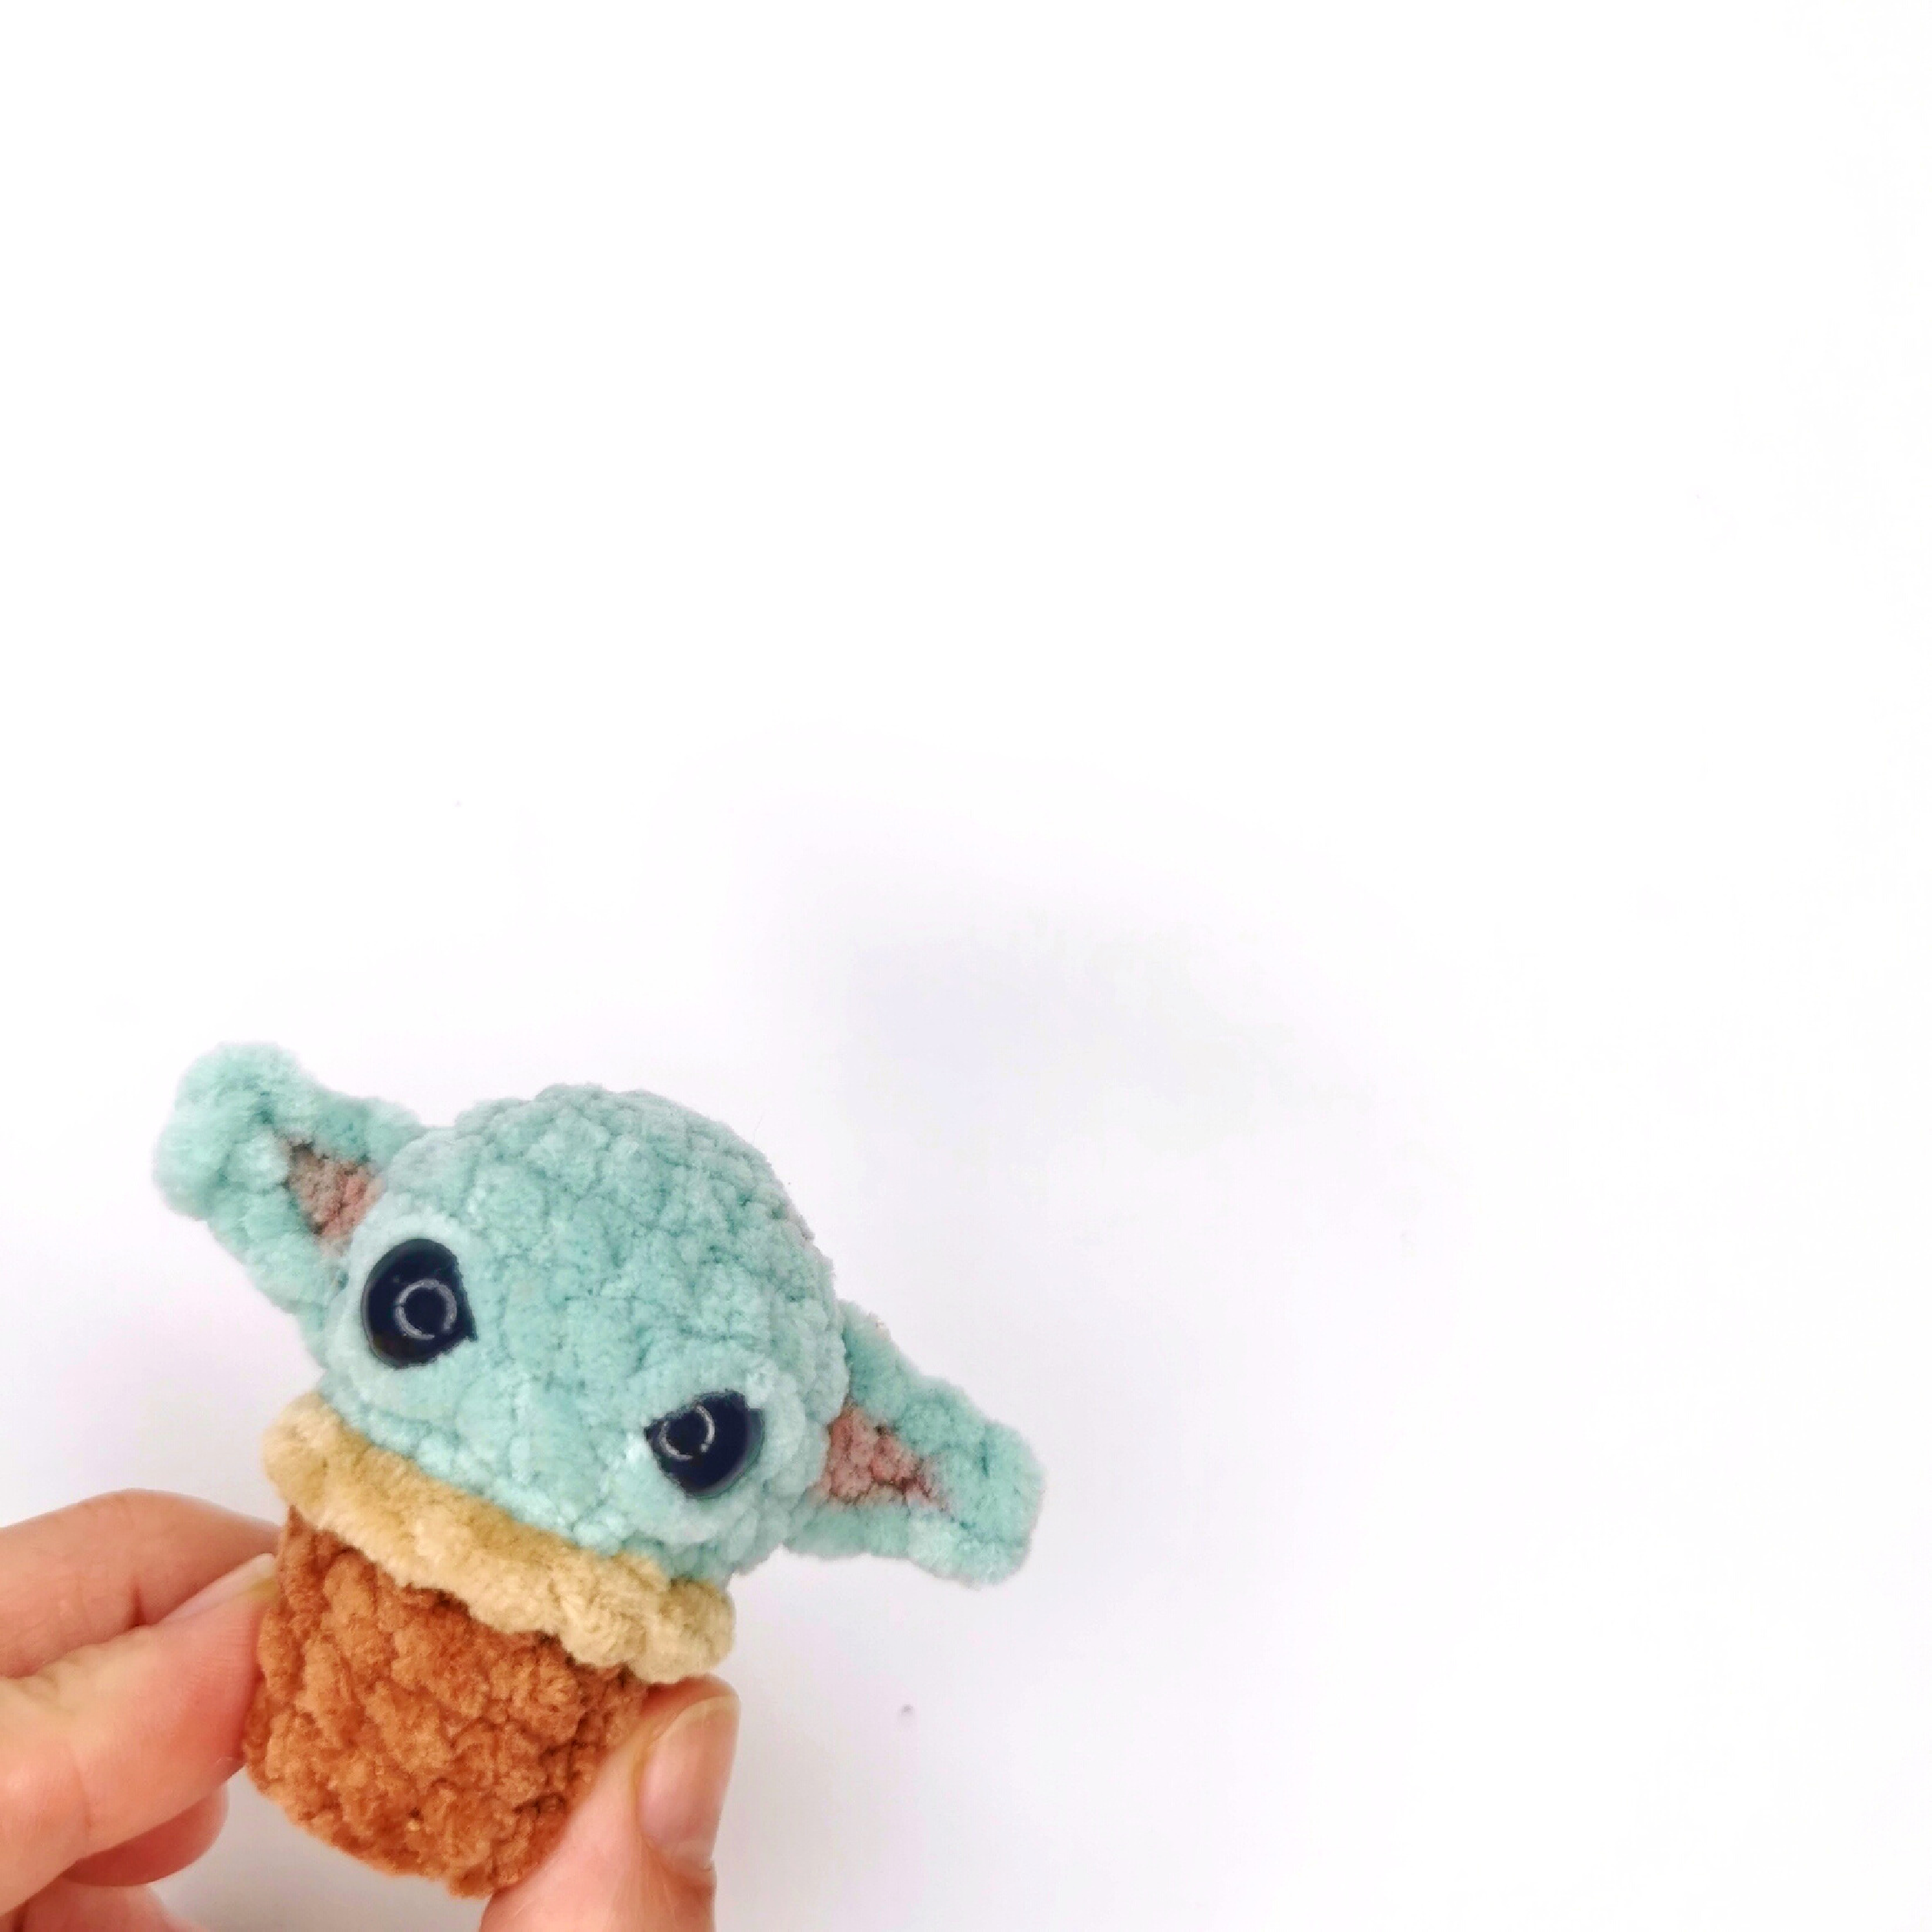
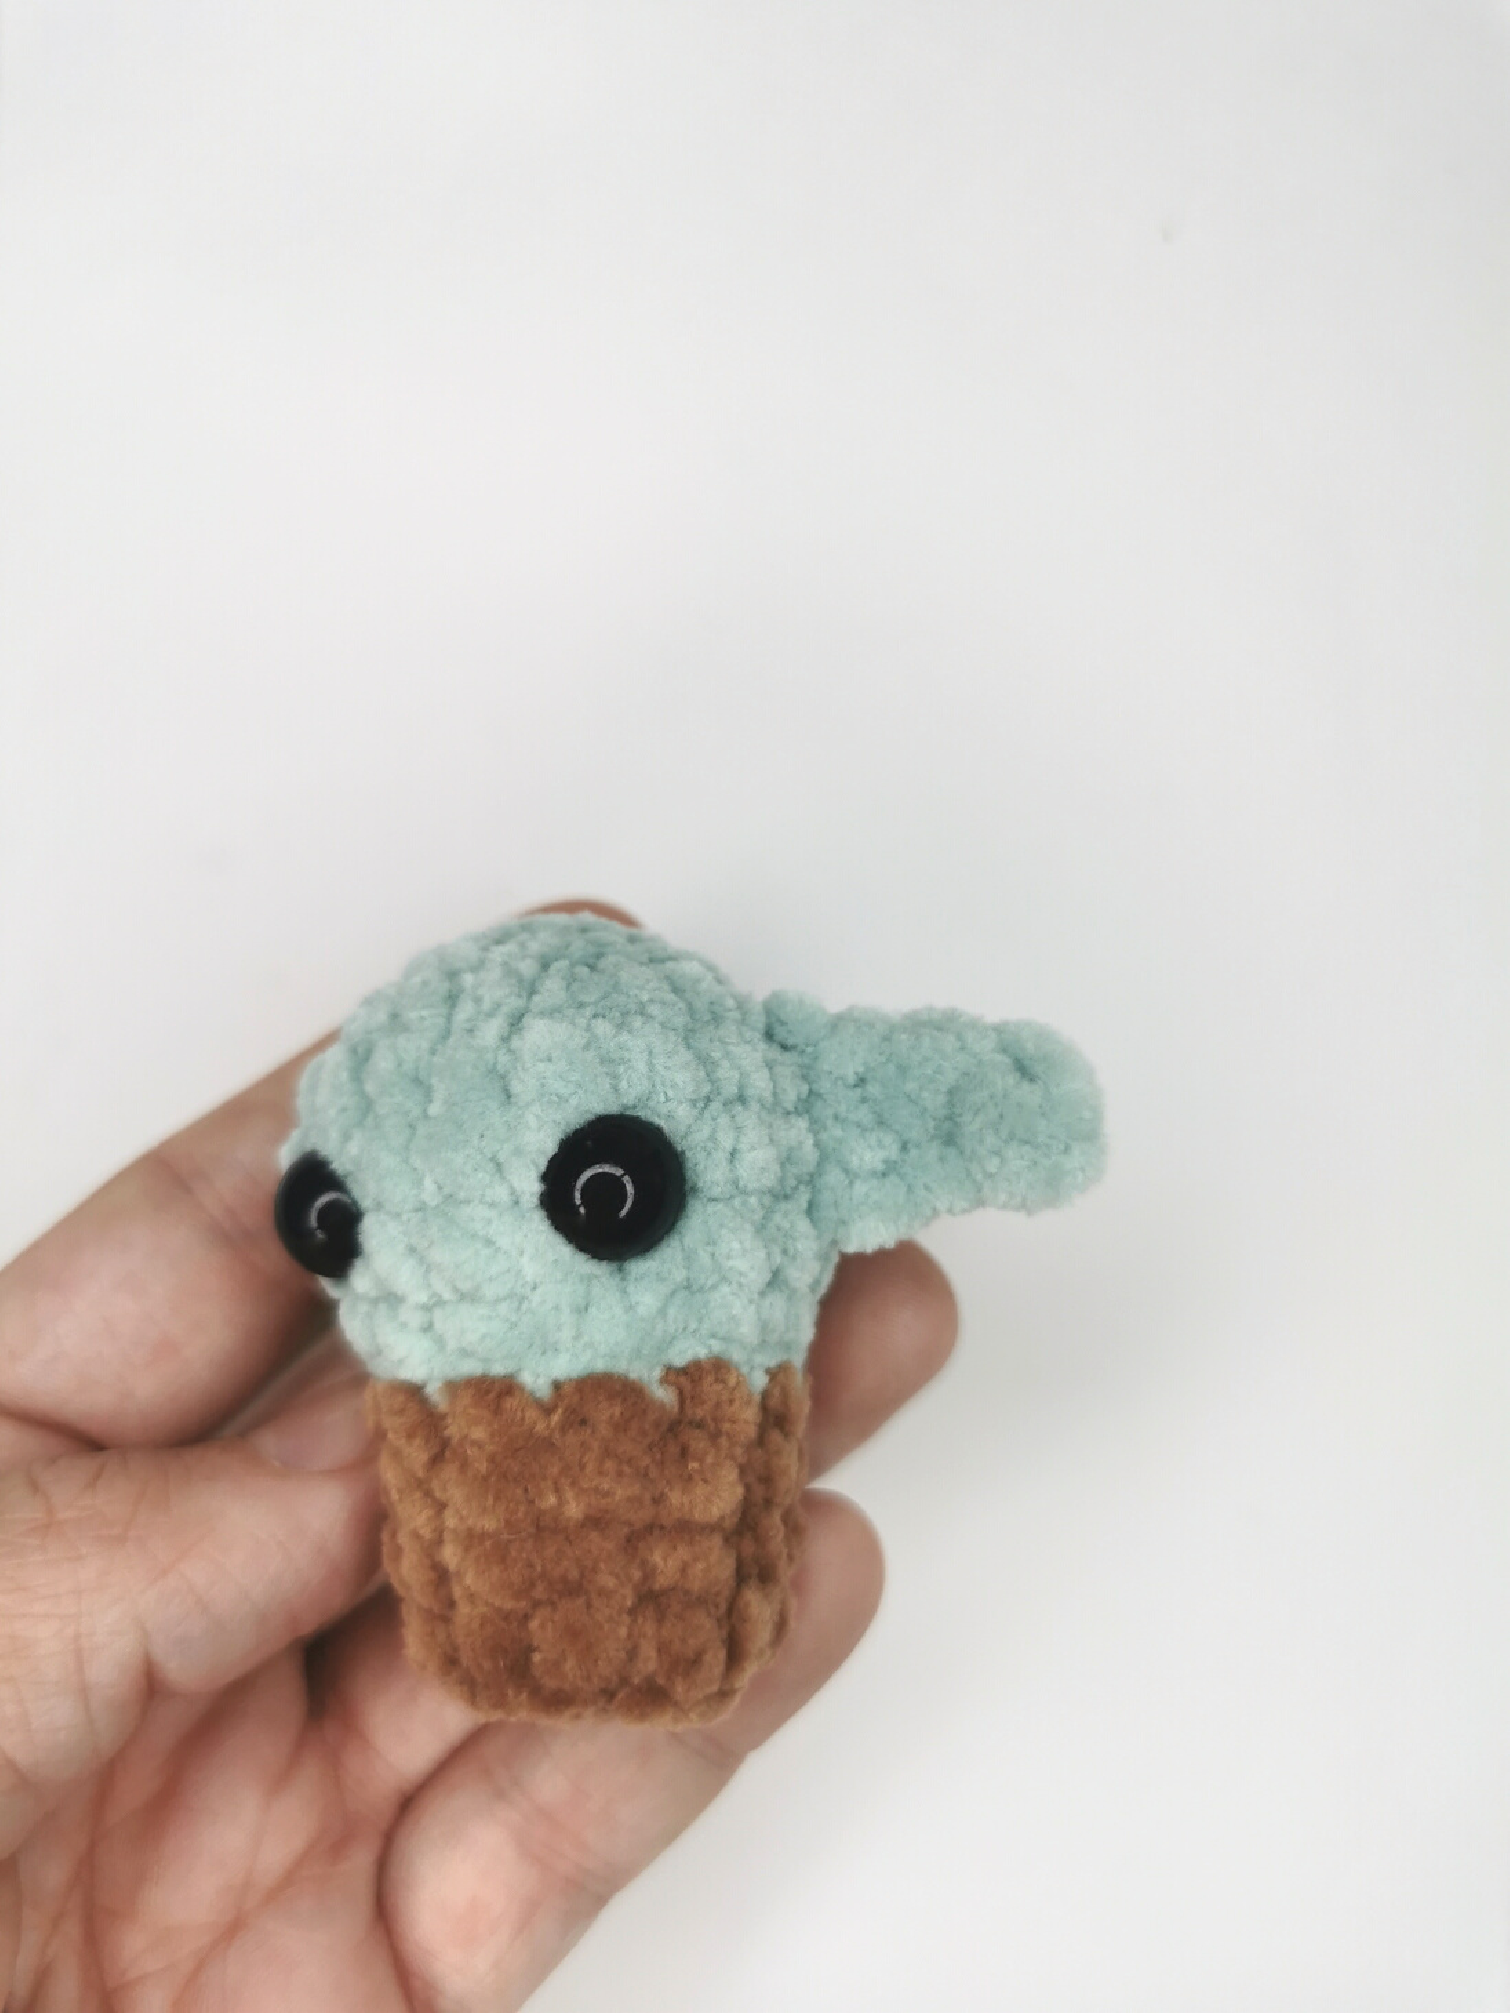
Craft your very own adorable Baby Yoda (Grogu) with this detailed, no-sew crochet pattern! Perfect for fans of the Mandalorian, this amigurumi project results in a charming little companion, ready to be a keychain or a desk buddy. This pattern uses simple stitches and a clever construction to minimize sewing, making it enjoyable for crocheters of all levels.
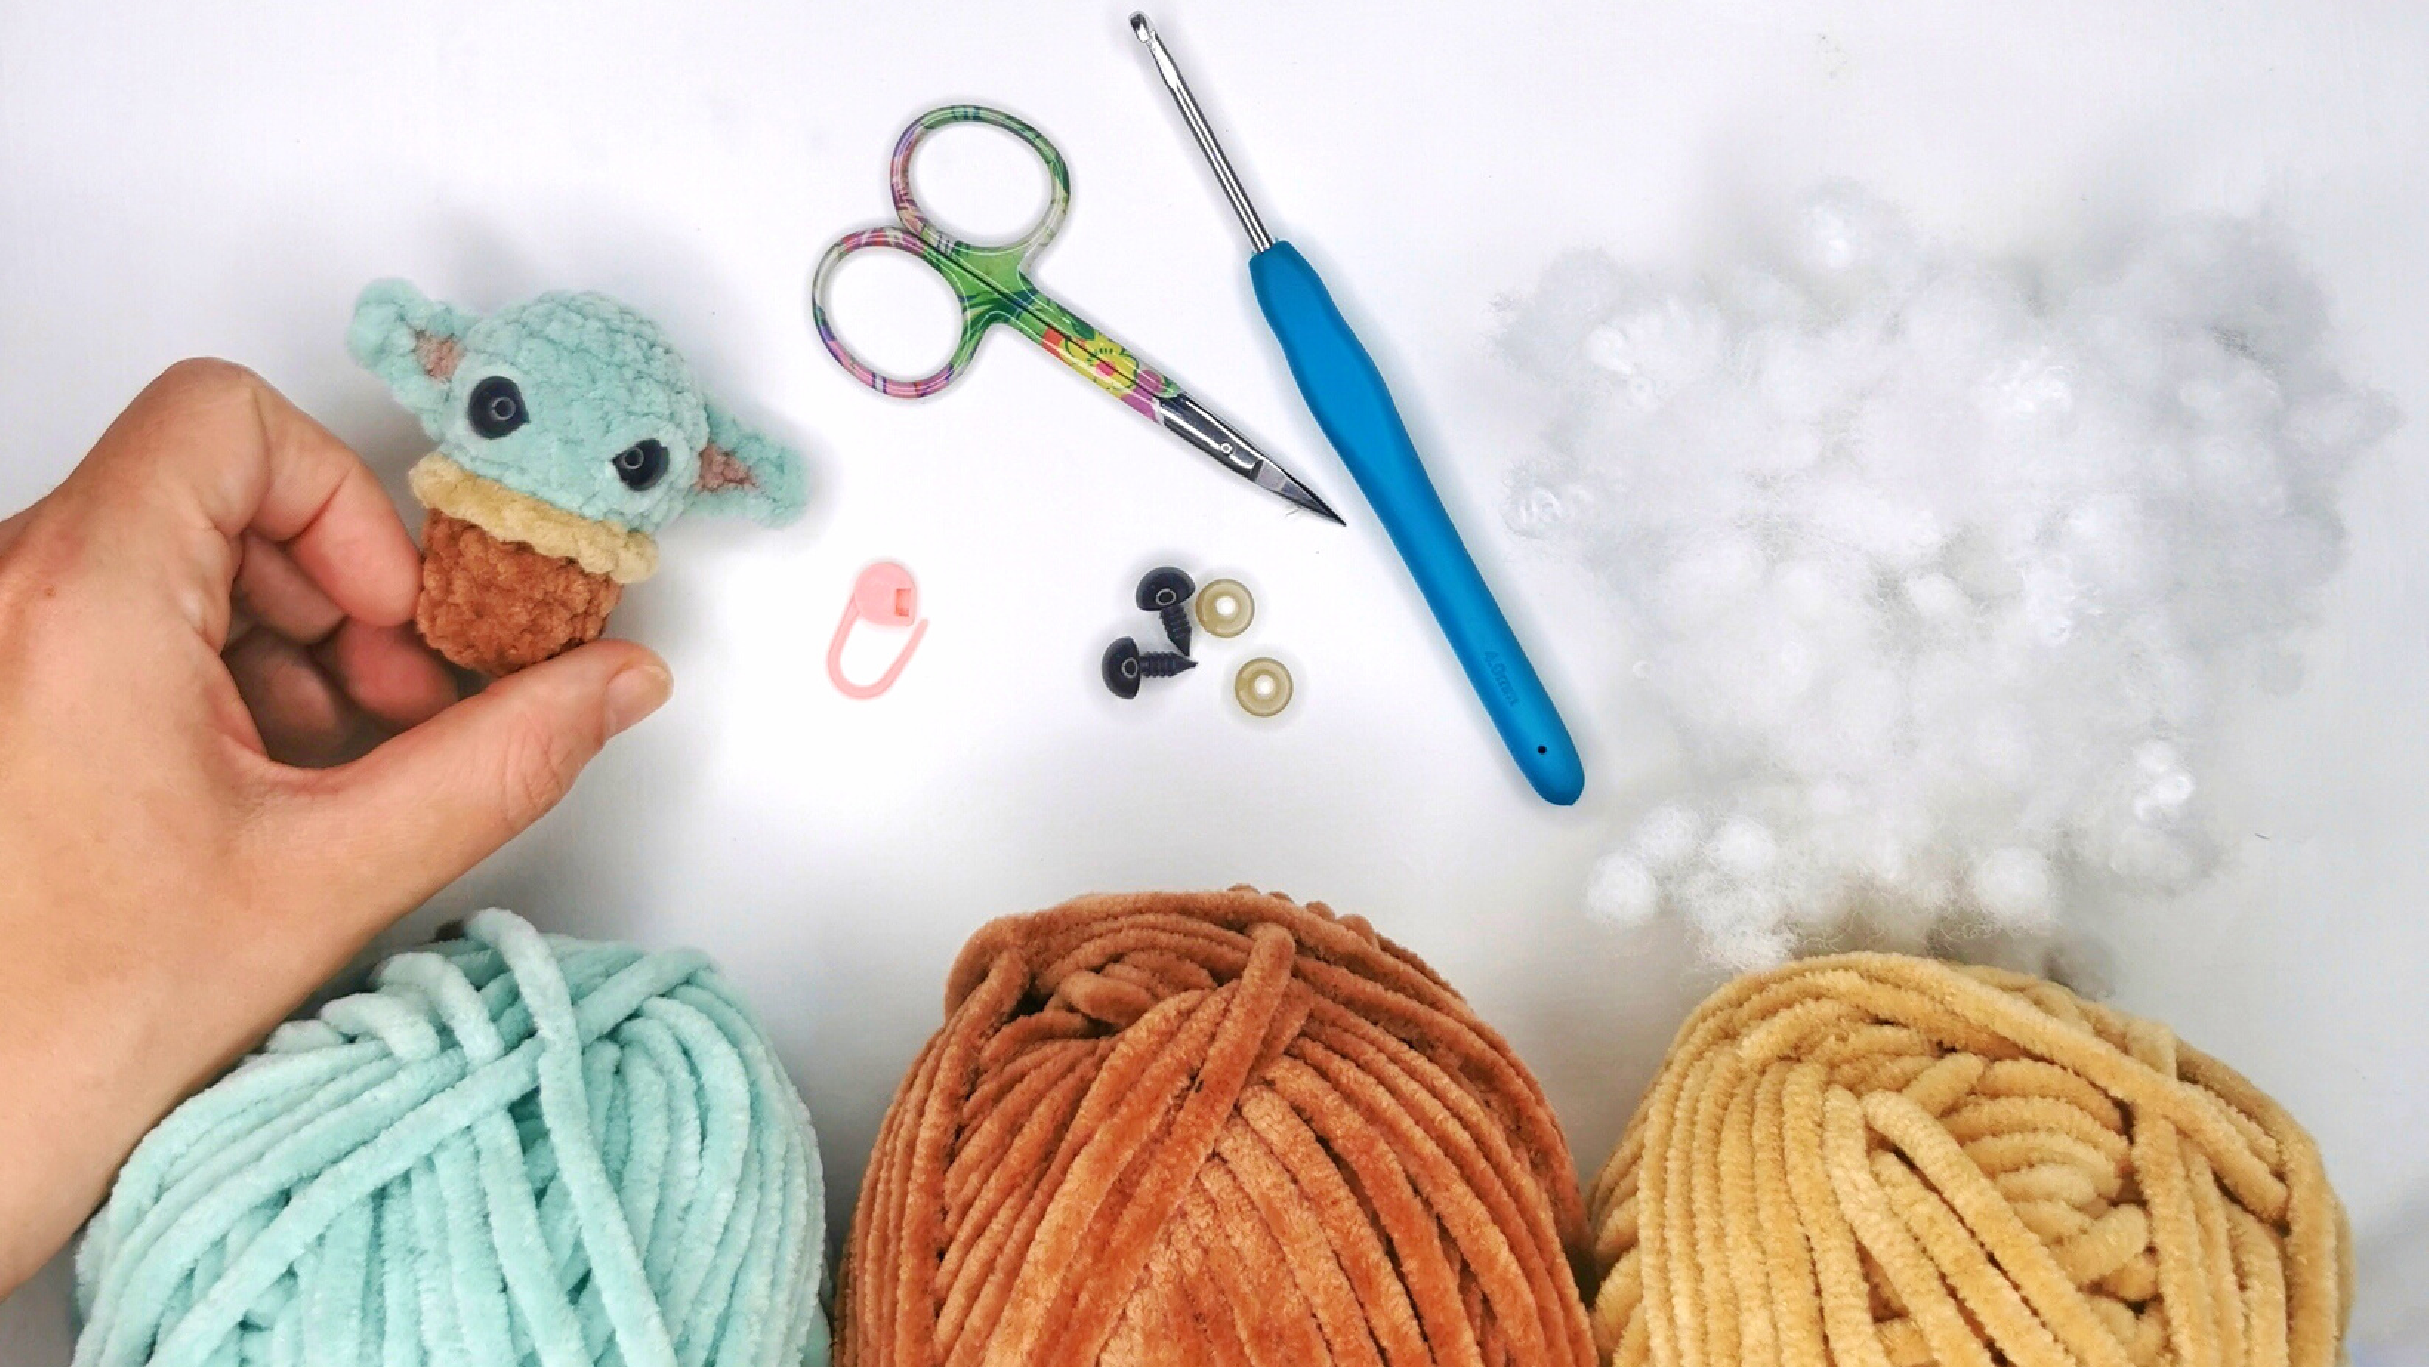
Materials & Tools for Your Grogu Crochet
To crochet this cute Baby Yoda amigurumi, you’ll need the following supplies:
- Yarn: Himalaya Dolphin Baby (100% Polyester, 100g / 120mt) in these specific colors:
- #80347 – Turquoise (for head and ears)
- #80337 – Brown (for body and robe collar)
- #80365 – Beige (for eyelid embroidery)
- Crochet Hook: Size 4 mm
- Safety Eyes: 10 mm
- Fiberfill: For stuffing your amigurumi
- Scissors
- Big Needle: For weaving in ends and assembly
- Stitch Marker: Essential for keeping track of your rounds in amigurumi
Abbreviations for Crochet Pattern
Familiarize yourself with these standard crochet abbreviations used throughout this pattern:
- MR: Magic Ring
- R: Row/Round
- ch: Chain
- sc: Single Crochet
- st(s): Stitch(es)
- inc: Increase (make two single crochets in one stitch)
- dec: Decrease (single crochet two stitches together)
- BLO: Back Loops Only
- FLO: Front Loops Only
- hdc: Half Double Crochet
- sl st: Slip Stitch
- ()x…: Repeat instructions in brackets the specified number of times
- Number in (): Indicates the total number of stitches in that round/row
Crochet Instructions for Baby Yoda
Follow these step-by-step instructions to create your adorable Grogu.
Head (Crochet with Turquoise Yarn)
Start with your turquoise yarn to form the head.
-
- R1: 6 sc in MR (6)
- R2: inc x 6 (12)
- R3: (1 sc, inc) x 6 (18)
- R4-6: 18 sc (3 rows)
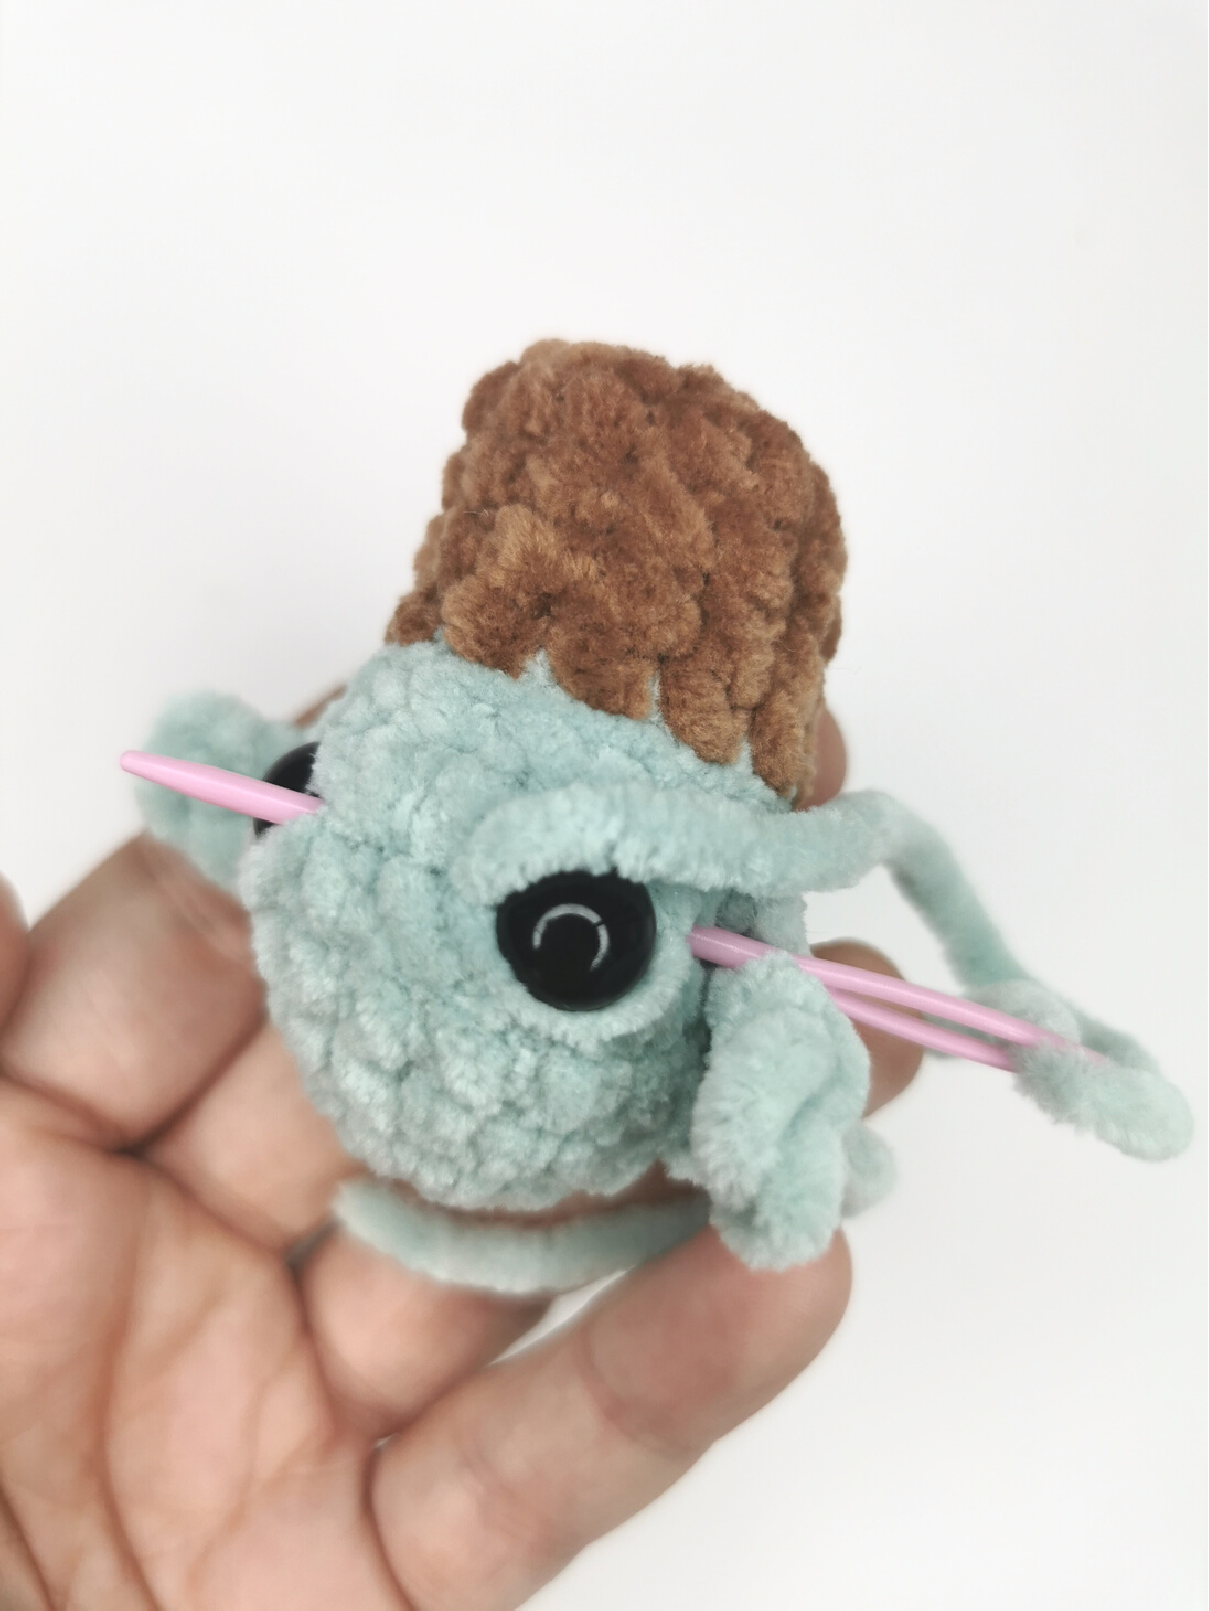
- Insert safety eyes between R5 and R6, with 4 stitches apart.
- R7: (1 sc, dec) x 6 (12)
- Change yarn color to brown for the body.
- Fill the head firmly with fiberfill.
Body (Crochet with Brown Yarn)
Continue from the head with brown yarn for Grogu’s body.
- R8: BLO 12 sc (12)
- R9-11: 12 sc (3 rows)
- Fill the body firmly with fiberfill.
- R12: BLO dec x 6 (6)
- Cut the yarn, leaving a tail for closing.
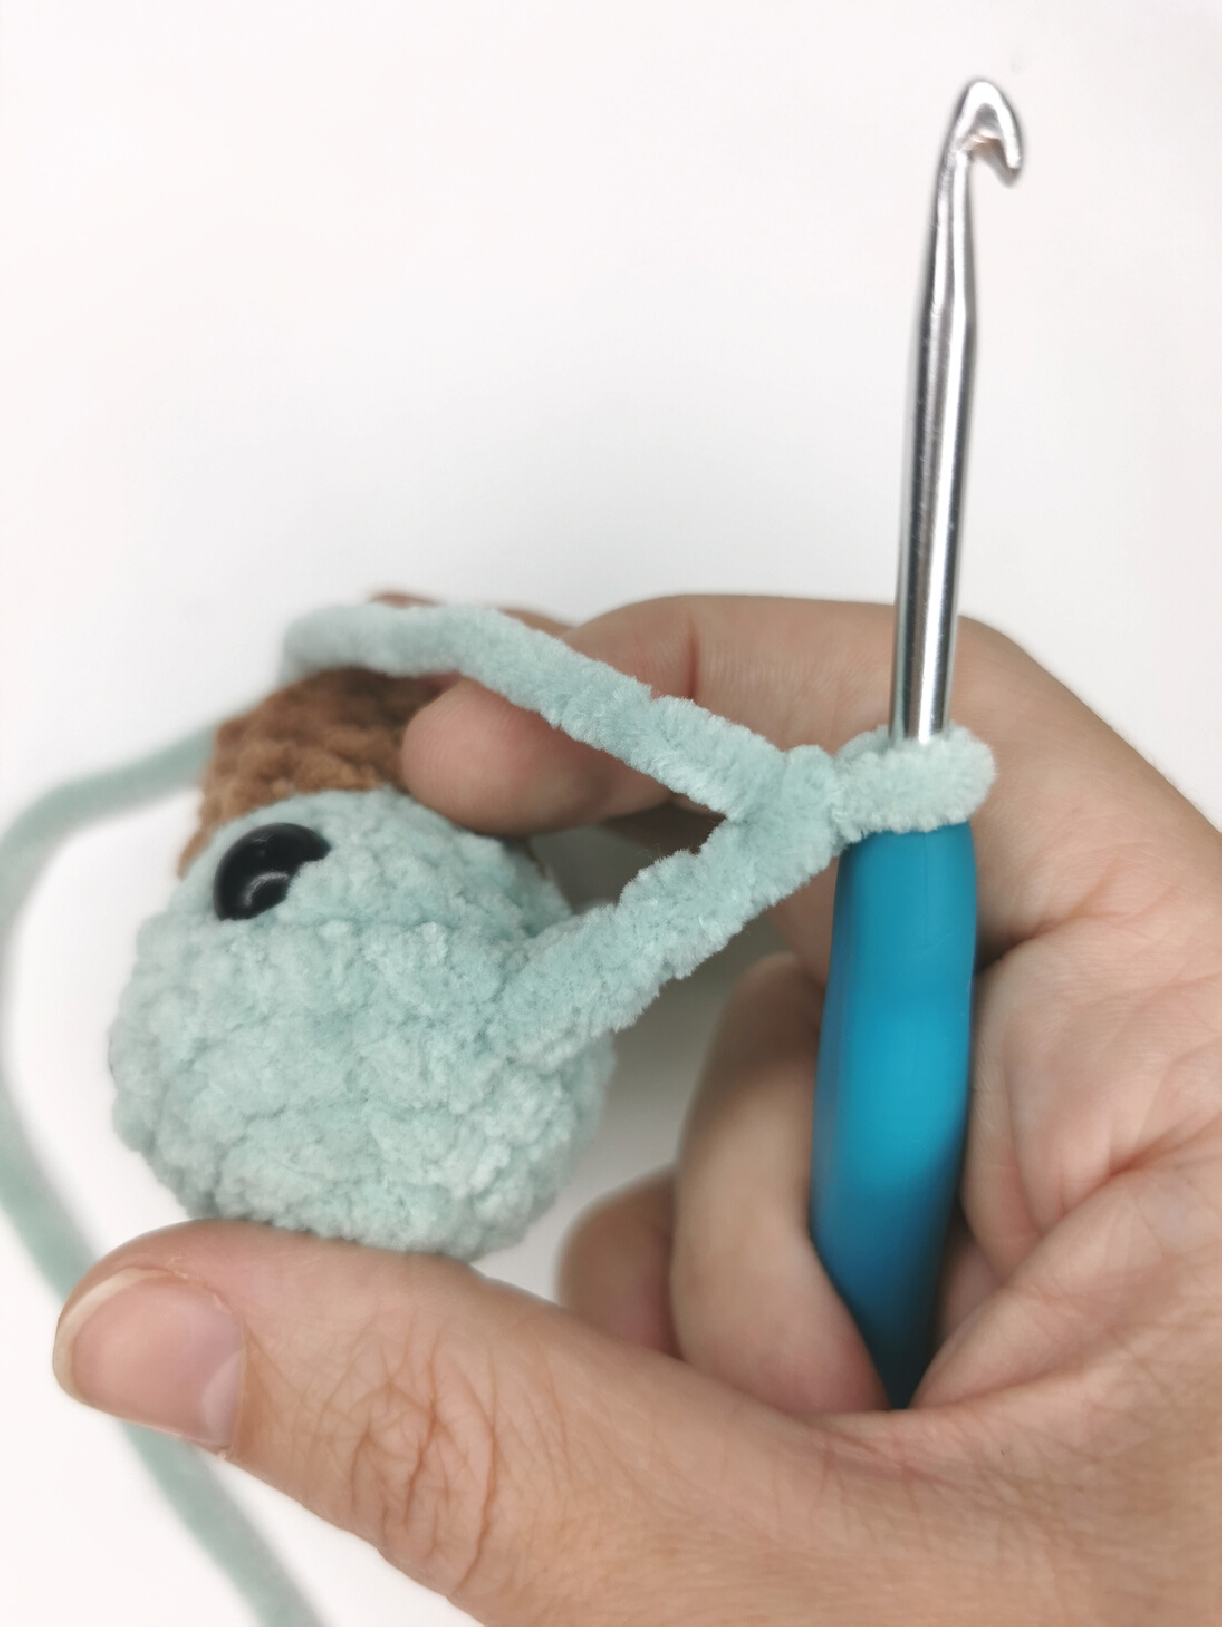
Ears (Crochet with Turquoise Yarn)
Now, it’s time to add Grogu’s distinctive ears. You’ll be working directly onto the head.
- First Ear:
- Attach the turquoise yarn to Round 6 of the head.

- Chain 4.
- Into the 2nd stitch from the hook, make 1 sl st.
- Make 1 hdc in the next stitch.
- Make 1 hdc into the last chain loop.

- Then, slip stitch to Round 4 of the head to secure the ear.

- Cut the yarn and hide the yarn tail inside the ear detail.

- Second Ear:
Crochet the second ear in the same manner as the first, but with a slight adjustment for placement:
- Attach the yarn to Round 4 of the head.
- Chain 4, then sl st, hdc, hdc into the chain as before.
- At the end, slip stitch to Round 6 of the head.


- Cut the yarn, leaving a tail.
- Eyelids:
Using beige yarn and a needle, embroider the eyelids onto the face.

Robe Collar (Attach to Front Loop of R8 with Brown Yarn)
To complete Grogu’s iconic look, add his robe collar.
-
- Attach the brown yarn to the front loop of Round 8 (R8) of the body. This is the row where you worked BLO for the body.
-
- R8*: Work 12 sc around, then sl st into the first loop to join.
-
- Cut the yarn and carefully hide the yarn tail inside the collar detail.
Assembly & Finishing Touches
This pattern is designed to be largely “no-sew,” which means many parts are joined as you go. However, a few finishing steps ensure a polished look:
-
- Stuffing: Ensure both the head and body are firmly stuffed with fiberfill before closing. This gives your Grogu its proper shape and cuddliness.
- Closing the Body Hole: After R12 of the body, use the yarn tail to close the remaining small hole. Thread the tail through the front loops of the last 6 stitches and pull tight to close. Hide the yarn tail securely inside the body for a neat finish.
- Hiding Yarn Tails: For each section (ears, robe collar), ensure all yarn tails are neatly hidden within the crocheted piece using your big needle. This prevents unraveling and gives your amigurumi a professional appearance.
- Eyelid Embroidery: The embroidered eyelids add character to your Grogu. Take care to make them even and symmetrical for the best effect.
Tips for Beginners
If you’re new to amigurumi or crocheting, here are some helpful tips for this “no-sew” Grogu pattern:
- Stitch Marker is Your Best Friend: Always use a stitch marker to mark the first stitch of each round, especially when working in a spiral. This prevents you from losing your place and helps maintain an accurate stitch count.
- Tight Stitches for Amigurumi: Aim for tight, even stitches. This helps prevent the fiberfill from showing through and gives your amigurumi a sturdy, uniform look. If your stitches are too loose, consider going down half a hook size.
- Stuffing Matters: Stuff your amigurumi firmly and evenly. Add small amounts of fiberfill at a time, gently pushing it into all areas to avoid lumps and ensure a good shape. Don’t be afraid to really fill it!
- Reading the Pattern: Read through the entire pattern once before you start. This helps you understand the flow and anticipate color changes or special stitches.
- “No-Sew” Advantage: This pattern minimizes sewing by attaching features directly to the main body. This is a huge benefit for beginners who might find assembly challenging! Pay close attention to where you’re asked to attach yarn (e.g., to R6 for the ears) to ensure correct placement.