Crochet Avocato Kitty: A Detailed Tutorial for Beginners
Meet the Avocado Kitty
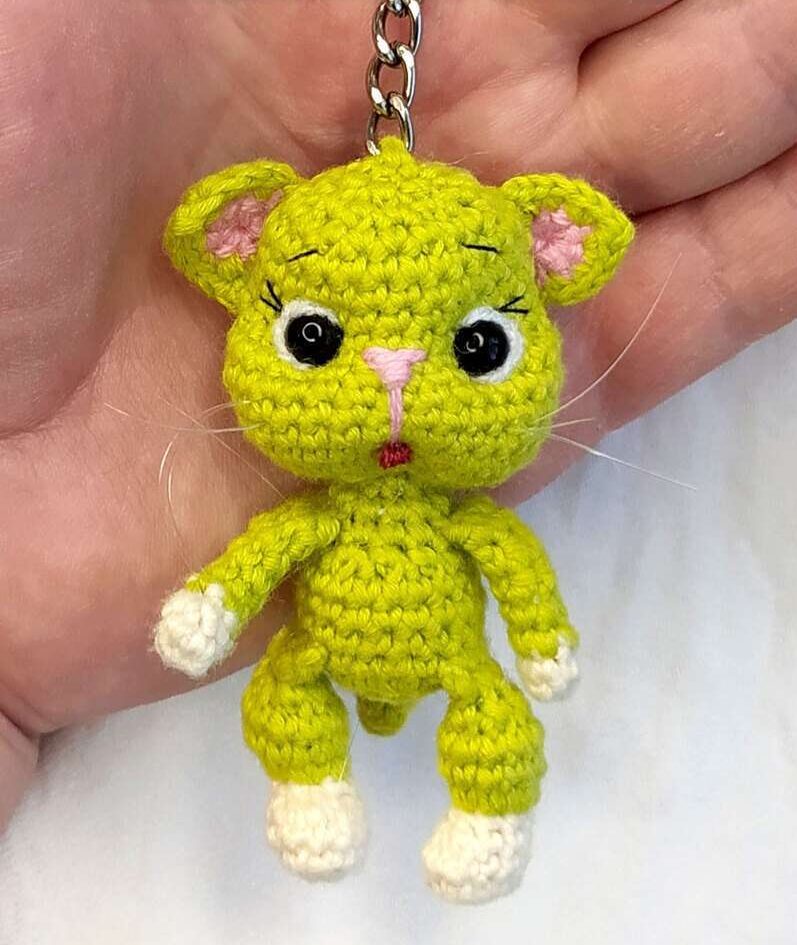
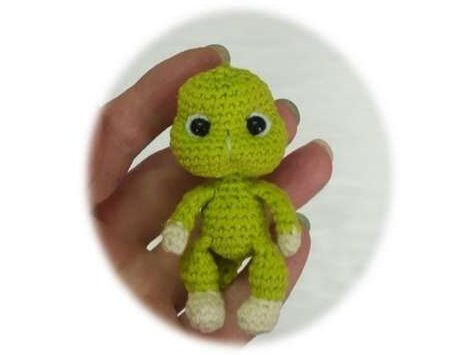
Dear crochet friends, we have a very special guest today! Imagine the cutest creature in the world – it’s not just a kitty and not just an avocado, but an amazing combination of both! The creator of this wonderful toy, Svetlana Grinenko, has designed a character that will melt your heart.
The Avocado Kitty is the kind of toy you want to hug and take everywhere with you. He’s small, cozy, and incredibly photogenic! His cute little face with charming ears and a playful tongue is guaranteed to bring a smile to anyone’s face. This pattern is perfect for those who have already mastered basic crochet skills and are ready to try their hand at creating a small amigurumi animal.
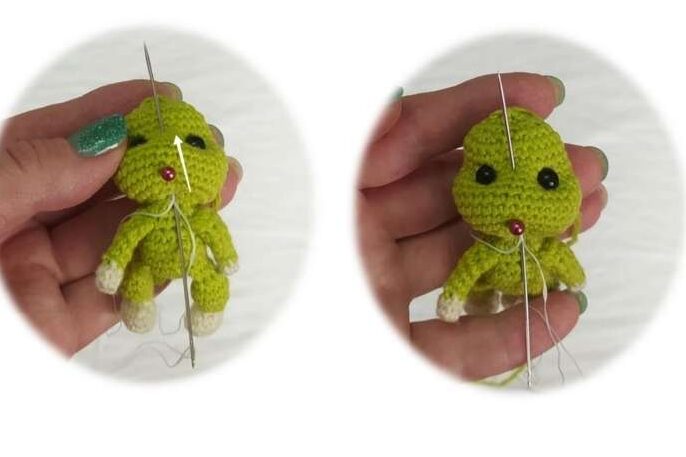
In this post, I’ll guide you step by step through the entire process of creating your own Avocado Kitty. We’ll cover every detail: from crocheting the tail and paws to the most important part – the shaping and detailing of the face. Thanks to the detailed photos from the original pattern, you’ll easily master even the trickiest parts. Let’s create this adorable character together!
Materials and Tools
To create your Avocado Kitty, you’ll need:
- Main color yarn (green): for the kitty’s body (about 50g)
- White yarn: for the face and eye details
- Pink yarn: for the inner ears
- Embroidery floss (muline): black (for whiskers or lashes) and red/pink (for the tongue)
- Black sewing thread: for embroidering eyebrows and lashes
- Crochet hook: appropriate size for your yarn (usually US size B/1 or C/2, 2.0-2.5mm)
- Stuffing: polyester fiberfill or hollow fiber
- Safety eyes: or small beads
- Yarn needle for sewing pieces together
- Straight pins: for holding pieces in place before sewing
- Scissors
Abbreviations (US Terms)
- MR – magic ring
- sc – single crochet
- inc – increase (two single crochets in one stitch)
- dec – decrease (single crochet two stitches together)
- (…) * n – repeat instructions in parentheses the specified number of times
- ch – chain
Crocheting the Avocado Kitty: Step-by-Step Instructions
Tail
We’ll start with the smallest piece – the tail.
- Round 1: 5 sc in MR (5)
- Round 2-6: 5 sc – work 5 rounds without any increases or decreases. (5)
Do not stuff the tail! Fold the piece in half and work 2 sc through both layers to close. Leave a long tail for sewing.
Front Paws (make 2)
Work with green yarn. Start with a magic ring.
- Round 1: 6 sc in MR (6)
- Round 2: 6 inc (12)
- Round 3: (1 sc, inc) * 6 (18)
- Rounds 4-7: 18 sc – work 4 rounds straight. (18) Lightly stuff the paw.
- Round 8: (1 sc, dec) * 6 (12)
- Round 9: 6 dec (6)
Pull the opening closed, fasten off, and hide the yarn end.
Important! The front paws will be crocheted into the body in Row 10. If you’re making them ahead of time, don’t cut the yarn too short.
Back Paws (make 2)
Work similarly to the front paws, but shorter:
- Round 1: 6 sc in MR (6)
- Round 2: 6 inc (12)
- Rounds 3-5: 12 sc (3 rounds)
Stuff lightly, fold in half, and work 2 sc through both layers. Leave a long tail for sewing.
Body and Head (one piece)
Work with the main green yarn. This is the largest and most important part.
- Round 1: 6 sc in MR (6)
- Round 2: 6 inc (12)
- Round 3: (1 sc, inc) * 6 (18)
- Round 4: We begin to shape the tummy: 3 sc, then 4 sc in the back loop only (this creates a color change boundary if you want a lighter tummy), then 4 sc, 4 sc in back loop only, 3 sc. (18) – This prepares for a color change. If you’re making the whole kitty one color, work this round as (2 sc, inc) * 6 (24) and continue.
- Round 5: This is where we attach the tail! 17 sc, then work 2 sc together with the tail (inserting your hook through both a body stitch and a tail stitch). (18)
- Rounds 6-7: 18 sc – 2 rounds (18)
- Round 8: (4 sc, dec) * 3 (15)
- Round 9: 5 sc, 3 dec (decreases should be centered at the front), 5 sc, dec (14)
- Round 10: Attaching the front paws! 2 sc, then work 3 sc together with the right paw, 4 sc, then 3 sc together with the left paw, 2 sc. (14) Important! The paws must be positioned exactly on the sides!
- Round 11: 3 sc, dec, 3 sc, dec, 4 sc (12)
- Round 12: (2 sc, dec) * 3 (9)
At this point, stuff the body part firmly.