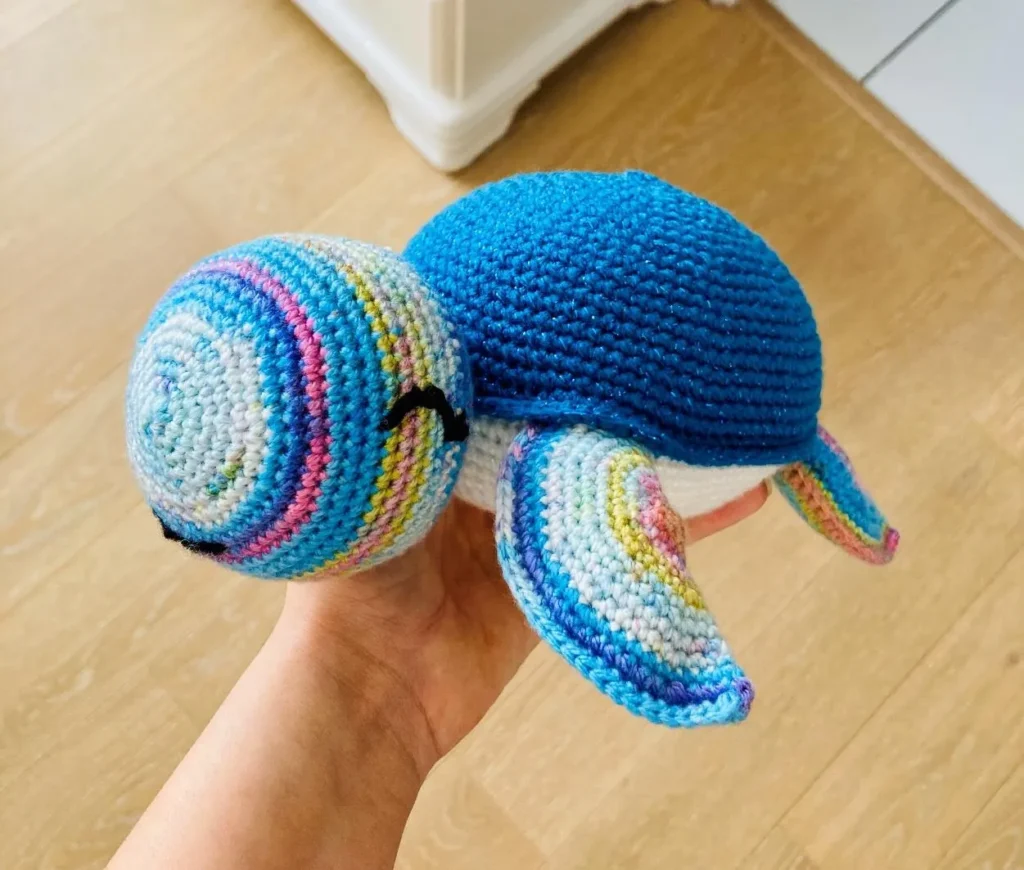
Crochet a Cute Sea Turtle Toy
Hello, fellow yarn lovers! There’s something so special about creating a handmade toy, pouring love and care into every stitch. Whether it’s for a cherished little one in your life or a whimsical decoration for your own space, a soft, crocheted friend is always a joy to make and to hold.
Today, I’m so excited to share a pattern for an absolutely charming sea turtle. This little cutie is perfect for crocheters of all levels, especially beginners The stitches are simple, and the original pattern is filled with step-by-step pictures to guide you through the process. You can follow along with ease and watch your turtle come to life.
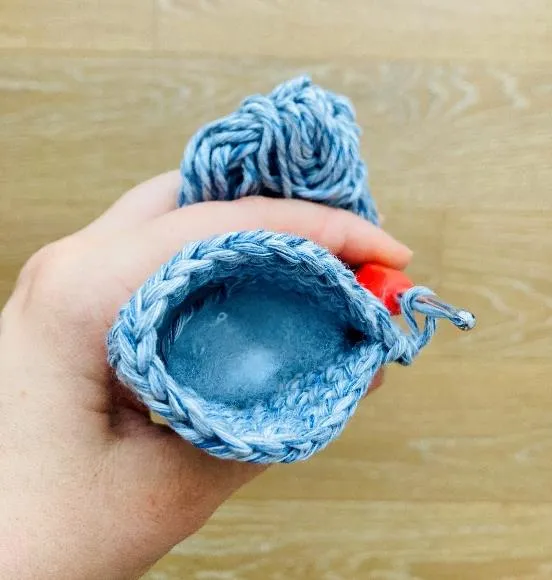
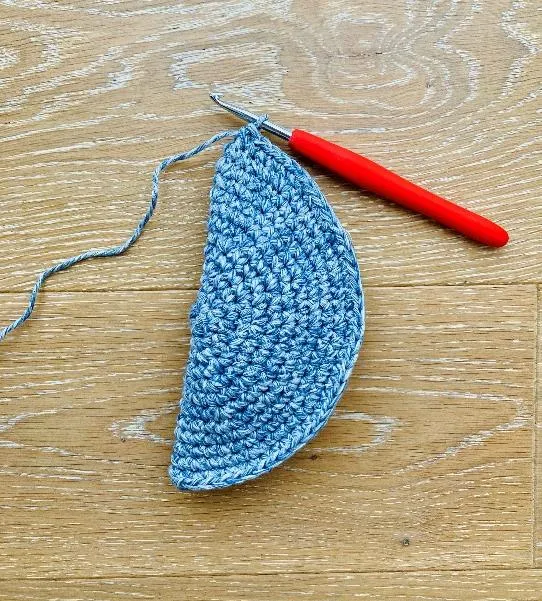
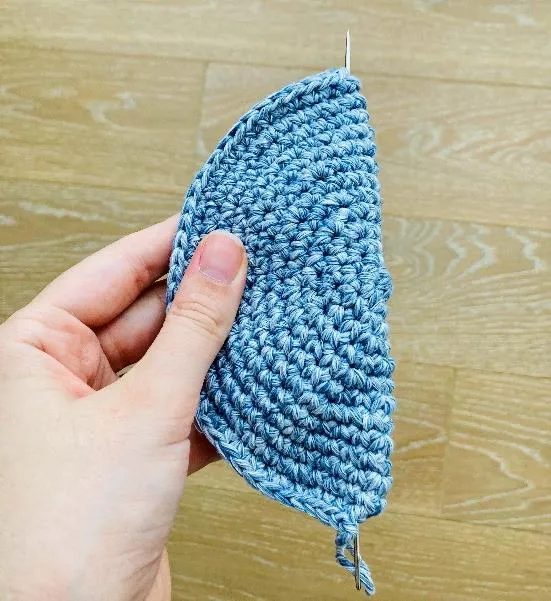
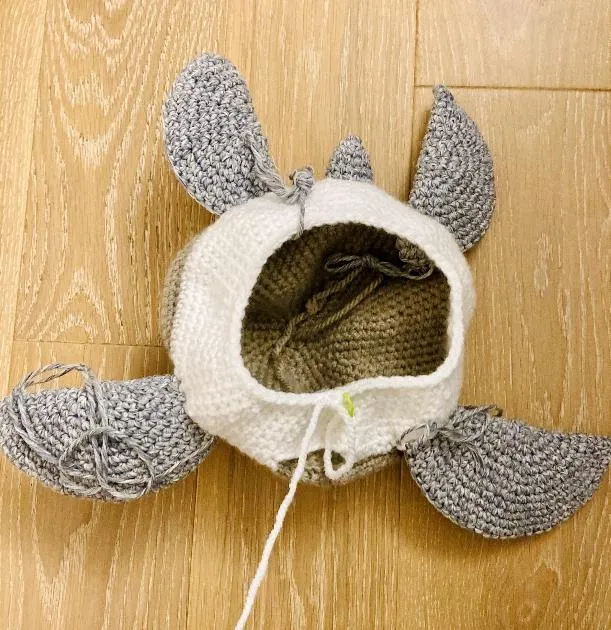
This sweet sea turtle is assembled from seven simple pieces: a head, the main shell and stomach piece, two front legs, two back legs, and a tiny tail. You can even add an adorable little bow for an extra touch of personality
This project is wonderfully versatile. By simply changing your hook and yarn size, you can create a whole family of turtles in different sizes, from a tiny hatchling to a big, huggable parent. The pattern includes a handy size chart to help you pick the perfect dimensions for your project. As the pattern designer says, “It is destined to a child but it is so cute your may want to keep it on your shelve!” So, grab your favorite yarn, find a comfy spot, and let’s get started on this delightful journey under the sea
Materials & Tools
Before we dive in, let’s gather our supplies.
Yarn
This pattern works beautifully with Worsted, Bulky, or Aran yarn (10-12 ply). You will need three main colors, plus a little black for the face.
- Color A (Head, Legs & Tail): Approximately 100-170 meters (109-186 yards)
- Color B (Shell): Approximately 80-100 meters (87-109 yards)
- Color C (Stomach): Approximately 50-70 meters (55-77 yards)
- Black Yarn: A small amount for the eyes and mouth
Hook
For a nice, firm structure, it’s best to use a hook that is one size smaller than what your yarn label recommends. This pattern has been tested with hooks ranging from 3mm to 6mm.
Other Supplies
- Fiberfill stuffing
- Yarn needle
- Scissors
- Stitch markers
- 1 or 2 rattles (optional)
Finished Size
The final size of your turtle will depend on the hook and yarn you choose. Here’s a helpful chart to guide you:
| Crochet Hook (UE) | Crochet Hook (US) | Length | Width (without legs) | Width (with legs) |
| 3mm | C | 22 cm / 8.7 in | 14 cm / 5.5 in | 23 cm / 9.1 in |
| 3.5mm | E | 25 cm / 9.8 in | 16 cm / 6.3 in | 26 cm / 10.2 in |
| 4mm | G | 28 cm / 11 in | 18 cm / 7.1 in | 31 cm / 12.2 in |
| 4.5mm | G+ | 29 cm / 11.4 in | 19 cm / 7.5 in | 33 cm / 13 in |
| 5mm | H | 30 cm / 11.8 in | 20 cm / 7.9 in | 35 cm / 13.8 in |
| 5.5mm | I | 31 cm / 12.2 in | 21 cm / 8.3 in | 38 cm / 13 in |
| 6mm | J | 32 cm / 12.6 in | 22 cm / 8.7 in | 42 cm / 16.6 in |
Abbreviations (US Terminology)
This pattern uses standard US crochet terms. Here are the abbreviations you’ll need to know:
- MR: Magic Ring
- St(s): Stitch(es)
- SL: Slip Stitch
- SC: Single Crochet
- DC: Double Crochet
- CH: Chain
- INC: Increase (2 SC in the same stitch)
- INV DEC: Invisible Decrease
- FO: Fasten Off
For international friends, here is a handy conversion chart:
| US | UK | French |
| SL (Slip Stitch) | SS (Slip Stitch) | mc (Maille Coulée) |
| SC (Single Crochet) | DC (Double Crochet) | ms (Maille Sérrée) |
| DC (Double Crochet) | TR (Treble Crochet) | br (Bride) |
Cute Sea Turtle Crochet Pattern
Let’s get crocheting! We’ll create each piece one by one, then assemble them into our finished turtle.
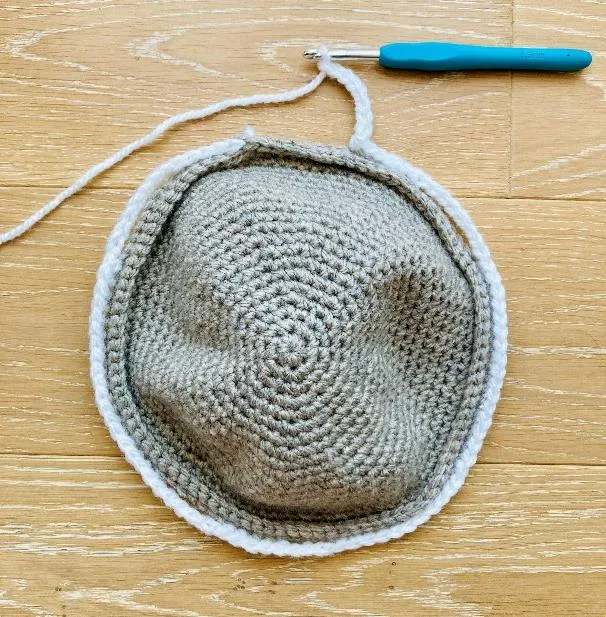
Head
- Round 1: Start with 6 SC in a MR. [6]
- Round 2: Work an INC in each st around. [12]
- Round 3: (SC in next st, INC) x 6. [18]
- Round 4: SC in next st, INC, (SC in next 2 sts, INC) x 5, SC in next st. [24]
- Round 5: (SC in next 3 sts, INC) x 6. [30]
- Round 6: SC in next 2 sts, INC, (SC in next 4 sts, INC) x 5, SC in next 2 sts. [36]
- Round 7: (SC in next 5 sts, INC) x 6. [42]
- Round 8: SC in next 3 sts, INC, (SC in next 6 sts, INC) x 5, SC in next 3 sts. [48]
- Round 9: (SC in next 7 sts, INC) x 6. [54]
- Round 10: SC in next 4 sts, INC, (SC in next 8 sts, INC) x 5, SC in next 4 sts. [60]
- Rounds 11-20 (10 rounds): SC in each st around. [60]
- Round 21: SC in next 4 sts, INV DEC, (SC in next 8 sts, INV DEC) x 5, SC in next 4 sts. [54]
- Round 22: (SC in next 7 sts, INV DEC) x 6. [48]
- Round 23: SC in next 3 sts, INV DEC, (SC in next 6 sts, INV DEC) x 5, SC in next 3 sts. [42]
- Round 24: (SC in next 5 sts, INV DEC) x 6. [36]
- Begin to stuff the head firmly.
- Round 25: SC in next 2 sts, INV DEC, (SC in next 4 sts, INV DEC) x 5, SC in next 2 sts. [30]
- Round 26: (SC in next 3 st, INV DEC) x 6. [24]
- Round 27: SC in next st, INV DEC, (SC in next 2 st, INV DEC) x 5, SC in next st. [18]
- Round 28: (SC in next st, INV DEC) x 6. [12]
- Stuff well! When you think you’ve stuffed enough, stuff it again!
- Round 29: (INV DEC) x 6. [6]
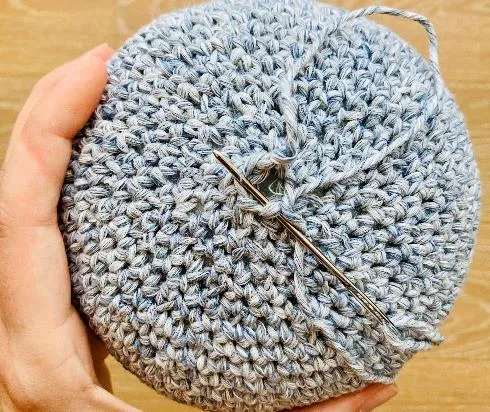
FO, closing the hole with a yarn needle. Cut the yarn, leaving a long tail for sewing it to the body later.

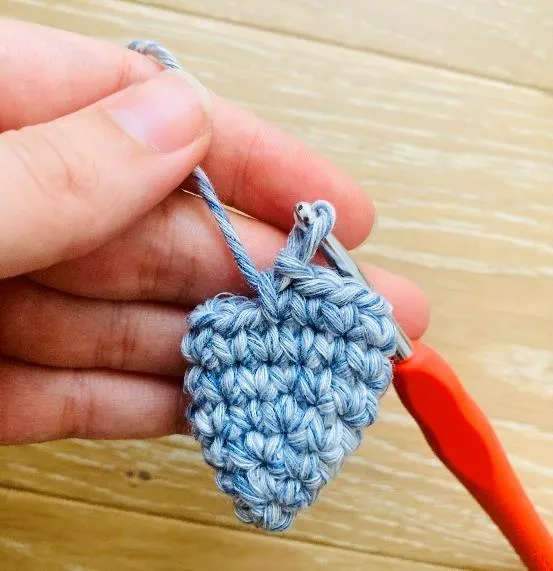
Front Legs (Make Two)
- Round 1: Start with 6 SC in a MR. [6]
- Round 2: Work an INC in each st around. [12]
- Round 3: (SC in next st, INC) x 6. [18]
- Round 4: SC in next st, INC, (SC in next 2 sts, INC) x 5, SC in next st. [24]
- Round 5: (SC in next 3 sts, INC) x 6. [30]
- Round 6: SC in next 2 sts, INC, (SC in next 4 sts, INC) x 5, SC in next 2 sts. [36]
- Round 7: (SC in next 5 sts, INC) x 6. [42]
- Round 8: SC in next 3 sts, INC, (SC in next 6 sts, INC) x 5, SC in next 3 sts. [48]
- Round 9: (SC in next 7 sts, INC) x 6. [54]
- Round 10: SC in next 4 sts, INC, (SC in next 8 sts, INC) x 5, SC in next 4 sts. [60]
- Round 11: (SC in next 9 sts, INC) x 6. [66]
- Round 12: SC in next 5 sts, INC, (SC in next 10 sts, INC) x 5, SC in next 5 sts. [72]
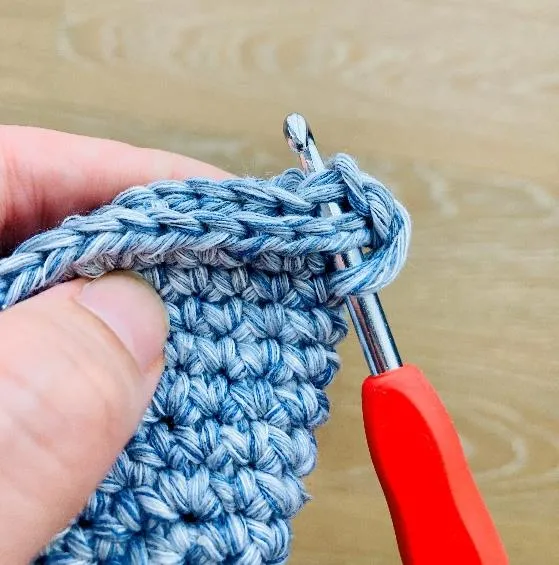
Fold the leg in half. SC along the edge to crochet the two sides together: work 24 SC, stuff the leg very lightly, then finish closing with 11 SC for a total of 35 SC along the edge. Cut the yarn, leaving a long tail for sewing. For the second leg, pull the yarn tail through to the opposite side, which will help with sewing later.
Back Legs (Make Two)
- Round 1: Start with 6 SC in a MR. [6]
- Round 2: Work an INC in each st around. [12]
- Round 3: (SC in next st, INC) x 6. [18]
- Round 4: SC in next st, INC, (SC in next 2 sts, INC) x 5, SC in next st. [24]
- Round 5: (SC in next 3 sts, INC) x 6. [30]
- Round 6: SC in next 2 sts, INC, (SC in next 4 sts, INC) x 5, SC in next 2 sts. [36]
- Round 7: (SC in next 5 sts, INC) x 6. [42]
- Round 8: SC in next 3 sts, INC, (SC in next 6 sts, INC) x 5, SC in next 3 sts. [48]
- Round 9: (SC in next 7 sts, INC) x 6. [54]
- Round 10: SC in next 4 sts, INC, (SC in next 8 sts, INC) x 5, SC in next 4 sts. [60]
Fold the leg in half. SC along the edge to crochet the two sides together: work 18 SC, stuff the leg very lightly, then finish closing with 11 SC for a total of 29 SC along the edge. Cut the yarn, leaving a long tail for sewing. Just like with the front leg, pull the yarn tail through to the opposite side on one of the legs.
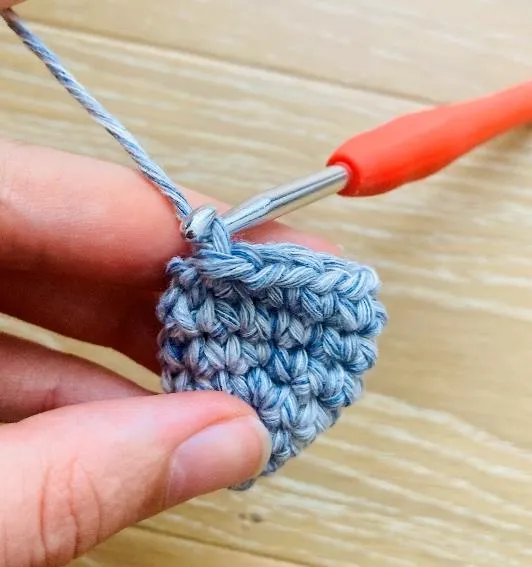
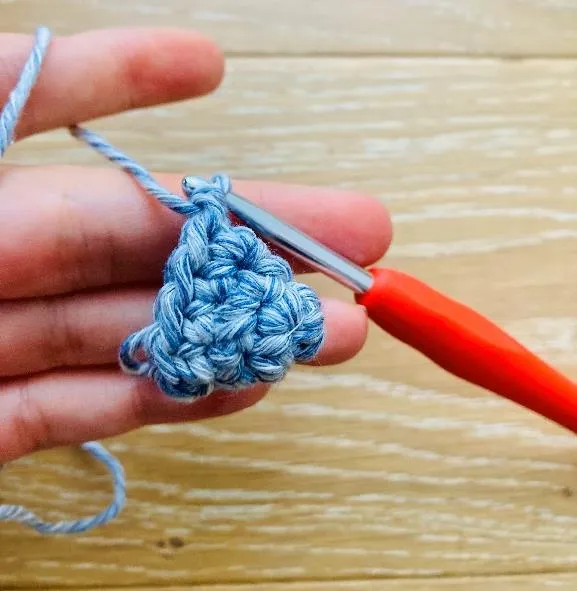
Tail
- Round 1: Start with 3 SC in a MR. [3]
- Round 2: Work an INC in each st around. [6]
- Round 3: (SC in next st, INC) x 3. [9]
- Round 4: SC in next st, INC, (SC in next 2 sts, INC) x 2, SC in next st. [12]
- Rounds 5-7 (3 rounds): SC in each st around. [12]
Make 1 SL in the next stitch. Cut the yarn, leaving a long tail for sewing.
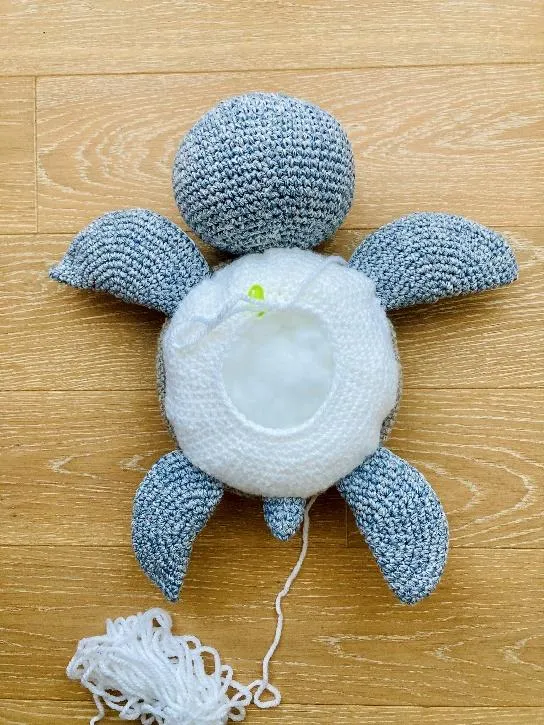
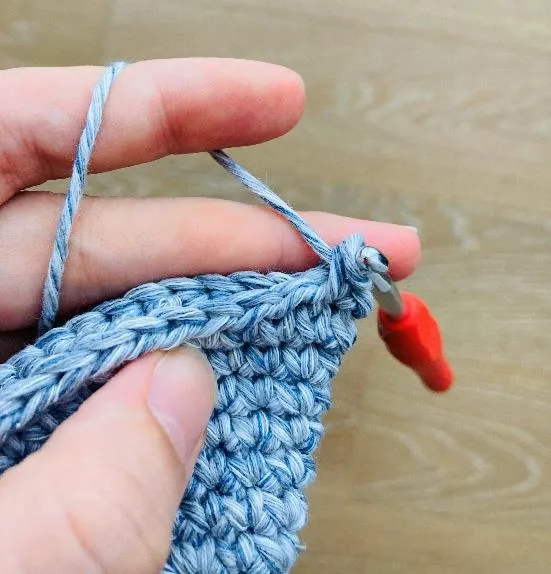
Shell & Stomach
This part creates the main body of your turtle.
- Start with your Shell color (Color B).
- Round 1: 6 SC in a MR. [6]
- Round 2: INC in each st around. [12]
- Round 3: (SC in next st, INC) x 6. [18]
- Round 4: SC in next st, INC, (SC in next 2 sts, INC) x 5, SC in next st. [24]
- Round 5: (SC in next 3 sts, INC) x 6. [30]
- Round 6: SC in next 2 sts, INC, (SC in next 4 sts, INC) x 5, SC in next 2 sts. [36]
- Round 7: (SC in next 5 sts, INC) x 6. [42]
- Round 8: SC in next 3 sts, INC, (SC in next 6 sts, INC) x 5, SC in next 3 sts. [48]
- Round 9: (SC in next 7 sts, INC) x 6. [54]
- Round 10: SC in next 4 sts, INC, (SC in next 8 sts, INC) x 5, SC in next 4 sts. [60]
- Round 11: (SC in next 9 sts, INC) x 6. [66]
- Round 12: SC in each st around. [66]
- Round 13: SC in next 5 sts, INC, (SC in next 10 sts, INC) x 5, SC in next 5 sts. [72]
- Round 14: SC in each st around. [72]
- Round 15: (SC in next 11 sts, INC) x 6. [78]
- Round 16: SC in each st around. [78]
- Round 17: SC in next 6 sts, INC, (SC in next 12 sts, INC) x 5, SC in next 6 sts. [84]
- Round 18: SC in each st around. [84]
- Round 21: (SC in next 13 sts, INC) x 6. [90]
- Rounds 22-23 (2 rows): SC in each st around. [90]
- Round 24: SC in next 7 sts, INC, (SC in next 14 sts, INC) x 5, SC in next 7 sts. [96]
- Round 25: In the FRONT LOOP ONLY, SC in each st around. [96] On the very last stitch, change to your Stomach color (Color C).
- Continue with Stomach color (Color C).
- Round 26: This round creates the openings for the limbs. Working in the BACK LOOPS of Round 25: SC in next 5 sts, CH 8, skip 8 sts, SC in next 18 sts, CH 6, skip 6 sts, SC in next 5 sts, CH 4, skip 4 sts, SC in next 5 sts, CH 6, skip 6 sts, SC in next 18 sts, CH 8, skip 8 sts. [96]
- Round 27: SC in each stitch and chain around. [96]
- Round 28: SC in next 7 sts, INV DEC, (SC in next 14 sts, INV DEC) x 5, SC in next 7 sts. [90]
- Round 29: (SC in next 13 sts, INV DEC) x 6. [84]
- Round 30: SC in next 6 sts, INV DEC, (SC in next 12 sts, INV DEC) x 5, SC in next 6 sts. [78]
- Round 31: (SC in next 11 sts, INV DEC) x 6. [72]
- Round 32: SC in next 5 sts, INV DEC, (SC in next 10 sts, INV DEC) x 5, SC in next 5 sts. [66]
- Round 33: (SC in next 9 sts, INV DEC) x 6. [60]
- Round 34: SC in next 4 sts, INV DEC, (SC in next 8 sts, INV DEC) x 5, SC in next 4 sts. [54]
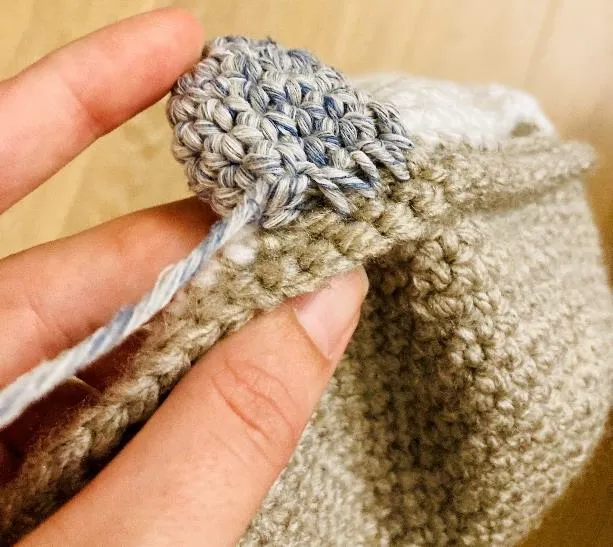
Now it’s time to join the head, legs, and tail into the holes you made in Round 26!
- Front Legs: Join in the 8-chain spaces.
- Back Legs: Join in the 6-chain spaces.
- Tail: Join in the 4-chain space.
- Head: Join in the remaining 8-chain space at the front.
- Resume crocheting the stomach closed.
- Round 35: (SC in next 7 sts, INV DEC) x 6. [48]
- Round 36: SC in next 3 sts, INV DEC, (SC in next 6 sts, INV DEC) x 5, SC in next 3 sts. [42]
- Round 37: (SC in next 5 sts, INV DEC) x 6. [36]
- Start stuffing the body. If you’re using rattles, add them now. Keep stuffing as you go.
- Round 38: SC in next 2 sts, INV DEC, (SC in next 4 sts, INV DEC) x 5, SC in next 2 sts. [30]
- Round 39: (SC in next 3 st, INV DEC) x 6. [24]
- Keep stuffing!
- Round 40: SC in next st, INV DEC, (SC in next 2 st, INV DEC) x 5, SC in next st. [18]
- Round 41: (SC in next st, INV DEC) x 6. [12]
- Stuff well for the last time!
- Round 42: (INV DEC) x 6. [6]
FO by weaving the yarn tail through the front loops of the final 6 stitches and pulling tight to close. Secure the yarn and hide the end inside the stomach.
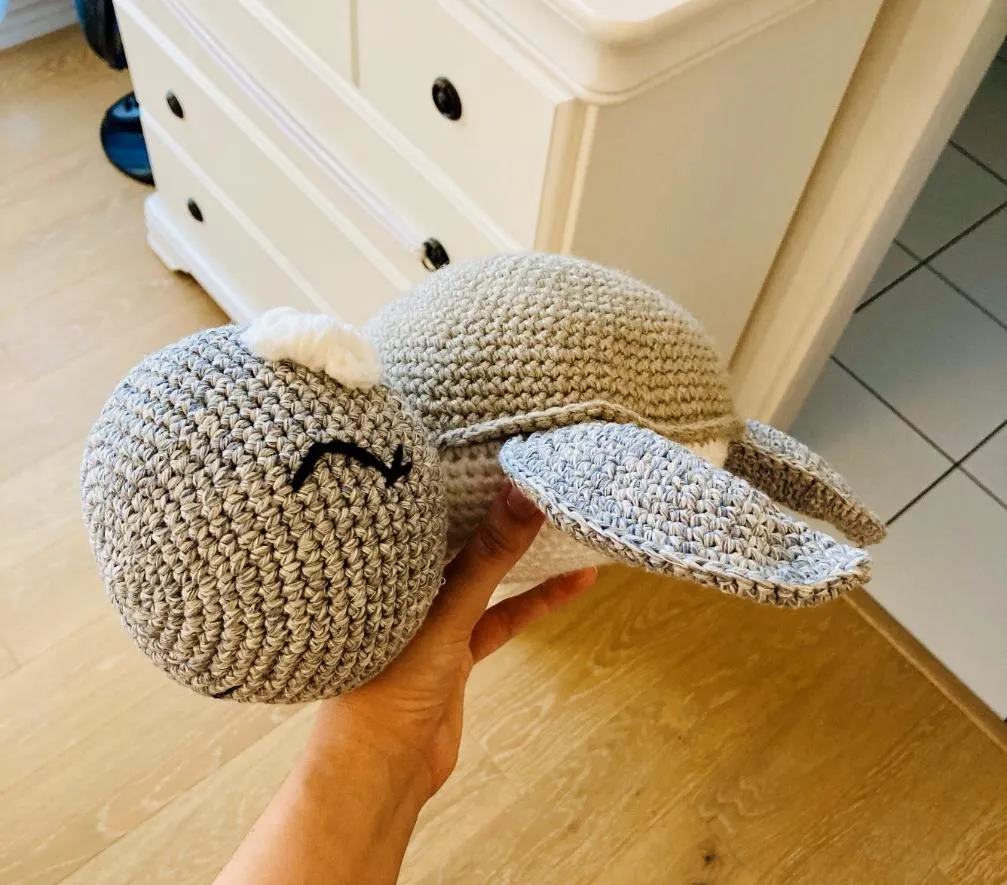
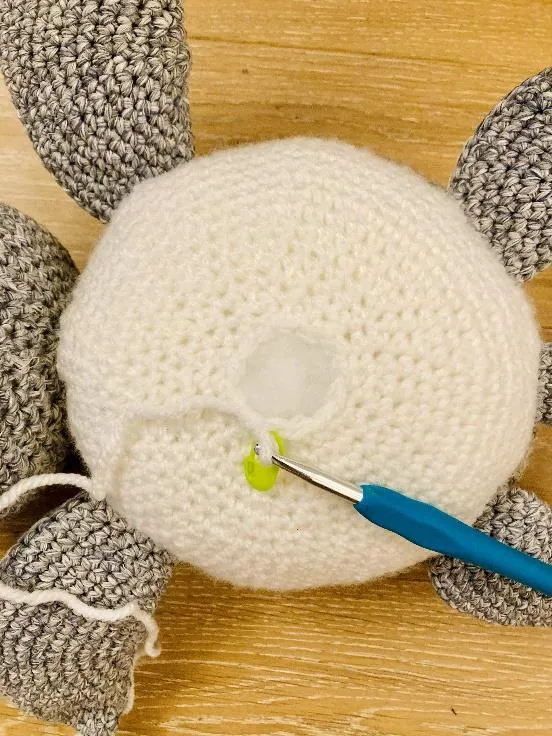
Bringing Your Turtle to Life: Finishing Touches
With the body assembled, it’s time for the final, magical details that will give your turtle its personality!
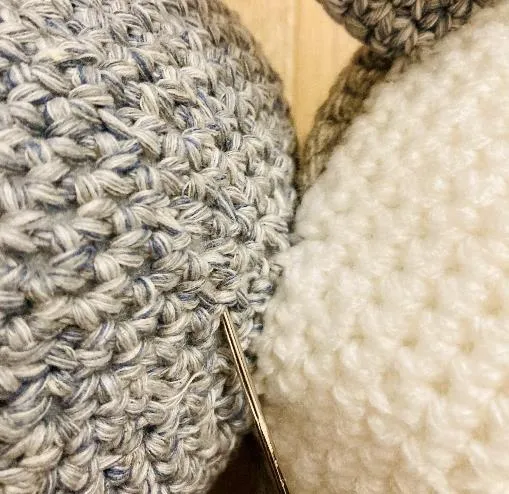
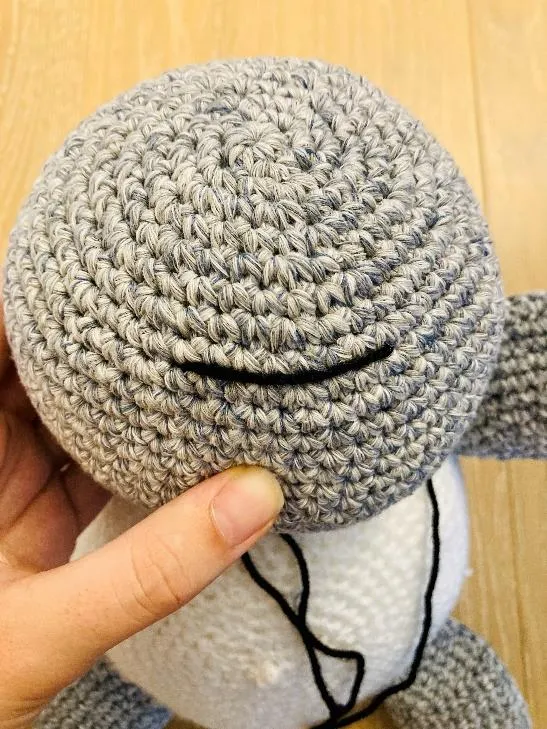
Eyes & Mouth
Use a long piece of black yarn and your yarn needle to embroider the face. The original pattern provides very detailed photos for this process.
- Begin by embroidering the eyes.
- Next, form the eyelashes on each side.
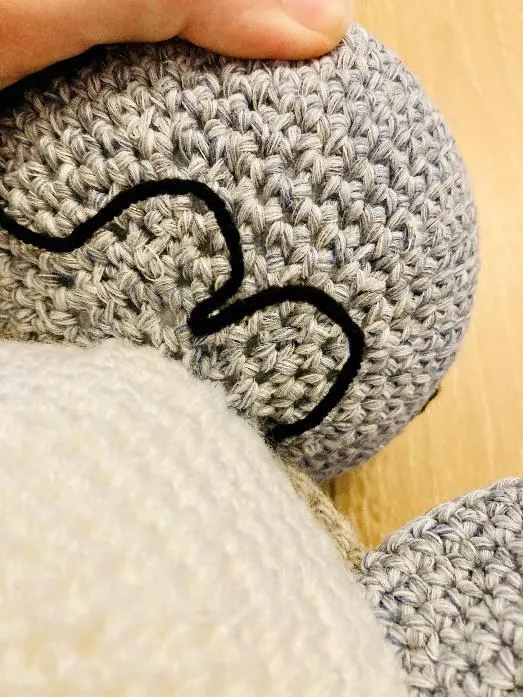
- Finish by sewing the mouth on Round 8 of the head, covering about 8 stitches.
- Once finished, tie off the black yarn and hide the ends securely inside the head.
- Safety Tip: If this toy is for a child, it is recommended to also sew the mouth with matching sewing thread to ensure it is extra secure and doesn’t move.
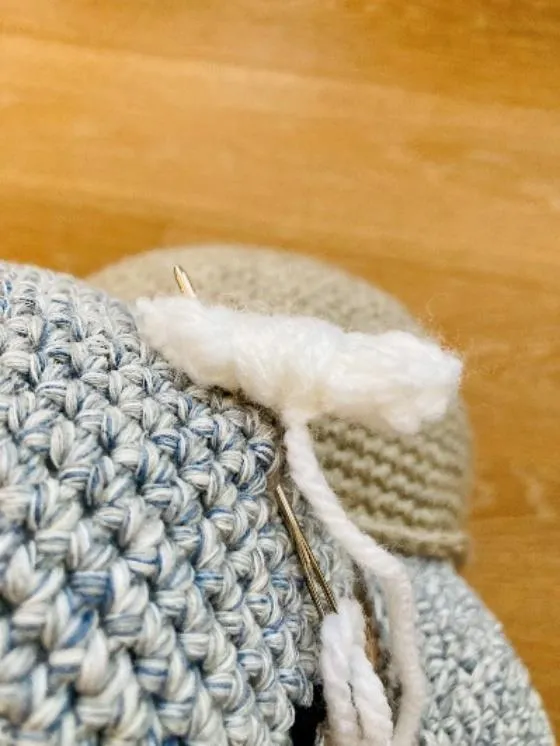
Add a Finishing Touch: The Optional Bow
- Using any color you like, Chain 2.
- Work 5 DC into the first chain.
- SL to the first chain.
- Chain 1.
- Work another 5 DC into that same first chain.
- SL again to the first chain.
- Tighten the first chain and use the yarn tails to wrap around the middle of the bow to cinch it.
- Tie a knot at the back and sew the bow securely onto the turtle’s head
Congratulations, you’re all done
You’ve created a beautiful, handmade sea turtle toy. We hope you had fun with this pattern