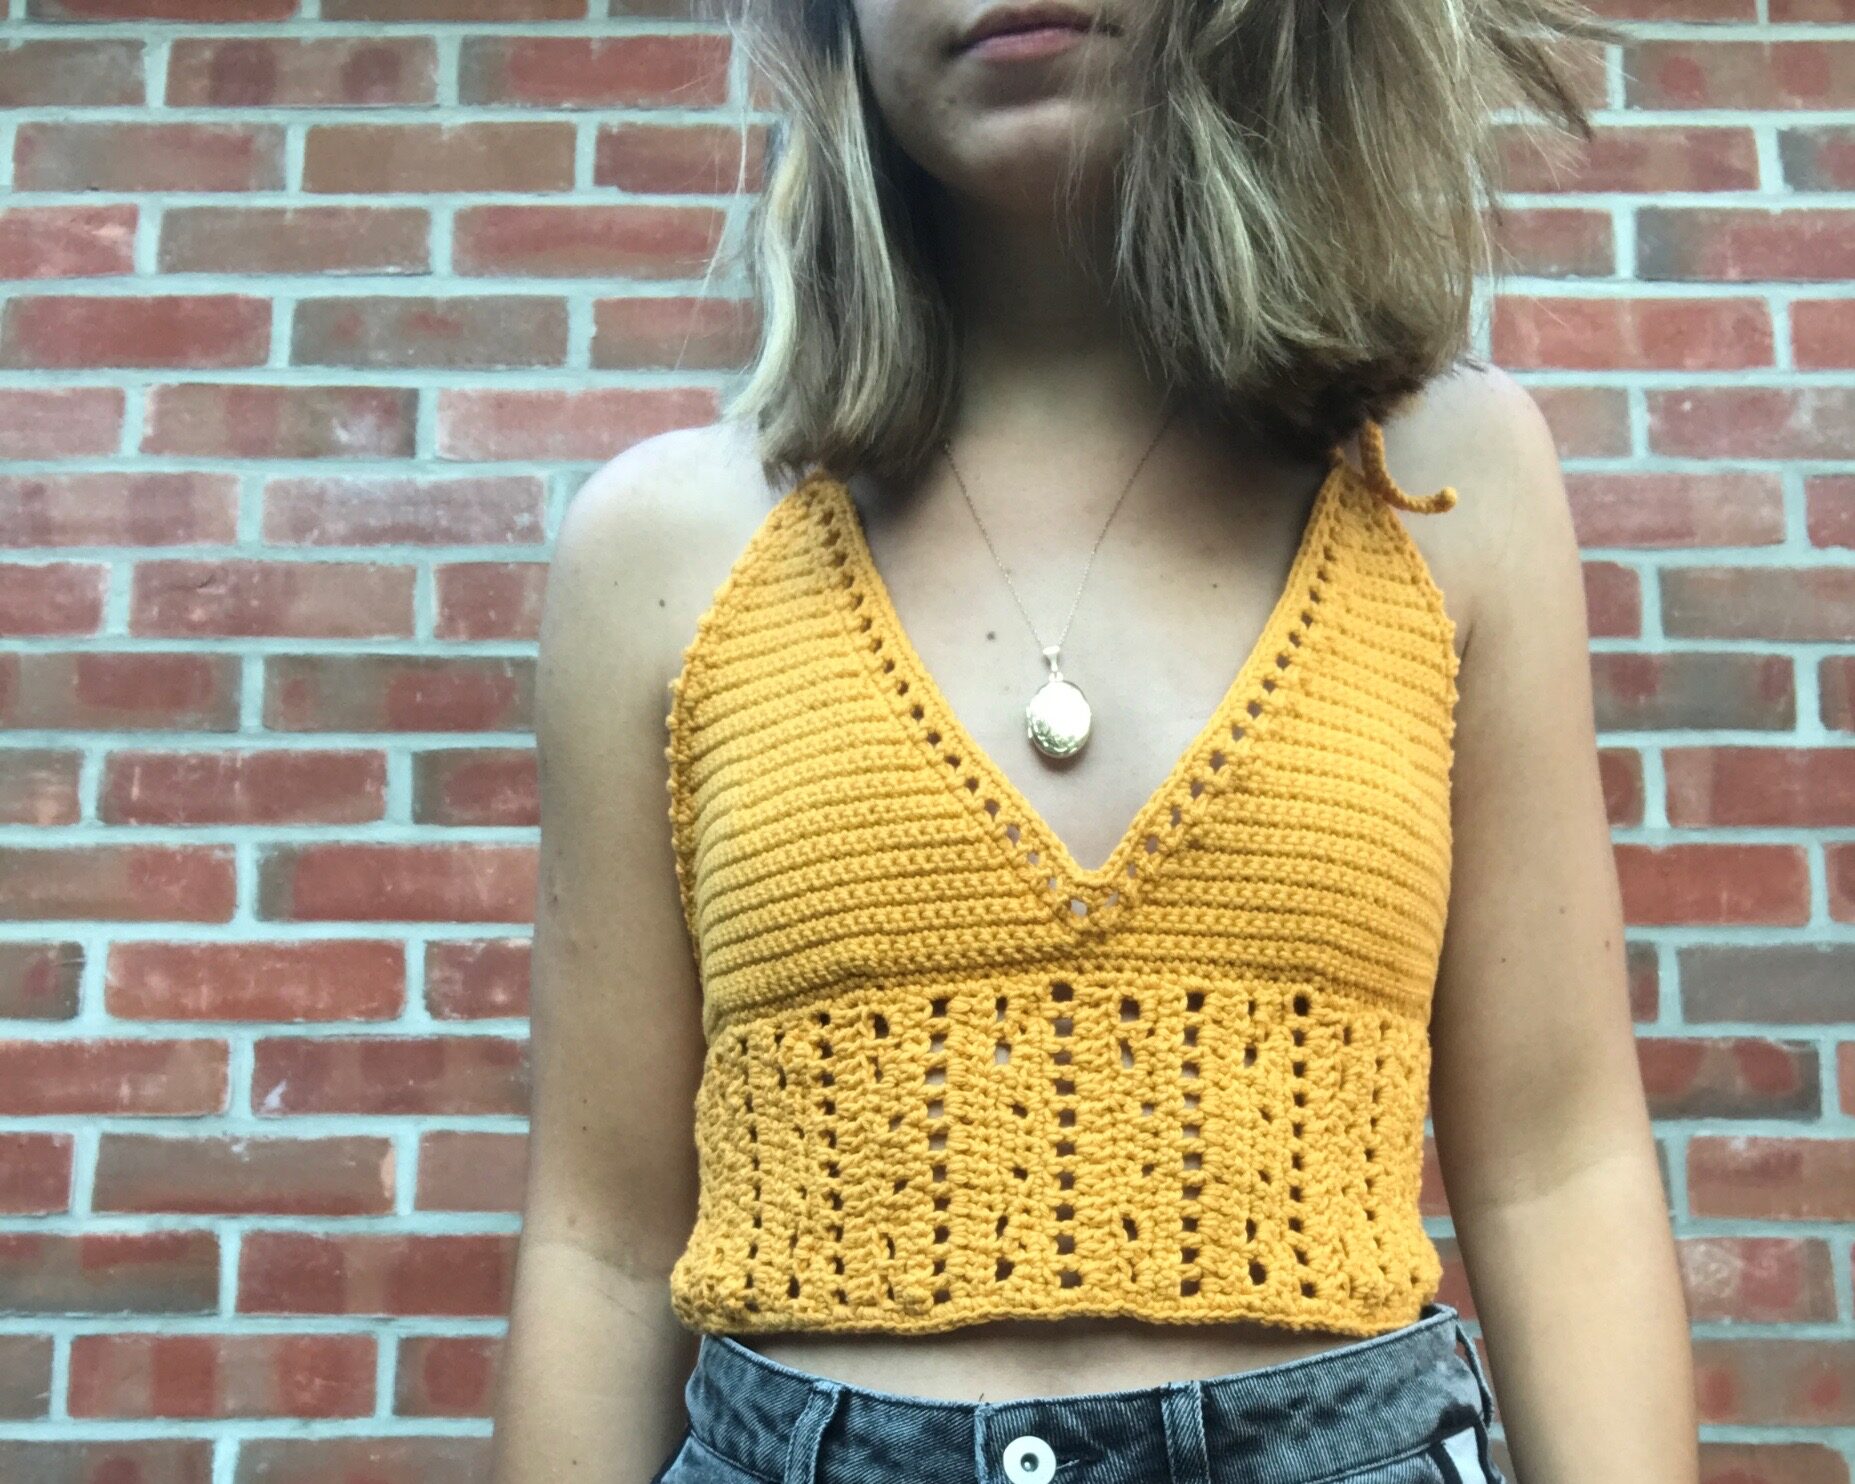
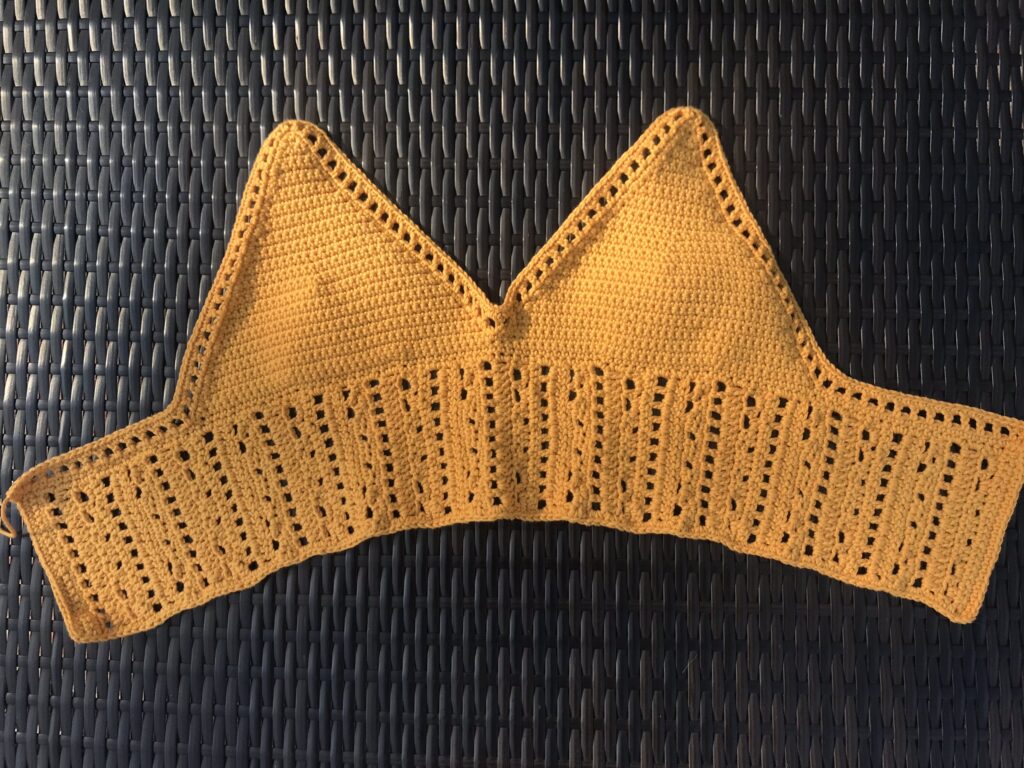
Crochet a Chic Summer Halter Crop Top
Part 3: Edging & Straps
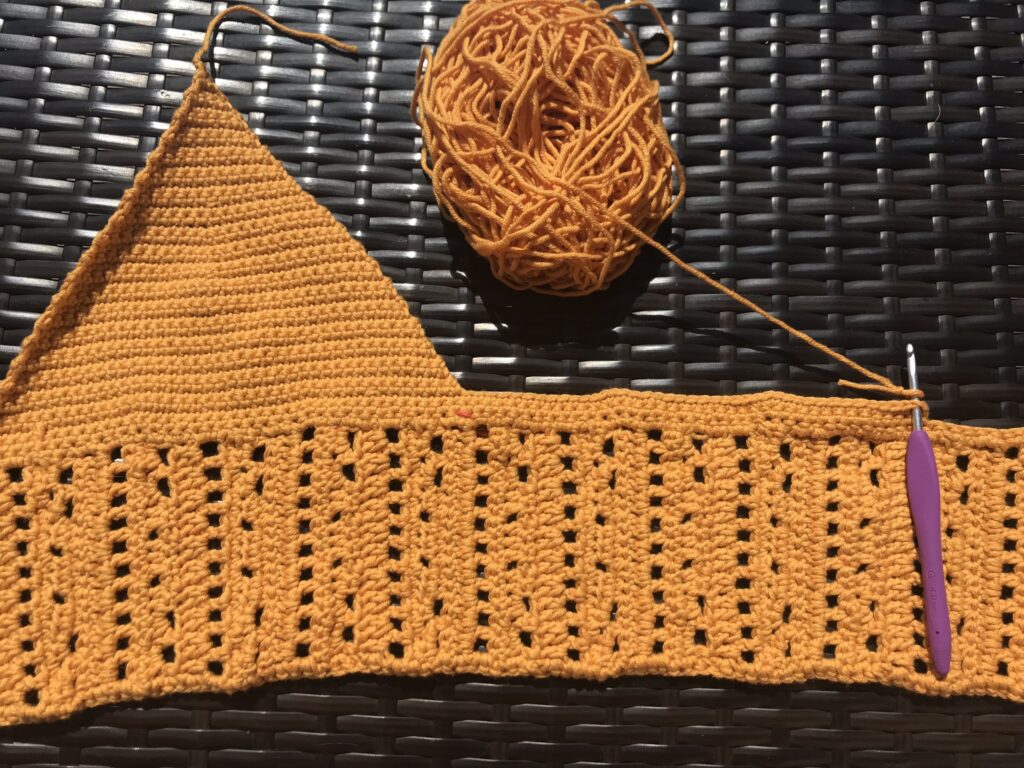
Top Edge:
- With RS facing, attach yarn to the right corner of the under bust band.
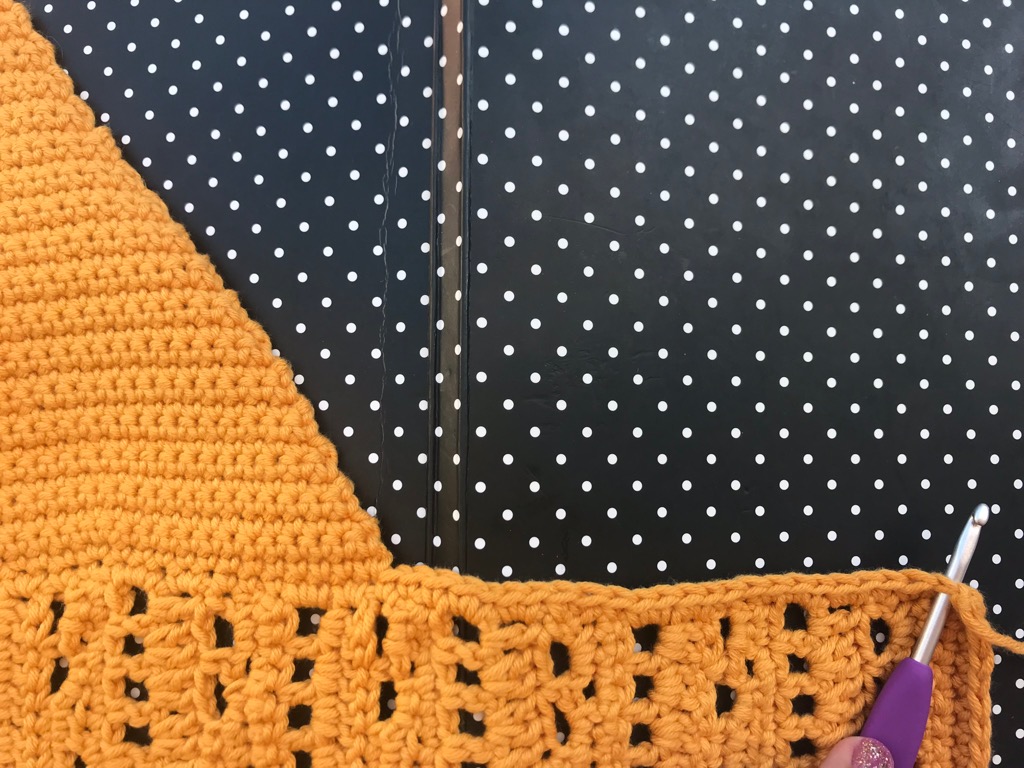
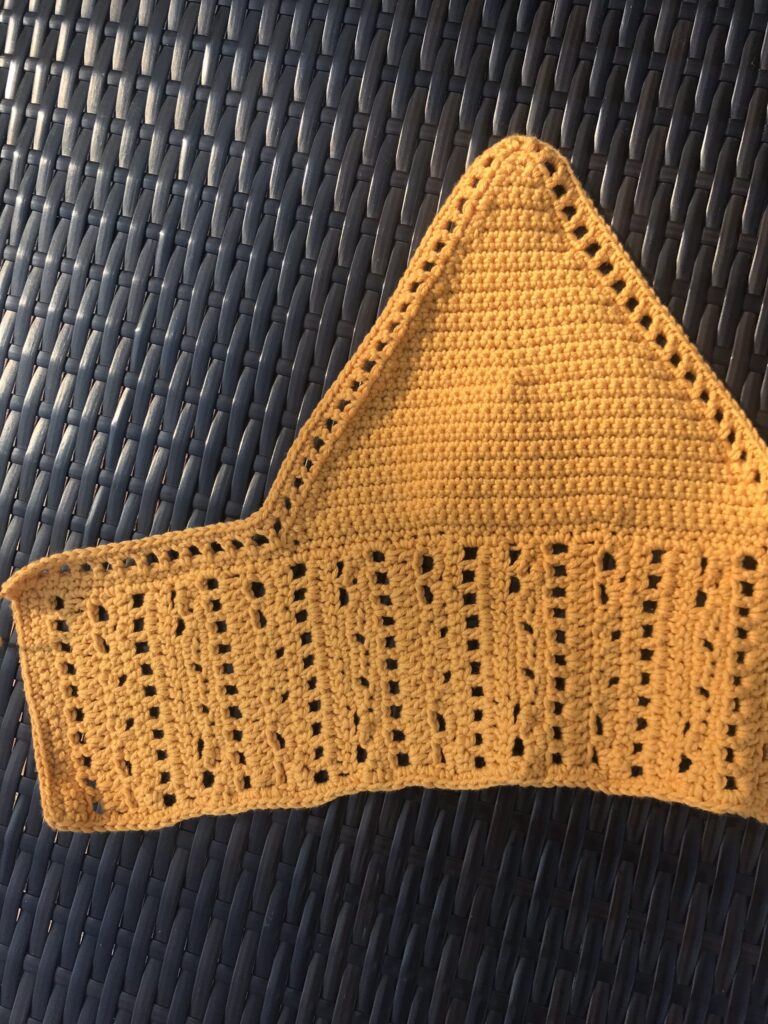
- Rnd 1: Ch 1, sc in same st. Sc evenly along the top band edge, up the outside of the right cup, work 3 sc in the top center st of the cup, down the inside edge between the cups, work 3 sc in the top center st of the left cup, up the outside of the left cup, and along the top band to the start. Ensure you have an odd number of stitches on each cup edge (excluding the 3-sc corners).
- Rnd 2: Ch 2 (counts as dc), turn. Work 2 dc. Ch 1, sk 1 st, dc in next st. Repeat from * to create a mesh pattern. At the top center of each cup (the 3-sc group), work (dc, ch 1, dc) all in the center st. Where the cups meet in the middle, simply dc across without a ch-1 space. End with 2 dc.
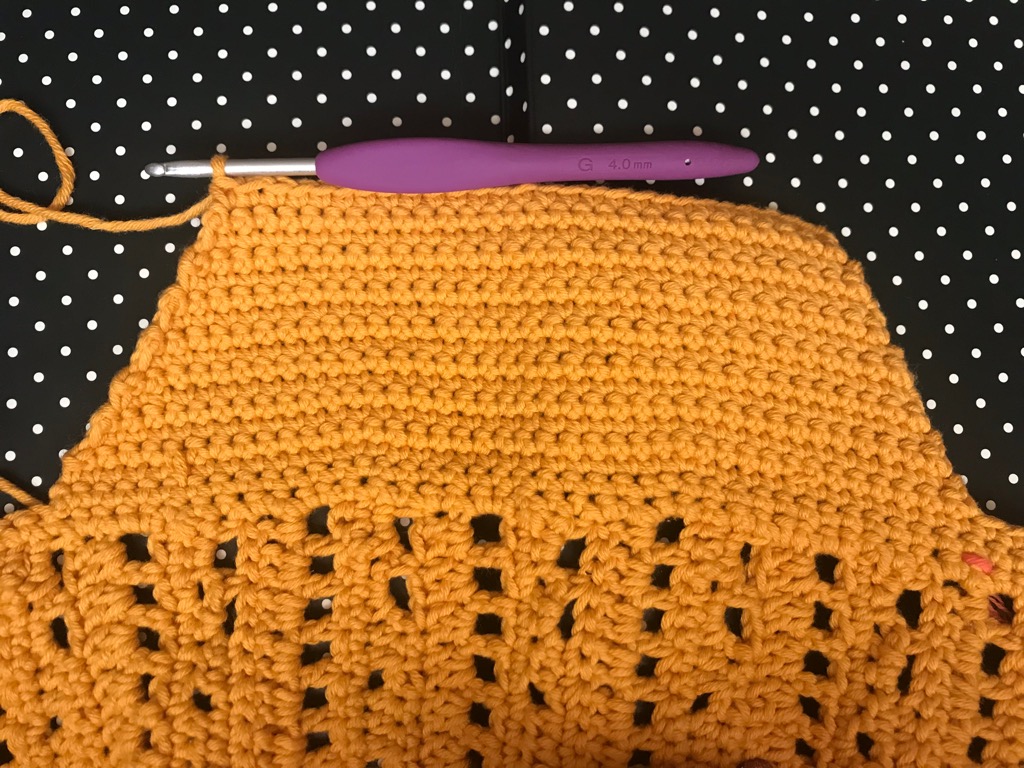
- Rnd 3: Ch 1, turn. Work 2 sc. *Sc in every st and ch-1 sp.* At the top of each cup, sc in the dc, work 2 sc in the ch-1 sp. Continue around. End with 3 sc. Fasten off.
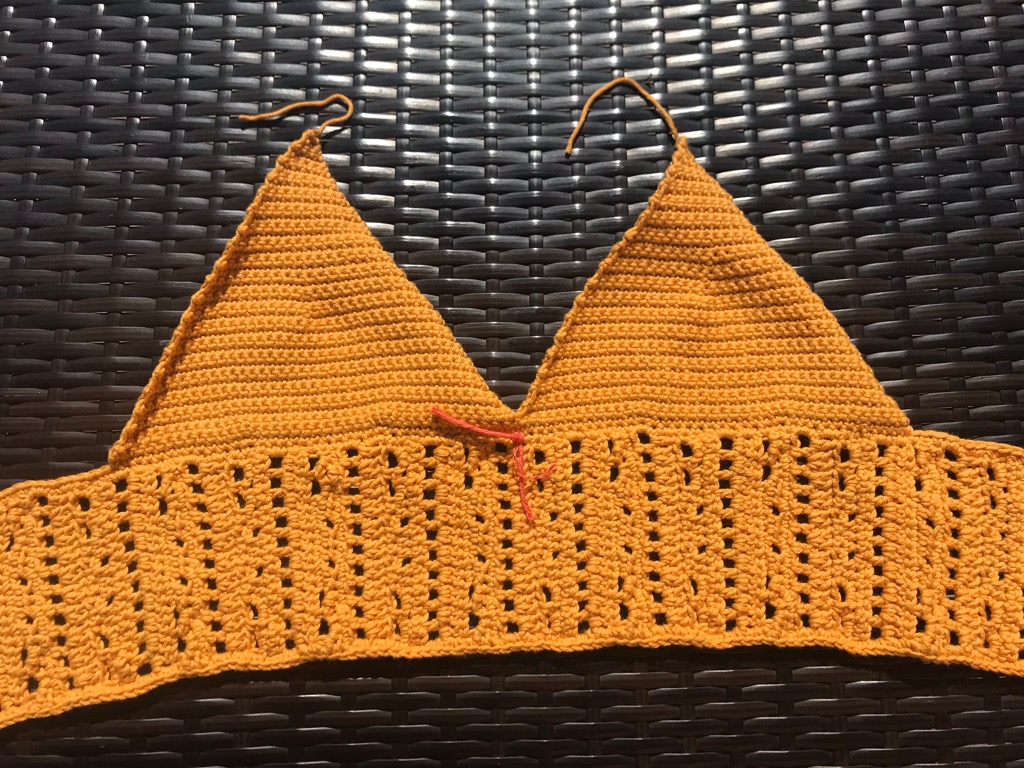
Halter Straps (for connected back):
Join yarn to the top of one cup. Chain 130. Sl st into the 2nd ch from the hook and in each ch across all the way back to the cup. Sl st into the cup to join securely. Fasten off. Repeat for the second strap.
Finishing: Back Options
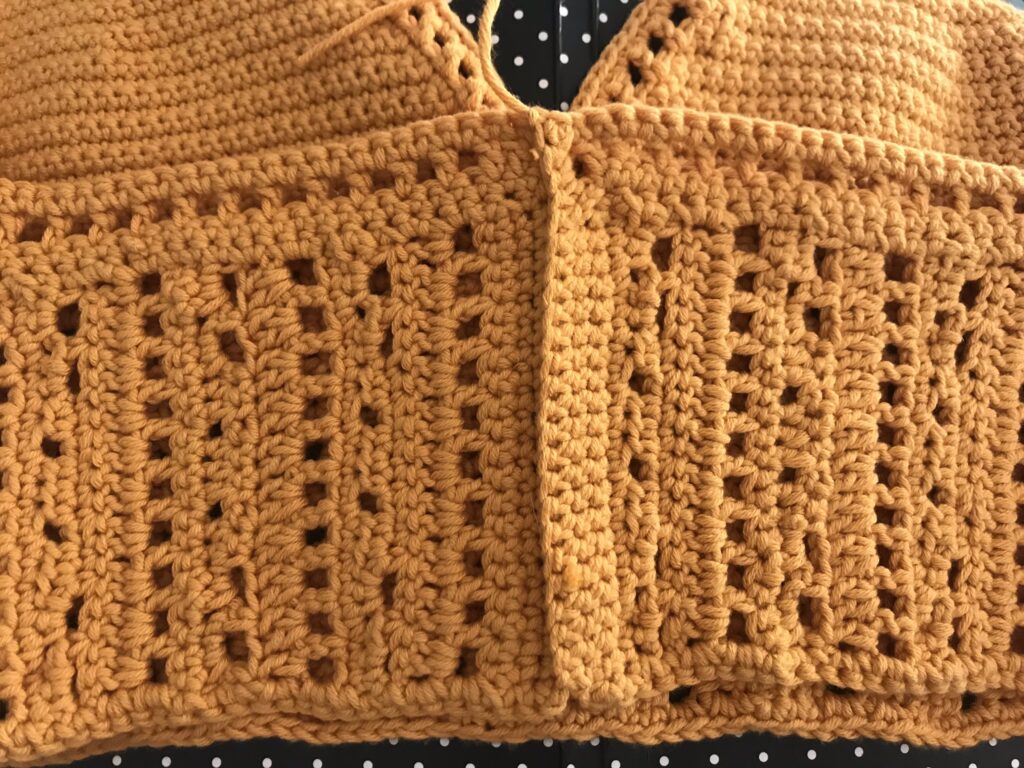
Option 1: Connected Back
With Right Sides facing, join yarn and sc the two ends of the under bust band together.
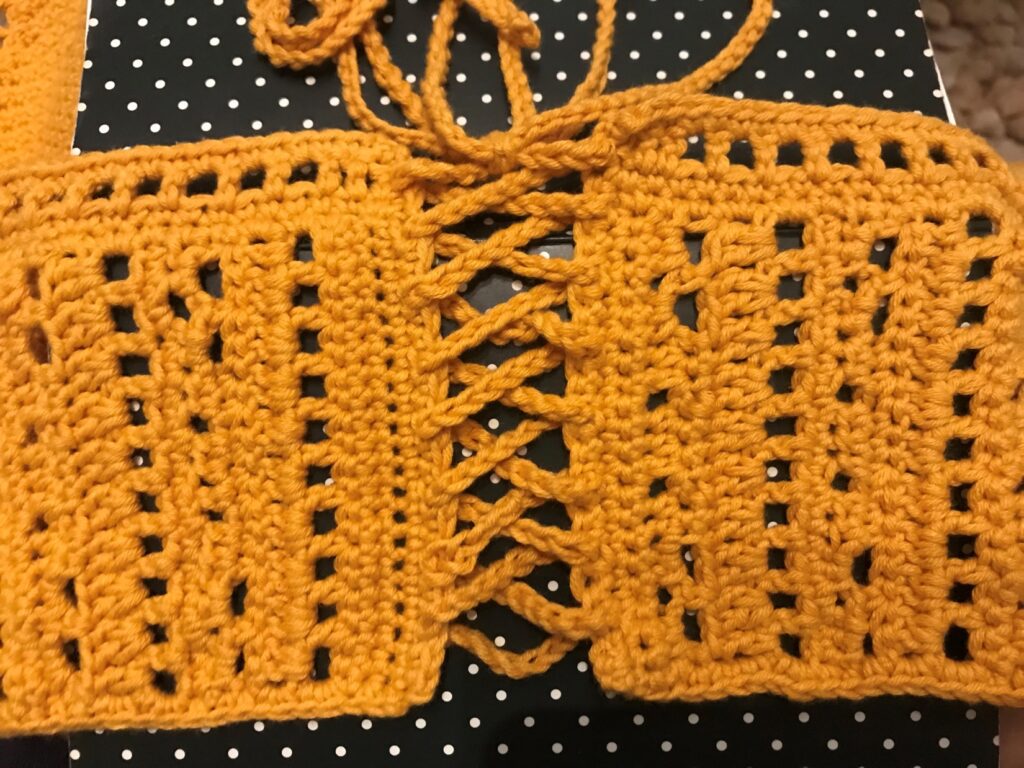
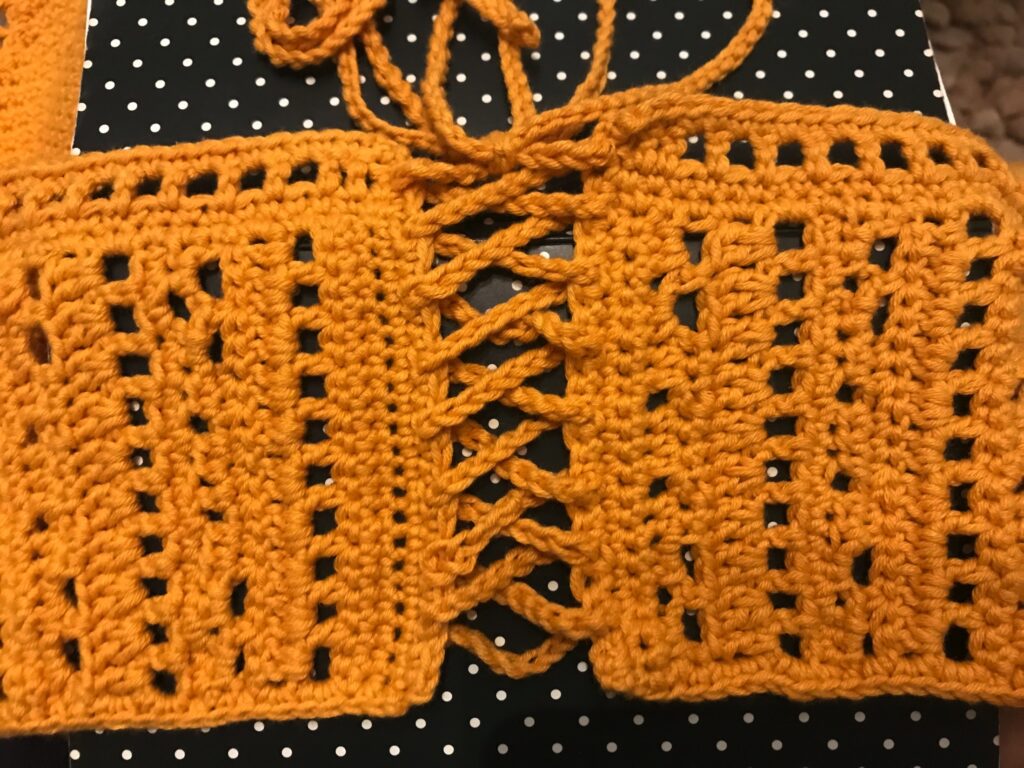
Option 2: Lace-Up Back
Join yarn to one end of the band. Ch 1, sc in same st. Sc in next st, ch 1, sk 1 st. Repeat from * all the way along the band edge. Fasten off. Repeat on the other band edge. Create a long chain (approx. 350 ch) for the lace-up tie. Weave it through the spaces.
Final Steps
Weave in all your ends. Try on your beautiful new top and make any minor adjustments if needed