Craft a Musical Friend: Free Crochet Rattle Hippo Pattern
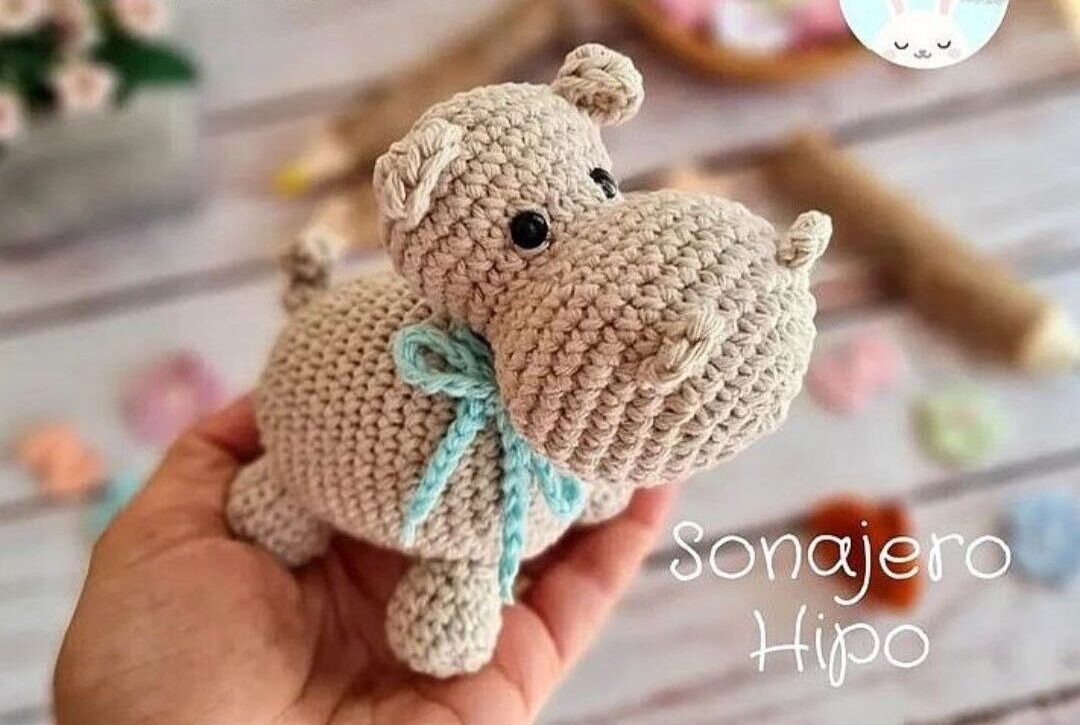
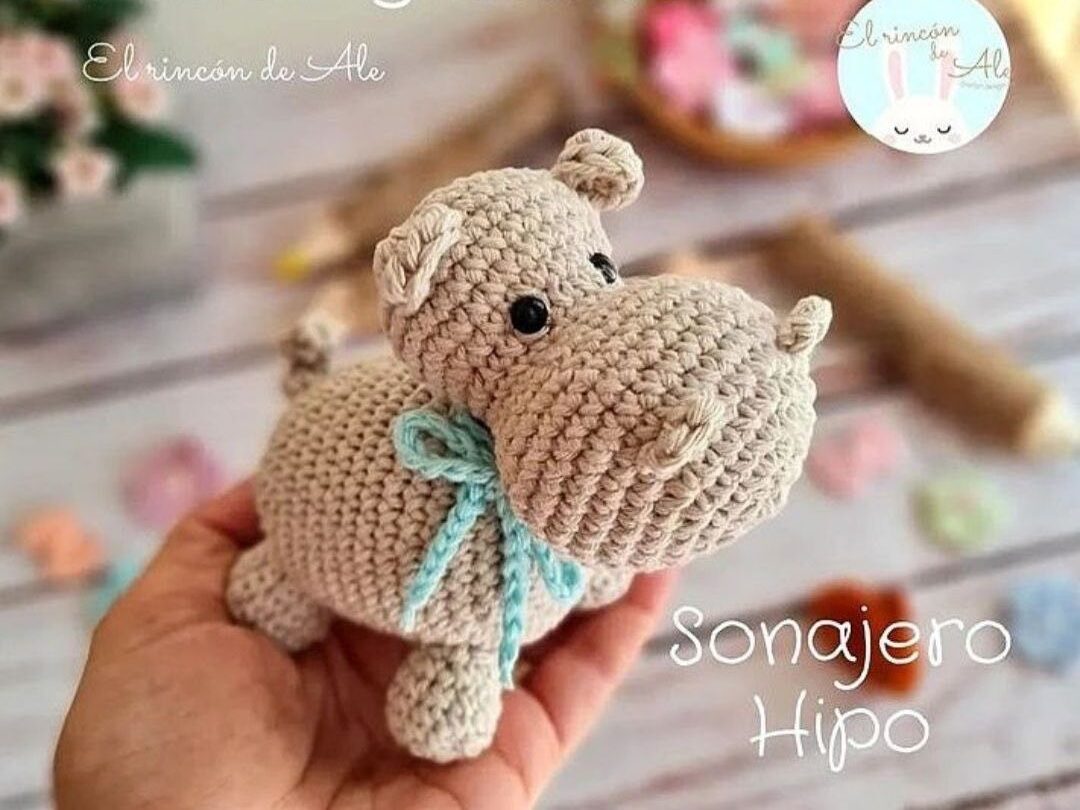
Hello, wonderful crafter! Are you ready to create a handmade toy that’s equal parts adorable and interactive? Today, we’re diving into a delightful pattern for a baby-safe hippo rattle, or “Sonajero Hipo”! This little friend isn’t just cuddly; it has a secret: a gentle, jingling sound inside to captivate tiny hands and ears.
Designed by Alejandra Bianchimano of El Rincón de Ale, this pattern is a beautiful blend of function and charm. The hippo’s sweet, rounded shape, perky ears, and little nostrils make it an instant favorite. It’s crocheted in durable cotton yarn, making it a safe and washable companion for baby’s first explorations. There’s something so special about giving a gift you’ve lovingly stitched, knowing it will be part of a child’s earliest memories.
This project is perfect for expectant parents, crafters looking for a quick and satisfying baby shower gift, or anyone who wants to practice simple amigurumi shaping. The pattern is clearly written for crocheters familiar with basic stitches and working in the round. While you make it, you’ll be crafting not just a toy, but a keepsake filled with care and intention.
This is a free pattern shared with joy, but it remains the intellectual property of the designer. Please remember: it is prohibited to sell this pattern. You are, of course, welcome to sell the finished hippos you make! When sharing your creations online, kindly credit Alejandra Bianchimano (El Rincón de Ale).
So, pick out a soft, cheerful color of cotton yarn, grab your 2.5 mm hook, and let’s create a huggable, shakeable friend that’s sure to bring smiles. Your journey to making a perfect first toy starts with the next stitch!
Materials & Tools
- Yarn: Medium weight (Aran/Worsted) cotton yarn (8/6 ply) in the color of your choice.
- Crochet Hook: 2.5 mm or 2.75 mm.
- Eyes: Two 6mm black safety eyes.
- Filling: Polyester fiberfill.
- Rattle Element: One small plastic rattle insert or jingle bell securely enclosed in a small container.
- Notions: Yarn needle, stitch markers, scissors, pins.
- Social: Find the designer on Instagram: @elrincondeale
Crochet Abbreviations (Spanish to English)
Here’s your handy translation guide for the pattern stitches:
- cad (ch): Chain
- am (mr): Magic Ring
- V (rnd): Round
- H (row): Row
- pd (sl st): Slip Stitch
- pb (sc): Single Crochet
- pma (hdc): Half Double Crochet
- aum (inc): Increase (2 sc in one stitch)
- dism (dec): Decrease (sc 2 stitches together)
- HT (BLO): Back Loop Only
- (…) x: Repeat instructions inside parentheses.
- (…): Total stitch count at the end of the round.
Step-by-Step Crochet Instructions
We’ll make our hippo from the head down to its little tail!
Part 1: The Head
- 6 sc in a Magic Ring (6).
- 6 inc (12).
- (1 inc, 1 sc) x6 (18).
- (1 inc, 2 sc) x6 (24).
- (1 inc, 3 sc) x6 (30).
- (1 inc, 4 sc) x6 (36).
- Rounds 7-10: 36 sc.
- (1 dec, 4 sc) x6 (30).
- (1 dec, 3 sc) x6 (24).
- (1 dec, 2 sc) x6 (18).
- 18 sc.
- (1 inc, 2 sc) x6 (24).
- (1 inc, 3 sc) x6 (30).
- Rounds 17-20: 30 sc.
- Attach the 6mm safety eyes between Rounds 16 and 17, with 3-4 visible stitches between them.
- Now, firmly stuff the snout area.
- (1 dec, 3 sc) x6 (24).
- (1 dec, 2 sc) x6 (18).
- (1 dec, 1 sc) x6 (12).
- 1 sl st, fasten off leaving a long tail for sewing.
- Finish stuffing the head firmly and close the opening. (Designer’s Note: You can close with 6 decreases for a smaller hole, or with 12 sc for the look shown in the photos.)
Part 2: The Ears (Make 2)
- In a Magic Ring: Ch 2 (counts as first hdc), 7 hdc (8 hdc total). Sl st to join. Tighten the ring, fasten off leaving a tail for sewing.
Part 3: The Nostrils (Make 2)
- Row 1: Ch 4.
- Row 2: Starting in the 2nd chain from the hook: 2 sc, 1 sl st.
- Make a double knot with both yarn ends. Fasten off, leaving a tail for sewing. Do not cut the starting chain tail; you will hide it later.
Part 4: The Legs (Make 4)
- 6 sc in a Magic Ring (6).
- 6 inc (12).
- 12 sc in the Back Loop Only (12).
- Rounds 4-5: 12 sc.
- (1 dec, 4 sc) x2 (10).
- 1 sl st, fasten off leaving a tail for sewing. Do not stuff yet. You will add a little filling when you attach them.
Part 5: The Body & Rattle Chamber
- 6 sc in a Magic Ring (6).
- 6 inc (12).
- (1 inc, 1 sc) x6 (18).
- (1 inc, 2 sc) x6 (24).
- (1 inc, 3 sc) x6 (30).
- (1 inc, 4 sc) x6 (36).
- Rounds 7-17: 36 sc.
- (1 dec, 4 sc) x6 (30).
- (1 dec, 3 sc) x6 (24).
- (1 dec, 2 sc) x6 (18).
- Add a small amount of stuffing and insert the secured rattle box.
- (1 dec, 1 sc) x6 (12).
- 1 sl st, fasten off leaving a very long tail for sewing the head on.
- Finish stuffing the body firmly and close the opening.
Assembly: Bringing Your Hippo to Life
- Attach the Ears: Sew the ears to the head, about 4 rounds above the eyes, leaving approximately 6 stitches of space between them.
- Attach the Nostrils: Sew the nostrils onto Round 6 of the snout (counting from the Magic Ring), with about 4-5 stitches between them. Use your yarn needle to hide the starting chain tails inside the snout.
- Attach the Head: Using the long tail left on the body, sew the head securely to the body. Take several stitches at the front of the head attachment to prevent the snout from drooping forward and to balance the weight.
- Attach the Legs: Lightly stuff each leg. Use pins to position all four legs evenly so your hippo can stand upright. Once you’re happy with the placement, sew each leg on securely. This is the trickiest part for balance, but take your time!
- Make the Tail: Insert your needle into the back of the body where the final round began. Make 7 chains. Work back down the chain: 2 sc in each chain across. Finish with a sl st. Make a double knot, trim the yarn leaving a short tail, and hide the ends inside the body.
Tips for a Perfect Baby-Safe Hippo
- Safety First: Ensure the rattle mechanism is completely sealed and secure inside the toy before closing the body. Safety eyes must be attached very firmly. For ultimate safety for very young babies, consider embroidering the eyes instead.
- Sturdy Stitches: Use a hook size that gives you tight, dense stitches so the stuffing doesn’t show through. This also makes the toy more durable.
- Balancing Act: Getting the hippo to stand on all fours is all about leg placement. Don’t be afraid to reposition the pins and check balance multiple times before you start sewing.
- Personalize It: The pattern is unisex! Add a small bow, a flower, or a little scarf to give your hippo its own personality.
- Closing the Head: The designer prefers closing the head with 12 sc for a smoother finish. Try both methods and see which you like best!
Congratulations! Your very own Sonajero Hipo is ready to jingle and bring joy