Cabin Plaid Crochet Blanket
Hello, crochet friends! 🧶✨ There’s nothing quite like snuggling under a handmade blanket, and today’s project—the Cabin Plaid Crochet Blanket—is as cozy as it is stylish. With its simple granny-square-inspired motifs and rustic color palette, this blanket is perfect for beginners and seasoned crafters alike.
Whether you’re curling up on the couch or gifting warmth to a loved one, this pattern uses basic stitches and repetitive rounds, making it a relaxing and rewarding project. Ready to stitch some plaid magic?
Let’s gather our supplies
Materials Needed
- Yarn:
- Contrast A (Dark Gray Mix): 3 balls (555 yds)
- Contrast B (Medium Gray Mix): 5 balls (984 yds)
- Contrast C (Fool’s Gold): 3 balls (615 yds)
- *Brand: Patons® Canadiana™ (3.5 oz/100g per ball)*
- Hook: Size U.S. 9 (5.5 mm)
- Yarn needle (for weaving ends)
- Scissors
- Stitch markers (optional)
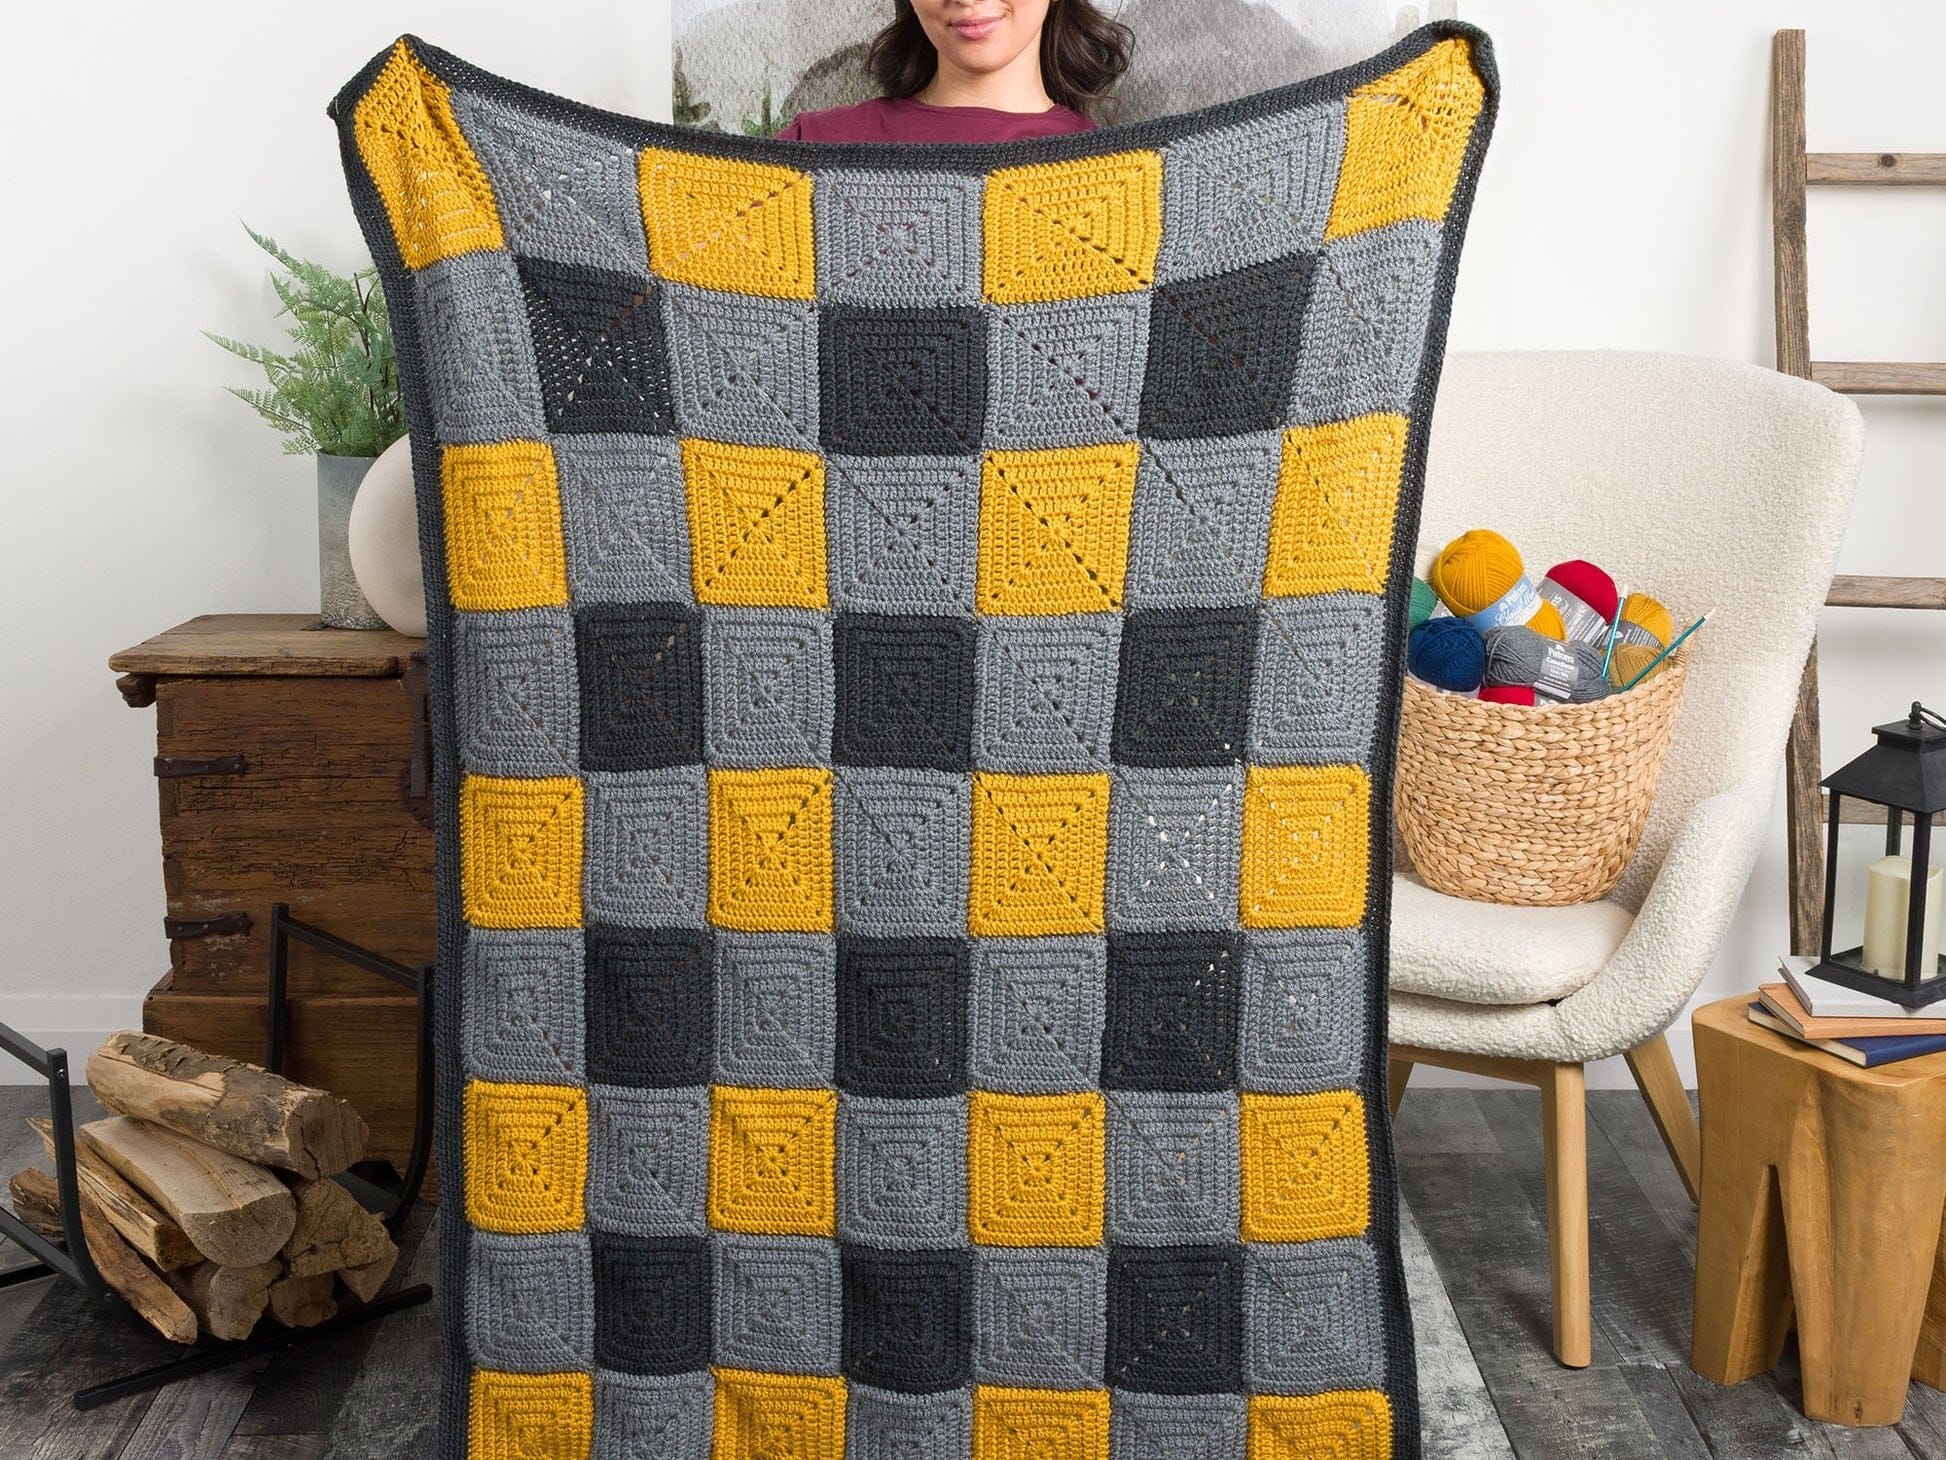
Finished Size: 40¼” x 51¼” (102 x 130 cm)
Abbreviations & Notes
- Ch: Chain
- Sc: Single crochet
- Dc: Double crochet
- Sl st: Slip stitch
- Sp(s): Space(s)
- Rep: Repeat
- Rnd(s): Round(s)
- RS: Right side
Pattern Notes:
- Work in continuous rounds (no joining unless specified).
- Gauge: 13 sc x 14 rows = 4” (10 cm); each motif = 5½” (14 cm) square.
- Color Key: Use A (Dark Gray), B (Medium Gray), and C (Fool’s Gold) as directed.
Crochet Pattern Instructions
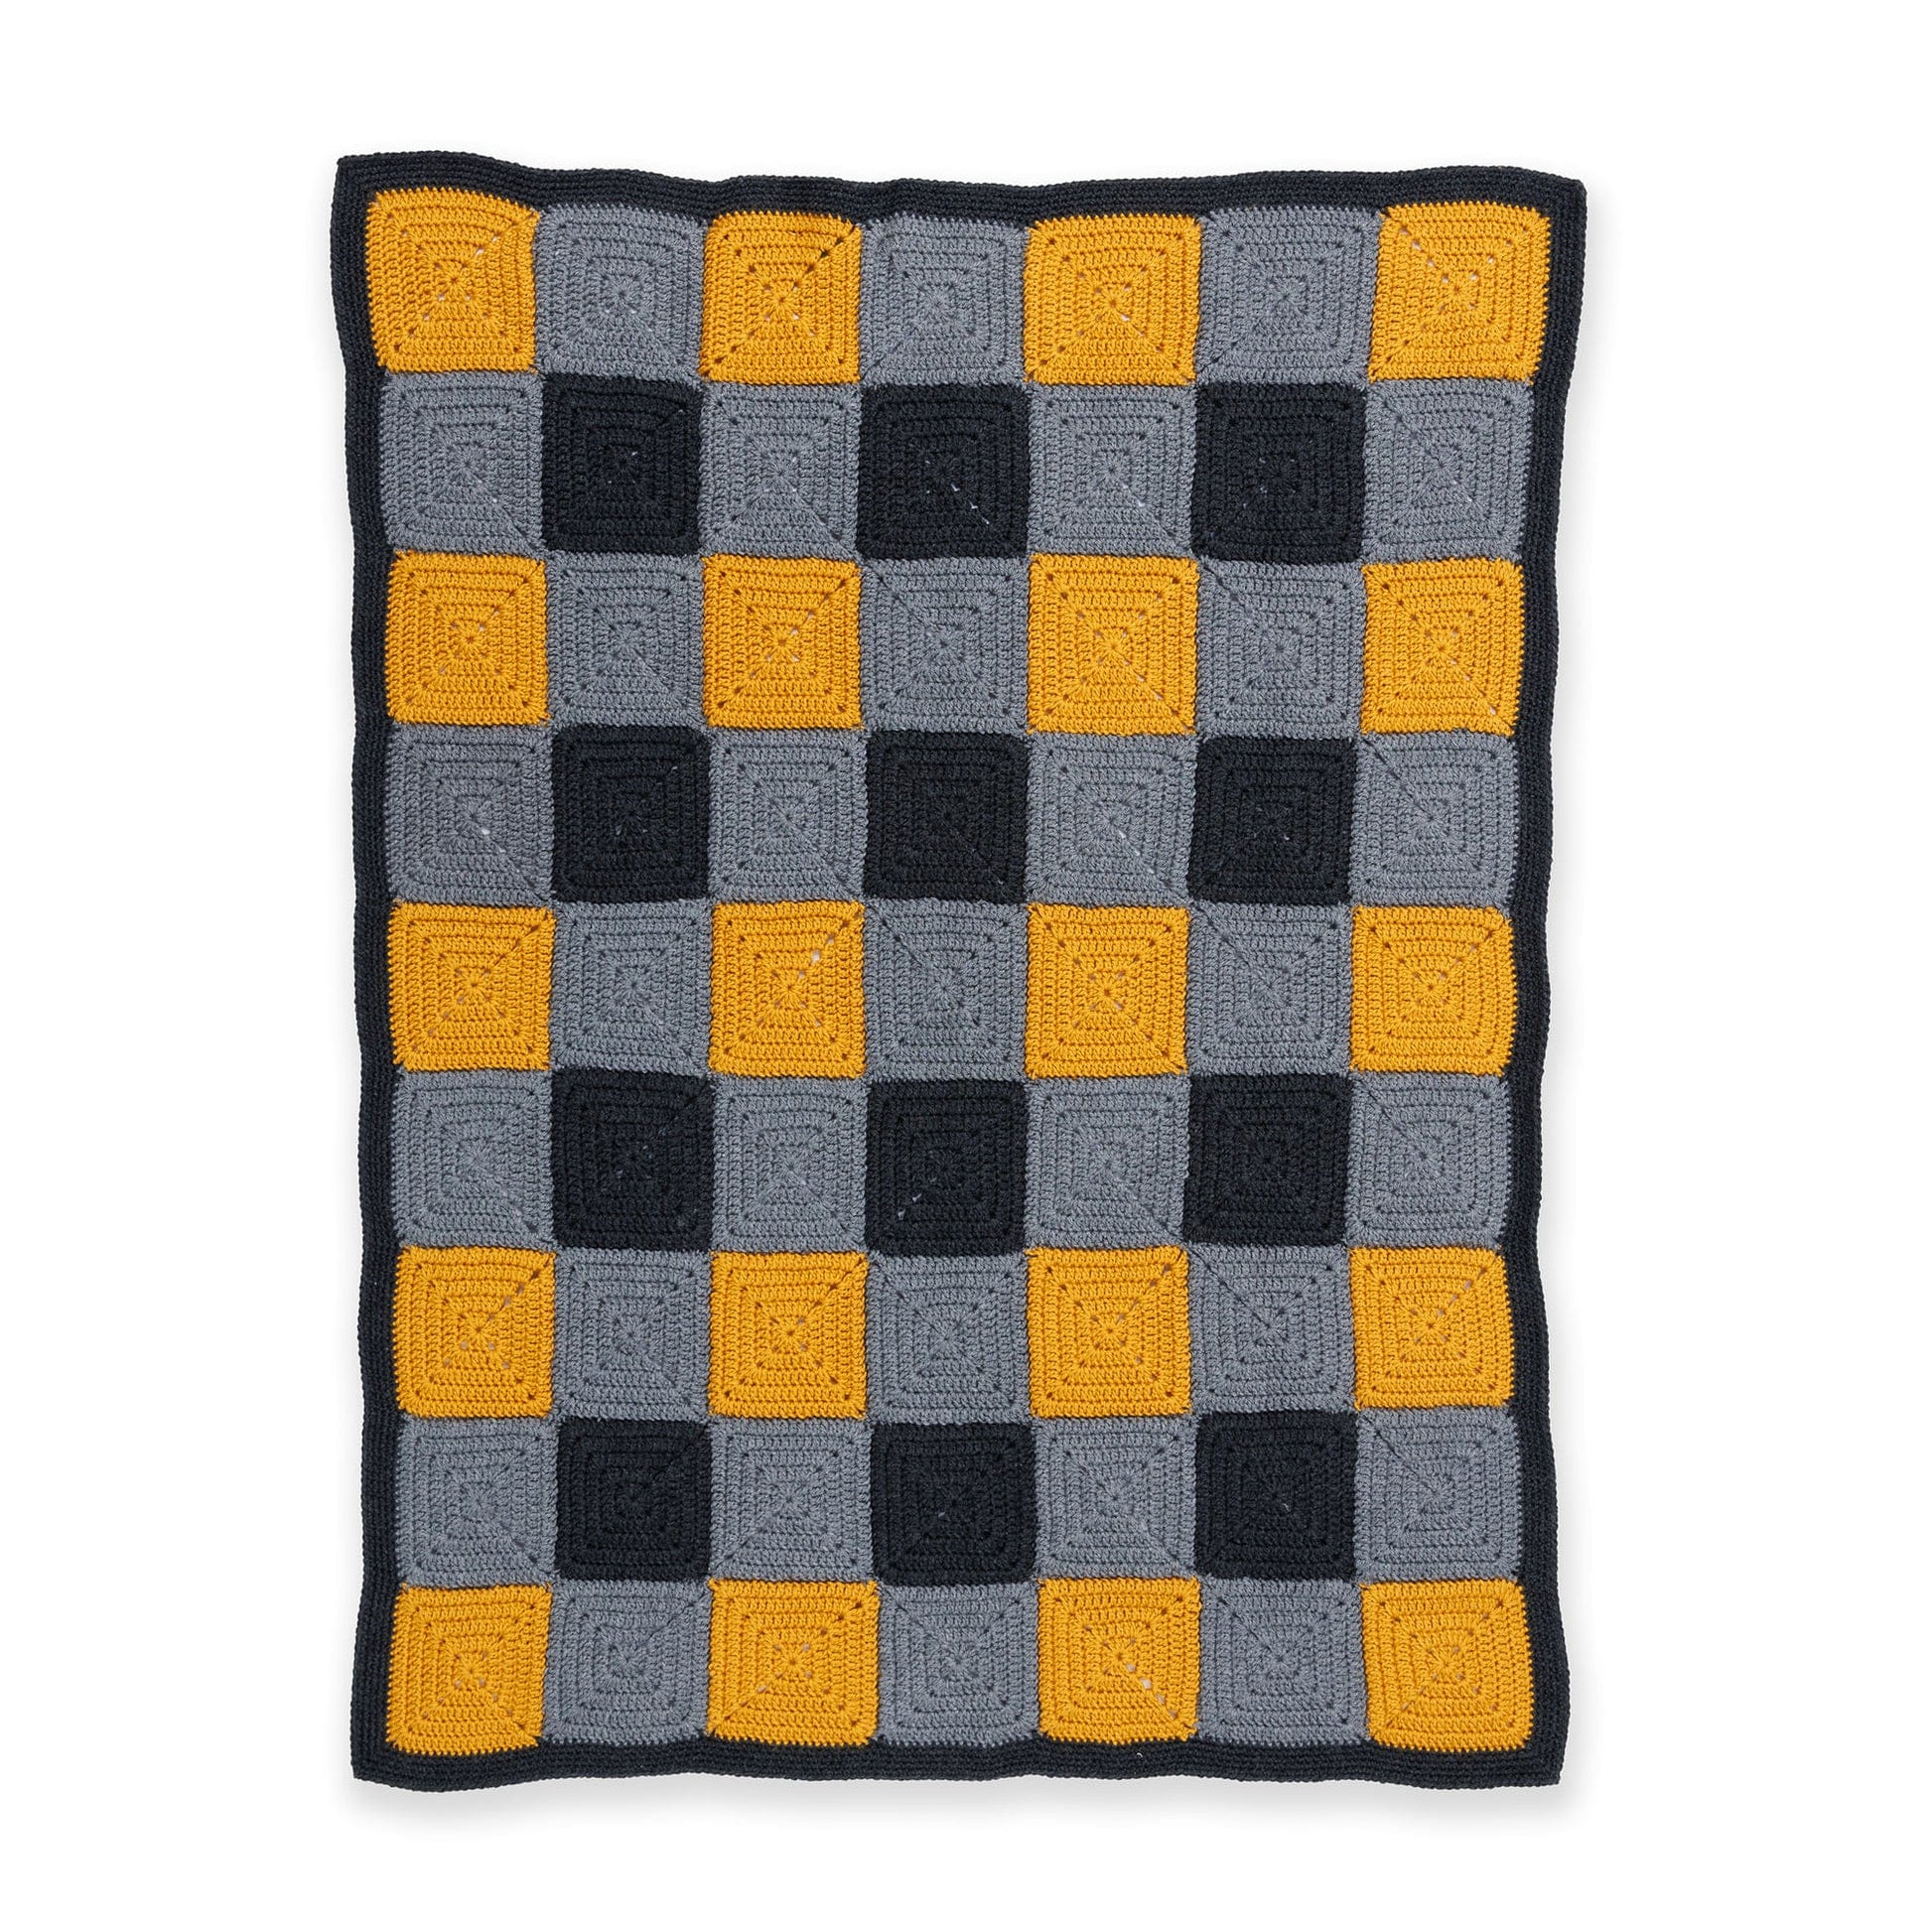
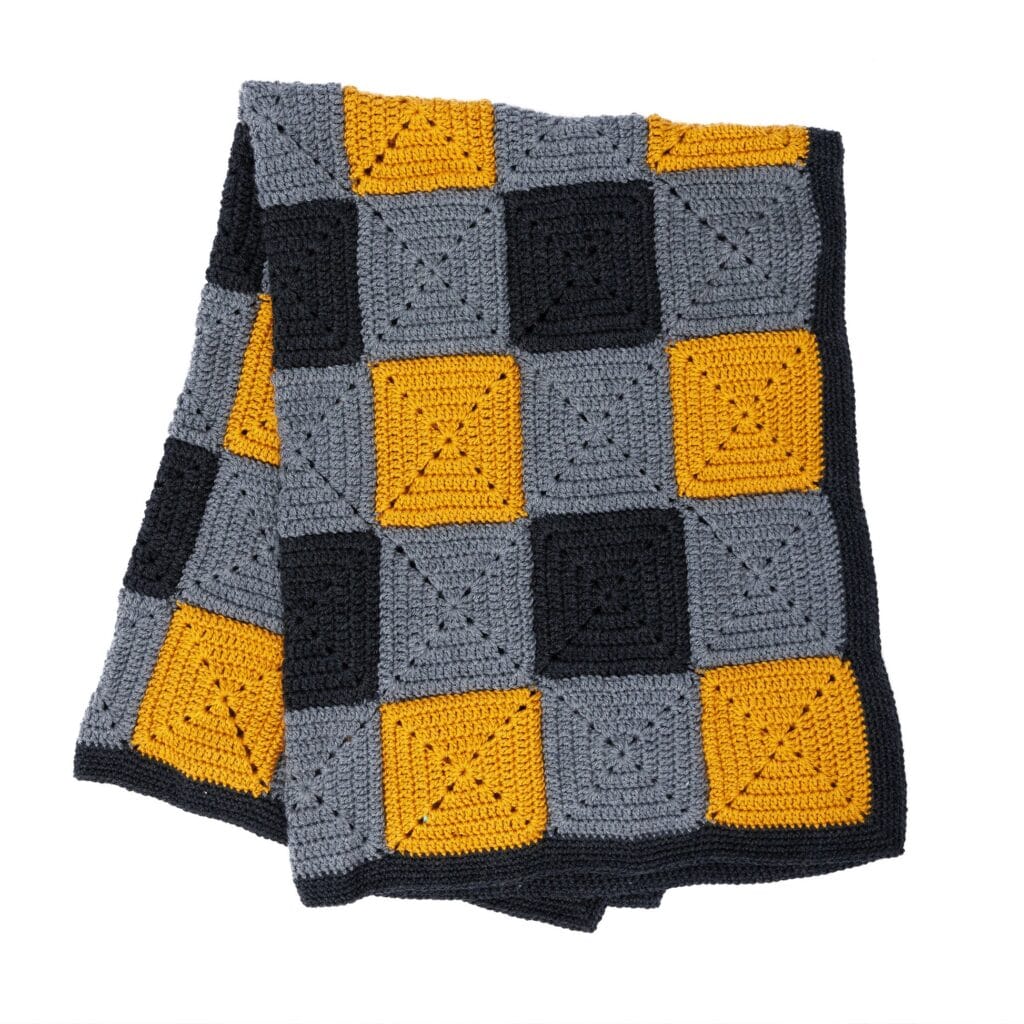
Step 1: Make the Motifs (63 total: 12 A, 31 B, 20 C)
All motifs are worked the same way:
- Start: Ch 4, join with sl st to form a ring.
- Rnd 1: Ch 5 (counts as dc + ch 2). (3 dc in ring, ch 2) 3 times. 2 dc in ring. Join with sl st to 3rd ch of ch-5.
- Rnd 2: Sl st into next ch-2 sp. Ch 5. *2 dc in same sp, 1 dc in each dc to next ch-2 sp, 2 dc in next ch-2 sp, ch 2.* Rep around. Join.
- Rnds 3–5: Rep Rnd 2.
- Fasten off.
Tip: Use stitch markers to track the start of each round
Step 2: Assemble the Blanket
- Arrange Motifs: Lay out motifs in 7 strips of 9 motifs each, alternating colors to create a plaid effect (refer to photo on page 3 of PDF).
- Sew Together: Use a yarn needle to whipstitch motifs into strips, then sew strips together.
Step 3: Add the Border
- Rnd 1 (A): Join A to bottom-right corner. (1 sc, ch 2, 1 sc) in corner sp. Sc evenly along edges, working (1 sc, ch 2, 1 sc) in each corner. Join.
- Rnd 2: Ch 1. (1 sc, ch 1, 1 sc) in each corner sp. Sc evenly between corners. Join.
- Rnds 3–5: Rep Rnd 2. Fasten off.
Helpful Tips for Beginners
✔ Keep tension even for uniform motifs.
✔ Weave in ends as you go to avoid a tangled mess later.
✔ Block motifs before assembly for a polished look.
✔ Customize colors to match your décor
Closing & Call-to-Action
You did it! 🎉 Your Cabin Plaid Blanket is ready to bring warmth and charm to your home. Whether it’s for yourself or a gift, this cozy creation is sure to be treasured.