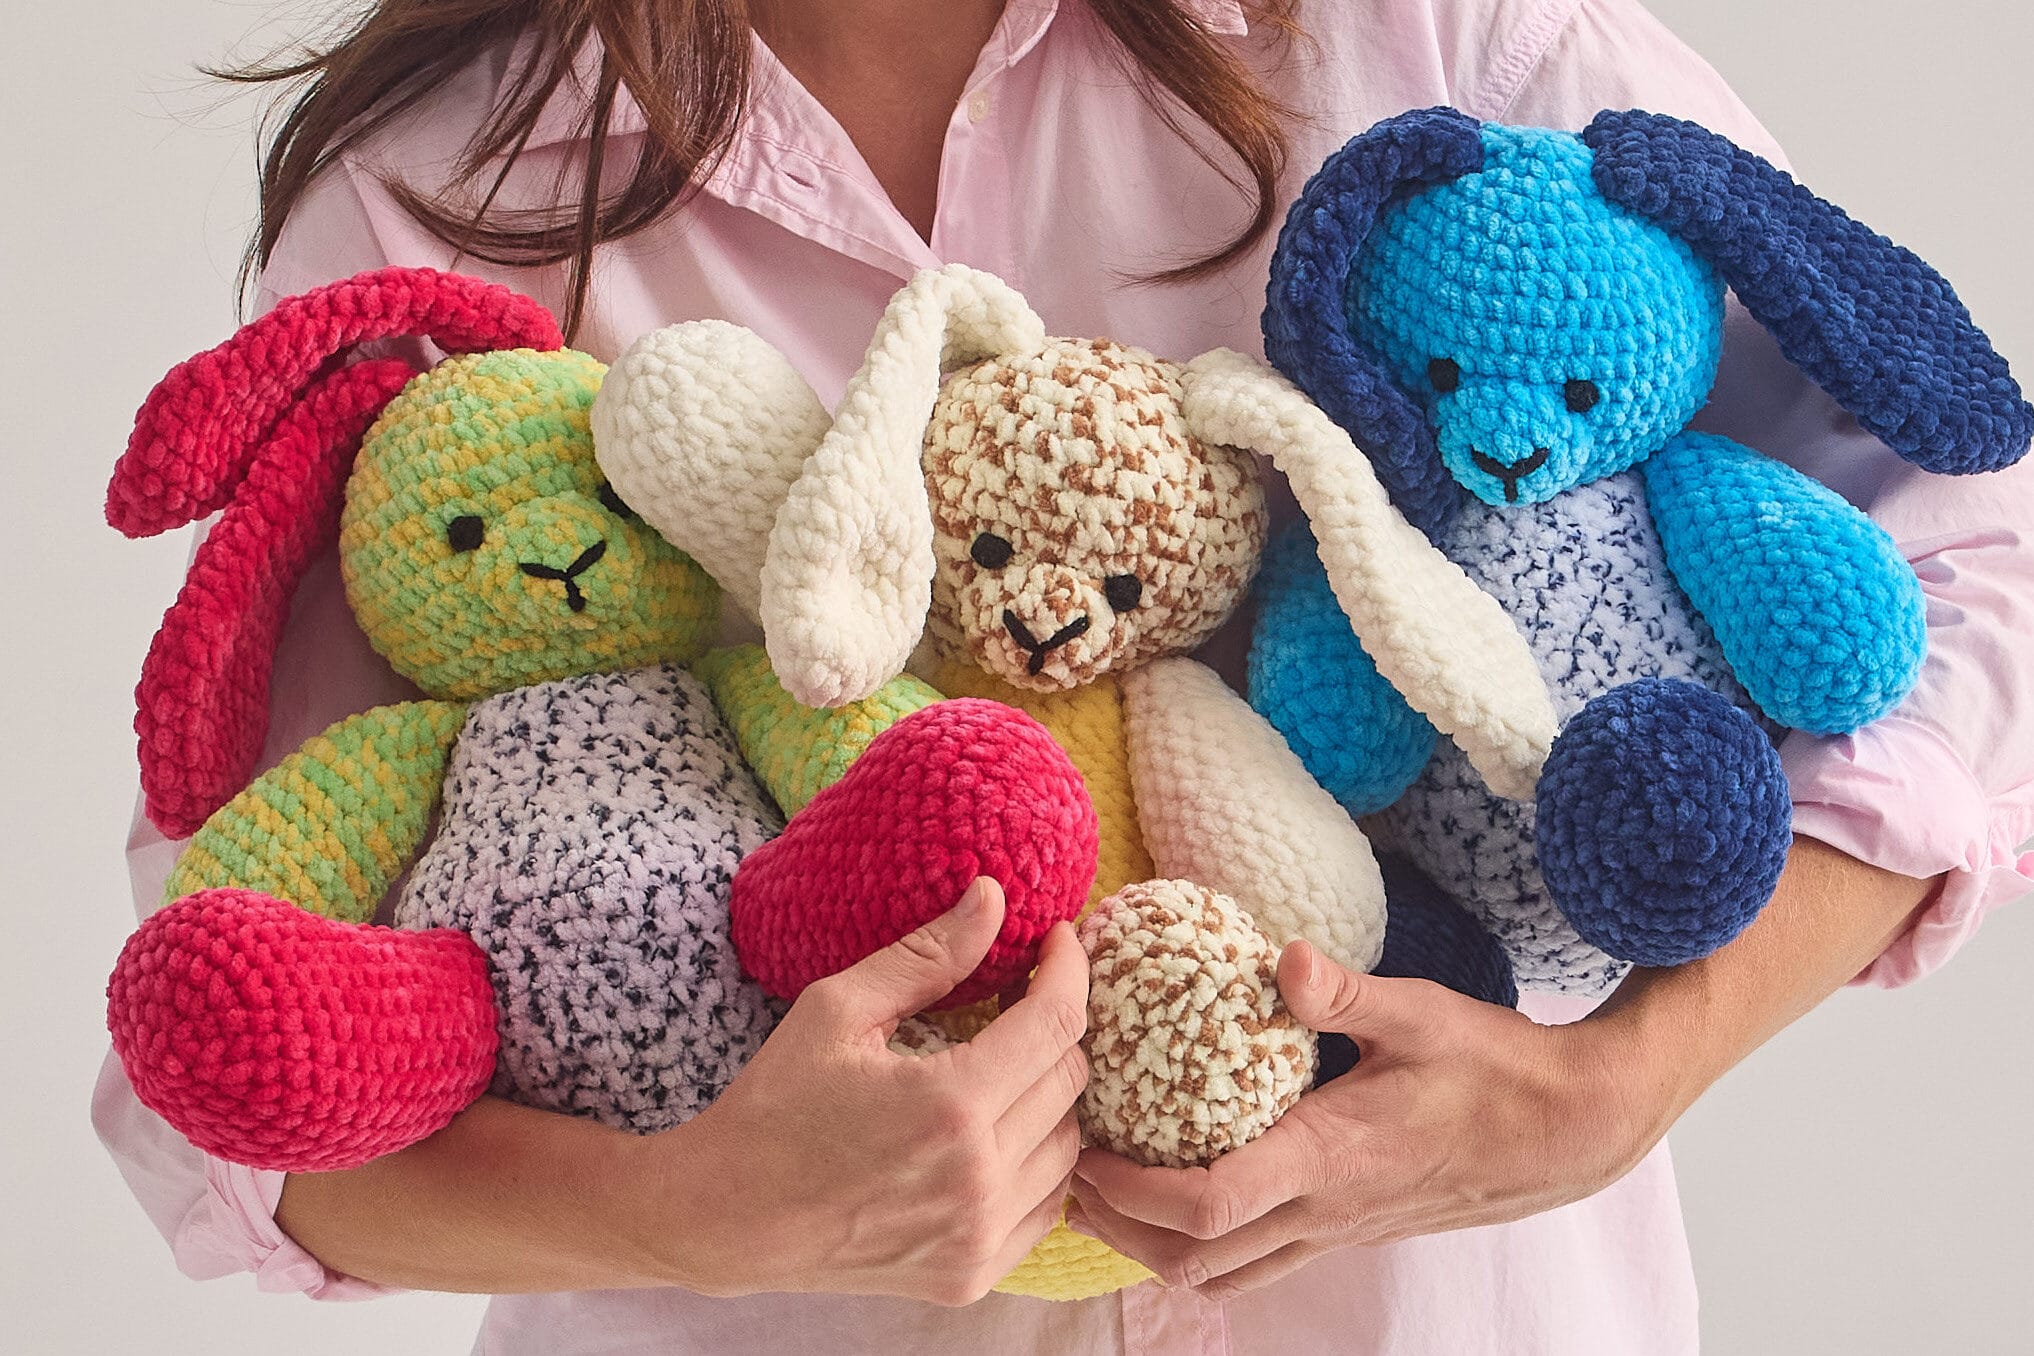
Adorable Fruits Bunnies: A Sweet & Chunky Crochet Pattern
Who can resist a plush, squishy bunny—especially one with fruity colors? These Fruits Bunnies are the perfect project for crocheters who love quick, rewarding makes. Designed with Premier Parfait Chunky Fruits yarn, these bunnies work up fast and are oh-so-snuggly.
Whether you’re a beginner looking to practice shaping or an experienced stitcher wanting a fun weekend project, these bunnies are great for
- Baby gifts (soft, safe, and utterly huggable)
- Easter decor (swap colors for a pastel twist!)
- Mindful making (the repetitive rounds are soothing)
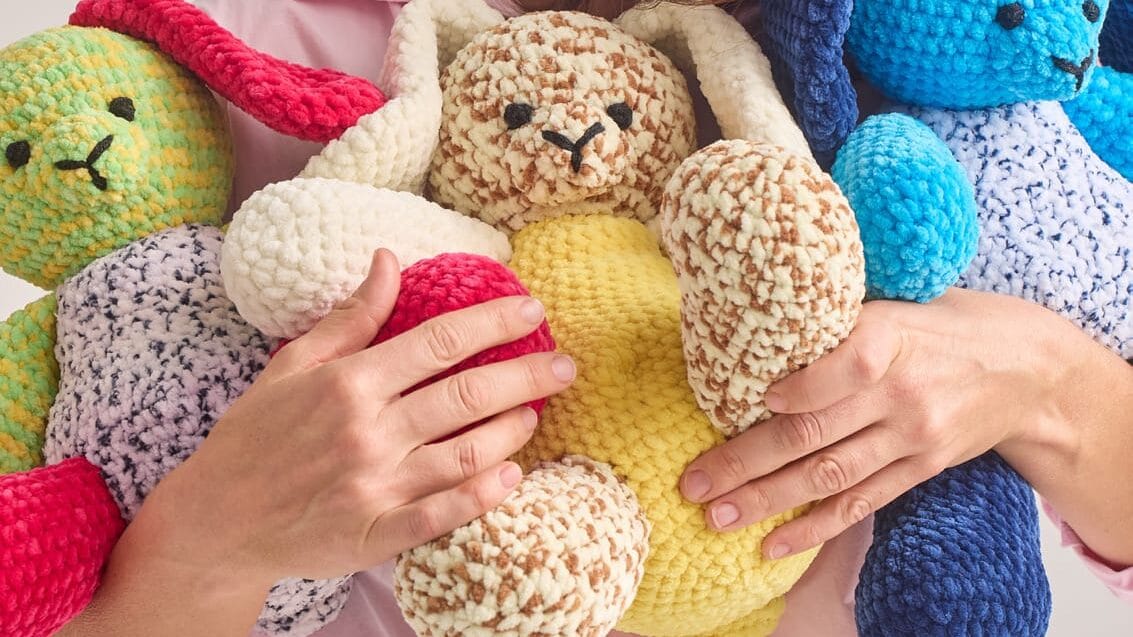
With their big floppy ears and sweet embroidered faces, these bunnies are sure to steal hearts. Let’s hop into the pattern
Materials You’ll Need
For one 14” bunny, gather
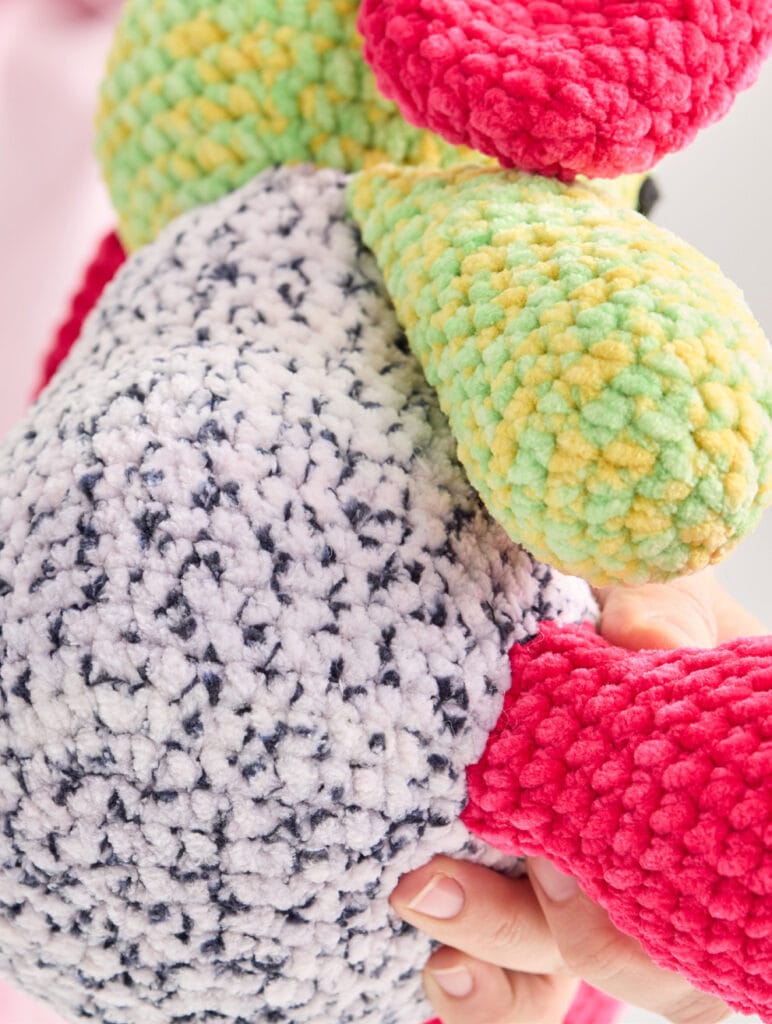
- Yarn: 2 balls of Premier Parfait Chunky Fruits in:
- Dragon Fruit (#2143-02), Banana (#2143-04), or Blueberry (#2143-07)
- Hook: US Size I-9 (5.5 mm) (or size to match gauge)
- Notions:
- Tapestry needle
- 3 removable stitch markers (in different colors)
- 10 mm safety eyes
- Small amount of black smooth yarn (for nose/whiskers)
- Fiberfill stuffing
Stitch Guide & Abbreviations
Key Stitches:
- Magic Ring: Wrap yarn around finger twice, pull loop through, and work stitches into the ring. Pull tail to tighten.
- sc2tog (Single Crochet 2 Together): Insert hook into next stitch, pull up loop, insert into next stitch, pull up loop, yarn over, pull through all loops (decreases by 1 stitch)
Abbreviations:
- ch = chain
- sc = single crochet
- rnd(s) = round(s)
- rep = repeat
- st(s) = stitch(es)
Gauge & Sizing
Gauge: Rounds 1-4 of Head = 4” in diameter.
Finished Size: 14” tall (adjust stuffing for firmer/softer bunnies)
Step-by-Step Pattern
1. Body (Start Here!)
- Magic Ring, then work in spirals (no joining rounds):
- Rnd 1: 6 sc in ring.
- Rnd 2: 2 sc in each st (12 sc).
- Continue increasing (2 sc in next st, sc in X sts) until Rnd 10 (60 sc).
- Rnds 11-14: Sc in each st around.
- Shape Tummy: Follow gradual increases/decreases (Rnds 15-30) to form a rounded base.
- Stuff firmly and set aside.
2. Head
- Repeat Rnds 1-8 of Body (48 sc), then work even for Rnds 9-14.
- Decrease Rnds 15-21 to close the head.
- Attach Nose: Sew the pre-made nose (see below) to the head, stuff, then embroider eyes above it.
3. Nose
- Rnd 1: 6 sc in Magic Ring.
- Rnds 2-4: Increase around to form a small oval. Stuff before sewing to head.
4. Ears (Make 2)
- Magic Ring, then work increases marked by stitch markers to shape the ear.
- Decrease Rnds 9-22 to taper the ear. Sew the top closed for a floppy look.
5. Arms, Legs & Tail
- Arms: Follow Body Rnds 1-4, then sc even before decreasing. Stuff lightly.
- Legs: Shape toes with decreases (Rnds 10-12), then sew to body.
- Tail: Increase to 24 sc, then decrease for a round puff.
Assembly: Bring Your Bunny to Life!
- Sew Ears to the top of the head, slightly folded for charm.
- Attach Arms & Legs with whipstitch (use the photo for placement).
- Embroider Whiskers with black yarn (3 lines on each side of the nose).
Tips for Beginners
- Mark Your Rounds: Use different-colored stitch markers to track increases/decreases.
- Stuff as You Go: Lightly fill limbs before closing to avoid lumps.
- Safety Eyes: Secure tightly (or embroider for baby-safe bunnies).
Final Thoughts
These Fruits Bunnies are as fun to make as they are to cuddle! Customize with different yarn colors for a whole family. Share your makes with #FruitsBunnies—we’d love to see them