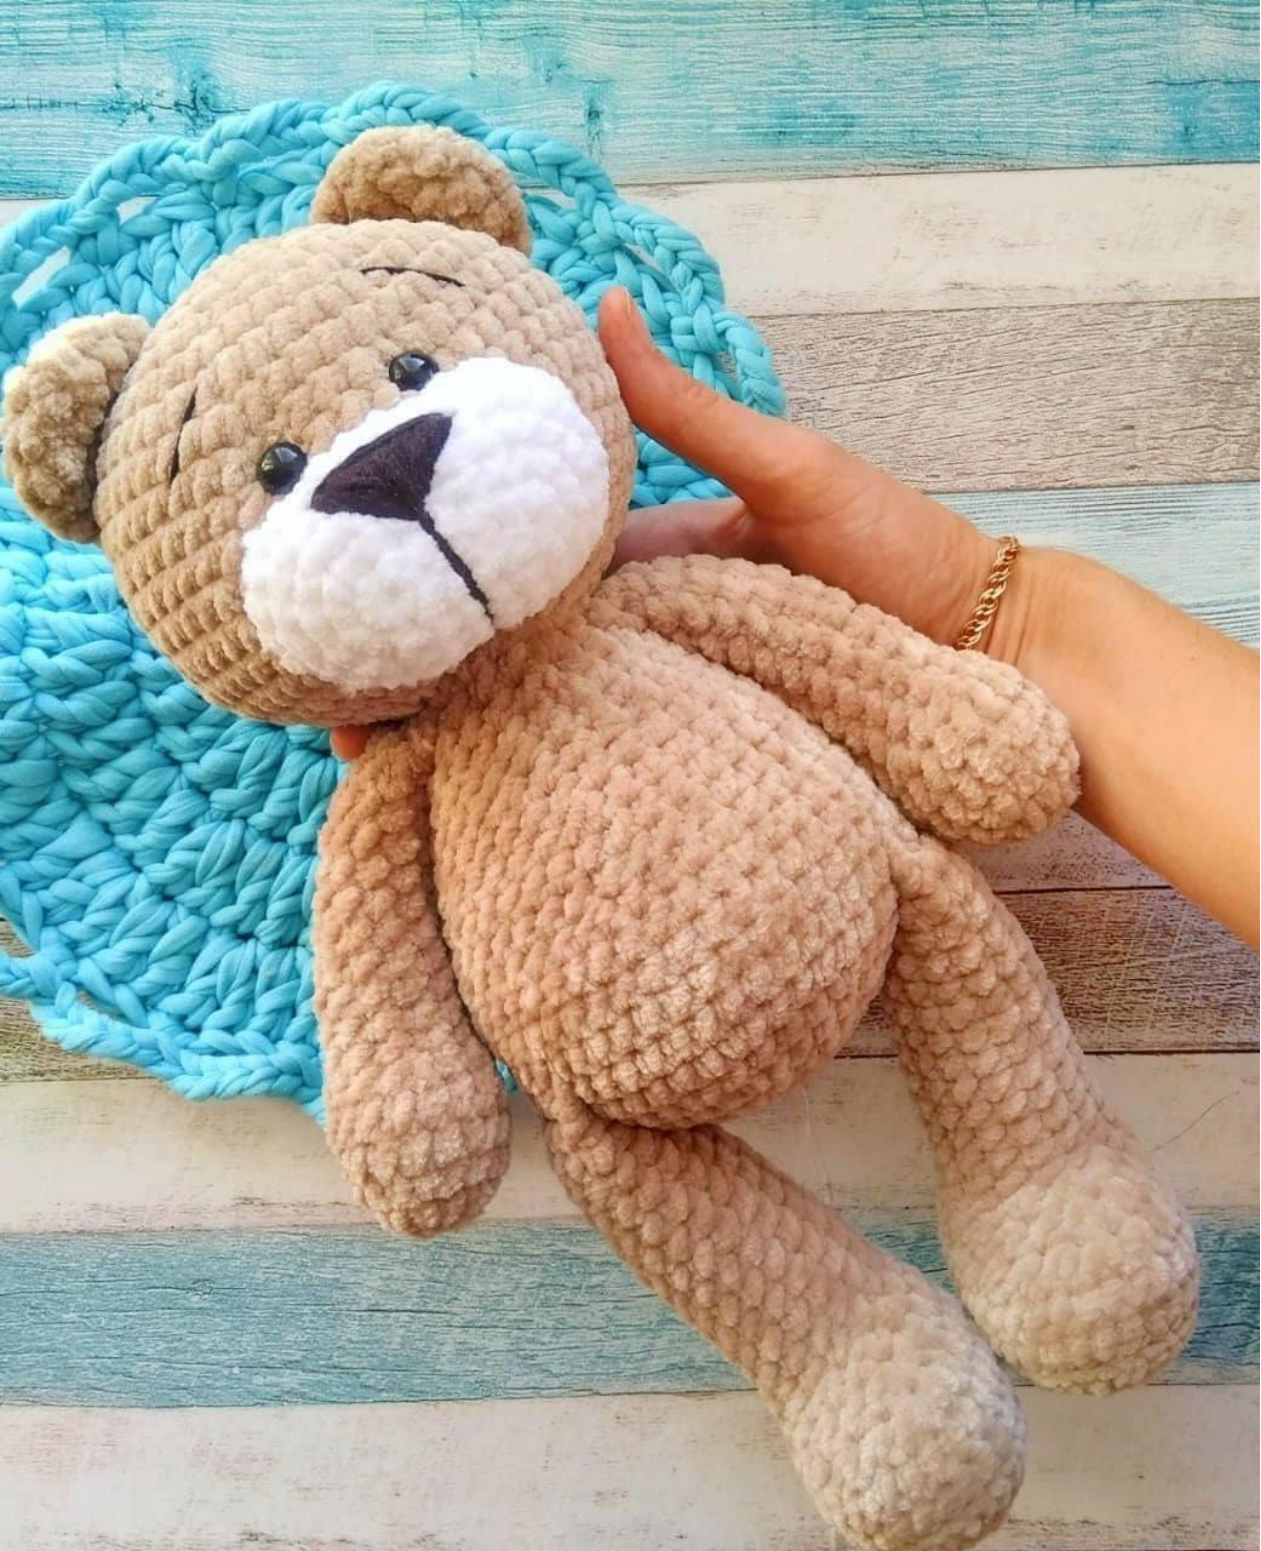
Adorable Amigurumi Bear Crochet Pattern
There’s something magical about amigurumi—the Japanese art of crocheting small, stuffed yarn creatures. Today, I’m thrilled to share a delightful amigurumi bear pattern that’s perfect for beginners and seasoned crocheters alike. Whether you’re making it as a gift for a loved one or adding it to your own collection, this little bear is sure to bring joy!
This pattern is designed with simplicity in mind, using basic stitches like single crochet (sc), increases (v), and decreases (a). The bear features a round head, a cute body, tiny ears, and even optional details like eyes and a mouth for extra personality. The instructions are broken down into manageable sections, so you can work at your own pace.
Why you’ll love this project:
- Great for beginners: Clear, step-by-step guidance.
- Customizable: Choose any yarn color to make your bear unique.
- Quick to finish: Small size means it works up fast!
Grab your hook and yarn, and let’s get started on this adorable amigurumi adventure!
Materials
To crochet this amigurumi bear, you’ll need:
- Yarn: Worsted weight yarn in your preferred color (brown, beige, or any fun shade!).
- Crochet hook: Size 3.5mm (or size needed to match your yarn).
- Stuffing: Polyester fiberfill or scrap yarn for stuffing.
- Safety eyes or embroidery thread: For the eyes (optional).
- Yarn needle: For weaving in ends and sewing parts together.
- Stitch marker: To keep track of rounds.
Abbreviations
Here’s a quick guide to the crochet terms used in this pattern:
- x: Single crochet (sc)
- v: Increase (2 sc in the same stitch)
- a: Decrease (sc 2 stitches together)
- ( )×n: Repeat the instructions inside the parentheses *n* times.
- Rounds: Worked in a continuous spiral unless noted.
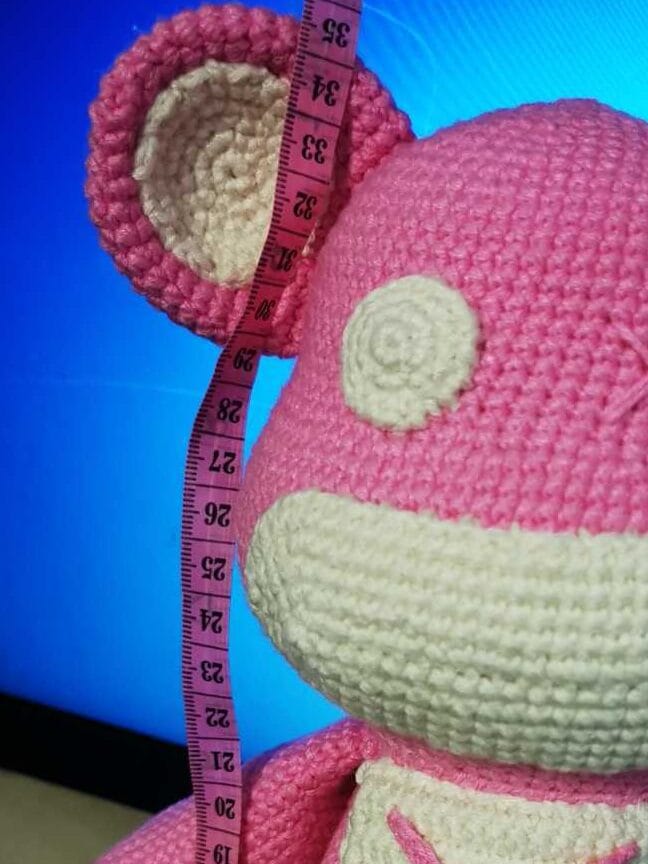
Finished Size
The completed amigurumi bear will measure approximately 6-8 inches tall, depending on your yarn and tension.
Pattern Instructions
Head ×1
- Start with a magic ring. 6x (6)
- 6v (12)
- (xv)×6 (18)
- (2xv)×6 (24)
- (3xv)×6 (30)
- (4xv)×6 (36)
- (5xv)×6 (42)
- (6xv)×6 (48)
- (7xv)×6 (54)
- (8xv)×6 (60)
- (9xv)×6 (66)
- (10xv)×6 (72)
13-23. 72x (11 rounds even)
Stuff the head firmly as you go, leaving room to attach the body later.
Body ×1
- Magic ring. 6x (6)
- 6v (12)
- (xv)×6 (18)
- (2xv)×6 (24)
- (3xv)×6 (30)
- (4xv)×6 (36)
- (5xv)×6 (42)
- (6xv)×6 (48)
- (7xv)×6 (54)
- (8xv)×6 (60)
- (9xv)×6 (66)
- (10xv)×6 (72)
Stuff the body and attach to the head using a yarn needle.
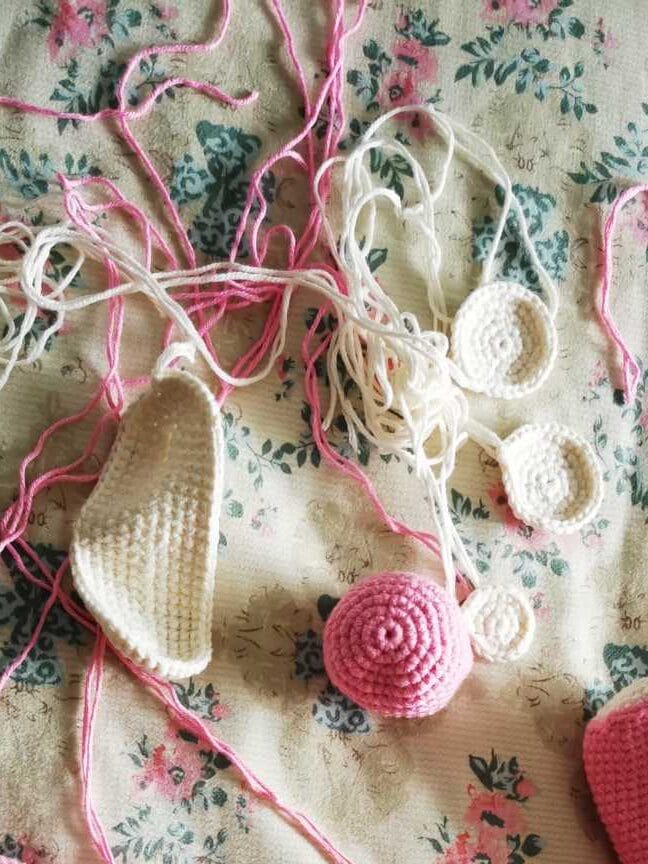
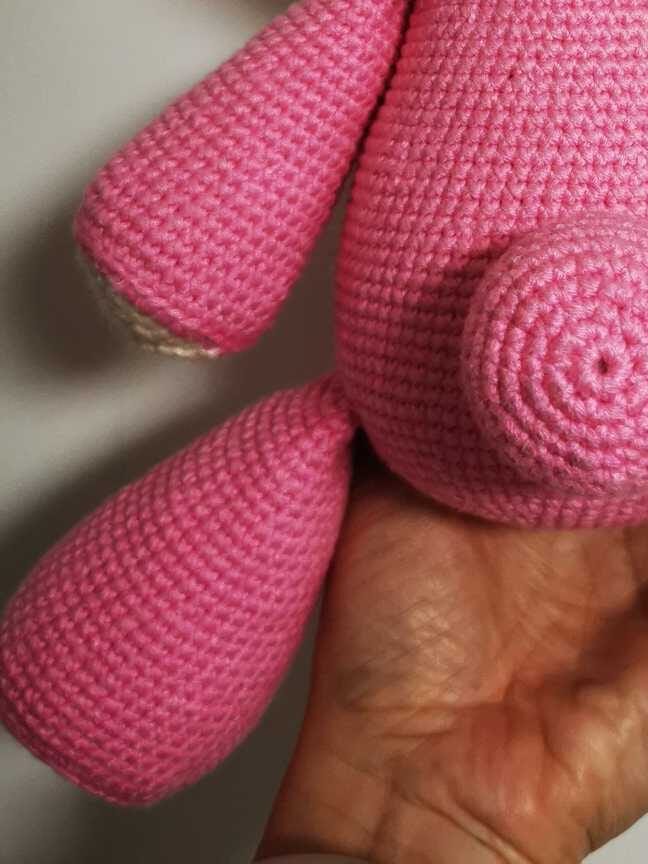
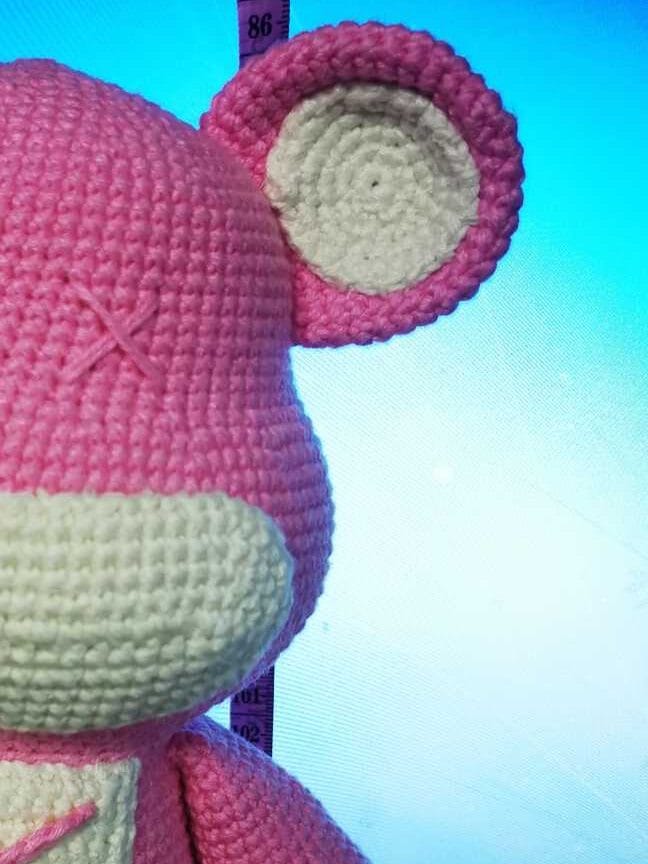
Ears ×2
- Magic ring. 6x (6)
- 6v (12)
- (xv)×6 (18)
- (2xv)×6 (24)
- (3xv)×6 (30)
- (4xv)×6 (36)
7-12. 36x (6 rounds even) - (10a)×3 (33)
- (9a)×3 (30)
- (8a)×3 (27)
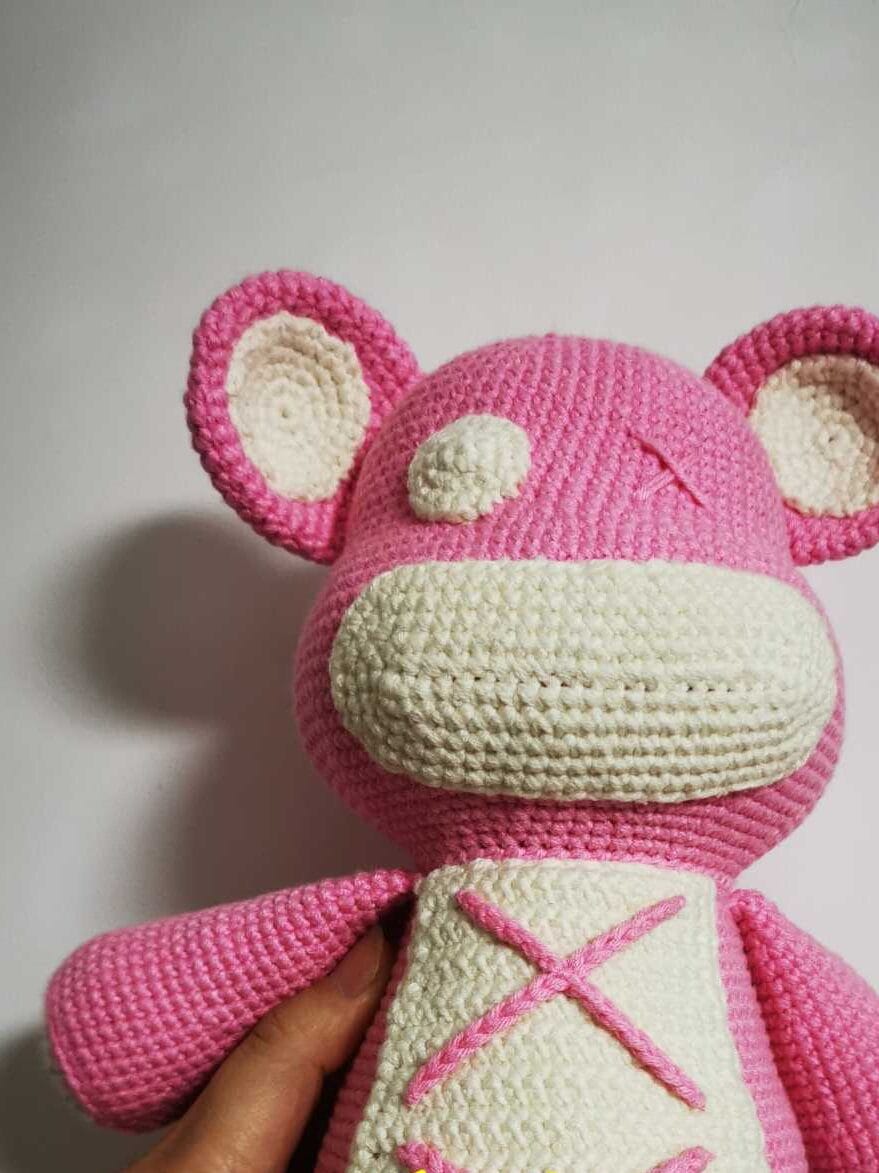
Flatten the ears slightly and sew them to the top of the head.

Mouth ×1
- Chain 21, turn. Starting from the second chain: 19x, w (3x in same stitch), 18x, v (42)
- v, 18x, 3v, 18x, 2v (48)
- xv, 18x, (xv)×3, 18x, (xv)×2 (54)
- 2xv, 18x, (2xv)×3, 18x, (2xv)×2 (60)
- 3xv, 18x, (3xv)×3, 18x, (3xv)×2 (66)
Sew the mouth below the eyes for a cute expression.
Eyes ×2 (Red)
- Magic ring. 6x (6)
- 6v (12)
- (xv)×6 (18)
Attach the eyes to the head using safety eyes or embroider them with yarn.
Assembly & Finishing
- Attach the head to the body securely, ensuring no stuffing is visible.
- Sew the ears to the top of the head, spacing them evenly.
- Add the mouth below the eyes, adjusting for a playful or sleepy look.
- Embroider details like a nose or cheeks if desired.
- Weave in all ends neatly for a polished finish.
Tips for Beginners
- Use stitch markers to keep track of rounds, especially in the early stages.
- Stuff firmly but evenly to avoid lumps or gaps.
- Experiment with expressions by adjusting the placement of eyes and mouth.
Final Thoughts
Congratulations! You’ve just created an adorable amigurumi bear, perfect for cuddling or gifting. I’d love to see your finished bears—share them with me on social media using #CozyAmigurumiBear.