Pug Ornaments: Free Crochet Pattern for Christmas Pug Baubles
Hello, festive crafters! 🎁
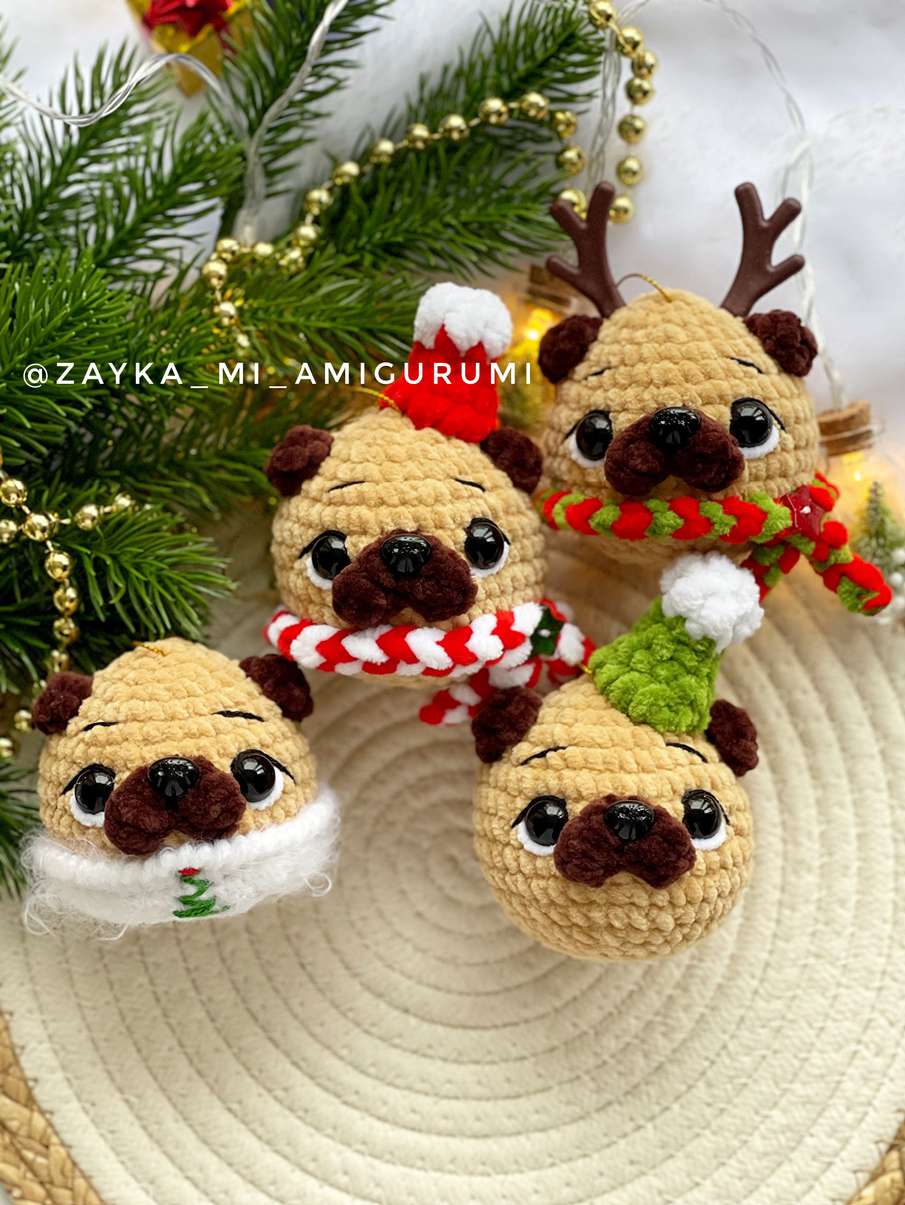
The holiday season just got a whole lot cuter with these absolutely adorable pug ornaments! I’m so excited to share this free crochet pattern with you so you can create your own charming pug baubles to hang on your tree, gift to loved ones, or use as festive decor around your home.
These little pugs are worked in a soft, plush yarn that gives them an extra cuddly look, and their sweet faces with embroidered details and tiny hats will melt your heart. Whether you’re a pug lover, a Christmas enthusiast, or just someone who enjoys making cute amigurumi, this project is sure to bring you joy.
The pattern is beginner-friendly and walks you through each step—from the spherical body and expressive face to the miniature accessories. You can customize each pug with different colored hats and scarves to create a whole holiday pug squad!
So, let’s grab our hooks and spread some pug-tastic holiday cheer together!
Materials You’ll Need
Yarn
- Sand-colored plush yarn (Wolans Bunny Sweather or similar)
- Dark brown plush yarn (Himalaya Dolphin Baby or similar)
- White plush yarn
- Green or red yarn for hat
- Black yarn (YarnArt Jeans) for details
- White Nako Paris yarn for sweater
Other Supplies
- 12mm safety eyes
- 12x9mm pug nose
- 2.5mm crochet hook
- Poly-fil stuffing
- Tapestry needle
- Scissors
- Fabric glue
- Stitch markers
- Optional: Mini horns, buttons, glitter, snowflakes for decoration
Skill Level
Beginner
Finished Size
Approximately 3–4 inches (depending on yarn)
Crochet Abbreviations
- MR = magic ring
- ch = chain
- sc = single crochet
- sl st = slip stitch
- hdc = half double crochet
- dc = double crochet
- inc = increase (2 sc in one stitch)
- dec = decrease (sc two together)
- BLO = back loop only
Pattern Instructions
Ornament Ball (Pug Body)
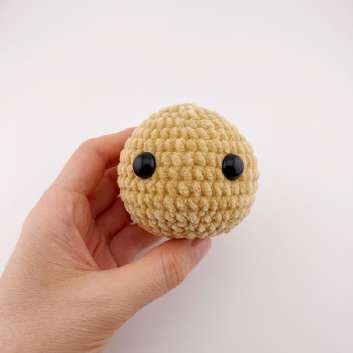
Use sand-colored yarn. Stuff as you go.
- R1: 6 sc in MR (6)
- R2: 6 inc (12)
- R3: (sc, inc) x 6 (18)
- R4: sc, inc, (2 sc, inc) x 5, sc (24)
- R5: (3 sc, inc) x 6 (30)
- R6: 2 sc, inc, (4 sc, inc) x 5, 2 sc (36)
- R7: (5 sc, inc) x 6 (42)
- R8–R11: 42 sc (4 rounds)
- R12: (5 sc, dec) x 6 (36)
- R13: 2 sc, dec, (4 sc, dec) x 5, 2 sc (30)
- R14: (3 sc, dec) x 6 (24)
Insert safety eyes between rounds 8 and 9, 9 stitches apart.
- R15: sc, dec, (sc, dec) x 5 (18)
- R16: (sc, dec) x 6 (12)
- R17: 6 dec (6)
Fasten off and weave in the end.
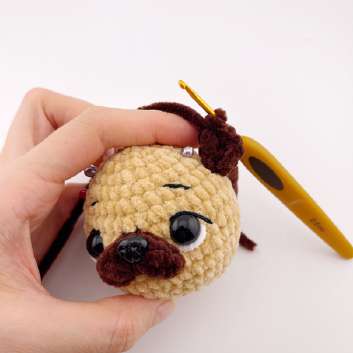
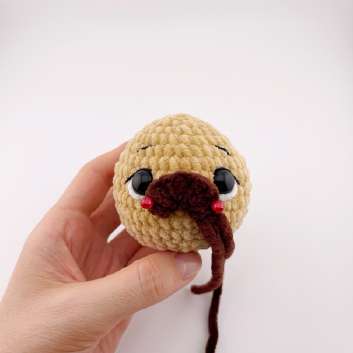
Snout
Use dark brown yarn.
Ch 4. Starting from the 2nd ch from the hook:
- Inc in hdc
- 3 sc in the next stitch
- Inc in hdc in the last stitch
- Ch 1, sl st into the same stitch
Fasten off, leaving a tail for sewing.
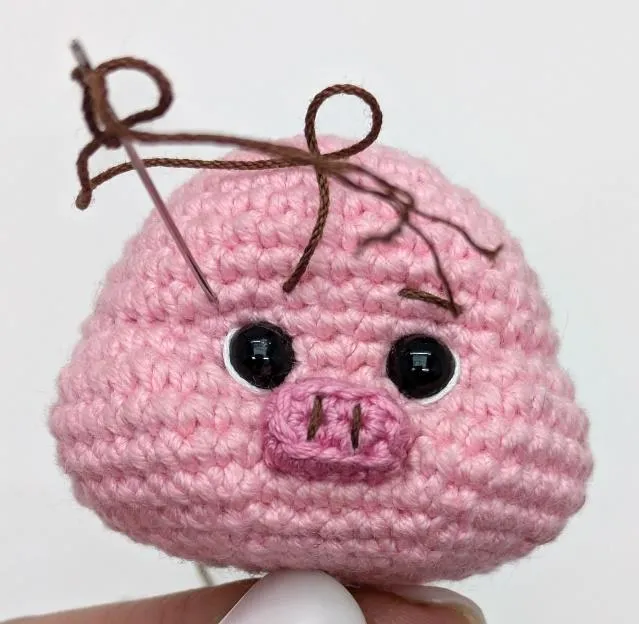
Embroidered Details
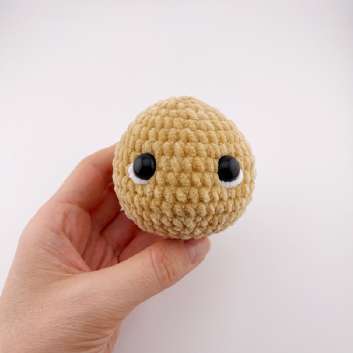
- Eye highlights: With white plush yarn, embroider small highlights on the outer side of each eye.
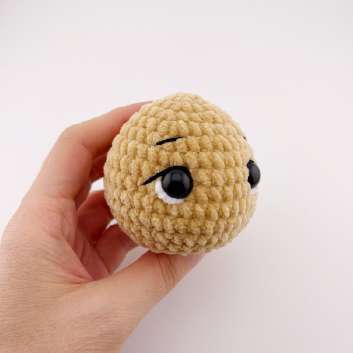
- Eyelids & eyebrows: With black yarn, embroider upper eyelids and eyebrows on round 6, each spanning 3 sc, placed 5 sc apart.
- Attach snout evenly between the eyes, covering about 3 rounds. Secure with a few stitches at the top and bottom.
- Glue the nose in place at the tip of the snout.


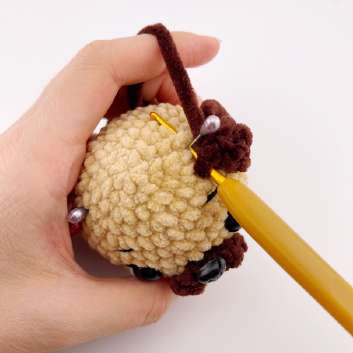
Ears
Use dark brown yarn.
Right ear:
Attach yarn between rounds 6 and 7.
Ch 3, work 2 dc into the 3rd ch from hook.
Skip rounds 5 and 6, and join with a sl st between rounds 4 and 5.
Fasten off and hide ends inside.
Left ear:
Attach yarn between rounds 4 and 5.
Ch 3, work 2 dc into the 3rd ch from hook.
Skip rounds 5 and 6, and join with a sl st between rounds 6 and 7.
Fasten off and hide ends.