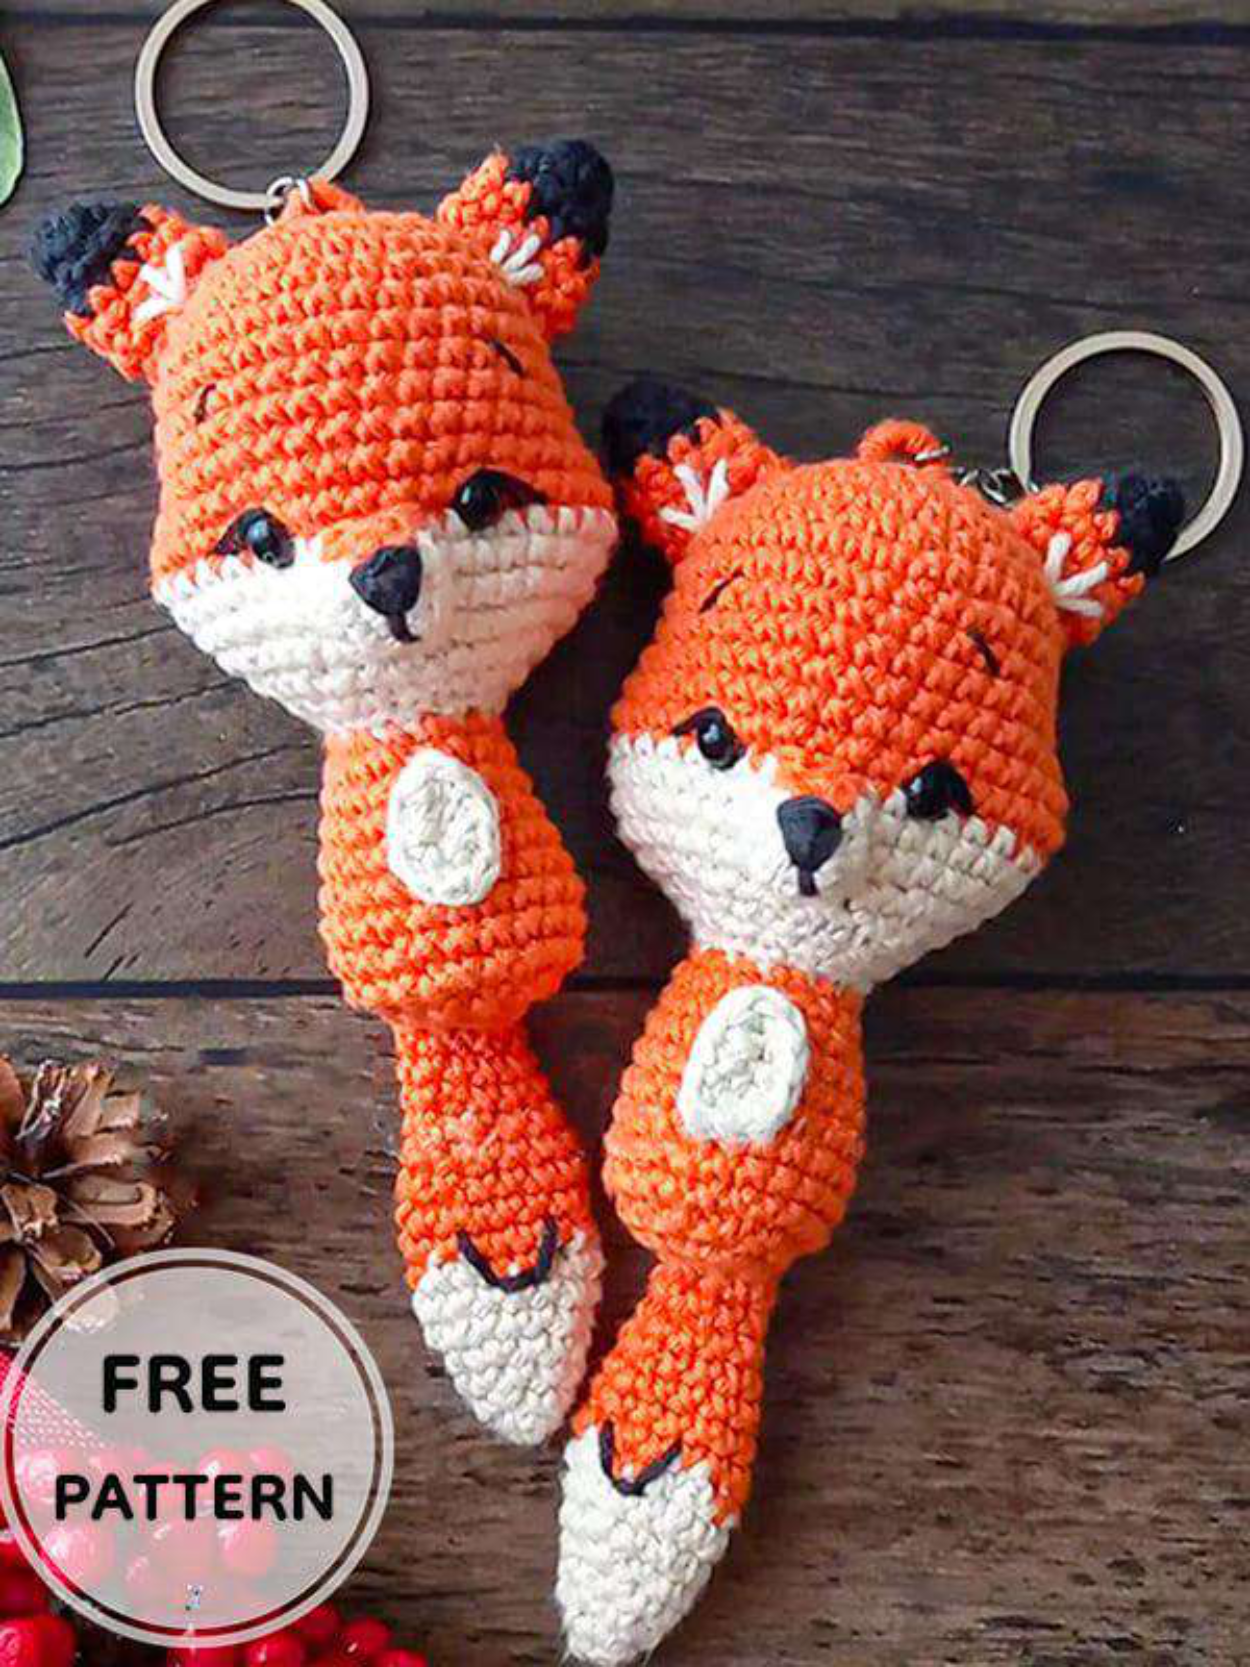
Crochet Fox Keychain Amigurumi Free Pattern
Materials
Gather your supplies to start crocheting your adorable fox keychain amigurumi:
- Colored cotton thread: Black, orange, and raw (cream/off-white)
- Crochet Hook: 2.50 mm
- Safety Eyes: 6 mm
- Wool Needle: For weaving in ends and assembly
- Synthetic Padding: For stuffing your amigurumi
- Bookmarks/Pins: To mark rounds and hold pieces
- Pair of Scissors: For cutting yarn
- Key Ring: To turn your fox into a charming keychain
Abbreviations
Familiarize yourself with these standard crochet abbreviations used in this amigurumi pattern:
- MR: Magic Ring
- Ch: Chain
- Slst: Slip Stitch
- Sc: Single Crochet
- Inc: Increase (crochet two single crochets into the same stitch)
- Dec: Decrease (single crochet two stitches together)
- Rnd: Round
Finished Size
Once completed, your cute crochet fox keychain will measure approximately 4 cm.
Crochet Fox Keychain Instructions
This easy amigurumi pattern is crocheted in one piece for the head and body, with the ears, nose, and tail made separately. Let’s start crocheting your charming amigurumi fox keychain!
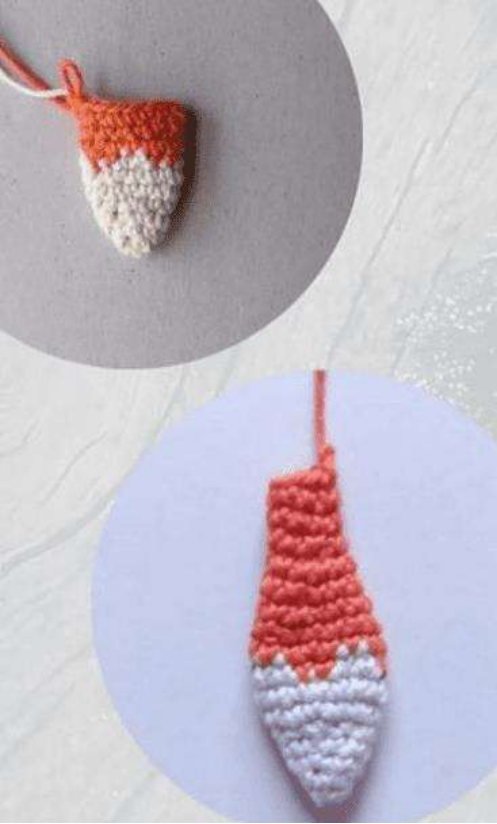
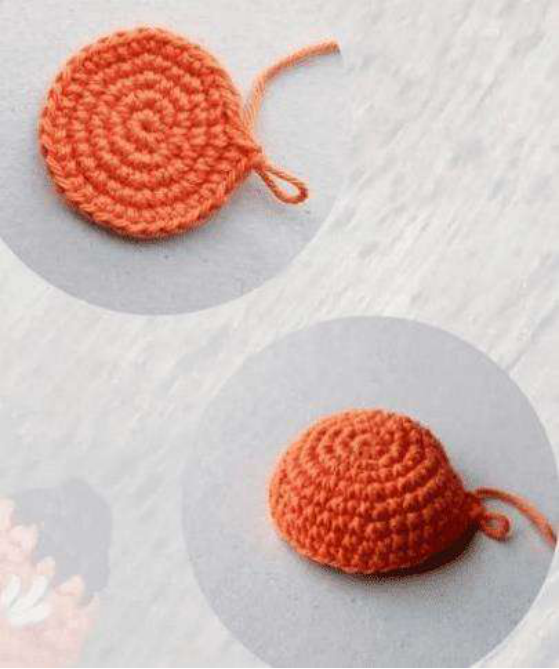
Head and Body
The head and body are crocheted as a single piece. You’ll start with orange yarn, transition to raw (cream/off-white) yarn, and then back to orange. Remember to stuff firmly as you go.
Starting with Orange Yarn:
- Rnd 1: 8 sc in MR (8 stitches)
- Rnd 2: 8 inc (16 stitches)
- Rnd 3: (1 sc, 1 inc) x 8 times (24 stitches)
- Rnd 4: (2 sc, 1 inc) x 8 times (32 stitches)
- Rnd 5: 32 sc (32 stitches)
- Rnd 6: (7 sc, 1 inc) x 4 times (36 stitches)
- Rnd 7-10: 36 sc (36 stitches)
- Rnd 11: 7 sc, 2 inc, 15 sc, 2 inc, 10 sc (40 stitches)
- Rnd 12-13: 40 sc (40 stitches)
Changing to Raw (Cream/Off-White) Yarn:
At this point, insert the 6mm safety eyes. Place them between rounds 13 and 14, precisely at the color change, with 7 stitches of separation between them. Continue stuffing your fox firmly as you proceed with the pattern.
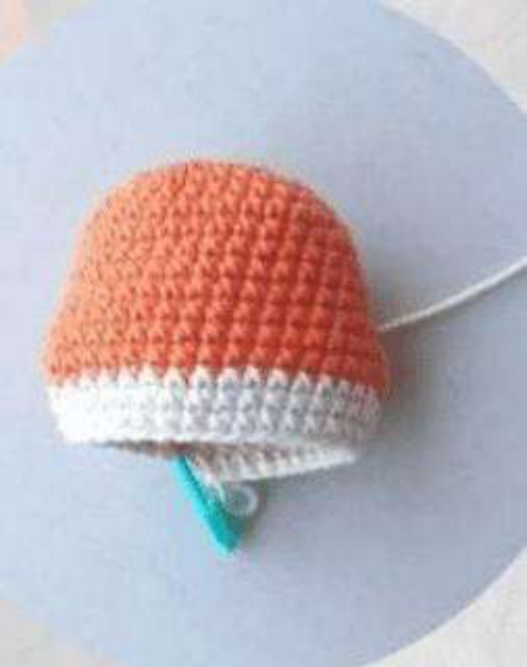
- Rnd 14: 7 sc, 2 dec, 15 sc, 2 dec, 10 sc (36 stitches)
- Rnd 15-17: 36 sc (36 stitches)
- Rnd 18: (2 sc, 1 dec) x 9 times (27 stitches)
- Rnd 19: (1 sc, 1 dec) x 9 times (18 stitches)
- Rnd 20: 18 sc (18 stitches)
- Rnd 21: (1 sc, 1 dec) x 6 times (12 stitches)
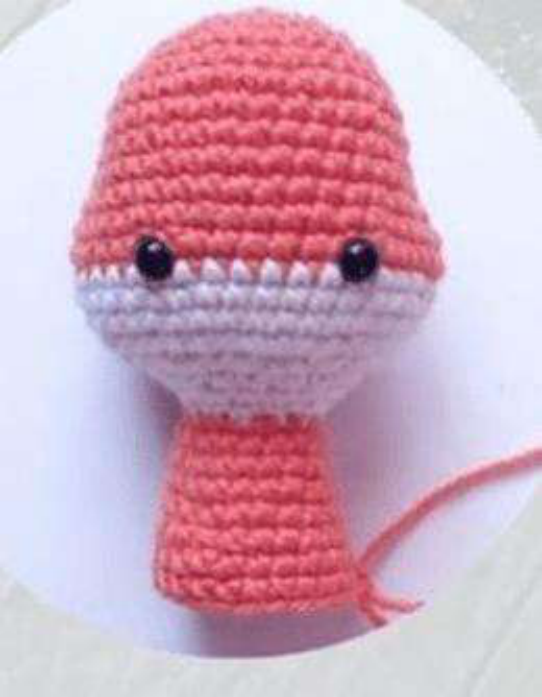
Changing Back to Orange Yarn (Body Section):
- Rnd 22: (1 sc, 1 inc) x 6 times (18 stitches)
- Rnd 23: 18 sc (18 stitches)
- Rnd 24: (8 sc, 1 inc) x 2 times (20 stitches)
- Rnd 25-26: 20 sc (20 stitches)
- Rnd 27: (9 sc, 1 inc) x 2 times (22 stitches)
- Rnd 28: 22 sc (22 stitches)
- Rnd 29: (10 sc, 1 inc) x 2 times (24 stitches)
- Rnd 30: 24 sc (24 stitches)
- Rnd 31: 12 dec (12 stitches)
- Rnd 32: 12 sc (12 stitches)
Close the opening securely by taking the remaining threads with your wool needle, drawing them tight, and weaving in the end.
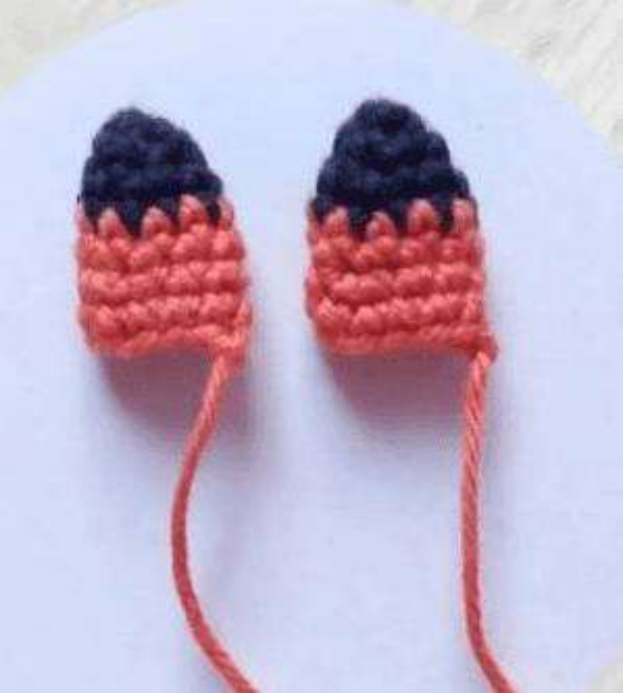
Ears (Make 2)
Create two adorable ears for your fox. You’ll begin with black yarn and then switch to orange.
Starting with Black Yarn:
- Rnd 1: 4 sc in MR (4 stitches)
- Rnd 2: (1 sc, 1 inc) x 2 times (6 stitches)
- Rnd 3: (1 sc, 1 inc) x 3 times (9 stitches)
Changing to Orange Yarn:
- Rnd 4-5: 9 sc (9 stitches)
- Rnd 6: 4 sc, 1 inc, 4 sc (10 stitches)
Leave a long tail after cutting the yarn for attaching the ears to the head during assembly.
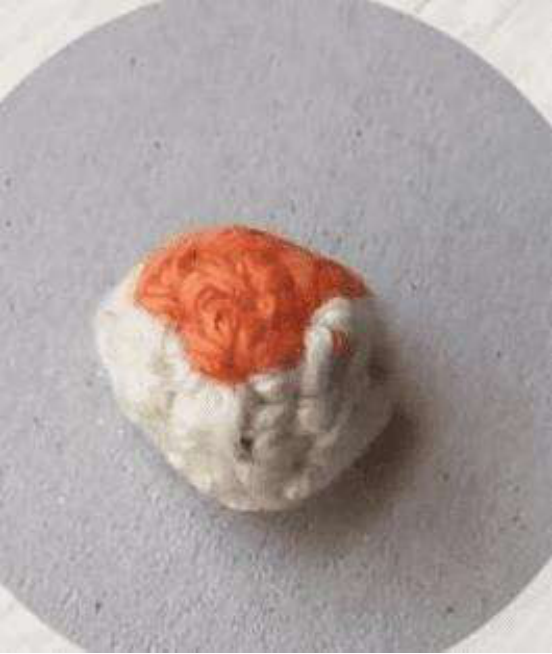
Nose
Craft the fox’s snout, beginning with raw yarn and incorporating a small section of orange.
Starting with Raw Yarn:
- Rnd 1: 6 sc in MR (6 stitches)
- Rnd 2: 1 sc, 1 inc, 1 sc (in raw yarn); then 1 inc (in orange yarn); then 1 sc, 1 inc (in raw yarn) (9 stitches)
- Rnd 3: Continue in raw yarn: 4 sc; then in orange yarn: 3 sc; then in raw yarn: 2 sc (9 stitches)
Leave a long tail for attaching the nose to the head. You will embroider the nose tip with black thread during assembly.
Tail
Crochet the fox’s fluffy tail, transitioning from raw to orange yarn and creating alternating stripes.
Starting with Raw Yarn:
- Rnd 1: 4 sc in MR (4 stitches)
- Rnd 2: (1 sc, 1 inc) x 2 times (6 stitches)
- Rnd 3: (1 sc, 1 inc) x 3 times (9 stitches)
- Rnd 4: 9 sc (9 stitches)
- Rnd 5: (2 sc, 1 inc) x 3 times (12 stitches)
- Rnd 6: (5 sc, 1 inc) x 2 times (14 stitches)
- Rnd 7: 14 sc (14 stitches)
- Rnd 8: 14 sc (alternating 2 sc with raw yarn, 2 sc with orange yarn for a striped effect)
Changing to Orange Yarn:
- Rnd 9: 14 sc (14 stitches)
- Rnd 10: (5 sc, 1 dec) x 2 times (12 stitches)
- Rnd 11: 12 sc (12 stitches)
- Rnd 12: (4 sc, 1 dec) x 2 times (10 stitches)
- Rnd 13: 10 sc (10 stitches)
- Rnd 14: (3 sc, 1 dec) x 2 times (8 stitches)
- Rnd 15-17: 8 sc (8 stitches)
Leave a long tail for attaching the tail to the body.
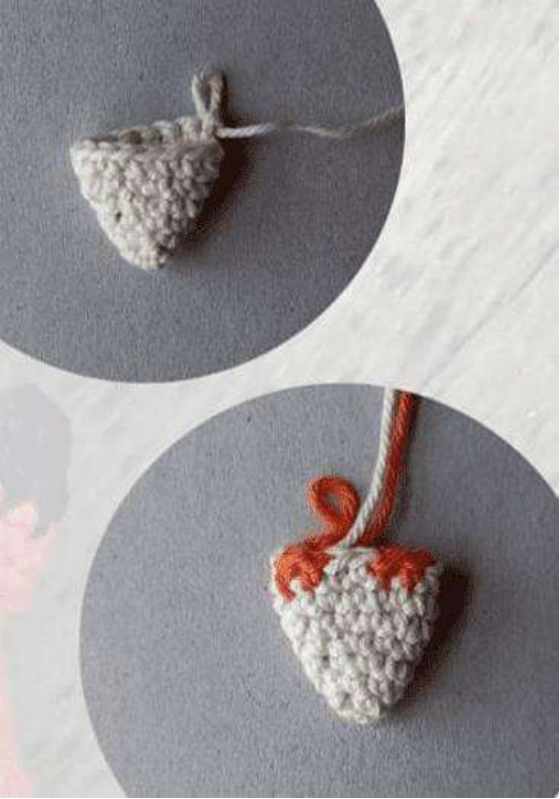
Chest Detail
Add a small raw-colored chest detail to complete your fox’s look.
Using Raw Yarn:
- Chain 5.
- Starting with the 2nd chain from the hook: 1 inc, 2 sc, 1 triple inc (crochet 3 single crochets into one stitch), 3 sc.
Close with a slip stitch. Leave a long tail for attaching this detail to the body.
Assembly and Finishing
Now that all your crochet pieces are complete, it’s time to assemble your adorable fox keychain!
- Embroider Ear Details: With ecru (raw) thread, you can embroider any desired details onto the ears for extra character.
- Attach Ears: Use pins to position each ear approximately 3 rounds from the center of the head. Then, use the long tail you left on the ears to sew them firmly to the head.
- Embroider Facial Details: With black thread, embroider the details of the eyes (if you chose not to use safety eyes), eyebrows, and a line down from the nose to define the snout.
- Attach Chest Detail: Using pins to keep it perfectly centered, sew the raw-colored chest detail to the front of the fox’s body.
- Attach Tail: Locate and sew the tail securely to the bottom back of the fox’s body.
- Add Key Ring: In the upper part of the head, use a wool needle to create two loose stitches, forming a small arc. Skirt repeatedly with the needle until this arch remains firm and defined. Attach your key ring to this sturdy loop.
Tips for Beginners
This charming crochet fox keychain amigurumi pattern is designed to be very easy to follow step by step. Don’t be afraid to try it even if you’re new to amigurumi!
- Stuff as You Go: For amigurumi projects, it’s crucial to fill your pieces with synthetic padding as you crochet. This helps maintain shape, ensures even stuffing, and makes it easier to get into tighter spots.
- Use Stitch Markers: Especially when working in continuous rounds, a stitch marker can be your best friend to keep accurate track of the beginning of each round.
- Practice Abbreviations: If you’re new to reading crochet patterns, take a moment to review the abbreviation list before you start to ensure a smooth crocheting experience.
- Color Customization: Feel free to experiment with different yarn colors! A blue or yellow fox can be just as adorable and unique.
- Embroidered Eyes Alternative: If you don’t have safety eyes, you can easily crochet or embroider eyes using black yarn.
Congratulations, you have completed your delightful crochet fox keychain amigurumi! This free pattern, designed by franlanitas, makes a wonderful handmade gift or a cute addition to your own collection of amigurumi creations.