Crochet the Angelmo Bag: A Free & Festive Granny Square Pattern
Welcome to a Star-Studded Crochet Project
Hello, wonderful crocheters! 🌟 Are you ready to dive into a project that’s as fun to make as it is to carry? Today, I’m absolutely thrilled to share this free crochet pattern for the stunning Angelmo Bag, designed by the talented Jackie Luders of Luv4Crochet. This pattern is a beautiful celebration of color, texture, and geometric design, all coming together to form a truly special bag.
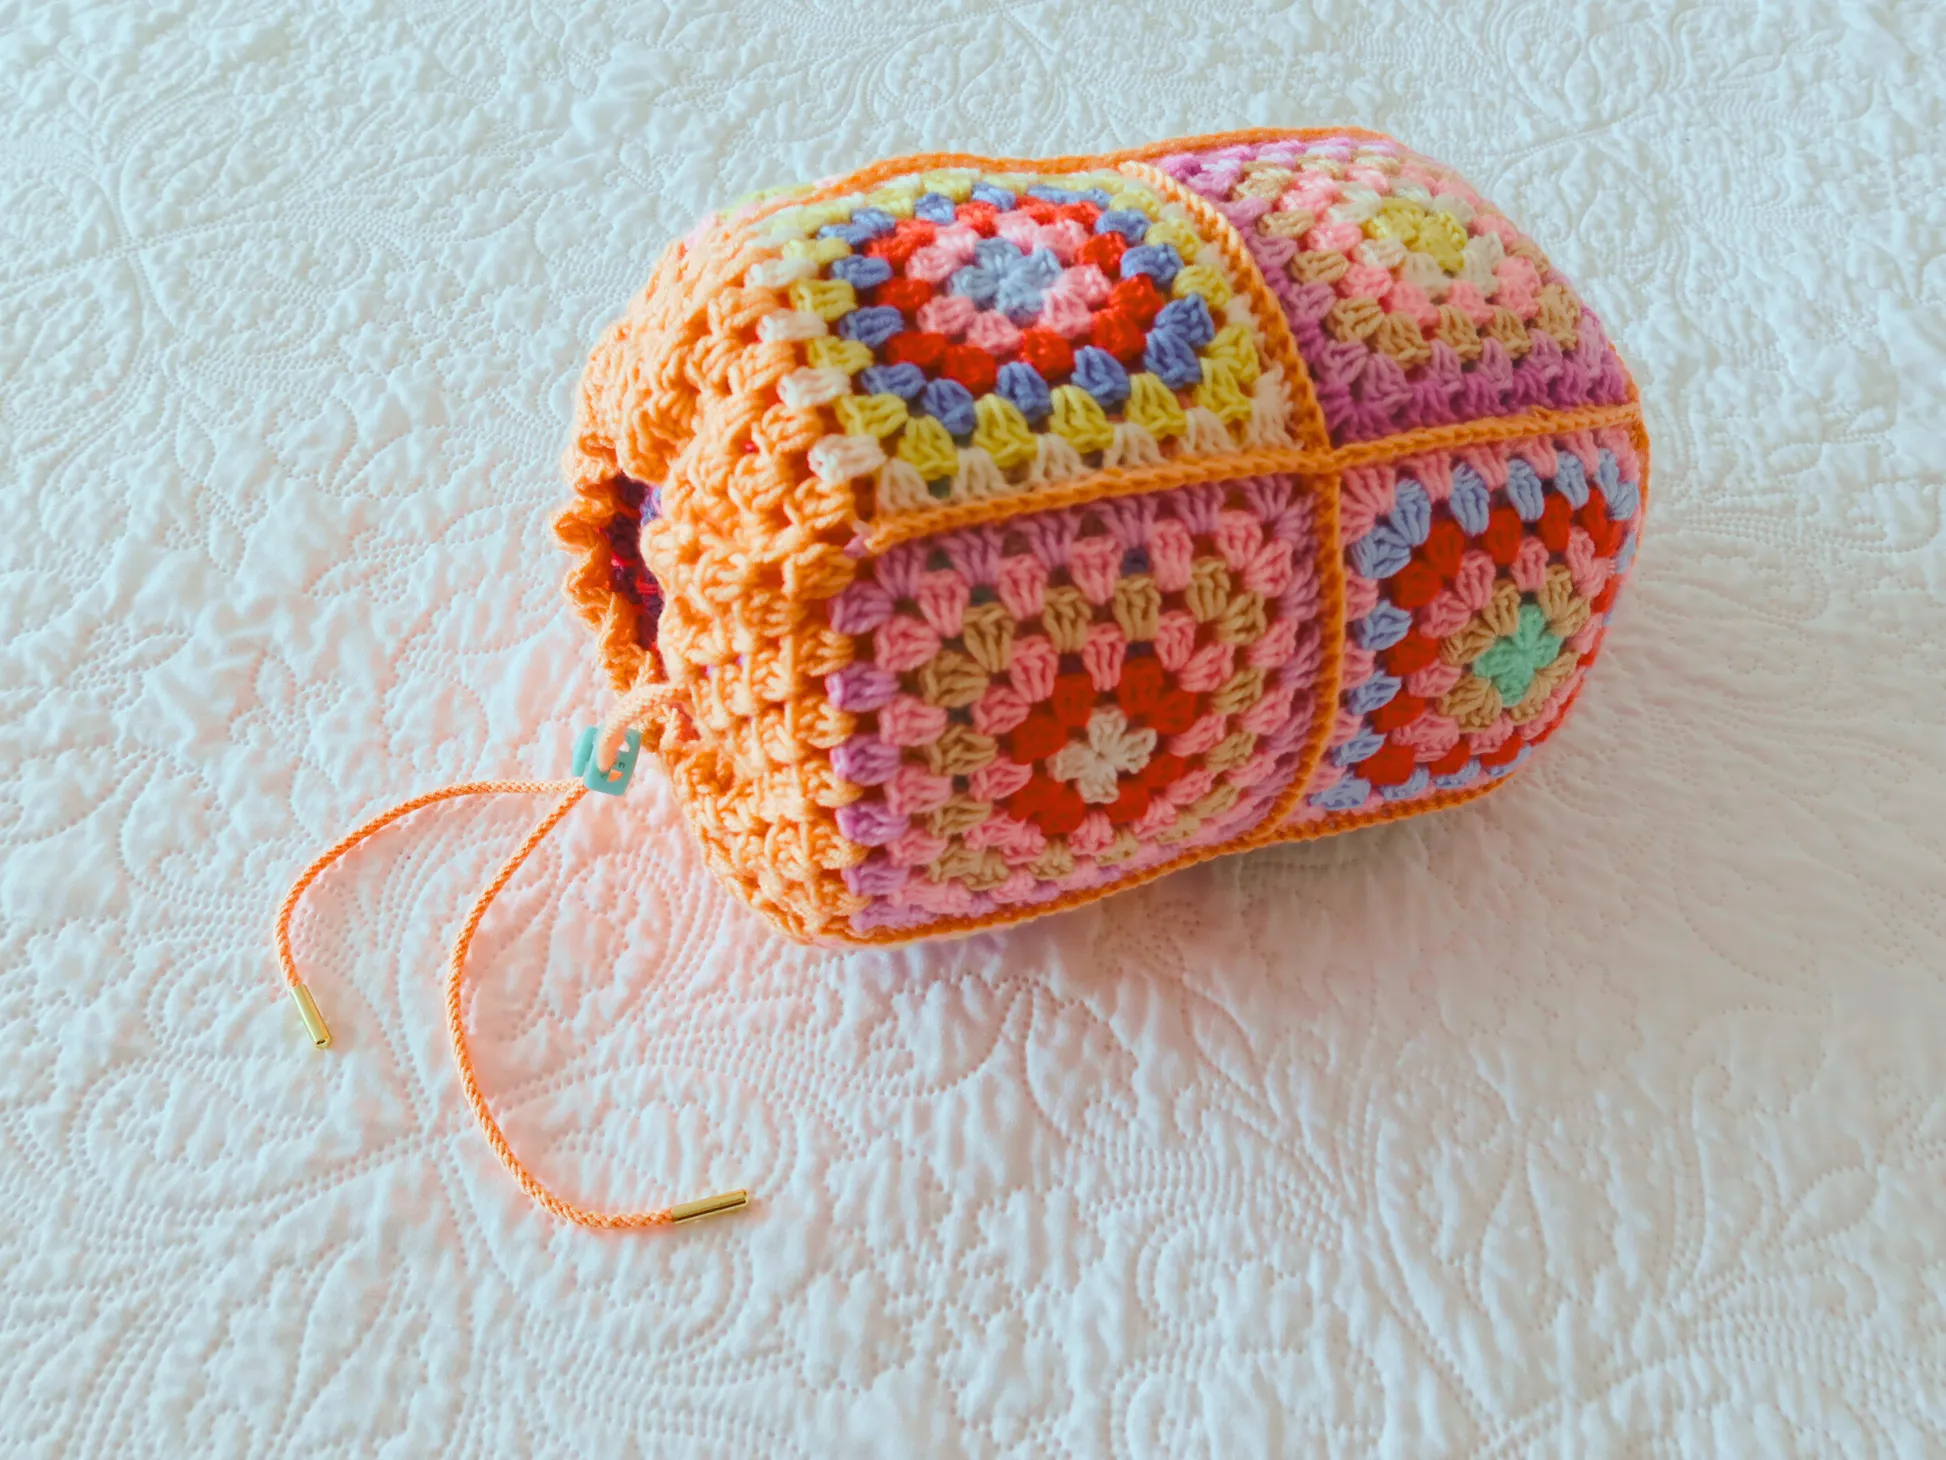
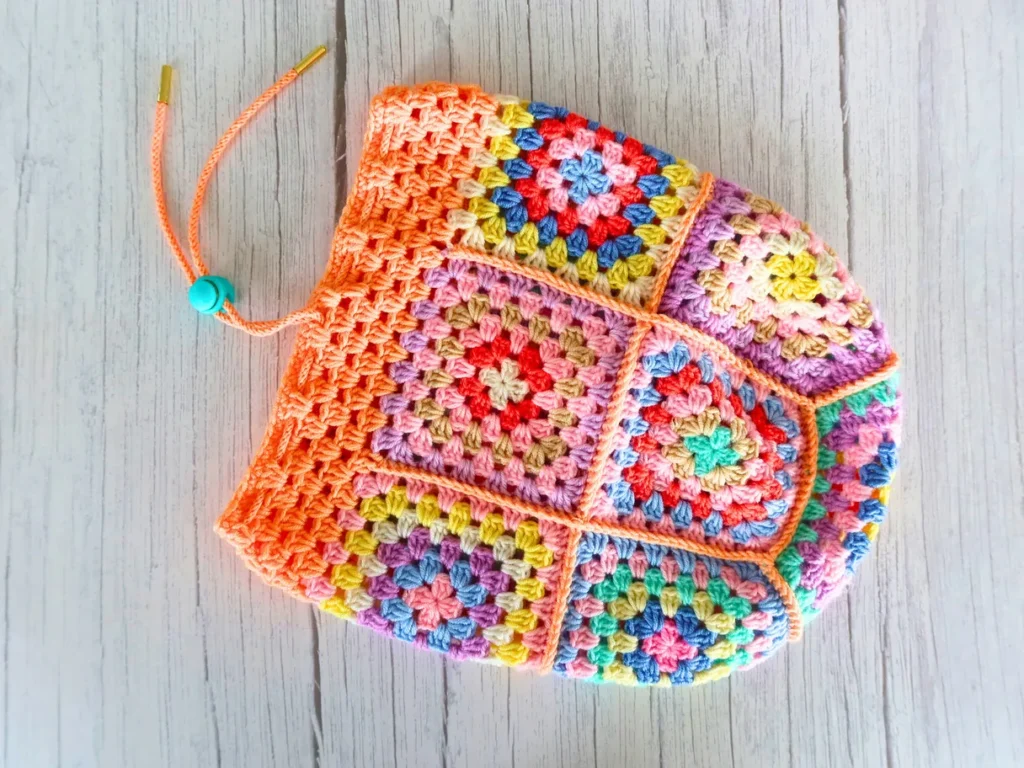
The Angelmo Bag is constructed from classic granny squares arranged in a brilliant star shape, making it a fantastic way to use up your precious scraps of sport-weight yarn. The result is a cheerful, boho-chic bag that’s perfect for farmers’ markets, beach days, or simply adding a pop of color to your everyday outfit. While the pattern is labeled for intermediate crafters, don’t let that deter you if you’re a confident beginner who’s mastered the granny square! This is a wonderful project to level up your skills.
So, gather your colorful scraps, find your favorite 4.0mm hook, and let’s create a masterpiece together. I can’t wait to see the color combinations you choose
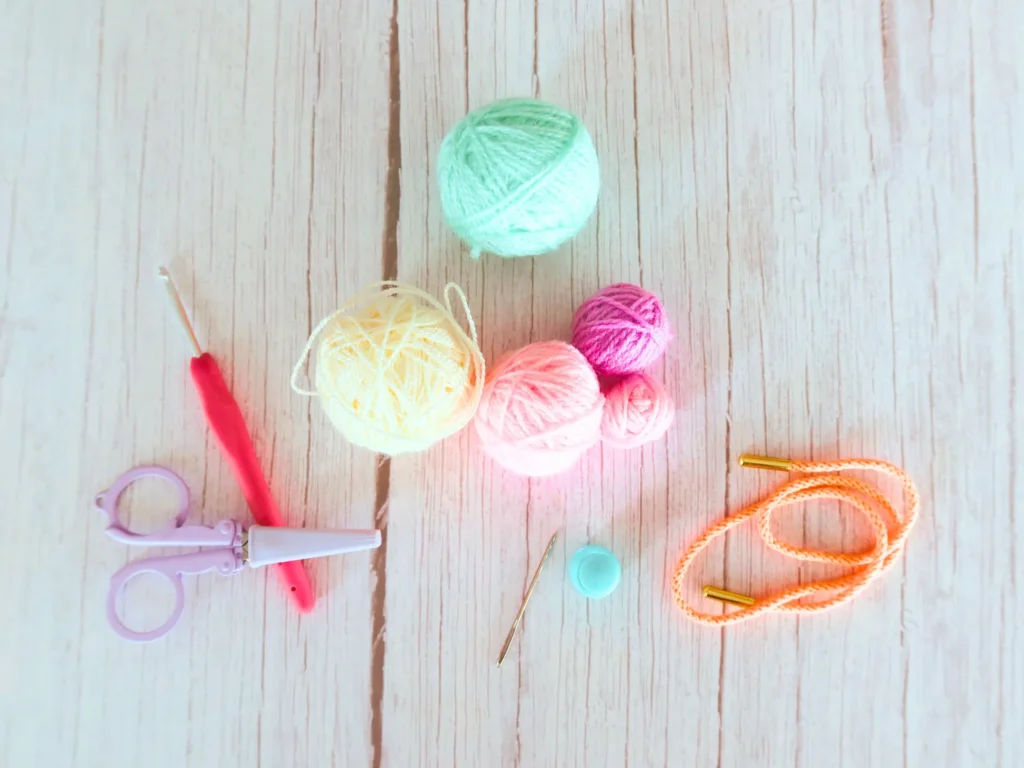
🧶 Materials You’ll Need
Crochet Hook:
4.0 mm
Yarn:
- Various scraps of sport-weight yarn in your favorite colors for the granny squares.
- Approximately 50 grams of orange sport yarn for joining and the top edge.
Other Supplies:
- 33.5 inches (85 cm) of orange ribbon or cord for the drawstring
- 1 cord lock (optional, but helpful for closing the bag)
- 2 aglets (optional, for finishing the ends of a handmade cord)
- Tapestry needle
- Scissors
📖 Stitch Abbreviations
- ch – chain
- sc – single crochet
- dc – double crochet
- sp – space
📏 Finished Size
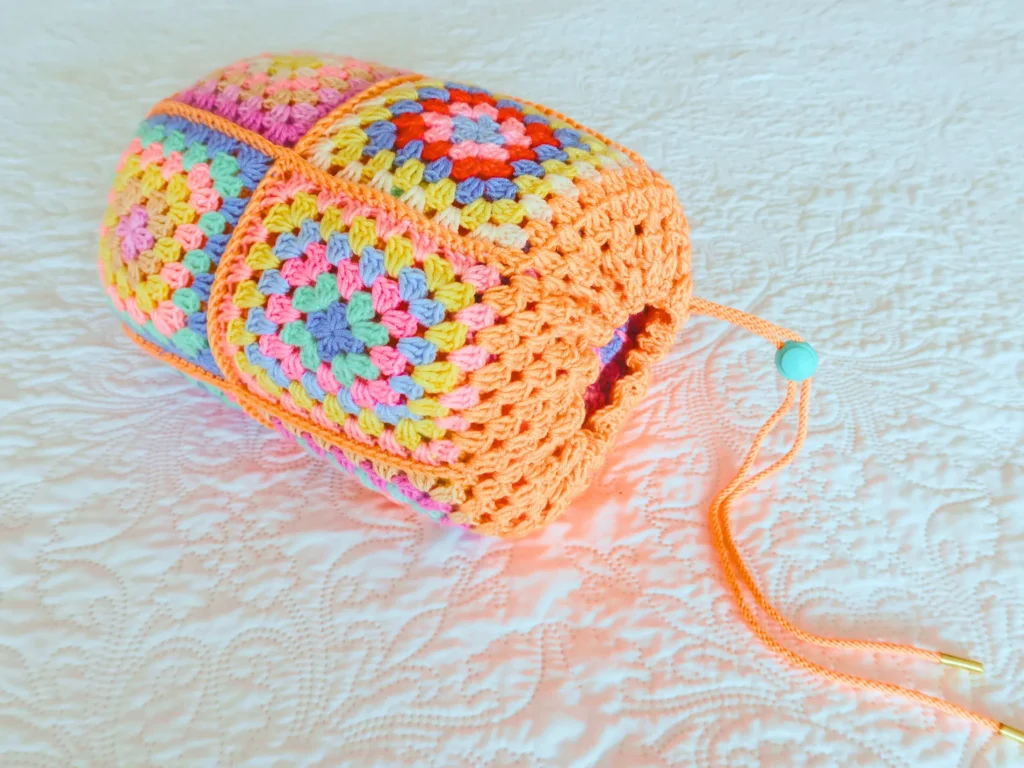
The finished bag measures approximately 10 inches (25.5 cm) in height and 20 inches (51 cm) in diameter
✨ Step-by-Step Crochet Instructions
Part 1: Making the Motifs
The bag is made from two types of motifs: squares and one special pentagon.
- Crochet the Granny Squares:
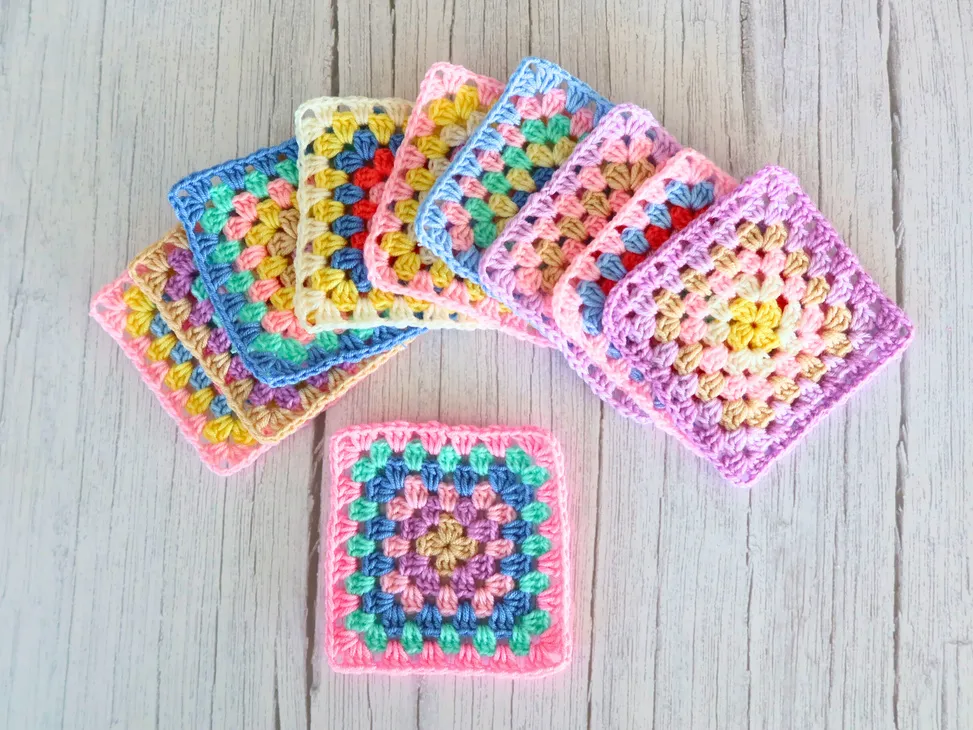
- Using your scrap yarn and a 4.0 mm hook, crochet 10 Angelmo Granny Squares. The pattern for these is a classic granny square, starting with a magic ring and working groups of 3 dc into chain spaces.
- Each finished square should measure about 4 x 4 inches (10 x 10 cm).
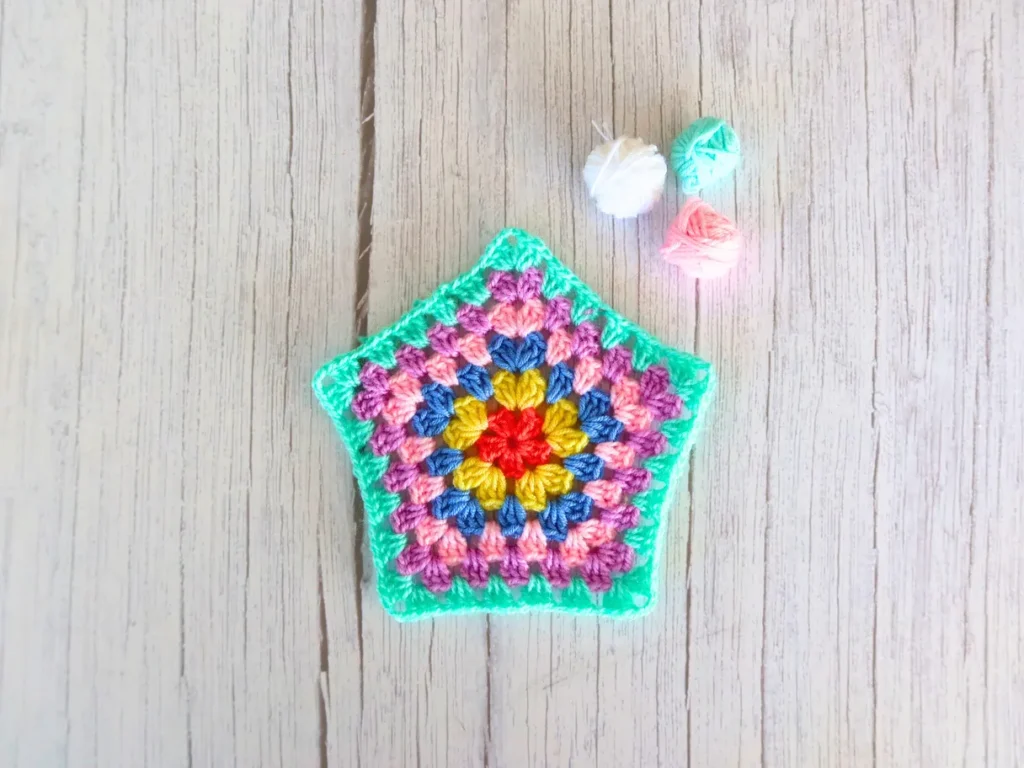
- Crochet the Granny Pentagon:
- Now, crochet 1 Angelmo Granny Pentagon. This motif is worked in the same “granny” style as the squares but is shaped into five sides instead of four. It also starts with a magic ring and works 3 dc into chain spaces to form the sides.

Part 2: Blocking & Assembly
This step ensures your motifs are perfectly shaped before you join them.
- Block Your Motifs: Gently block all 10 squares and the 1 pentagon. This will make them flat and even, making the next steps much easier.
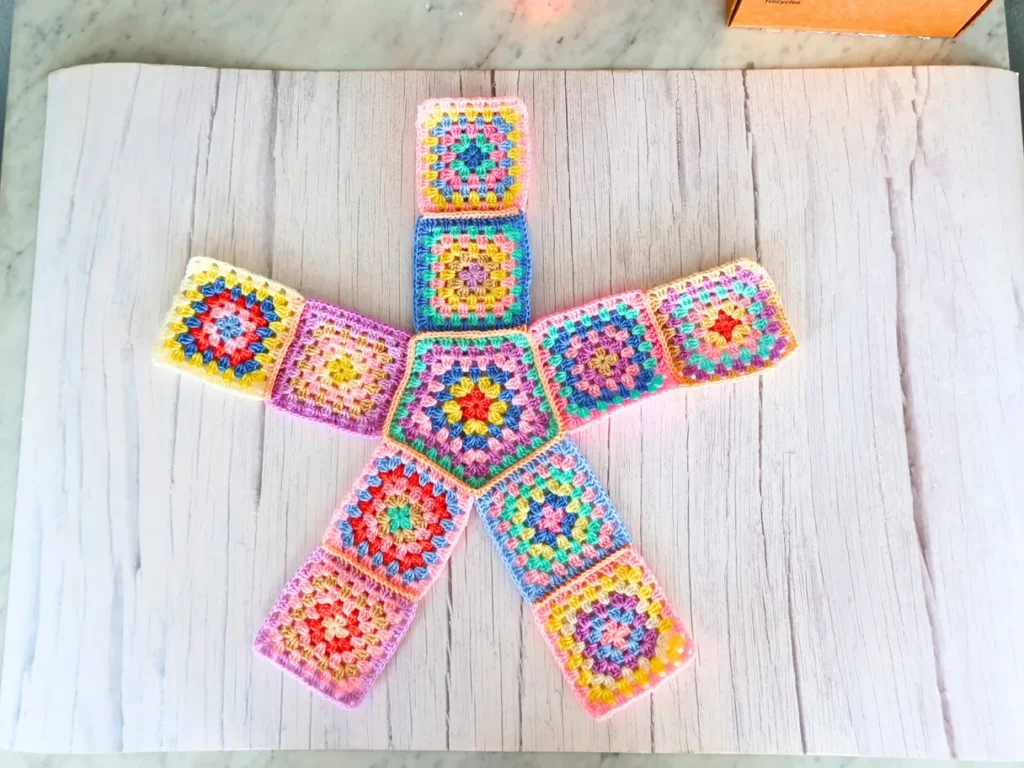
- Arrange the Star: Lay your motifs out on a flat surface according to the photo in the pattern. You will be arranging them in a star shape, with the pentagon likely at the center.
- Join the Motifs: Using your orange yarn, join the motifs together on the right side (the pretty side facing you) with a row of single crochet (sc). This method creates a lovely, raised seam.
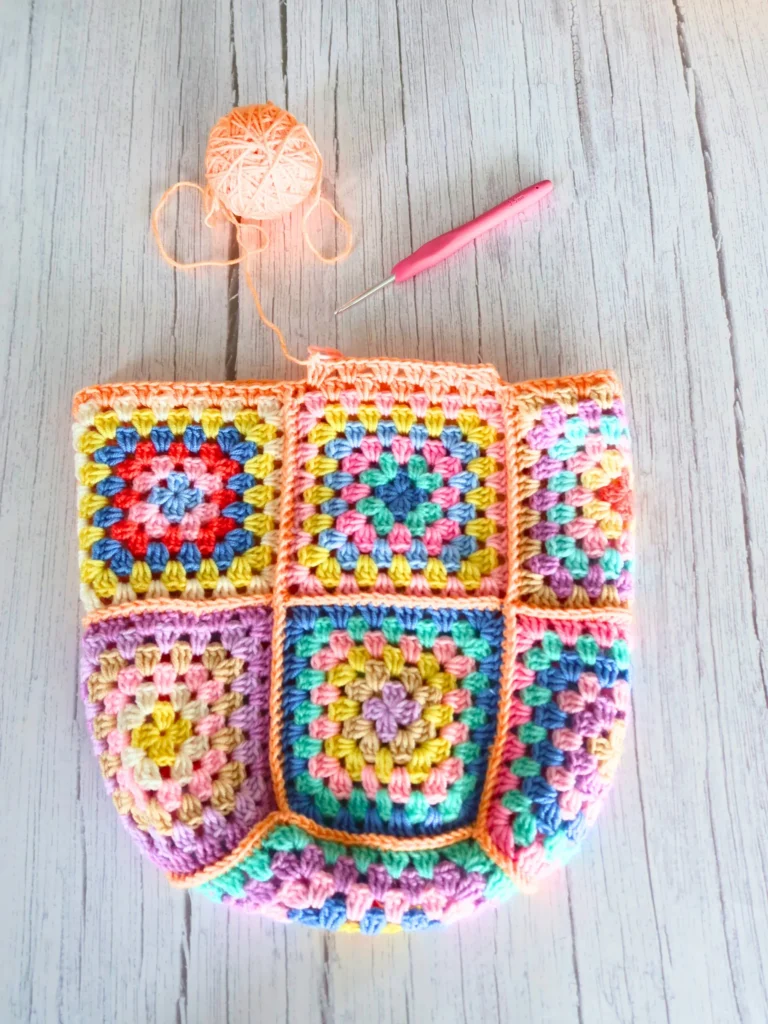
- Form the Bag: Once the star is flat, carefully join the side motifs together along their edges to form the three-dimensional bag shape.

Part 3: The Top Edge & Drawstring Casing
This part creates the top of the bag and the channel for your drawstring.
- First Round: With orange yarn, work one round at the top of the bag using granny logic. This means:
- In each space along the top edge of the squares, work 1 group of 3 dc.
- At the corners where two granny squares meet, work only 1 group of 3 dc.
- Next Four Rounds: Work four more rounds exactly like the first one. You should now have five total rounds of granny stitches, creating a tall, openwork border.
- Final Edging: Work 1 row of single crochet (sc) in the topmost round to create a neat and finished edge.

Part 4: Adding the Drawstring
- Insert the Cord: Weave your pre-made orange ribbon or cord through the holes in the fifth round (the round just below the sc edging). This creates the drawstring closure.
- Optional Finishing Touches: If you made your own cord, you can add aglets to the ends to prevent fraying. Adding a cord lock to the middle of the drawstring will help keep your bag securely closed


