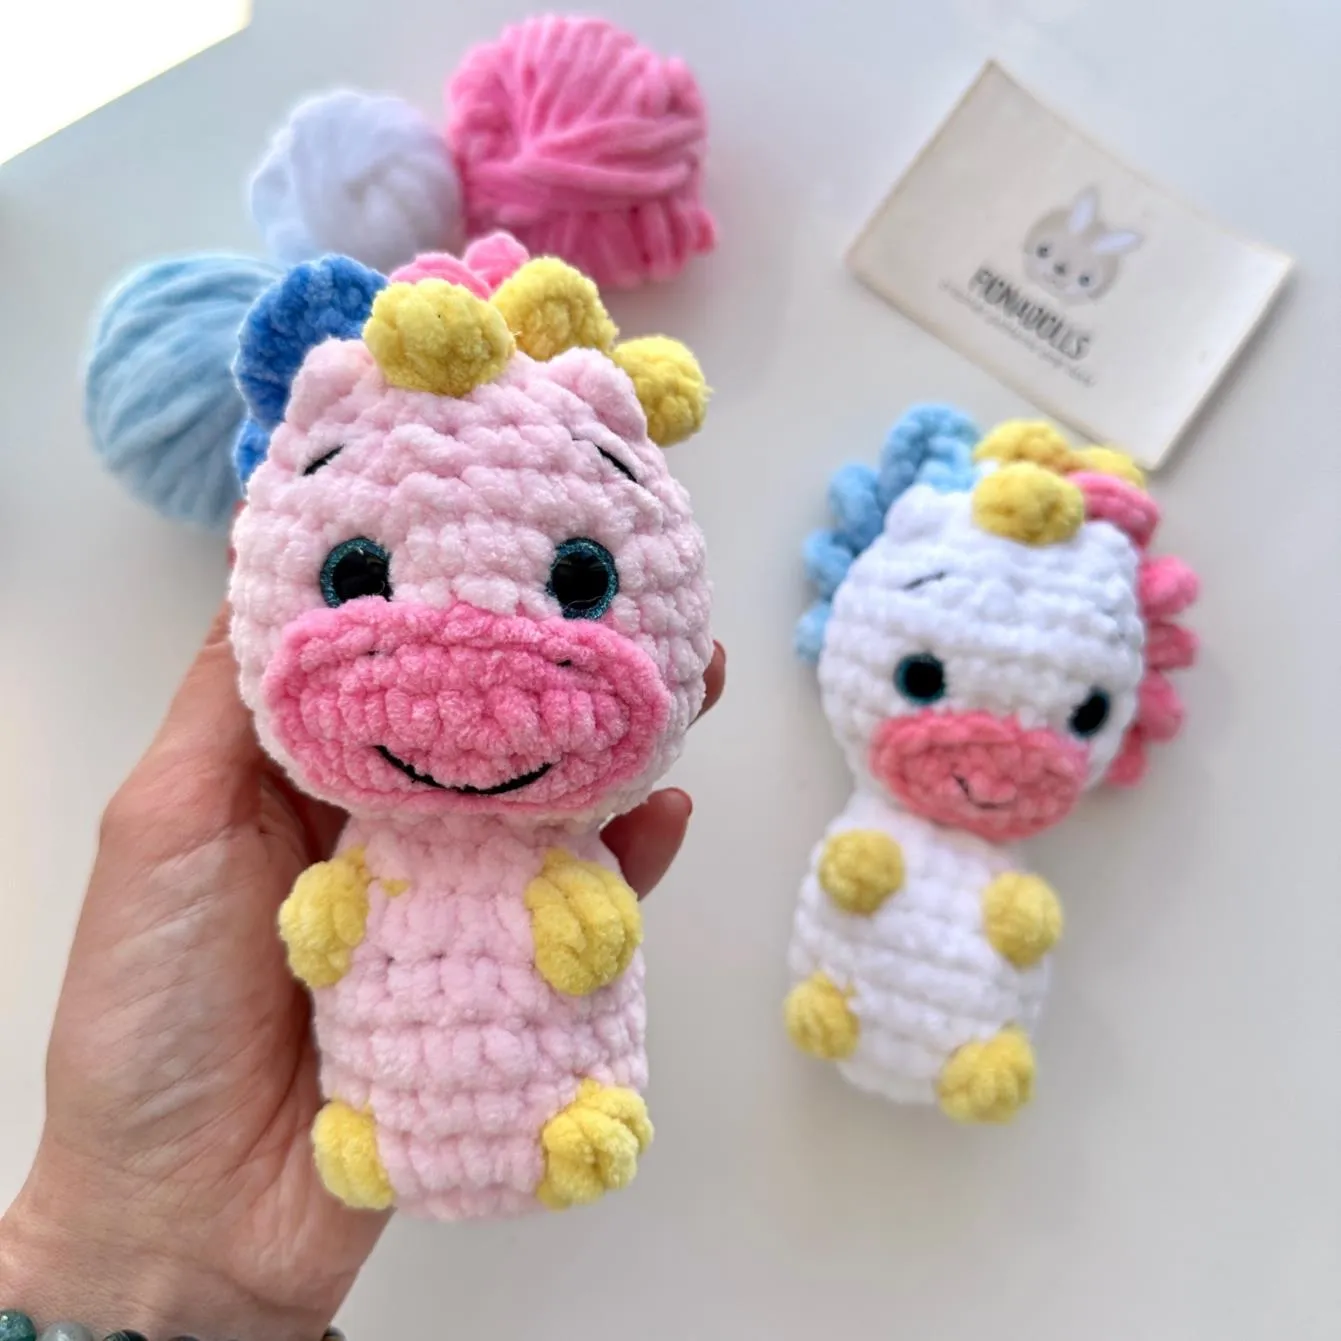
Crochet a Cute Baby Monster: Free Amigurumi Pattern
Materials
Here’s what you’ll need to make your own Baby Monster:
- Yarn (Susan brand or any worsted-weight yarn)
- 2mm crochet hook (adjust if using thicker yarn)
- 10mm safety eyes
- Fiberfill stuffing
- Yarn needle & scissors
- Stitch markers (optional, but helpful!)
- Pins (for assembly)
Abbreviations
Before we begin, here’s a quick guide to the crochet terms used in this pattern:
- MR – Magic ring
- ch – Chain
- sl st – Slip stitch
- sc – Single crochet
- inc – Increase (2 sc in one stitch)
- dec – Decrease (crochet 2 stitches together)
- blo – Back loop only
- flo – Front loop only
- dc-pop – Popcorn stitch (4 dc in one stitch)
Pattern Instructions
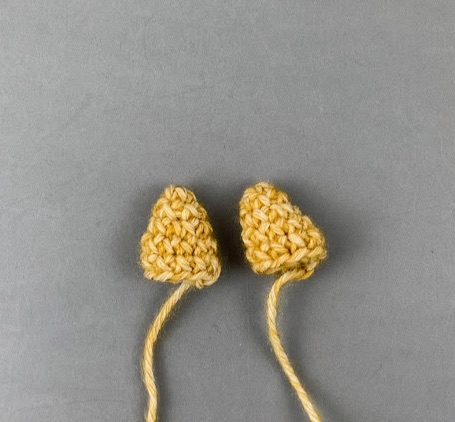
1. Horn (Make 1)
- Rnd 1: 5 sc into MR. (5)
- Rnd 2: 5 sc. (5)
- Rnd 3: 5 inc. (10)
- Rnd 4-5: 10 sc. (10)
- Fasten off, leaving a long tail for sewing.
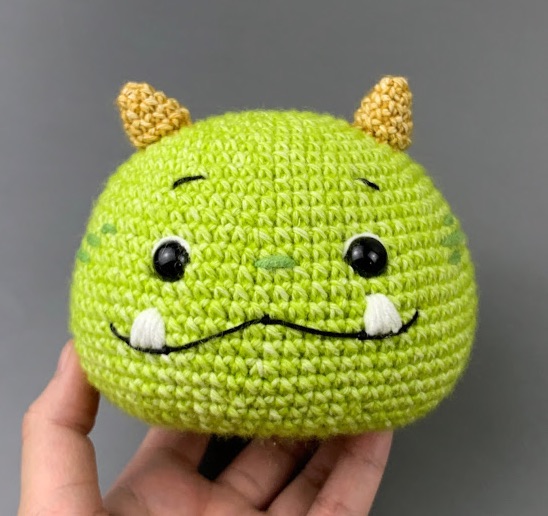
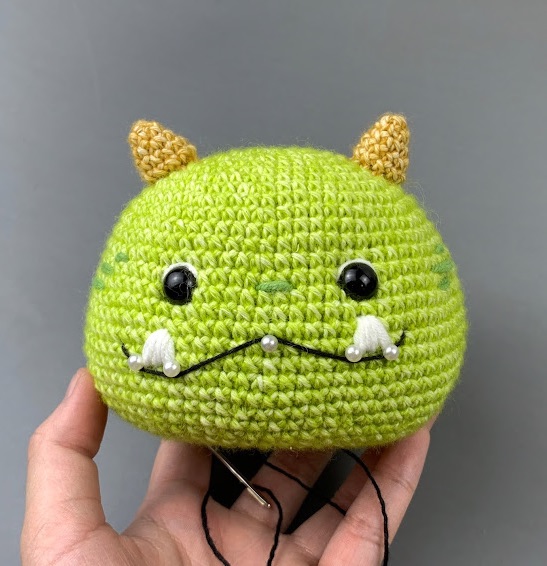
2. Head
- Rnd 1: 8 sc into MR. (8)
- Rnd 2: 8 inc. (16)
- Rnd 3: (1 sc, inc) x8. (24)
- Rnd 4: (2 sc, inc) x8. (32)
- Continue increasing following the pattern until Rnd 15.
- Insert safety eyes between Rnd 14-15, spaced 11 stitches apart.
- Stuff the head firmly as you work.
- Follow the pattern for decreasing until closing.
3. Hands (Make 2)
- Rnd 1: 6 sc into MR. (6)
- Rnd 2: 6 inc. (12)
- Rnd 3: 12 sc. (12)
- Rnd 4: dc-pop, 11 sc. (12)
- Rnd 5-16: 12 sc. (12)
- Stuff lightly, fold in half, and sew shut.
4. Legs (Make 2)
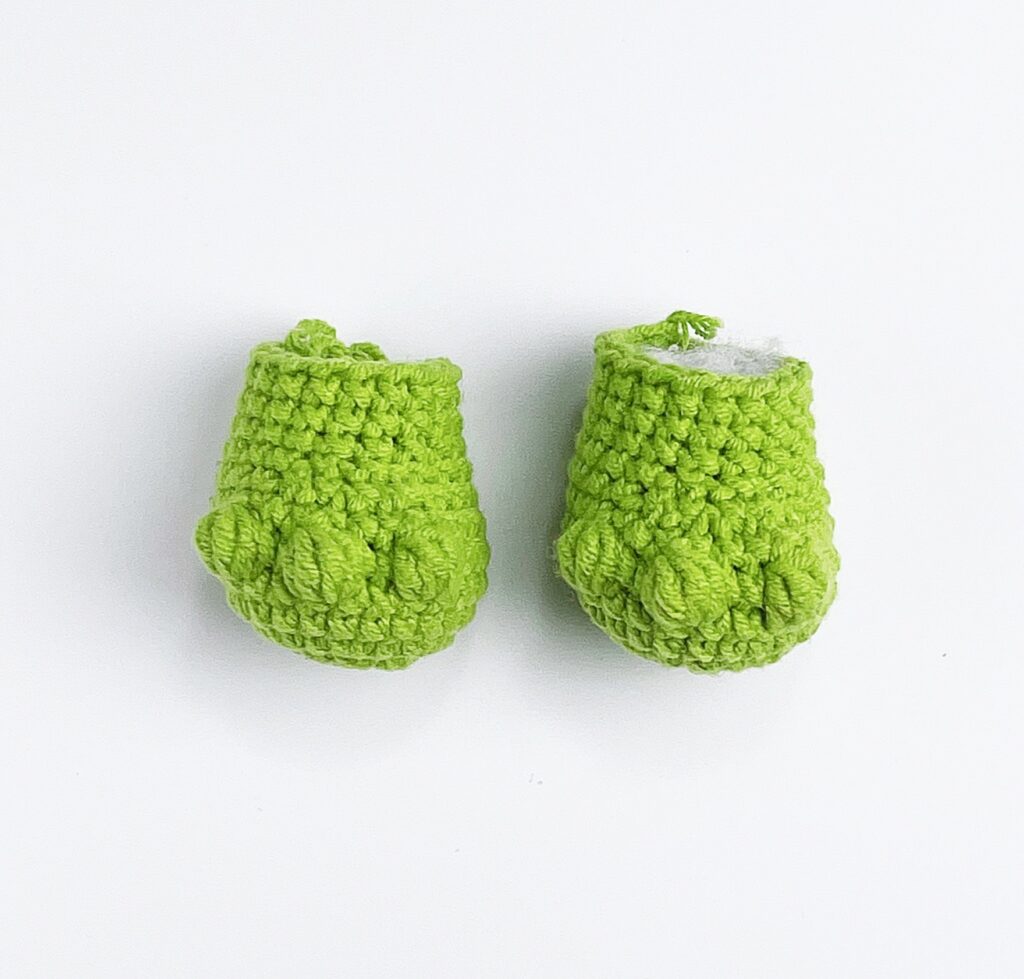
- Rnd 1: 8 sc into MR. (8)
- Rnd 2: 8 inc. (16)
- Rnd 3: (1 sc, inc) x8. (24)
- Rnd 4-5: 24 sc. (24)
- Add dc-pop stitches for texture (see pattern).
5. Body
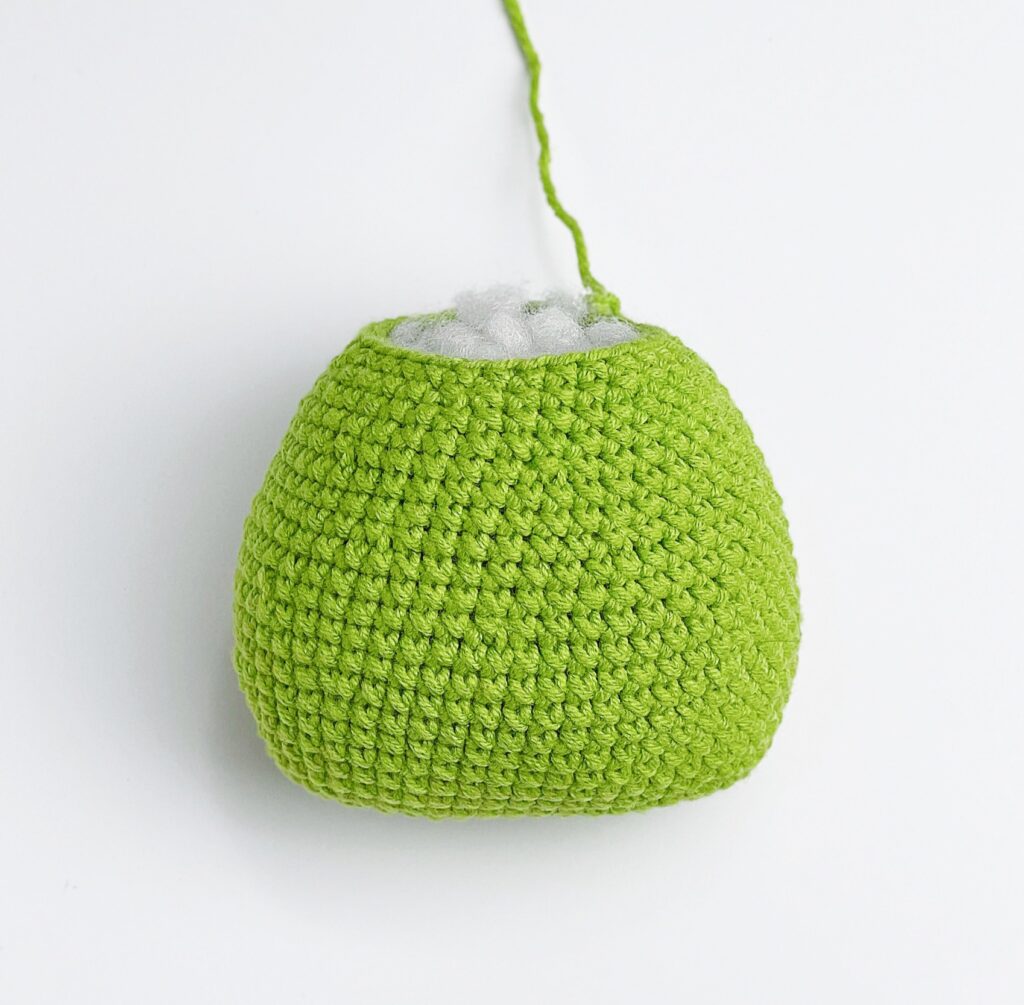
- Start with a chain of 15, then work in rounds to shape the body.
- Follow the pattern for increases and decreases.
- Stuff firmly before closing.
6. Assembly
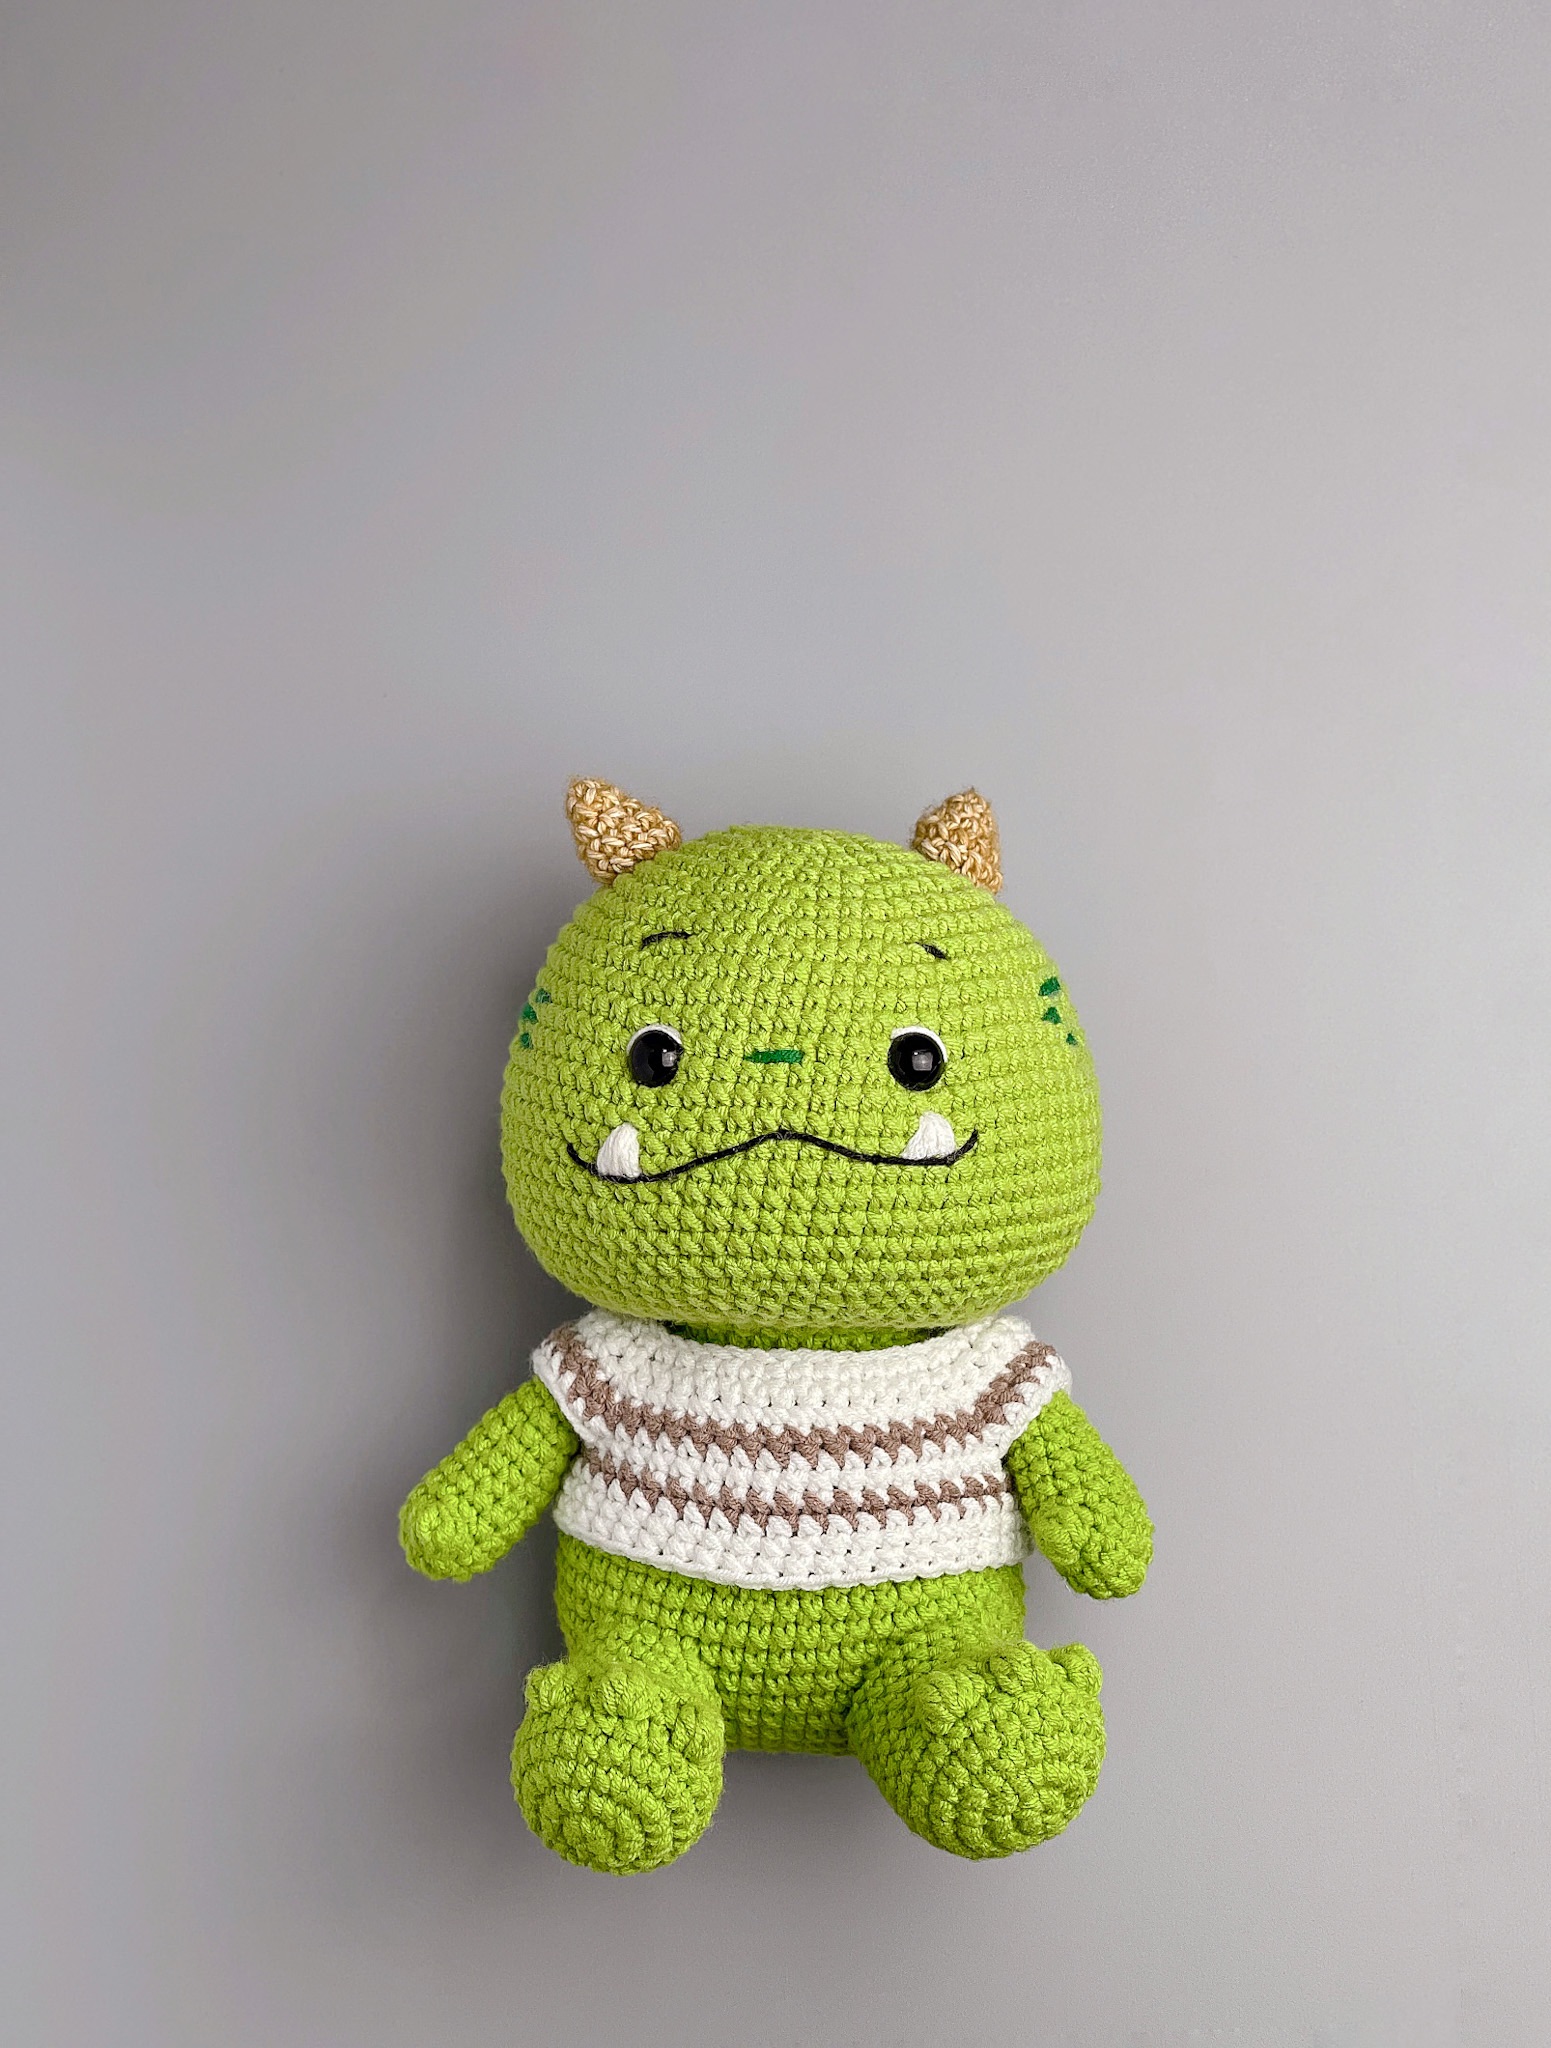
- Sew the horn between Rnd 5-8 of the head.
- Attach the head to the body.
- Sew hands at Rnd 21 of the body.
- Attach legs between Rnd 3-9.
7. Facial Features
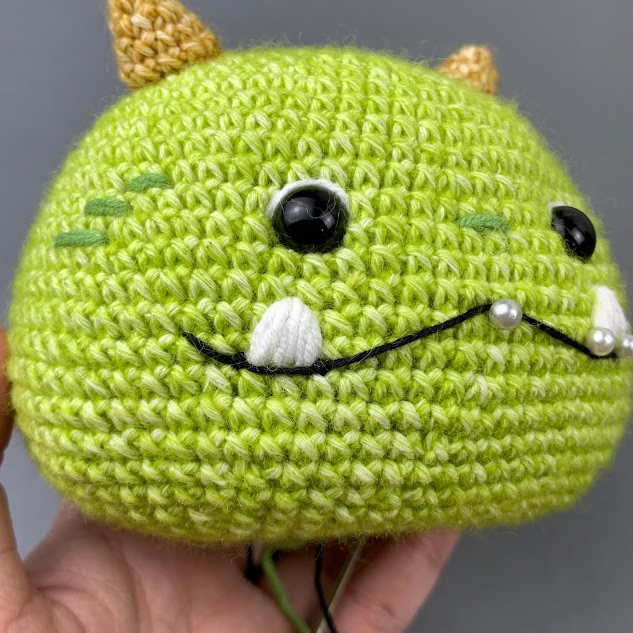
- Nose & Cheeks: Sew onto the head between Rnd 13-15.
- Fangs: Stitch three points per fang, then fill in gaps.
- Eyebrows & Mouth: Embroider as desired.


