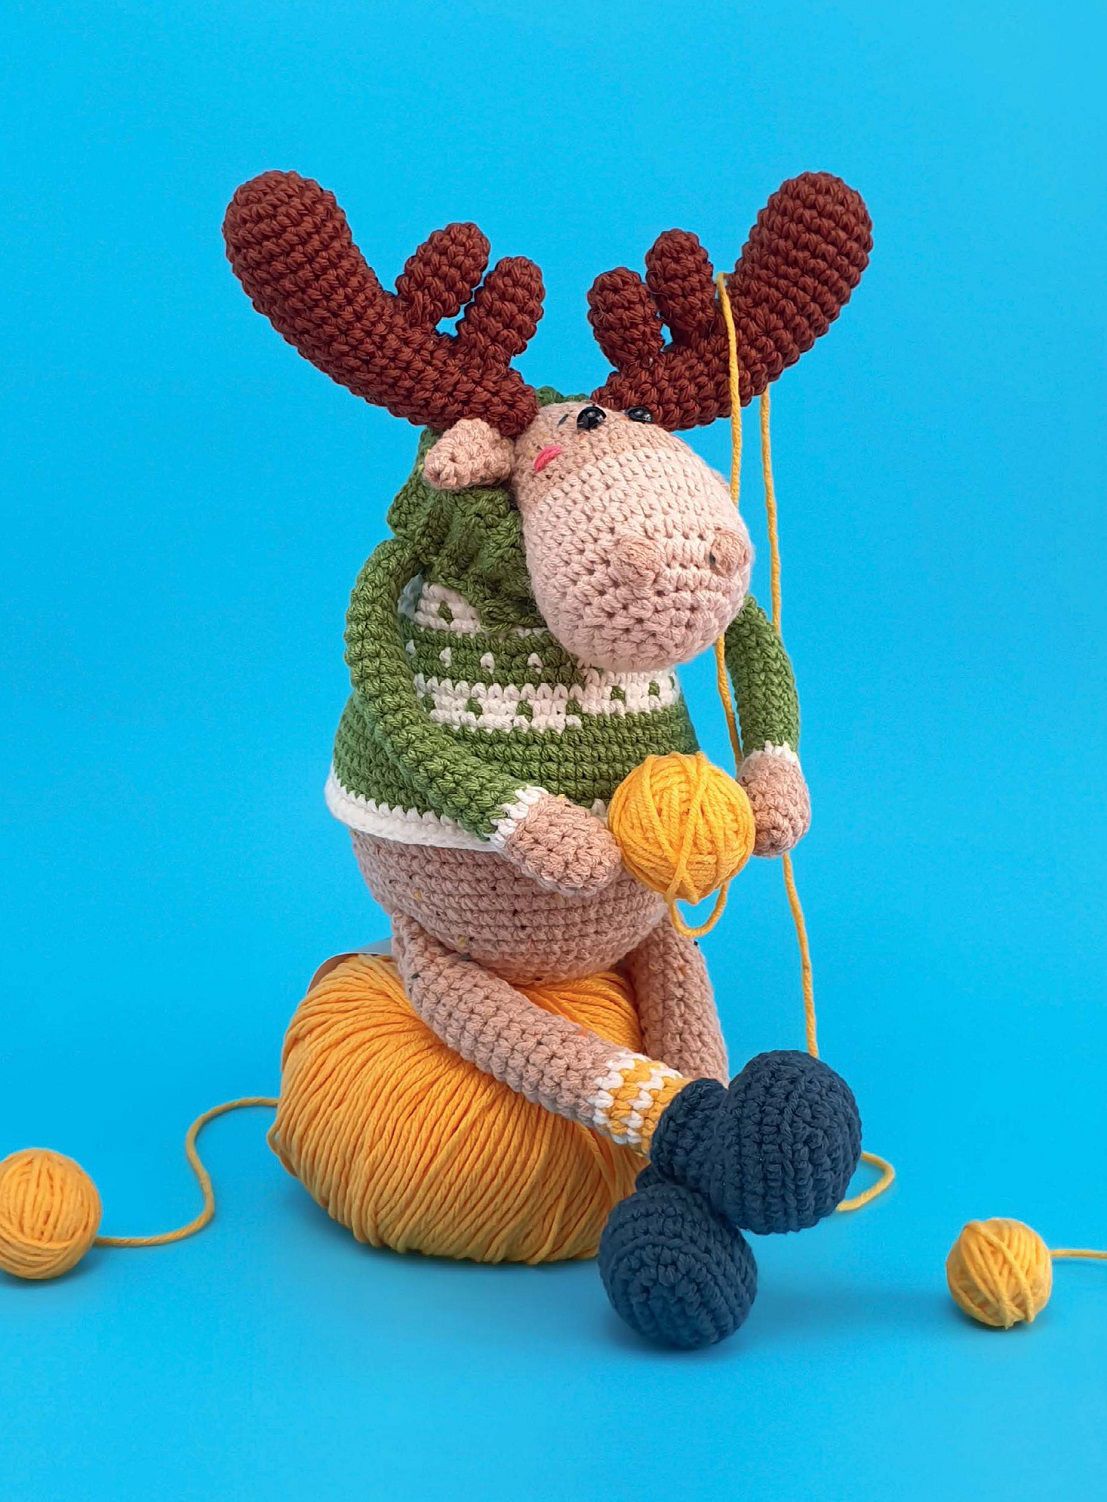
Teddy Bear Amigurumi Pattern
Materials for Your Crochet Teddy Bear
To create your own cuddly teddy bear, you’ll need the following materials. This pattern is perfect for soft, plush yarn like the one recommended below.
- Yarn: Himalaya Dolphin Baby (you will need more than one skein of the main color). A small amount of white is needed for the muzzle.
- Embroidery Yarn: Black YarnArt Jeans yarn for the eyebrows and nose.
- Crochet Hook: 4.5 mm
- Safety Eyes: 12 mm
- Other Supplies: Thin thread that matches your main yarn for sewing, a sewing needle, scissors, and fiberfill for stuffing.
Crochet Abbreviations (US Terms)
- R: row/round
- mc: magic circle
- ch: chain
- st: stitch
- sc: single crochet
- inc: increase (2 sc in the next stitch)
- dec: decrease (single crochet 2 stitches together)
- BLO: back loop only
- F.o.: finish off
- (…): number of stitches at the end of the round
- (…)x6: repeat the instructions in the brackets the specified number of times
Free Crochet Teddy Bear Amigurumi Pattern
Follow these step-by-step instructions to crochet each part of your teddy bear.
How to Crochet the Head
Begin with your main color yarn.
R 1: 6 sc in mc (6)
R 2: (inc)x6 (12)
R 3: (1 sc, inc)x6 (18)
R 4: (2 sc, inc)x6 (24)
R 5: (3 sc, inc)x6 (30)
R 6: (4 sc, inc)x6 (36)
R 7: (5 sc, inc)x6 (42)
R 8: (6 sc, inc)x6 (48)
R 9-14: 48 sc (6 rounds)
Attach the 12 mm safety eyes between R 9 and R 10.
R 15: (6 sc, dec)x6 (42)
R 16: (5 sc, dec)x6 (36)
R 17: (4 sc, dec)x6 (30)
R 18: (3 sc, dec)x6 (24)
R 19: (2 sc, dec)x6 (18)
Stuff the head firmly with fiberfill. Finish off, leaving a long tail for sewing later if you prefer.
How to Crochet the Ears (Make 2)
Using the main color yarn:
R 1: 8 sc in mc (8)
R 2: (inc)x8 (16)
R 3: 16 sc
R 4: (3 sc, inc)x4 (20)
Finish off. Do not stuff the ears. Fold flat.
How to Crochet the Muzzle
Using white yarn, you’ll be working in an oval shape.
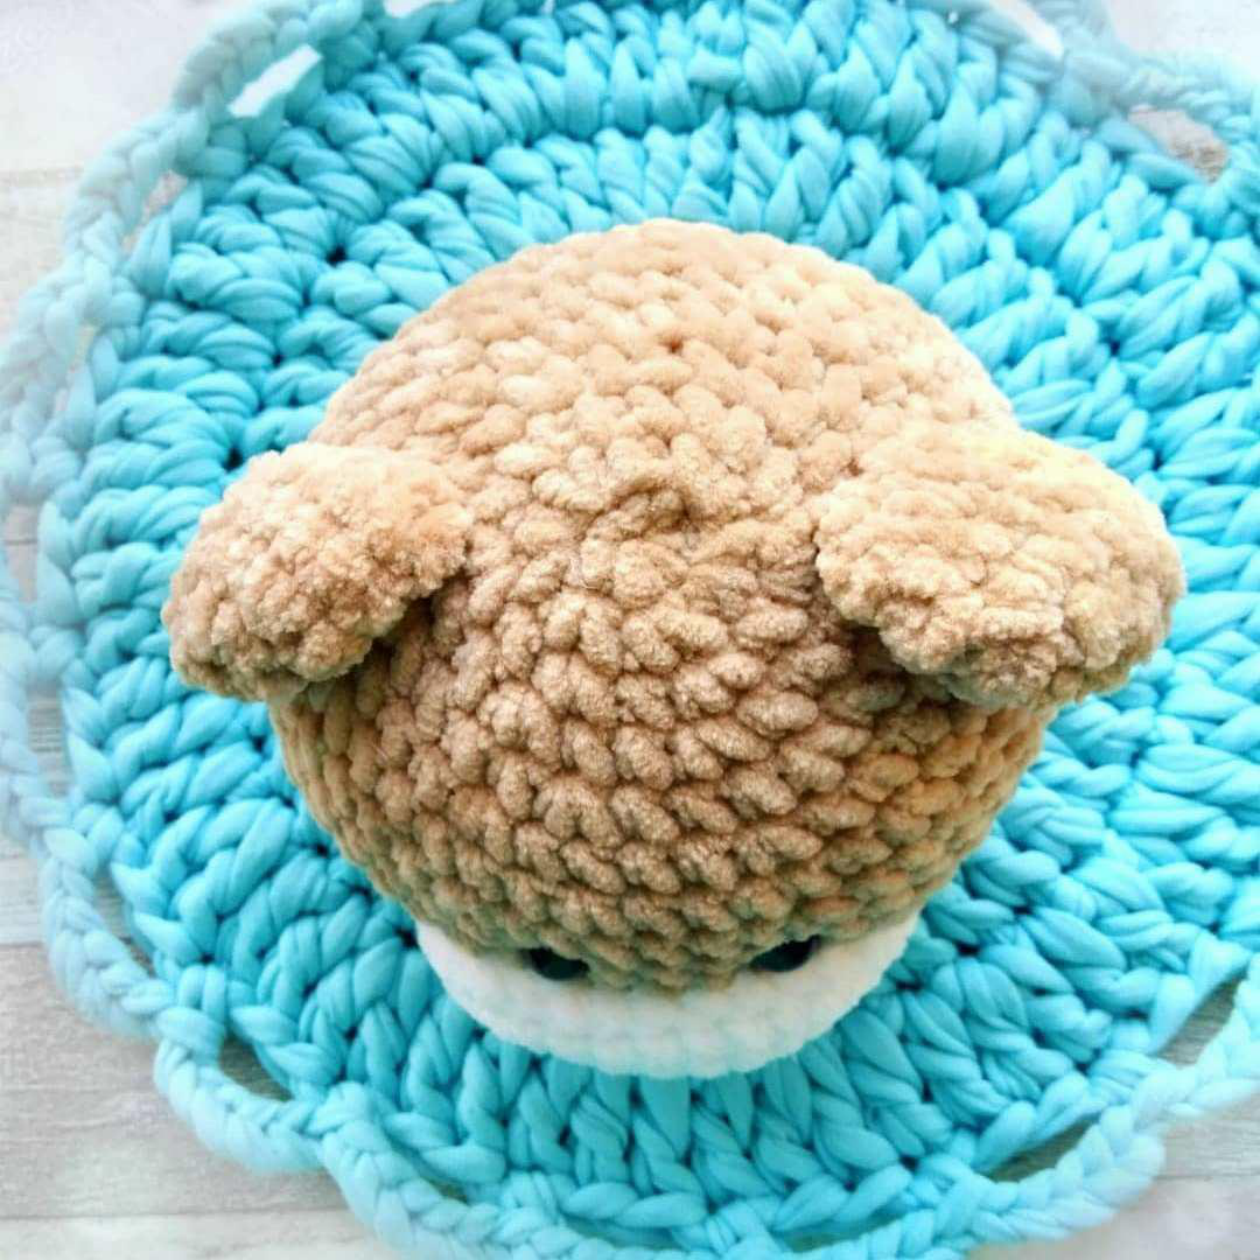
Start with a chain of 7.
R 1: Starting from the 2nd ch from the hook, work on both sides of the chain: 5 sc, 3 sc in the last stitch. Turn and crochet on the opposite side of the chain: 4 sc, inc (14)
R 2: 1 ch, inc, 4 sc, (inc)x3, 4 sc, (inc)x2 (20)
R 3: 1 ch, inc, 5 sc, (1 sc, inc)x4, 5 sc, inc (26)
R 4: 1 ch, inc, 6 sc, (2 sc, inc)x4, 6 sc, inc (32)
R 5: 32 sc
Finish off, leaving a long tail for sewing.
How to Crochet the Arms (Make 2)
Using the main color yarn:
R 1: 6 sc in mc (6)
R 2: (inc)x6 (12)
R 3: (5 sc, inc)x2 (14)
R 4: (3 sc, inc)x3, 2 sc (17)
R 5: 17 sc
R 6: dec, (1 sc, dec)x5 (11)
R 7-11: 11 sc (5 rounds)
R 12: 9 sc, dec (10)
R 13-14: 10 sc (2 rounds)
R 15: 8 sc, dec (9)
R 16-17: 9 sc (2 rounds)
Stuff each arm about 3/4 full. Fold the top opening flat and single crochet 5 stitches across through both sides to close. Finish off.
How to Crochet the Legs (Make 2)
Using the main color yarn, you will work in an oval shape to create the foot.
Start with a chain of 7.
R 1: Starting from the 2nd ch from the hook: 5 sc, 4 sc in the last st. Turn and work on the opposite side: 4 sc, 3 sc in one st (16)
R 2: inc, 4 sc, (inc)x4, 4 sc, (inc)x3 (24)
R 3: inc, 1 sc, 4 sc, (inc, 1 sc)x4, 4 sc, (inc, 1 sc)x3 (32)
R 4: Work in BLO: 32 sc
R 5: 32 sc
R 6: 7 sc, (dec)x6, 8 sc, (dec)x2, 1 sc (24)
R 7: 6 sc, (dec)x4, 10 sc (20)
R 8: 3 sc, (dec)x6, 5 sc (14)
R 9-13: 14 sc (5 rounds)
R 14: 12 sc, dec (13)
R 15: 13 sc
R 16: 11 sc, dec (12)
R 17-19: 12 sc (3 rounds)
Stuff the legs firmly with fiberfill. Fold the top opening flat and single crochet 6 stitches across through both sides to close. Finish off.
How to Crochet the Body and Attach Limbs
The legs and arms are joined to the body as you crochet, creating a seamless look.
R 1: 6 sc in mc (6)
R 2: (inc)x6 (12)
R 3: (1 sc, inc)x6 (18)
R 4: (2 sc, inc)x6 (24)
R 5: (3 sc, inc)x6 (30)
R 6: (4 sc, inc)x6 (36)
R 7: (5 sc, inc)x6 (42)
R 8: 42 sc
R 9: In this round, you will attach the legs. 8 sc, then 6 sc crocheting through both the body and the stitches of the first leg, 14 sc, then 6 sc through both the body and the second leg, 8 sc (42)
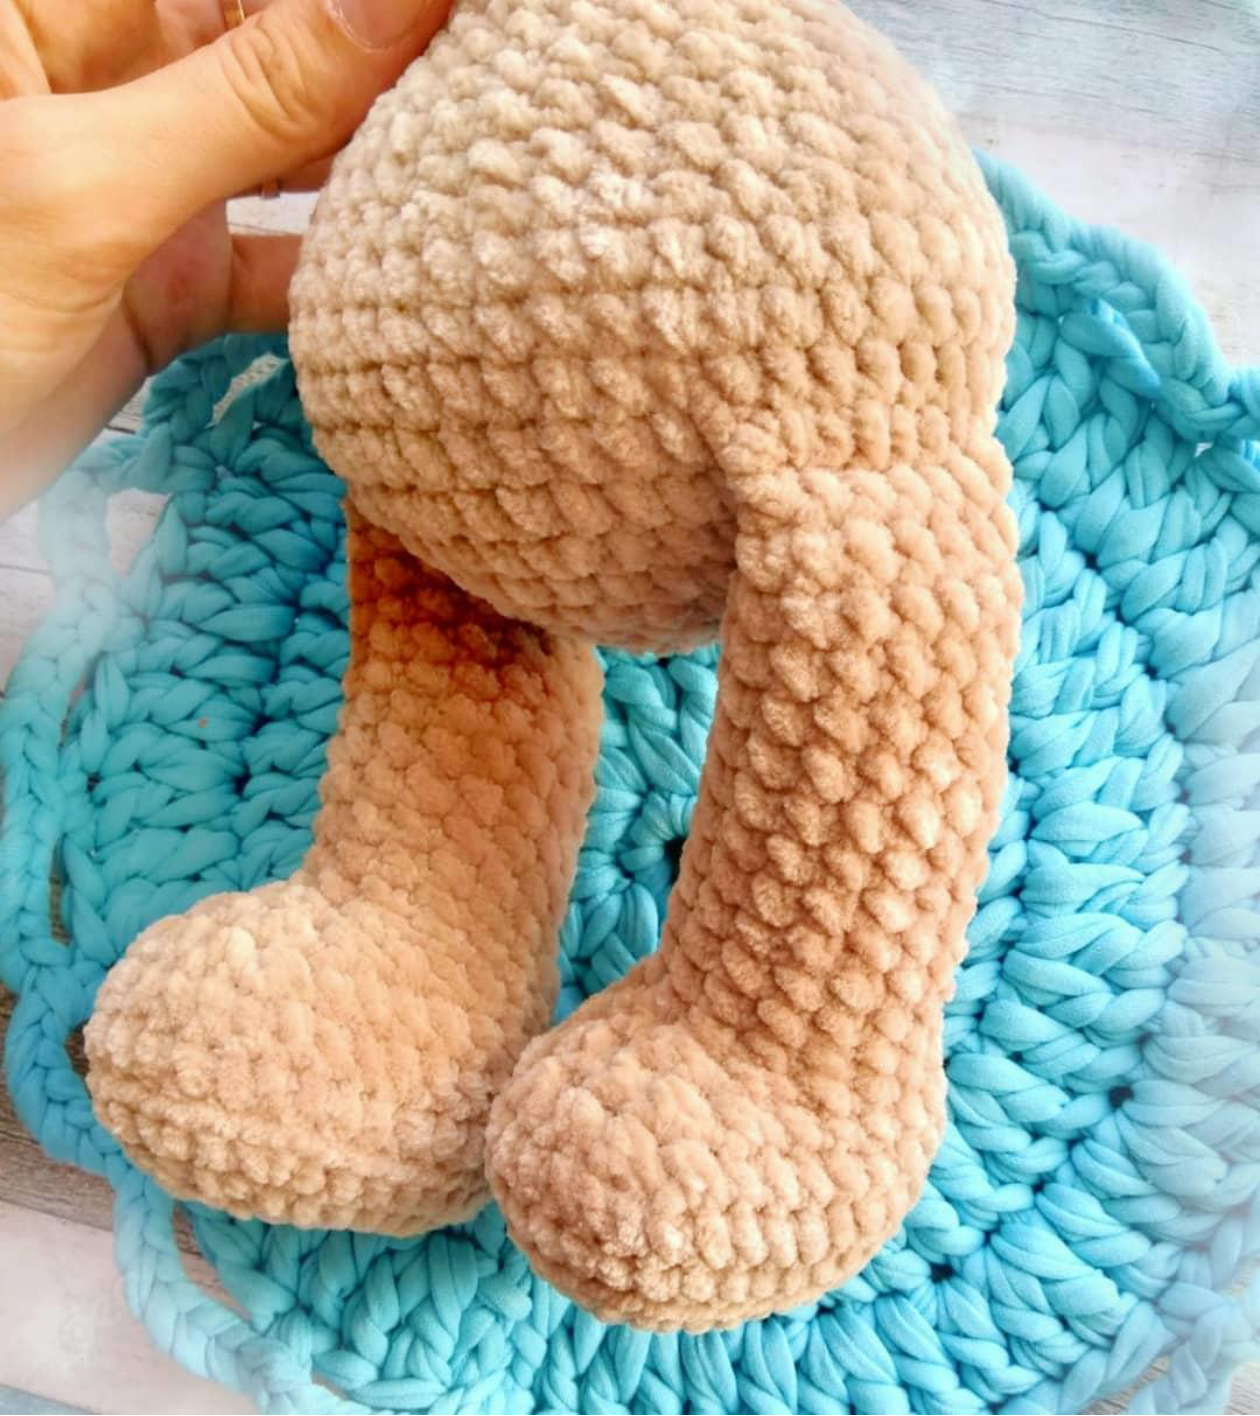
R 10-11: 42 sc (2 rounds)
R 12: (5 sc, dec)x6 (36)
R 13-14: 36 sc (2 rounds)
R 15: (4 sc, dec)x6 (30)
R 16: 30 sc
R 17: (3 sc, dec)x6 (24)
R 18-19: 24 sc (2 rounds)
Start stuffing the body with fiberfill.
R 20: (2 sc, dec)x6 (18)
R 21: In this round, you will attach the arms. 3 sc, then 5 sc crocheting through both the body and the first arm, 4 sc, then 5 sc through both the body and the second arm, 1 sc (18)
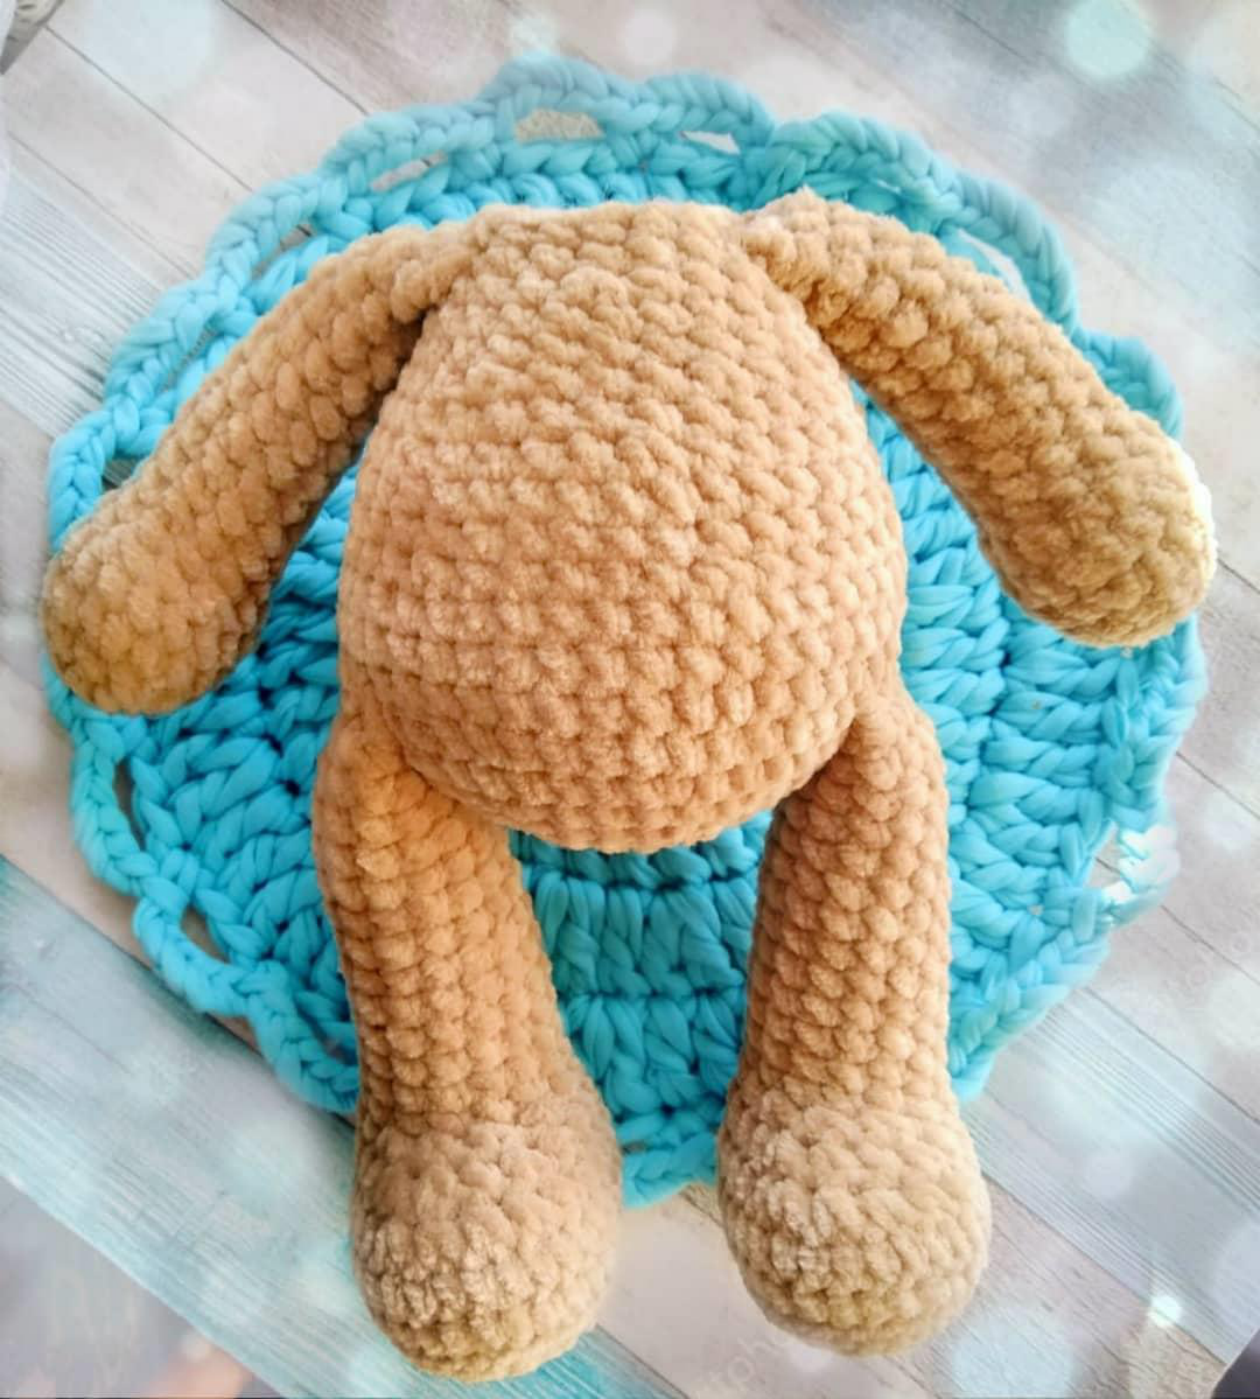
R 22: 18 sc
Continue stuffing the body firmly. Finish off, leaving a long tail to sew the head to the body.
How to Crochet the Tail
R 1: 6 sc in mc (6)
R 2: (inc)x6 (12)
R 3: 12 sc
Finish off, leaving a tail for sewing.
Assembling Your Amigurumi Teddy Bear
Now it’s time to bring your bear to life!
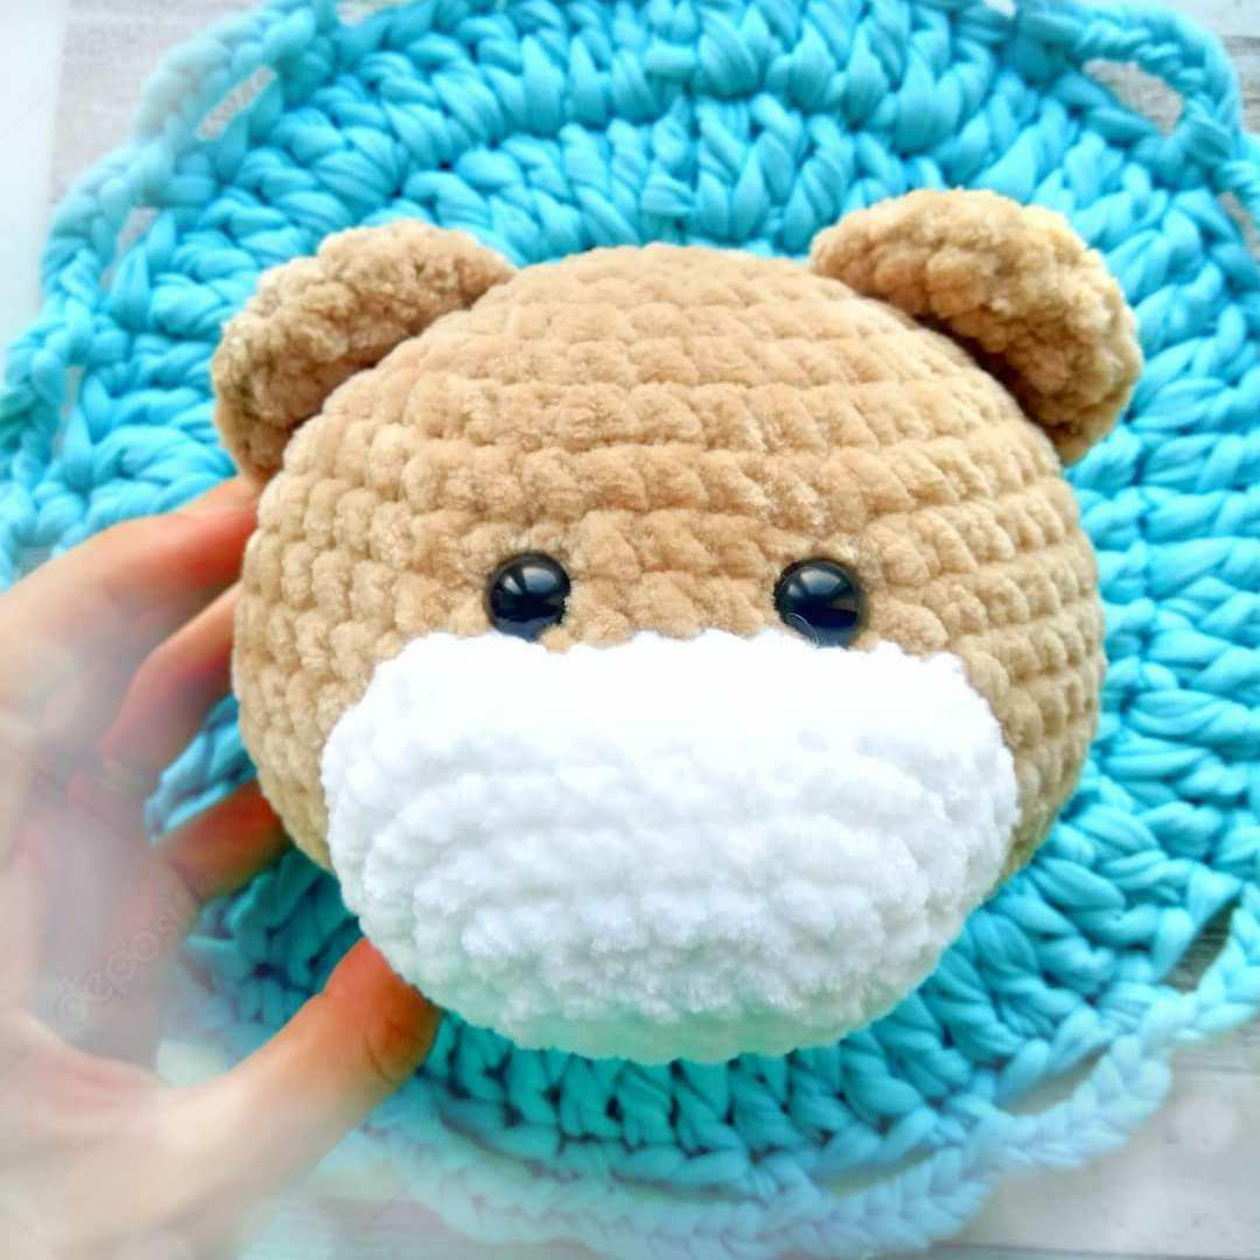
- Attach Head: Sew the head securely to the body.
- Attach Muzzle: Pin the muzzle onto the face, centered below the eyes. Add a small amount of stuffing inside the muzzle before you finish sewing it all the way around.
- Attach Ears: Sew the ears to the top of the head.
- Attach Tail: Sew the small tail to the back of the body.
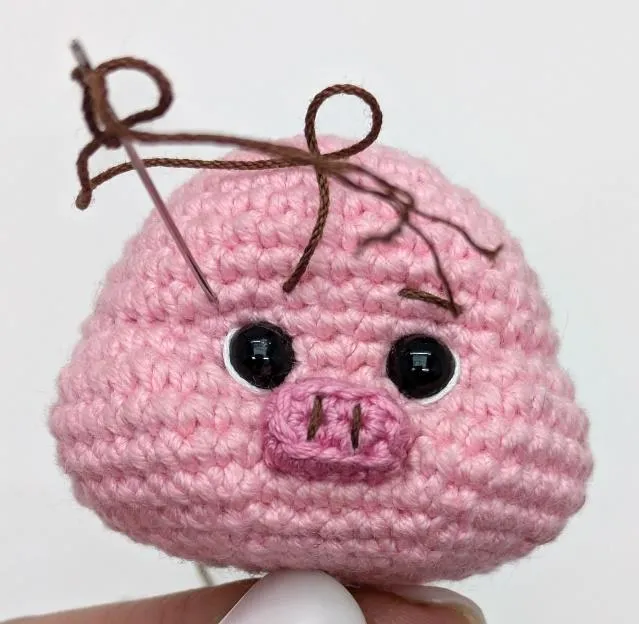
- Embroider Details: Using the black YarnArt Jeans yarn, embroider the nose onto the muzzle and add eyebrows above the eyes to give your bear its unique expression.
Once all the pieces are assembled, your crochet teddy bear is complete!

“`


