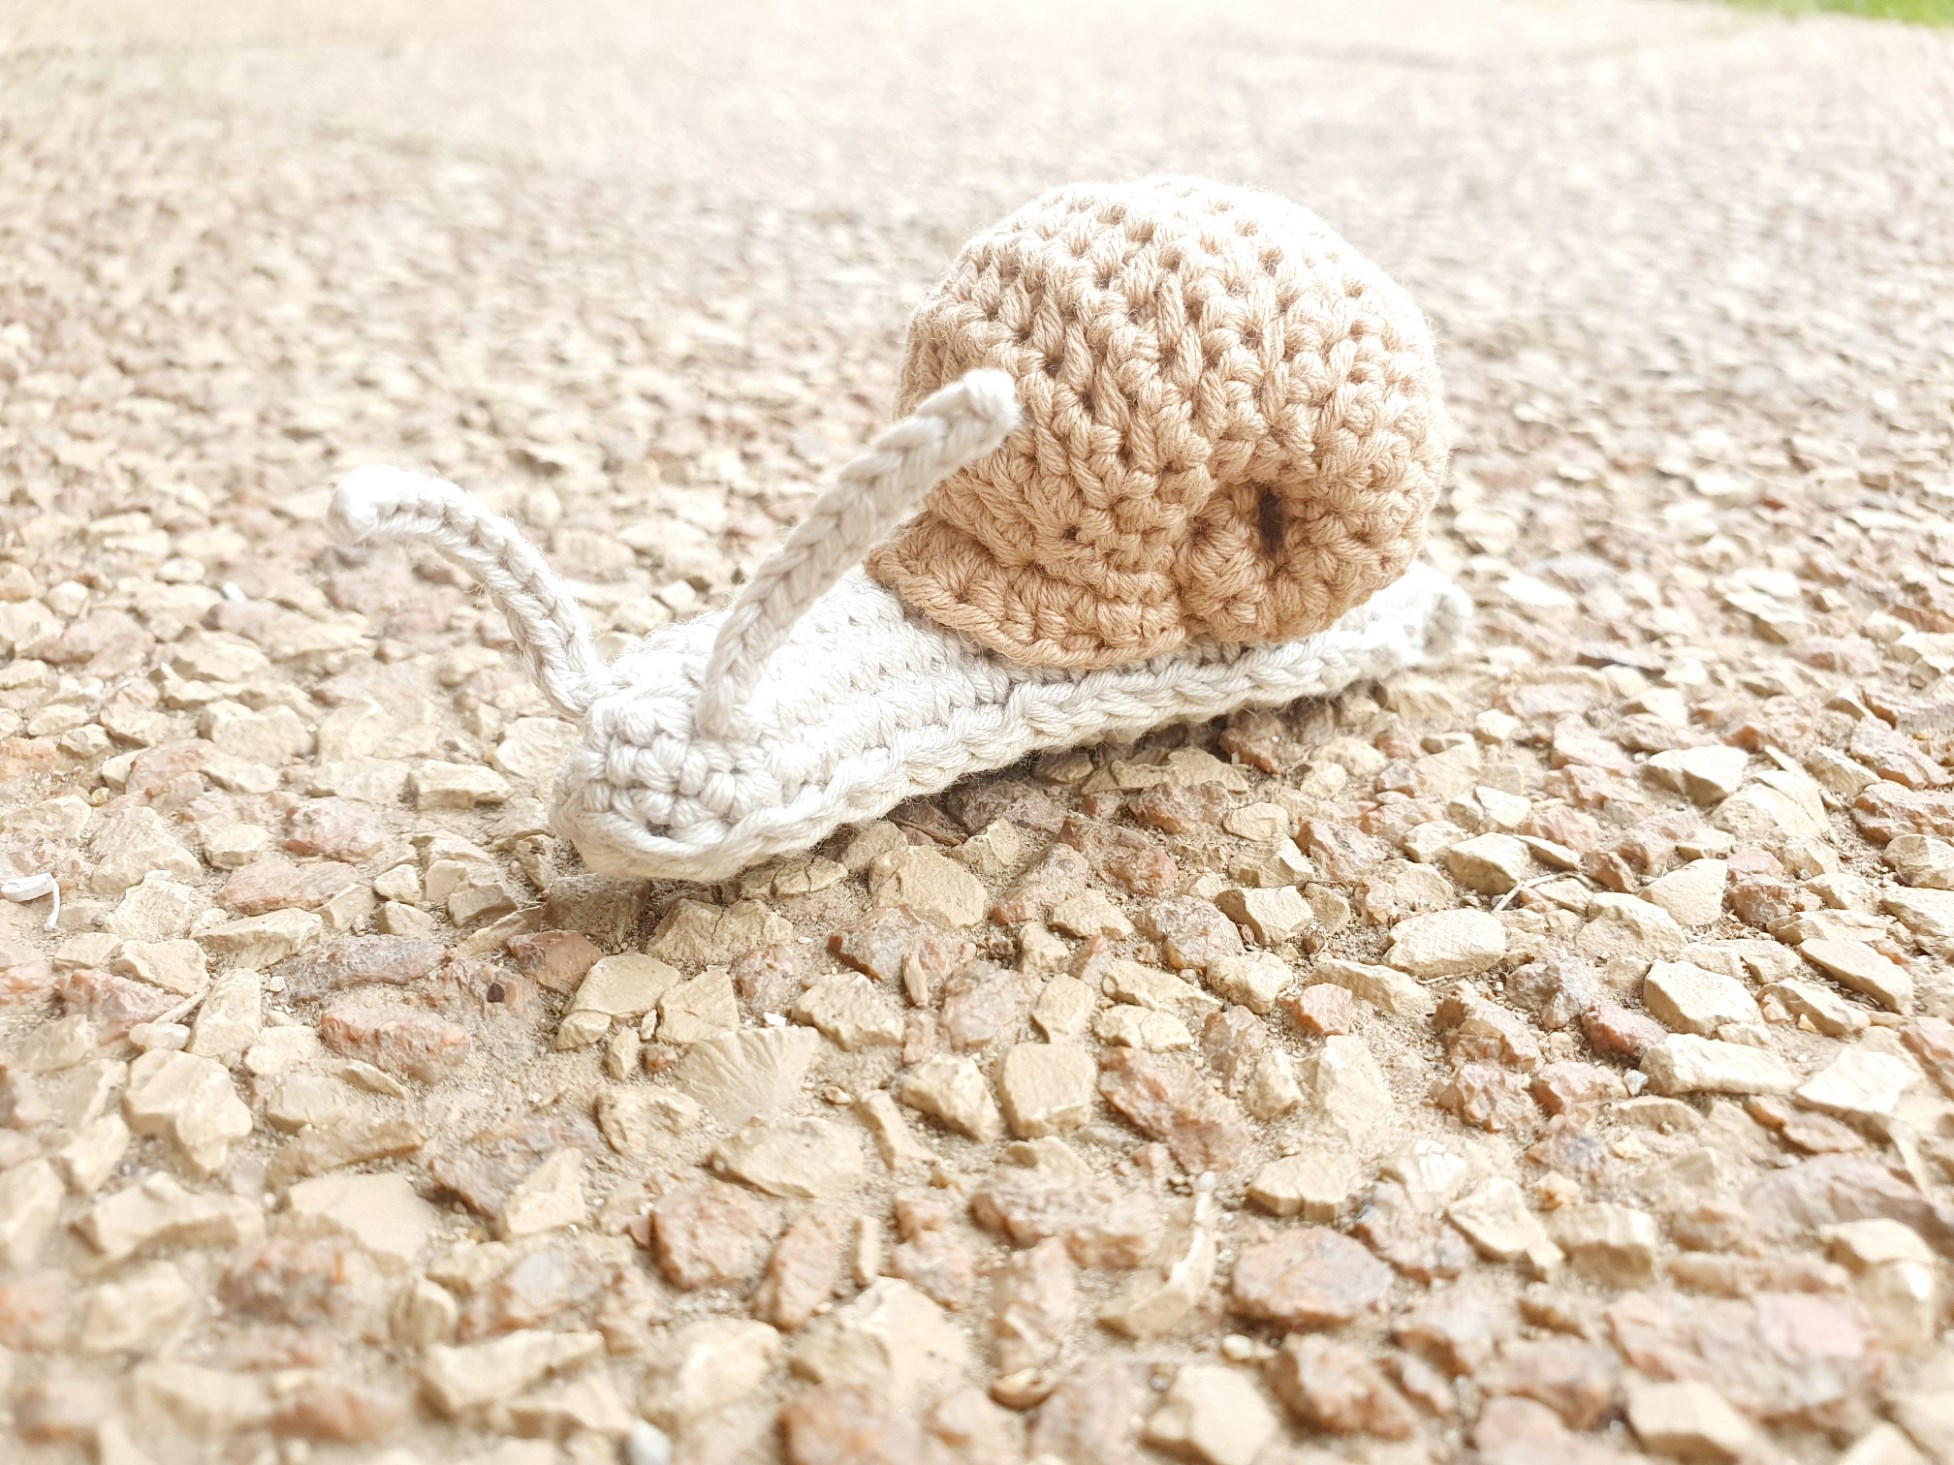
Meet Edward the Snail: A Free Crochet Pattern for a Cozy Critter
Hello, sweet friend! Have you ever looked at a little garden snail and thought, “You are just the most adorable, slow-paced little creature”? Well, I have, and today we are going to turn that inspiration into the coziest crochet project ever.
I am so excited to introduce you to Edward the Snail. He is a tiny, charming amigurumi project that works up quickly and is absolutely perfect for using up those small bits of cotton yarn in your stash. Whether you are a seasoned crocheter looking for a fun weekend project or a brave beginner ready to learn a few new stitches, Edward is the perfect companion.
This pattern creates a snail about 8cm (3 inches) long, making him an ideal gift for a friend, a sweet addition to a child’s toy collection (just remember the safety notes!), or a little desk buddy to remind you to slow down and enjoy the little things. We’ll be using some special “linked” stitches to create a beautiful, hole-free shell, but don’t worry—I’ve included clear, step-by-step tutorials in this post to guide you through every loop and pull. So, grab your hook and some yarn, and let’s bring Edward to life!
Your Cozy Crochet Companion: Edward the Snail
This little guy is worked from the shell down, with a separate flat underside and a simple body piece that all get stitched together at the end. The magic really happens when you roll up the shell piece and sew it shut—it’s one of those incredibly satisfying crochet moments! The pattern uses a 2.00mm hook and fingering-weight cotton yarn, which helps Edward hold his shape perfectly. And if you want him to be poseable, you can even add a bit of metal wire inside his body. Let’s gather our supplies and get started!
Materials You’ll Need
- Yarn: Cotton fingering (4 ply) yarn. The sample uses DMC Natura 100% cotton:
- Colour A (Shell): 5 grams
- Colour B (Underbody): 2 grams
- Colour C (Body): 2 grams
- Crochet Hook: 2.00mm
- Other Supplies:
- Stuffing (polyester fiberfill)
- Stitch markers
- Tapestry needle
- Metal wire (optional, for a poseable body)
Abbreviations (US Terms)
- mgc: magic circle
- sc: single crochet
- inc: increase (2 sc in one stitch)
- sl st: slip stitch
- ch: chain
- hdc: half double crochet
- Ihdc: linked half double crochet (see tutorial below!)
- hdc inc: half double crochet increase (2 hdc in one stitch)
- hdc2tog: half double crochet two together (a decrease)
- tc: triple crochet
Finished Size & Gauge
- Finished Size: Approximately 8cm (3 inches) long.
- Gauge: Gauge is not critical for this project, but maintaining a consistent, slightly tight tension will help prevent holes and ensure your snail keeps his shape.
Let’s Crochet Edward!
The Shell
We will be working the shell in a continuous round (spiral). Do not join at the end of each round unless stated. This is where we’ll use our linked stitches! Using Colour A.
- Round 1: ch 6 (6)
- Round 2: [See Image 1] sc in 2nd ch from hook, sc 3, sc 3 in last ch. Now continue working on the other side of the chain: sc 4. You should now have 14 sc in total. (14)
- Round 3: sc all around. (14)
- Round 4: Ihdc 5, sc 9. (14)
- Round 5: (hdc inc, hdc) x 2, hdc inc, sc 9. (17)
- Round 6: Ihdc 8, sc 9. (17)
- Round 7: (hdc, hdc inc) x 4, sc 9. (21)
- Rounds 8 – 15: [8 rounds] Ihdc 12, sc 9. (21)
- Round 16: hdc2tog, Ihdc 8, hdc2tog, sc 9. (19)
- Round 17: (hdc2tog, Ihdc 2) x 2, hdc2tog, sc 9. (16)
- Round 18: hdc inc x 9, sc 7. (25)
Fasten off, leaving a long tail for sewing the shell together.
The Underside
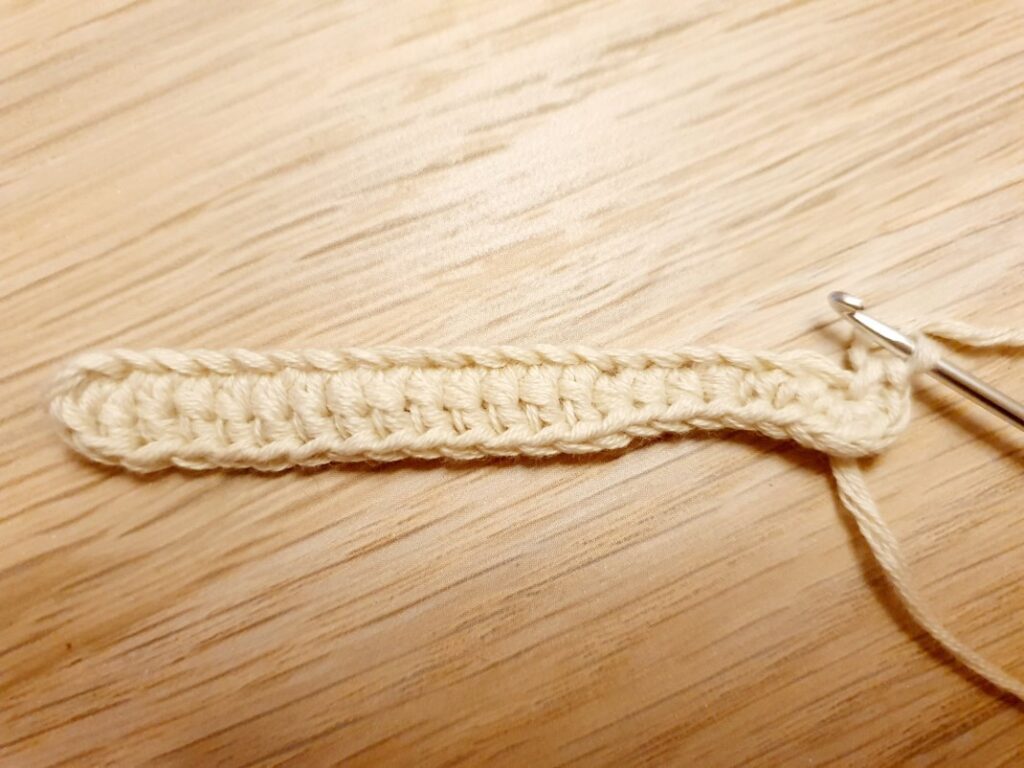
This piece is worked in rows. Using Colour B.
- Ch 22. Skip the first 2 chains, then work 2 dc in the next stitch. Dc 12, hdc 4, sc 2. In the last chain, work 5 sc.
- Now, continue working on the other side of the foundation chain: sc 2, hdc 4, dc 12. Work 2 dc in the same stitch as the very first double crochet. Join with a sl st to the beginning of the row. Fasten off. (45 stitches total)
Note: The side where you fasten off is the head side.
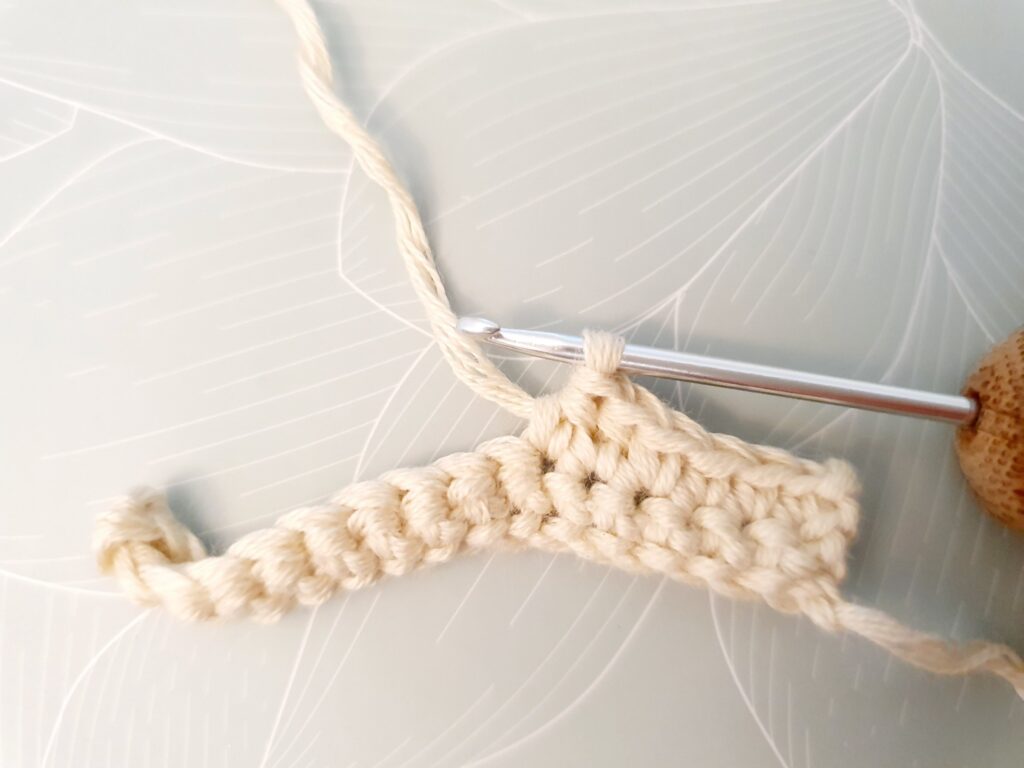
The Body & Antennae
The body is worked in a continuous round. Using Colour C.
- Round 1: ch 21. (21)
- Round 2: inc in the second stitch from hook, sc 18, sc 3 in the last stitch. Now mirror on the other side: sc 18, inc. (43)
- Round 3: sc 21, (hdc, dc, hdc in one stitch), sc 21. (45)
- Round 4: sc 21, (hdc, dc in one stitch), (dc, tc, dc in one stitch), (dc, hdc in one stitch), sc 21. (49)
Fasten off. The fastened-off side is the head.
Antennae (Made with a Cord Stitch)
- Using Colour C, measure out a piece of yarn that is 3 times the length of your crochet hook. Cut it and fold it in half.
- Create a slip knot in the middle of this folded piece and place it on your hook.
- Hold the yarn as you normally would for crocheting, but also hold the long “tail” end with your working hand.
- Step A: Bring the tail end up and over your hook.
- Step B: Yarn over with the other piece (the one attached to the ball/skein). You will now have 3 loops on your hook.
- Step C: Pull the yarn through all 3 loops on your hook.
- Repeat Steps A, B, and C until you have made 10 stitches.
- Once finished, insert the base of the antennae into the head part of the snail (between rows 2 and 3) and tie a double knot on the underside to secure it.
Assembling Your Snail
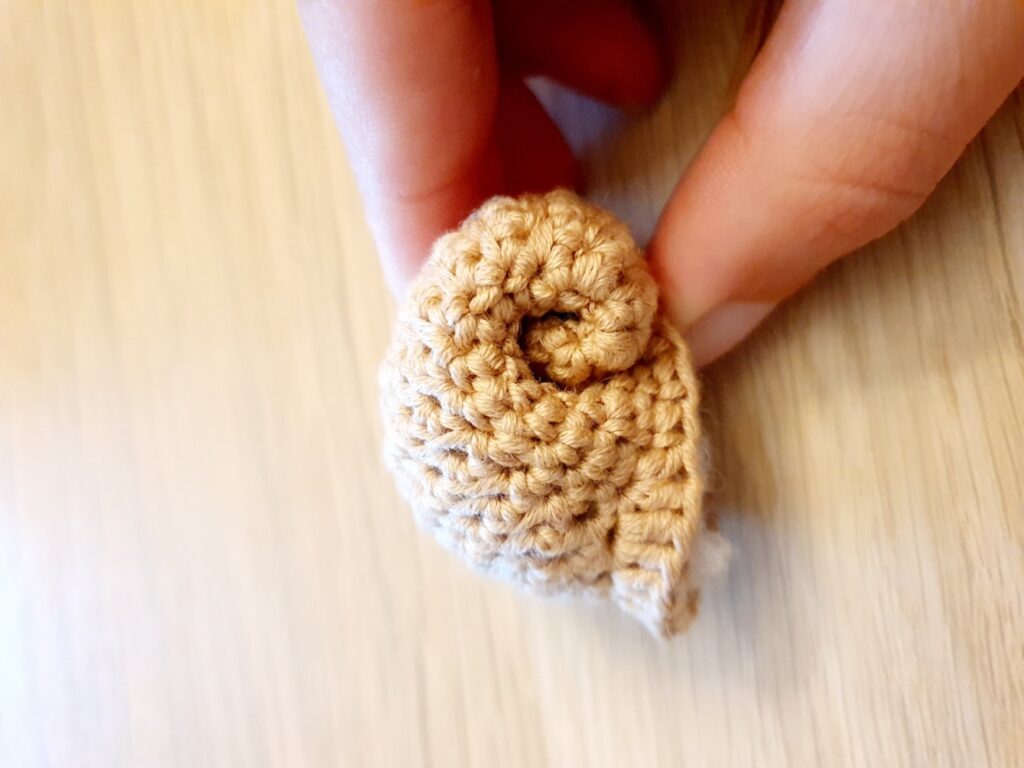
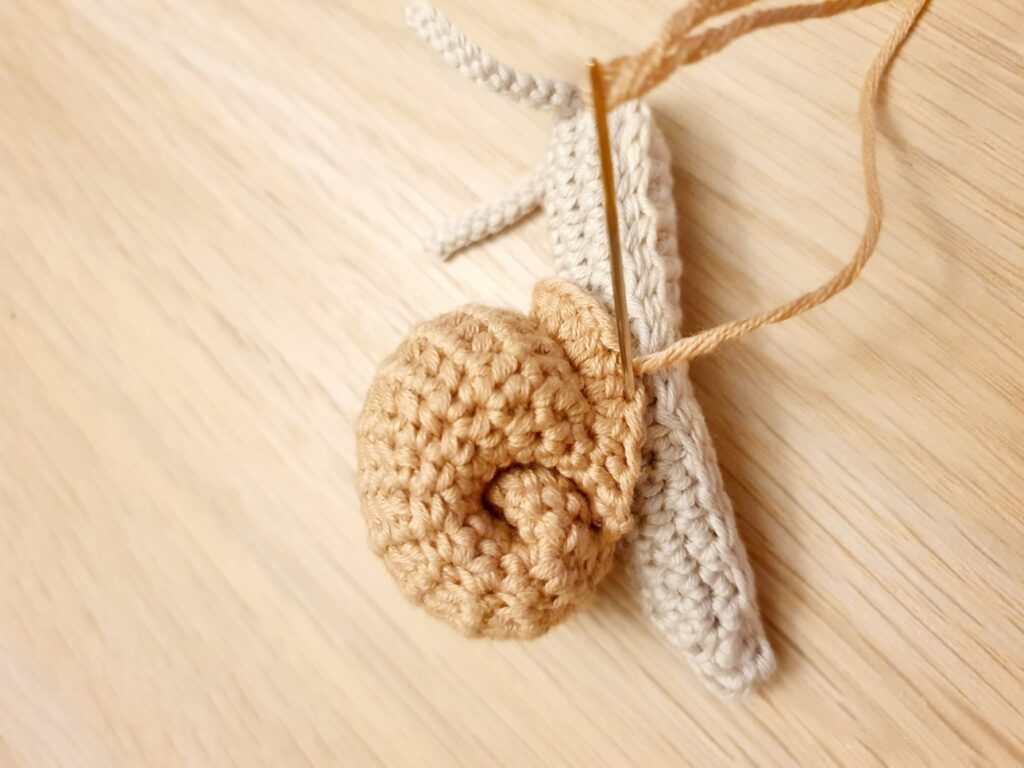
Shaping the Shell
- Before you attach it, you need to shape the shell! Stuff the shell piece firmly, but leave the very tip (the narrow end) empty so it’s easier to roll.
- Roll the shell piece up tightly, starting from the tip.
- Using the long tail you left, sew the rolled shell together to secure its shape.
Putting It All Together
- Attach the Antennae: If you haven’t already, insert the antennae into the head, near the tip, between the 2nd and 3rd rows of the body.
- Join Body and Underside: Line up the body piece with the flat underside piece. Using a tapestry needle and a length of yarn, start at the very tip of the tail. Thread through the tip stitch, then through the next two stitches on both pieces and pull tight. Continue sewing the two pieces together along the edge. Pro Tip: Don’t stuff the body too firmly; you want the bottom to stay nice and flat.
- Attach the Shell: Position the finished shell near the back of the snail’s body. From a bird’s-eye view, you should be able to see a tiny bit of the tail peeking out from under the shell. Weave the shell securely in place by stitching through the body and the bottom edge of the shell.
Weave in all your ends, give Edward a little squeeze, and he’s done!
Tips & Tricks for a Perfect Edward
- Embrace the Linked Stitch: The pattern uses the linked half double crochet (Ihdc) for the shell. This special stitch creates a lovely, solid fabric without the large holes that regular half double crochets might leave. Don’t be intimidated! Check out the mini-tutorials below.
- Tension is Key: Using cotton yarn makes it easy to see your stitches, but it also makes holes more noticeable. If you see gaps, try tightening your tension just a bit or switching to a slightly smaller hook, like a 1.75mm or 1.9mm.
- Safety First: This pattern contains small parts and loose ends. If you’re making Edward for a young child, please ensure close supervision or omit the wire and embroider the eyes instead.
Stitch Tutorials for Beginners
Linked Half Double Crochet (Ihdc)
- Start by making a standard half double crochet. This counts as your first Ihdc.
- Step 2: Insert your hook into the side of the last stitch you made (just below the two top loops), yarn over and pull through. You will have 2 loops on your hook.
- Step 3: Insert your hook into the next stitch in the round, yarn over and pull through. You will have 3 loops on your hook.
- Step 4: Yarn over and pull through all three loops on your hook. Your second Ihdc is complete.
- Repeat: To continue, always repeat Steps 2 and 3 by first picking up a loop from the side of the stitch you just made, and then from the next stitch in the round.
Example: For “Ihdc 5, sc 9,” you would make 1 standard hdc (counts as first Ihdc), then follow steps 2-4 three more times. Then you would make 9 sc in the next stitches.
Half Double Crochet Increase (hdc inc)
- This is simply working two half double crochet stitches into the same stitch.
Half Double Crochet Two Together (hdc2tog)
- Yarn over. Insert hook into the next stitch. Yarn over and pull through (3 loops on hook).
- Yarn over. Insert hook into the following stitch. Yarn over and pull through (5 loops on hook).
- Yarn over and pull through all five loops on your hook. You have decreased two stitches into one.