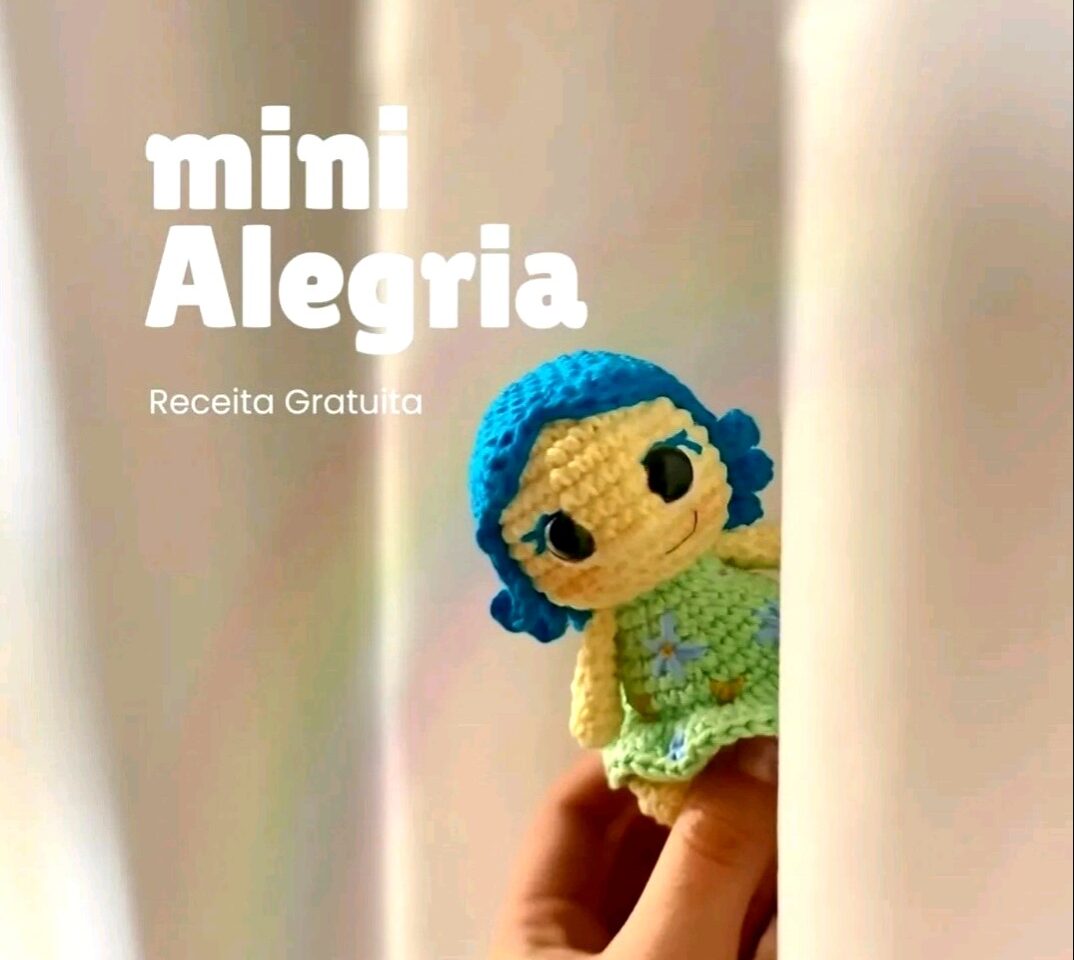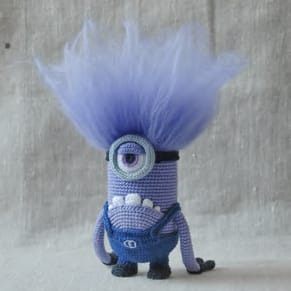
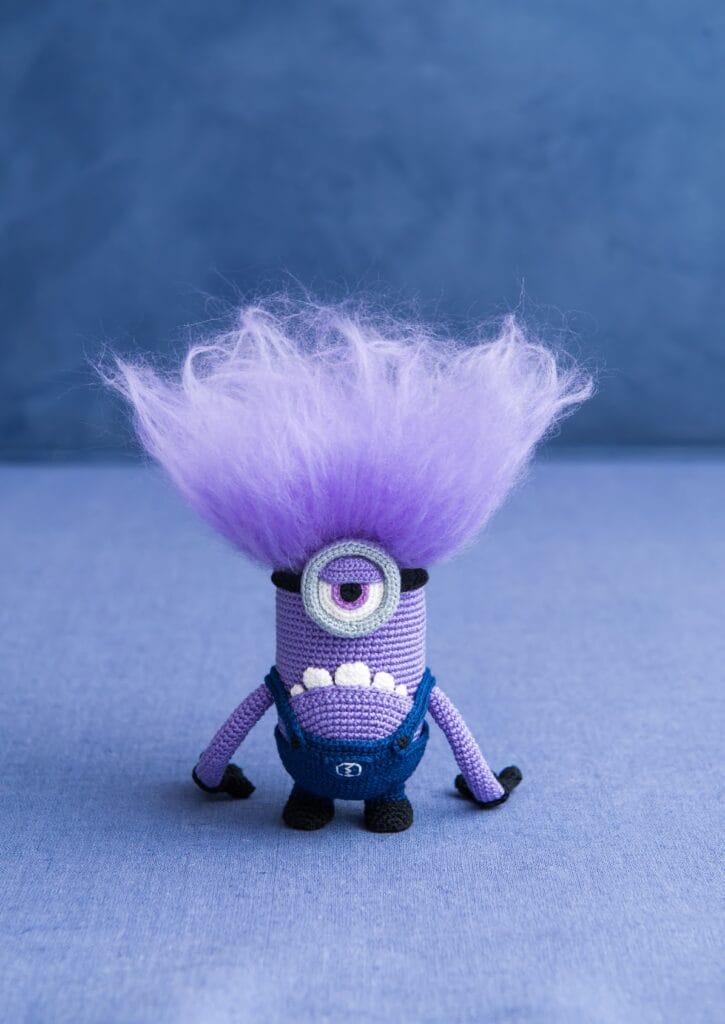
How to Crochet Your Own Adorable (and Slightly Mischievous) Minion
There’s something irresistibly charming about crocheting your own plush toys—especially when they’re as delightfully quirky as this little troublemaker! Whether you’re a seasoned crocheter or a beginner looking for a fun challenge, this step-by-step guide will help you create a tiny, purple-haired minion straight from your favorite animated world.

Materials You’ll Need
Before diving in, gather these cozy-making essentials:
- Yarn: Purple, light purple, white, navy blue, black, and gray.
- Hooks: 0.75 mm (for tiny details like teeth), 1.00 mm, and 1.25 mm (for the body).
- Stuffing: Polyester filling to keep your minion squishable.
- Extras: A sewing needle, scissors, stitch markers, and a small strand of purple wool for hair.
Basic Stitches & Tips
Here’s a quick refresher on the stitches used (with a few pro tips!):
- Magic Ring: Perfect for starting amigurumi projects tightly.
- Single Crochet (SC): The backbone of your minion’s shape.
- Invisible Decrease: Keens the seams smooth—no bumps!
- Spiral Technique: Work in continuous rounds (no joining stitches) for a seamless look.
Tip: Keep your tension snug to avoid gaps where stuffing might peek through. A smaller hook can help if your stitches are too loose.
Step-by-Step Guide
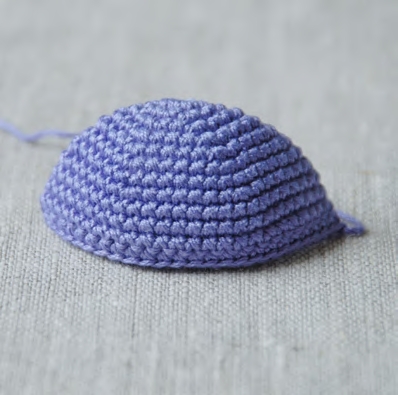
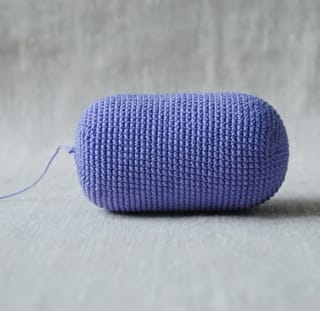
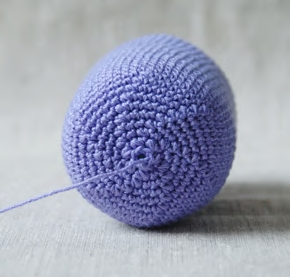
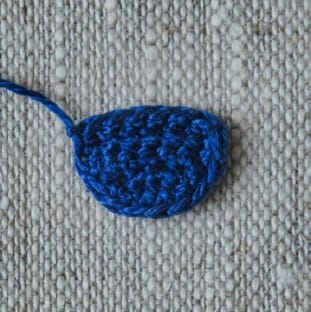
1. The Body (Purple Yarn)
Start with the minion’s round, plump body:
- Rows 1–10: Increase stitches gradually to form a sphere (6 SC → 60 SC).
- Rows 11–40: Work even rounds to build height.
- Rows 41–49: Decrease stitches, stuff firmly, and close the opening.
Note: Stuff as you go to avoid overfilling or lumps!