Hooked on Style? Grab Your FREE Crochet Pot Holder Pattern Today!
There is something uniquely satisfying about creating beautiful, functional items for your home with your own two hands. If you’re looking for a quick, rewarding project, this ultimate crochet pot holder pattern is the perfect place to start. Not only is it a fantastic way to practice the single crochet stitch, but it also produces a wonderfully thick and durable kitchen essential. In this guide, we’ll walk you through every step, from choosing the right yarn to sewing the final seam. This easy crochet pot holder pattern is designed for beginners but is enjoyable for crocheters of all skill levels. Once you make one, you’ll be hooked and ready to create a whole stack for yourself and as thoughtful, handmade gifts!
Why a Double-Thick Crochet Pot Holder is a Kitchen Must-Have
When it comes to handling hot pots and pans, you need a pot holder that offers serious protection. While single-layer pot holders can be pretty, they often don’t provide enough of a barrier against high heat. This is where the magic of a double-thick crochet pot holder pattern comes in. This clever design is worked in a round and then folded onto itself, creating two layers of dense, heat-absorbing fabric. The result is a sturdy, reliable pot holder that keeps your hands and countertops safe. The construction technique, often called the “origami” or “magic” potholder, is surprisingly simple yet incredibly effective. Furthermore, creating a double-thick crochet potholder is a fantastic project for building your skills and making something genuinely useful that will last for years.
Choosing the Perfect Yarn: The Key to a Safe and Durable Pot Holder
The single most important decision you’ll make for this crochet pot holder pattern is your yarn choice. The fiber content directly impacts the safety and functionality of your finished item. For any project that will come into contact with heat, you must use a yarn that can withstand high temperatures without melting or burning.
The Golden Rule: 100% Cotton Only!
For this project, 100% cotton yarn is non-negotiable. Cotton is a natural fiber that can handle the heat from a hot pan, whereas synthetic fibers like acrylic will melt when exposed to high temperatures, which is a serious safety hazard. Beyond its heat resistance, cotton is also highly absorbent, durable, and easy to clean—just toss it in the wash with your kitchen towels! This makes it the ideal choice for a hardworking kitchen accessory. Wool is another natural fiber that can be used, as it is naturally flame-resistant, but cotton remains the top choice for its washability and affordability.
Recommended Yarns and Hooks
A worsted-weight (size 4) cotton yarn is perfect for this crochet pot holder pattern. Brands like Lily Sugar ‘n Cream or Peaches & Creme are widely available, affordable, and come in a huge variety of solid and variegated colors. For this yarn weight, an H-8 (5.0 mm) crochet hook is recommended to create a dense fabric with tight stitches, which enhances the pot holder’s insulating properties. Using a slightly smaller hook than you might for a blanket or scarf ensures there are no large gaps for heat to penetrate.
The Ultimate Crochet Pot Holder Pattern (Step-by-Step)
Ready to get started? This simple and engaging crochet pot holder pattern is perfect for an afternoon project. The entire piece is made with just one stitch, making it an excellent way to master your single crochet technique.
Materials You’ll Need
- 1-2 skeins of 100% worsted-weight cotton yarn in contrasting or complementary colors
- Size H-8 (5.0 mm) crochet hook
- Yarn needle for weaving in ends
- Scissors
Abbreviations
- ch: chain
- sc: single crochet
- st(s): stitch(es)
- sl st: slip stitch
Step-by-Step Instructions
Step 1: Making the Foundation Chain
Begin by making a slip knot and placing it on your hook. Chain 33. This foundation chain will determine the width of your pot holder. For a standard square potholder, 33 chains is a great starting point, but you can adjust this number to make your pot holder larger or smaller.
Step 2: Crocheting the First Round
Now, we’ll begin working in the round. In the second chain from the hook, work 3 single crochet stitches. This creates the first corner. Next, work 1 single crochet in each of the next 30 chains across. In the very last chain, work 3 single crochet stitches to form the second corner. Do not turn your work. Now, you will continue working along the opposite side of the foundation chain, creating an oval shape. Work 1 single crochet in each of the remaining loops across. You are now back at the beginning. This innovative technique is the foundation of this easy crochet pot holder pattern.
Step 3: Continuing in Rounds
From here, the process becomes incredibly simple. You will now work in a continuous spiral, placing 1 single crochet in every stitch around and around. There’s no need to join at the end of each round; just keep going! As you work, you will notice the sides of your project begin to grow upwards, forming a long, flattened tube. Continue crocheting in this spiral until your piece measures half its total width in height. For example, if your piece is 8 inches wide, you’ll continue until it’s 4 inches tall. This is the key to creating the double thickness.
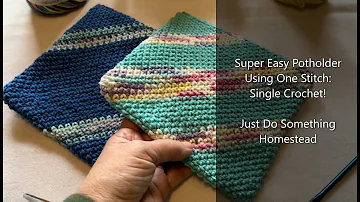
Watch this video for a helpful visual guide on the basic construction:
Step 4: Changing Colors (Optional)
If you’d like to add stripes or a border, changing colors is easy. I recommend changing colors on one of the curved ends to keep the transition smooth. To do this, start a single crochet stitch with your current color, but before the final yarn over, drop the old color. Pick up your new color, yarn over, and pull it through the two loops on your hook to complete the stitch. Tie the two yarn tails together on the inside of your work to secure them. All the loose ends will be hidden inside the pot holder, so there’s no need for extensive weaving!
Step 5: Assembling and Sewing the Seam
Once your piece has reached the desired height (half of its width), it’s time to finish your crochet pot holder pattern. Stop crocheting when your hook is at one of the side edges. Fold the piece flat so that the two open edges meet. Cut your yarn, leaving a long tail (about 20 inches) for sewing. Pull the tail through the last loop on your hook to fasten off.
Thread the yarn tail onto a yarn needle. To create a neat, flat seam, you will use a whip stitch or mattress stitch, working through only the outside loops of each stitch on both edges. Insert your needle from outside to inside on the first stitch of one edge, then from outside to inside on the corresponding stitch of the other edge. Pull the yarn snug. Continue this process across the entire seam. This technique creates an almost invisible join that lays flat and looks professional. Once you reach the end, make a small, secure knot and weave the remaining tail into the inside of the pot holder.
Pro Tips & Customization Ideas for Your Pot Holder
One of the best things about this simple crochet pot holder pattern is how easy it is to customize. Here are a few ideas to make it your own:
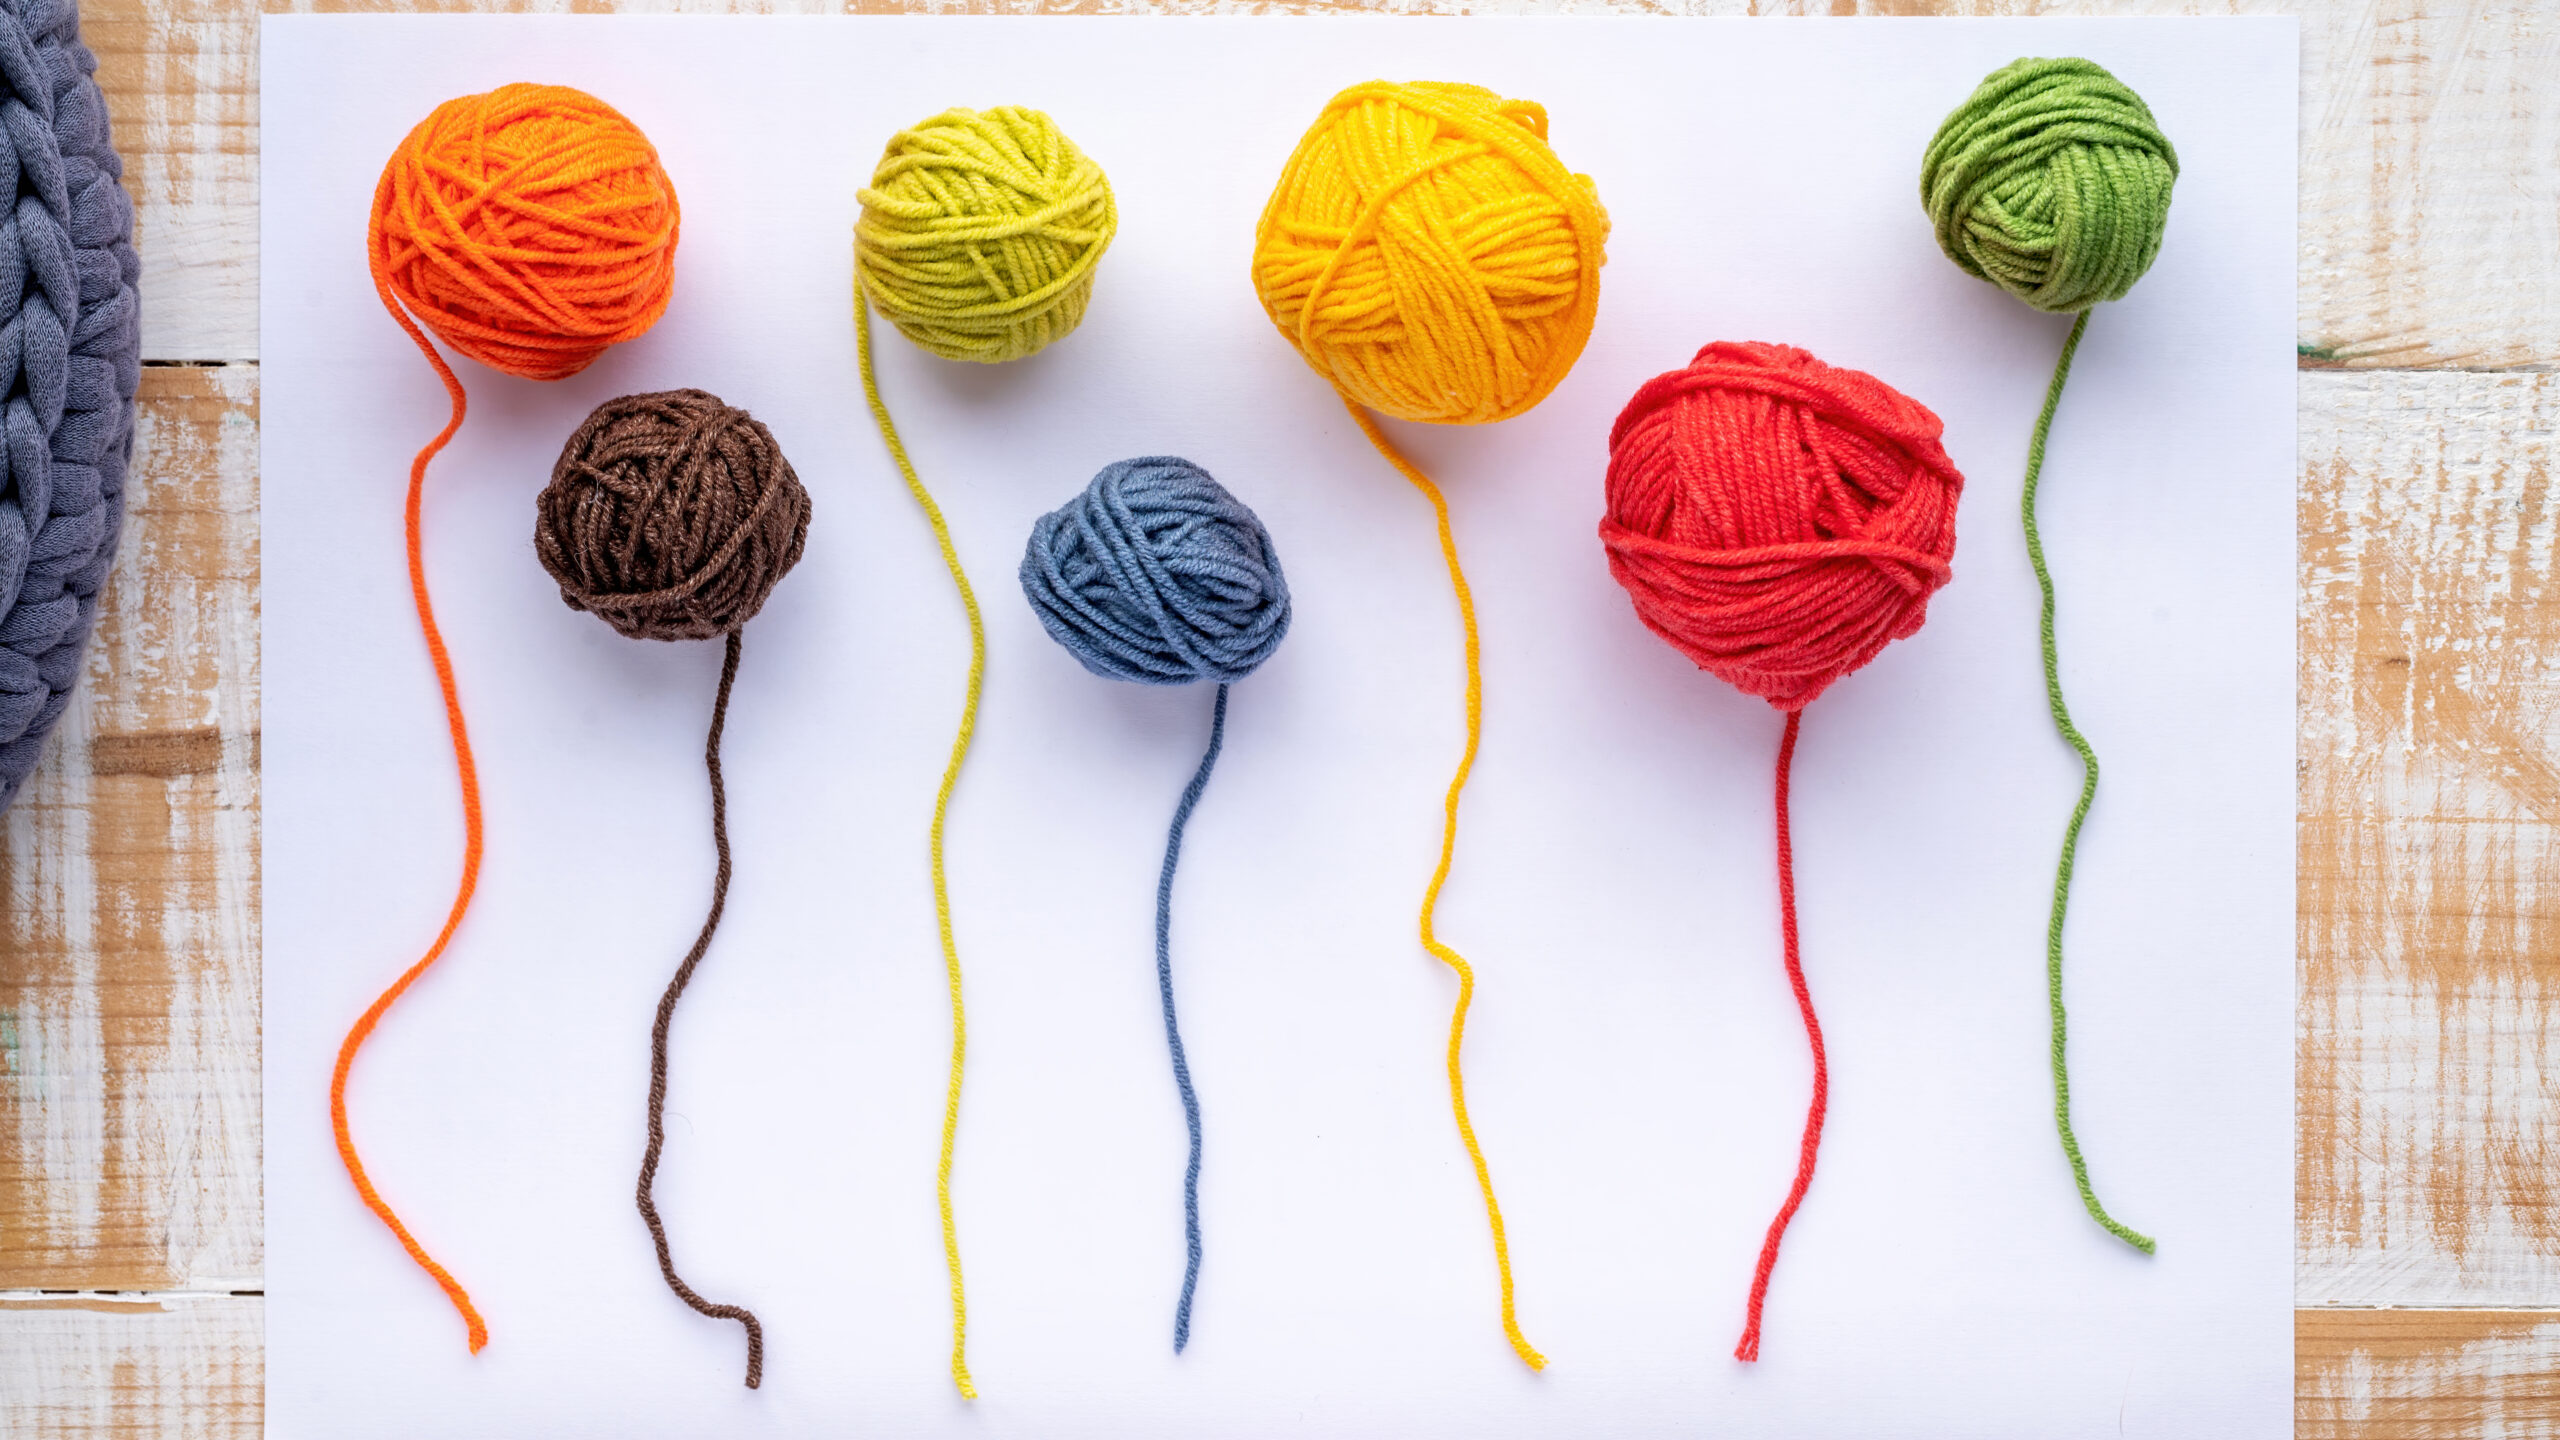
- Play with Color: Use variegated yarn for a surprising burst of color, or create bold stripes by changing colors every few rows. You can even use up scrap cotton yarn to make a truly unique, scrappy design.
- Add a Hanging Loop: Before you sew the final seam, you can easily add a loop. When you finish your last stitch, simply chain 15-20 stitches, then slip stitch back into the same space to form a loop. Then, proceed with seaming as usual.
- Adjust the Size: To create a larger or smaller pot holder, simply start with a longer or shorter foundation chain. Remember to adjust the number of rows accordingly so that the height is still half the width before folding.
Quick Takeaways: Your Pot Holder Pattern at a Glance
- Always Use 100% Cotton Yarn: This is crucial for safety as synthetic yarns like acrylic can melt.
- The Stitch is Simple: This entire crochet pot holder pattern is made using the single crochet stitch.
- Construction is Key: The pot holder is worked in a continuous round and then folded to create its essential double thickness.
- Tight Stitches are Best: Use the recommended hook size to create a dense fabric for maximum heat protection.
- Seaming Matters: A flat seam using the outer loops creates a clean, professional finish.
- Customization is Easy: Change colors, adjust the size, or add a hanging loop to personalize your creation.
Conclusion: Your New Favorite Kitchen Accessory
Congratulations on completing your beautiful and functional handmade item! This crochet pot holder pattern is more than just a set of instructions; it’s a gateway to creating practical art for your home. You’ve not only practiced a fundamental crochet stitch but also created a durable, double-thick pot holder that will protect you in the kitchen for years to come. The beauty of this pattern lies in its simplicity and adaptability. Whether you made a solid-colored classic or a vibrant, striped version, your new creation is a testament to your skill and creativity.
Now that you’ve mastered this free crochet pot holder pattern, think of the possibilities! A set of these makes a wonderful housewarming gift, a thoughtful present for a friend who loves to cook, or a great item to sell at craft fairs. We encourage you to continue experimenting with colors and sizes. Happy crocheting!
Frequently Asked Questions (FAQs)
- 1. Can I use a different stitch for this crochet pot holder pattern?
- While you can, the single crochet stitch is recommended because it creates a very dense fabric with no gaps, which is ideal for heat resistance. Taller stitches like half-double or double crochet would create a looser fabric, making the pot holder less effective.
- 2. My pot holder is curling at the edges. What did I do wrong?
- A little bit of curling, especially in the beginning, is normal for this pattern as you work in the round. It should flatten out as the project grows. If it’s curling excessively, your tension might be too tight. Try to crochet a bit more loosely or consider going up one hook size.
- 3. How do I wash my finished crochet pot holder?
- Since it’s made from 100% cotton, you can simply toss it in the washing machine with similar colors and then tumble dry on low. Cotton is very durable and holds up well to repeated washing.
- 4. How much yarn do I need for one pot holder?
- For a standard 8×8 inch pot holder, one 2-ounce skein of Lily Sugar ‘n Cream (approximately 95-120 yards) is usually sufficient. If you are making a larger pot holder or using multiple colors, it’s a good idea to have a second skein on hand.
- 5. Can I sell pot holders made from this pattern?
- Absolutely! Handmade items like these are very popular. This versatile crochet pot holder pattern is perfect for making items to sell at markets or online. They are quick to make and always in demand.
We’d love to see your creations! What color combinations did you use for your pot holder? Share your feedback or photos in the comments below, and don’t forget to share this free pattern with your fellow crochet lovers!
References
- [1] Sarah Maker. (2022). Easy Double Thick Crochet Potholder – Free Pattern.
- [2] Sewrella. (2019). Crochet Potholders – Double Thick!
- [6] Nourish and Nestle. (2022). Crochet Potholder Pattern using the Thermal Stitch.
- [7] Dora Does. (2021). How to seam crochet panels using mattress stitch.
- [11] Yay For Yarn. (2016). Double Thick Single Crochet Potholder – Free Crochet Pattern. YouTube.
- [13] The Spruce Crafts. (2019). Best Yarn Options for Crochet Potholders.
- [16] Knitgrammer. (2022). Best Yarn for Potholders – A Complete Guide for Yarn Selection.
- [18] Sew Homey. (2022). 8 Tips for Picking the Best Yarn for Knit or Crochet Potholders.
- [23] Reddit. (2014). How to add loop to pot holder – crochet.
- [27] ChristaCoDesign. (2023). How to Add a Crochet Hanging Loop. YouTube.
- [28] Easy Crochet Turn on Itself Pot Holder Tutorial Loop & Join. (2023). YouTube.