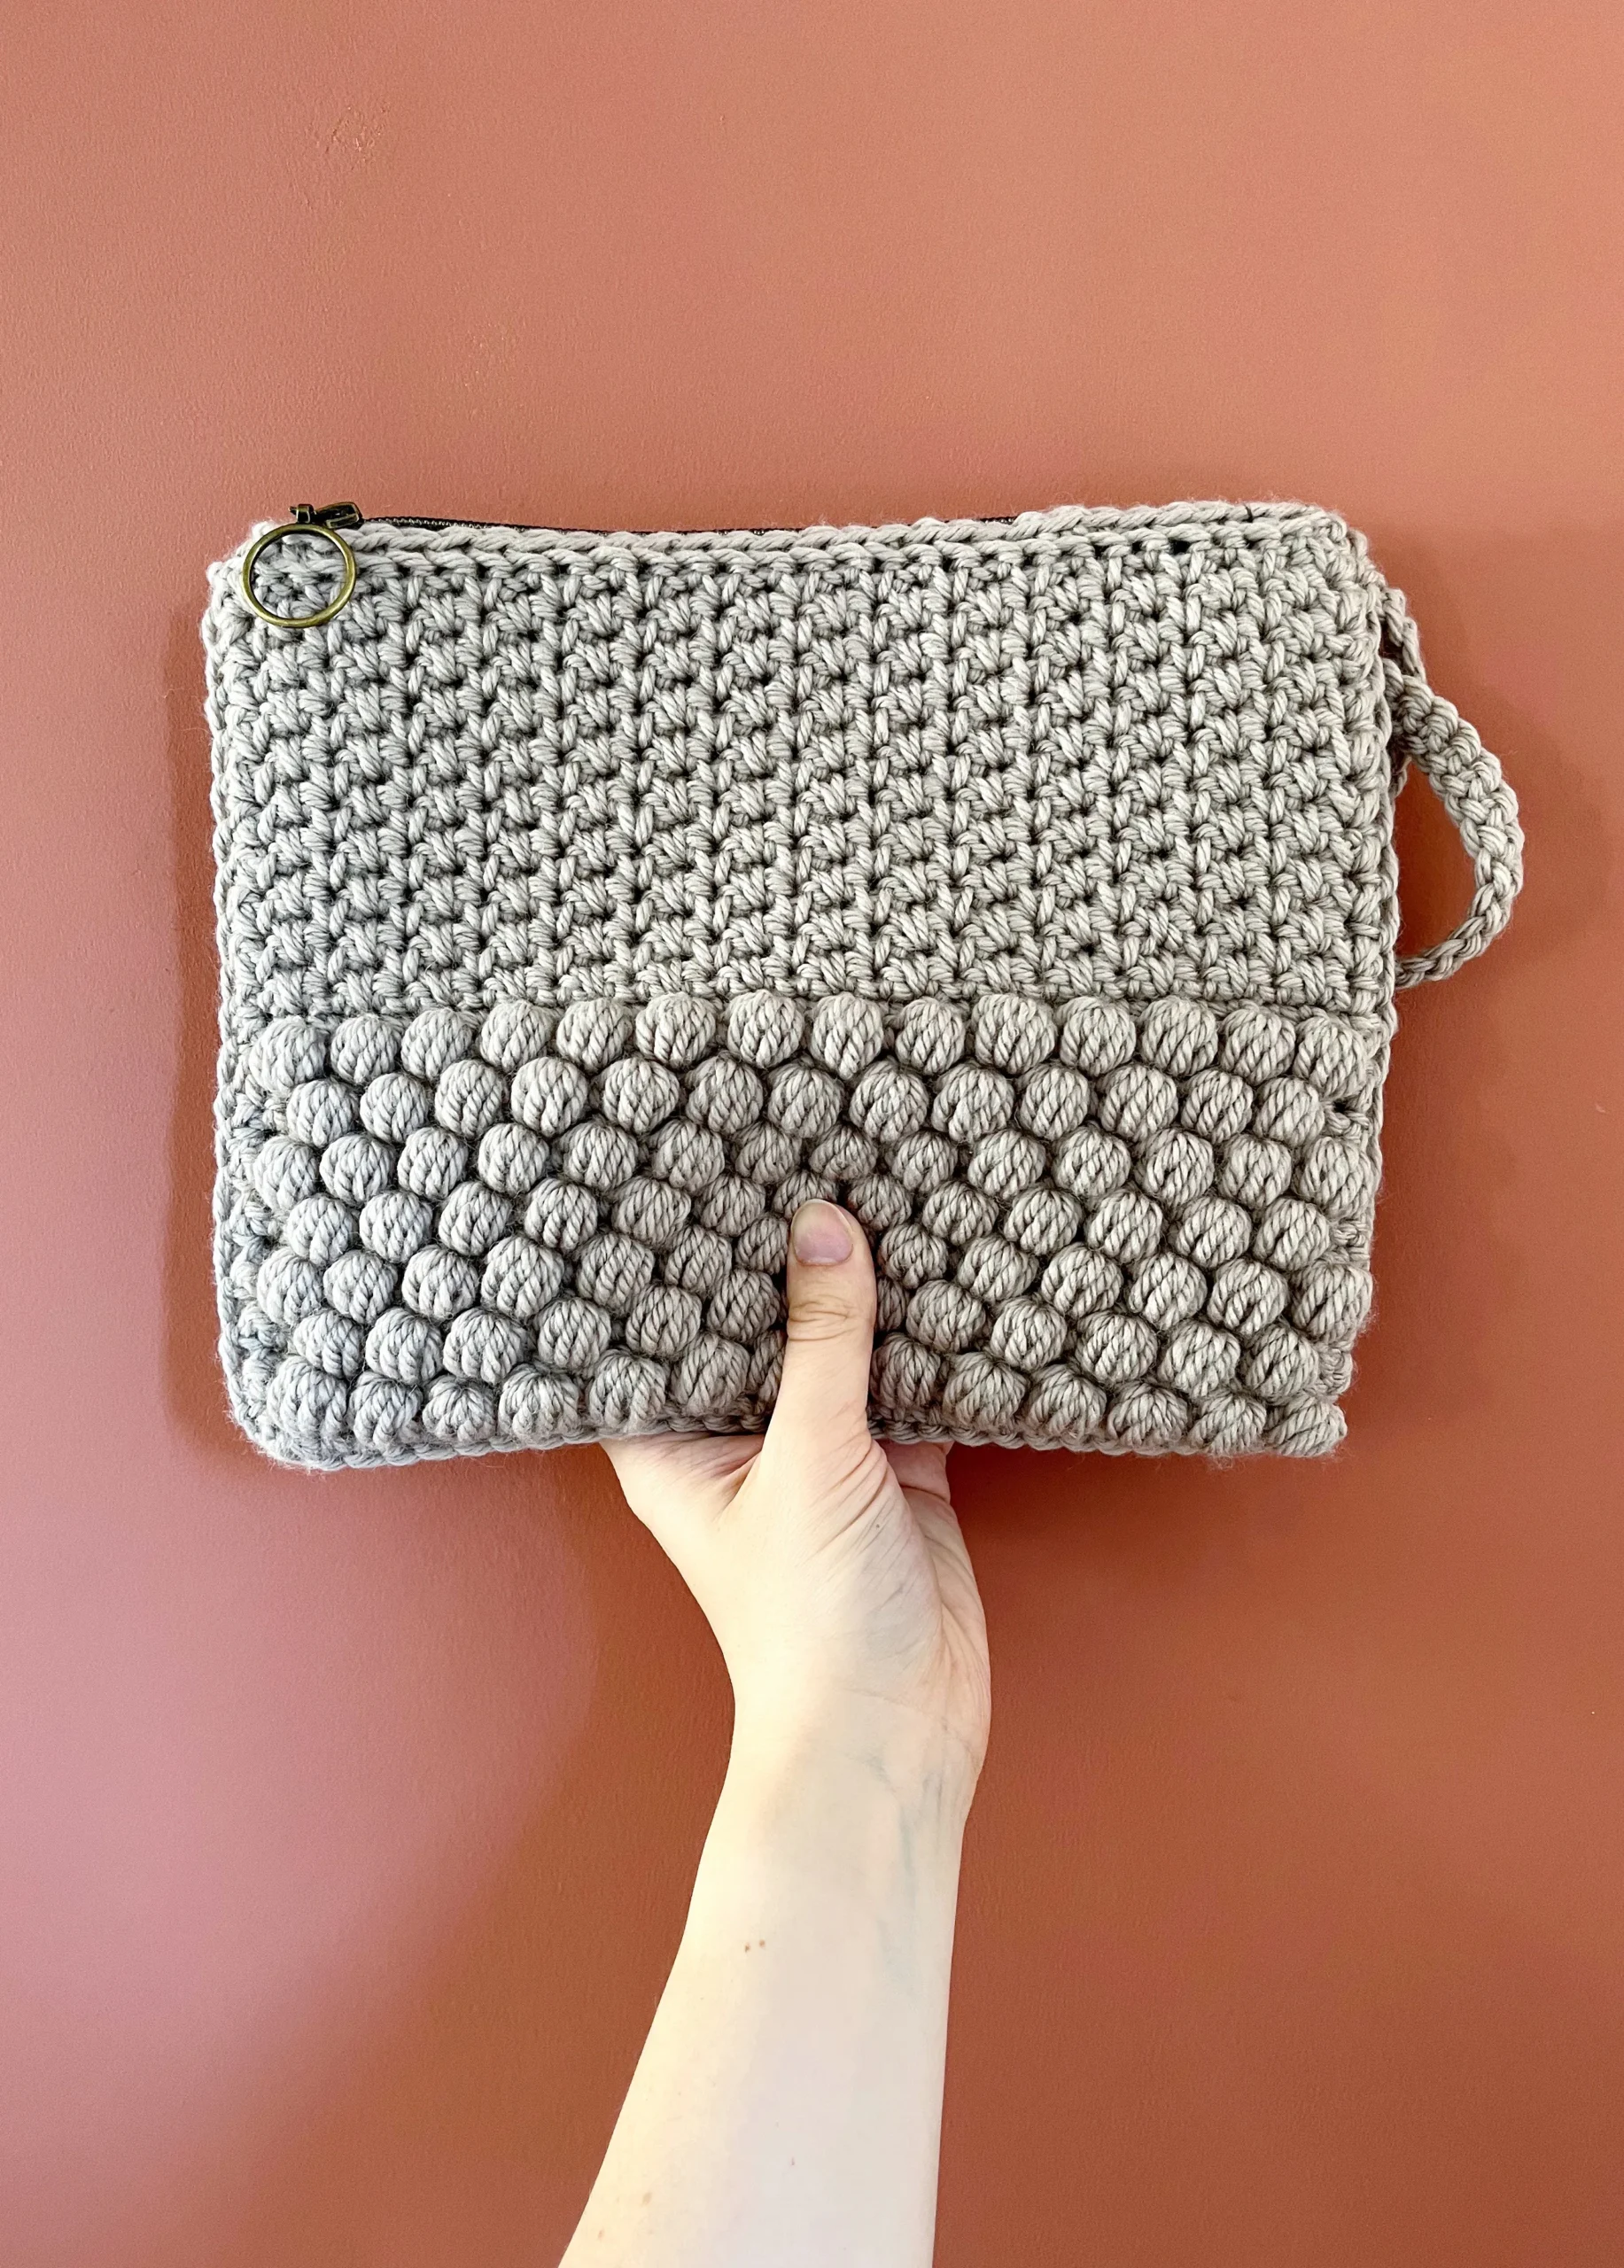
Cozy & Chic: Crochet Bobble Clutch Bag Pattern
Hello, crochet friends! Today, I’m so excited to share this adorable Bobble Clutch Bag pattern with you. Designed by Emma Wright, this little bag is the perfect mix of cozy texture and practical style—great for keeping your essentials close while adding a handmade touch to your outfit.
Made with Debbie Bliss Cashmerino Chunky yarn, this clutch works up quickly (thanks to that 6mm hook!) and features a fun bobble stitch for playful dimension. The crochet moss stitch section keeps things neat and modern, while the zipper closure ensures your goodies stay safe inside.
Who’s this pattern for?
✔ Beginners looking to practice stitches in a small project.
✔ Gift-makers—this clutch is perfect for birthdays, holidays, or just because!
✔ Yarn lovers who adore chunky, soft textures.
So grab your hook, pick a pretty yarn color, and let’s make something lovely together!
Materials You’ll Need
- Yarn: 4 x 50g balls of Debbie Bliss Cashmerino Chunky (Pebble used here, but any color works!).
- Hook: 6mm crochet hook.
- Other Supplies:
- Open-ended zipper (cut to fit).
- Large-eyed sewing needle.
- Scissors.
Abbreviations (UK Terms)
- Ch = Chain
- dc = Double crochet
- rep = Repeat
- sl st = Slip stitch
- st/s = Stitches
- WS = Wrong side
- BLO = Back loop only
- MB = Make bobble (see special instructions below)
Special Stitch: Make a Bobble (MB)
- Yarn over, insert hook into stitch, pull up a loop. Repeat five times in the same stitch (11 loops on hook).
- Yarn over and pull through all 11 loops.
- Chain 1 to secure the bobble.
Gauge & Size
- Finished Size: ~26cm (width) x 21cm (length).
- Gauge:
- Bobble Stitch: 11 sts x 14 rows = 10cm (4in).
- Moss Stitch: 12 sts x 20 rows = 10cm (4in).
Tip: Check your gauge before starting to ensure your bag turns out the right size!
Step-by-Step Crochet Pattern
Bag Face (Make 2 Panels)
Foundation Row:
- Chain 30.
- 1 dc in the 2nd ch from hook, then 1 dc in each ch across. Turn. (29 sts)
Bobble Stitch Section:
- Row 1: Ch 1, 1 dc in first st, MB in next st, 1 dc in next st. Repeat from * to end. Turn.
- Row 2: Ch 1, 1 dc in first st, *miss the ch-1 from the bobble, 1 dc in next 2 sts*. Repeat from * to end. Turn.
- Row 3: Ch 1, 1 dc in first 2 sts, MB, 1 dc. Repeat from * to last st, 1 dc. Turn.
- Row 4: Ch 1, 1 dc in first 2 sts, *miss the ch-1 from the bobble, 1 dc in next 2 sts*. Repeat from * to last st, 1 dc. Turn.
Repeat Rows 1–4 twice more, then do Rows 1 & 2 once.
Transition Row:
- Ch 1, 1 dc in every st. Turn.
Moss Stitch Section:
- Row 1: Ch 1, 1 dc in next st, 1 dc in the st on the row below (skip current row). Repeat from * to last st, 1 dc in last st. Turn.
- Row 2: Ch 1, 1 dc in the st on the row below, 1 dc in next st. Repeat from * to last st, 1 dc in the st below over last st. Turn.
Repeat Rows 1–2 eight more times (18 moss stitch rows total).
Final Row:
- Ch 1, 1 dc BLO in every st. Fasten off.

Finishing & Assembly
- Blocking: Lightly steam or wet-block your panels to shape.
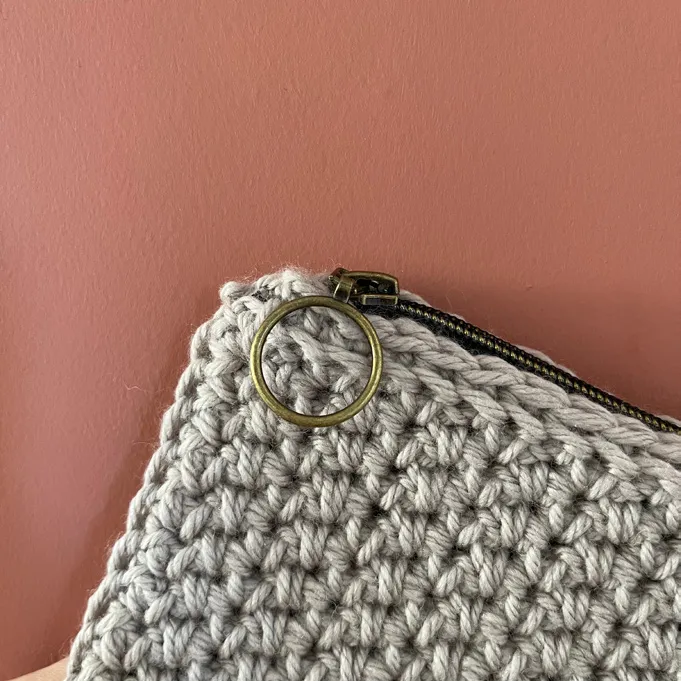
- Attach the Zipper:
- Cut the zipper to fit the top edge.
- Use a running stitch to sew it onto the fasten-off edge of both panels.
- Join the Panels:
- With wrong sides together, use a 6mm hook to dc stitch around the sides and bottom.
- Leave the top (zipper edge) open!
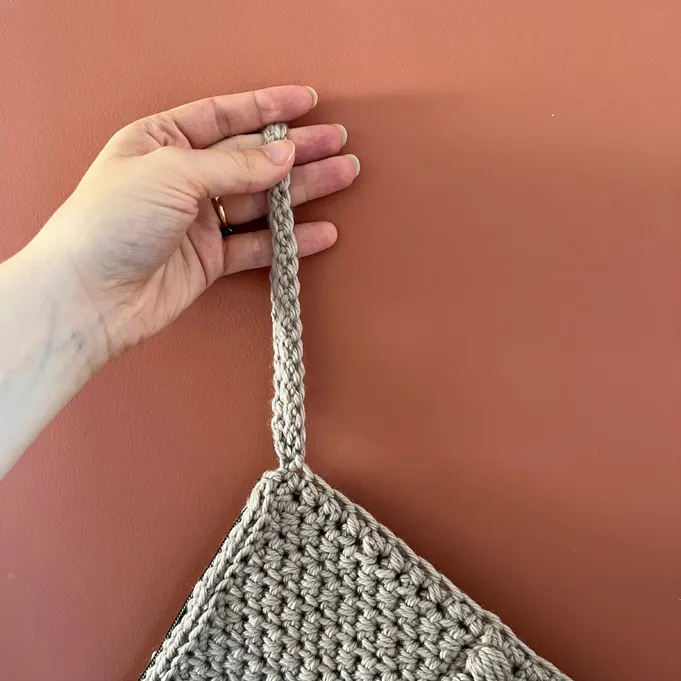
- Handle:
- From the top left corner (zipper closed), chain 32.
- Slip stitch back into the same spot to form a loop.
- Work 1 dc in each ch to reinforce the handle. Fasten off.
Tips for Beginners
✨ Bobble Trouble? If your bobbles feel loose, gently tug the ch-1 to tighten them.
✨ Zipper Help: Pin it in place before sewing to keep it straight.
✨ Moss Stitch Trick: Think of it as “alternating between current and lower-row stitches.”
Final Thoughts
And there you have it—a squishy, textured Bobble Clutch that’s as fun to make as it is to carry! Whether you’re keeping it for yourself or gifting it, this little bag is sure to bring smiles.