Adorable Crochet Chicken Pattern 2025
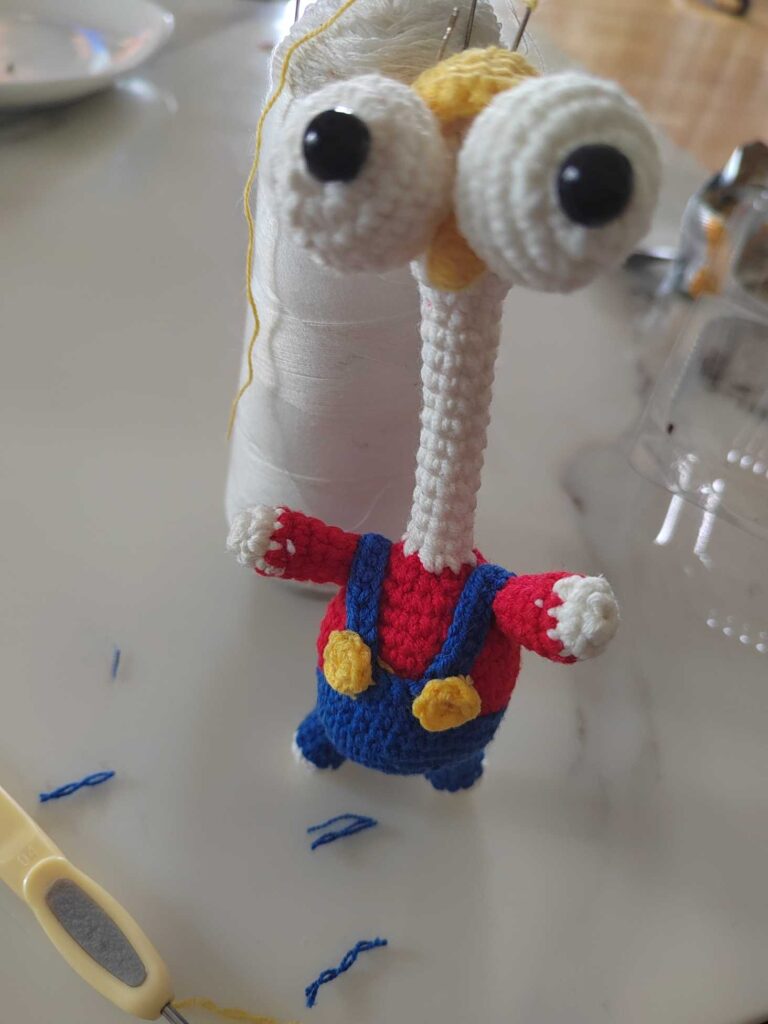
Welcome, fellow crocheters! Today, we’re diving into a delightful little project—a charming crochet chicken with a sweet backpack and adorable details. This pattern is perfect for beginners looking to practice basic stitches while creating something utterly cute.
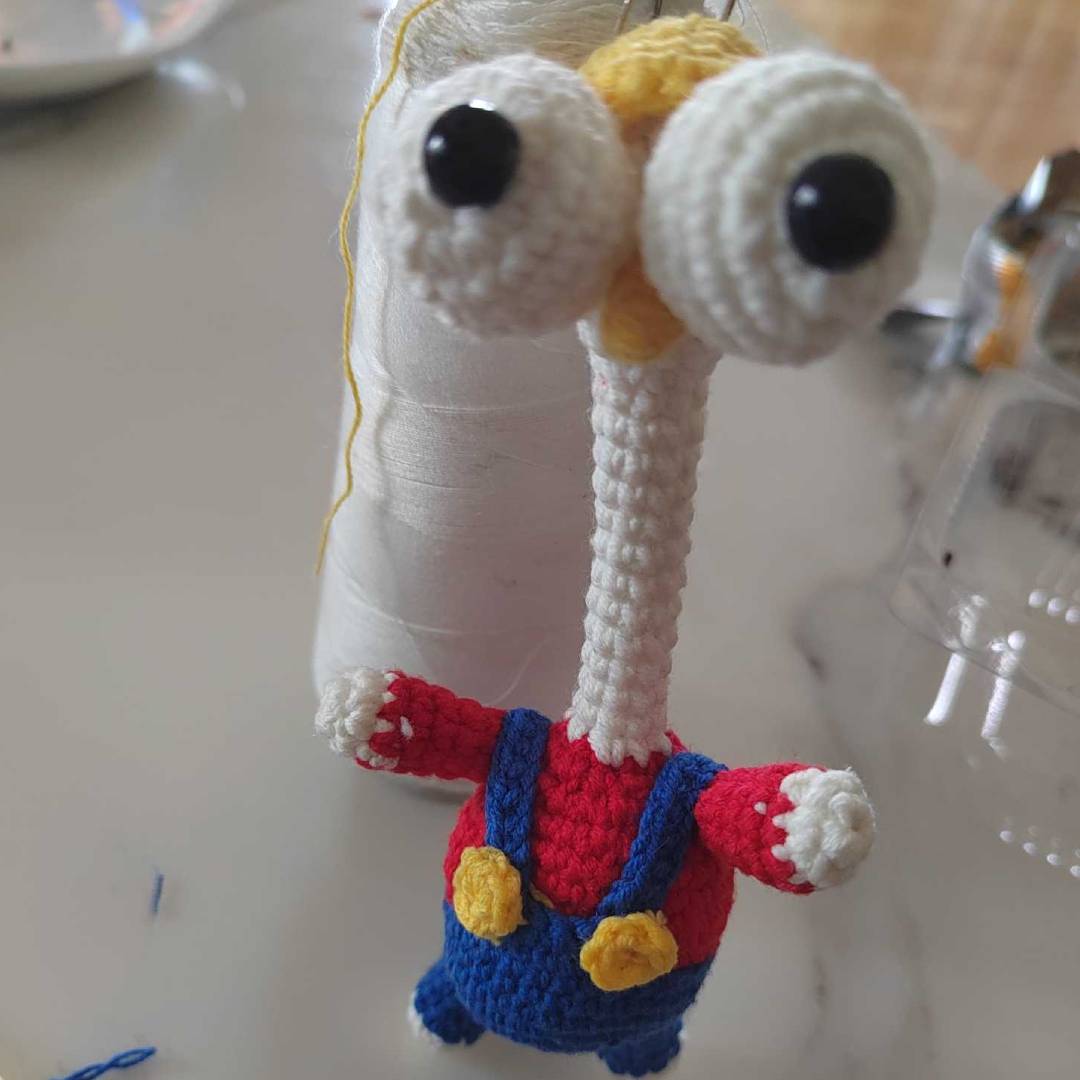
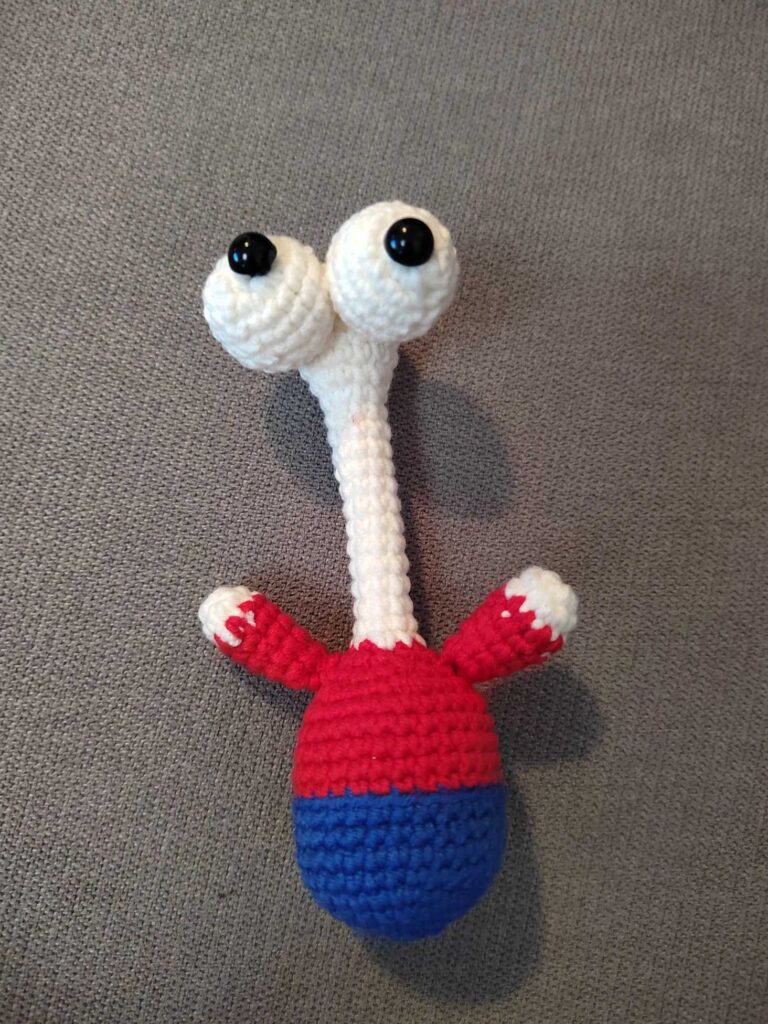
Inspired by playful farmyard friends, this chicken features a blue bag, a tiny hat, and even little legs and eyes to bring it to life. Whether you’re making it for a child’s toy, a nursery decoration, or just for the joy of crafting, this project is sure to bring a smile to your face.
The pattern uses simple stitches like single crochet (sc), increases (V), and decreases (A), making it accessible even if you’re just starting out. Plus, the small size means it works up quickly—perfect for a weekend project or last-minute gift!
So grab your yarn and hook, and let’s get stitching!
Materials
- Worsted weight yarn in:
- Main color (chicken body)
- Blue (bag)
- Red (optional accents)
- White (optional details)
- Crochet hook (size recommended for your yarn, usually 3.5–5mm)
- Safety eyes or black yarn for embroidery
- Fiberfill stuffing
- Yarn needle
- Scissors
Abbreviations
- X = Single crochet (sc)
- V = Increase (2 sc in same stitch)
- A = Decrease (sc two stitches together)
- ch = Chain
- R = Round
- sl st = Slip stitch
- hdc = Half double crochet (if used)
Finished Size
This little chicken measures approximately 4–6 inches tall, depending on yarn weight and tension.
Pattern Instructions
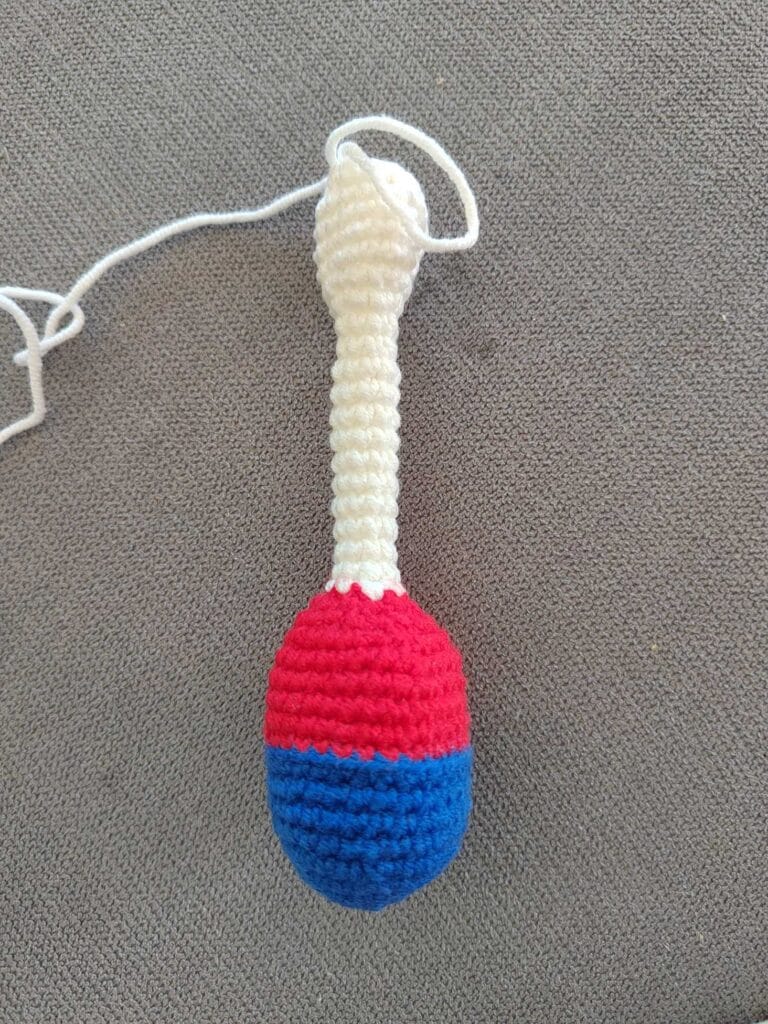
Main Body
R1: Start with a magic ring, 6 sc (6)
R2: 6 inc (12)
R3: (1 sc, 1 inc) x6 (18)
R4: (2 sc, 1 inc) x6 (24)
R5: (3 sc, 1 inc) x6 (30)
R6-9: Sc in each stitch around (30)
R10: Work in inner loops only (for a smooth edge)
R11-14: Sc in each stitch (30)
R15: (3 sc, 1 dec) x6 (24)
R16: (2 sc, 1 dec) x6 (18)
R17: (1 sc, 1 dec) x6 (12)
R18: (1 sc, 1 dec) x4 (8)
R19-30: Sc in each stitch (8)
R31: (1 sc, 1 inc) x4 (12)
R32: (2 sc, 1 inc) x4 (16)
R33-36: Sc in each stitch (16)
R37: (2 sc, 1 dec) x4 (12)
R38: 6 dec (6), fasten off and close.
Stuff firmly before closing.
Blue Bag (Backpack)
R1: 6 sc in magic ring (6)
R2: 6 inc (12)
R3: (1 sc, 1 inc) x6 (18)
R4-5: Sc in each stitch (18)
R6-9: Sc in each stitch (18)
R10: Work in outer loops only (for texture)
Fasten off and attach to the chicken’s back.
Legs & Feet
Leg (make 2):
- Ch 15, starting from the second chain, work 14 sc.
- Fasten off and attach to the body.
Hat
R1: 6 sc in magic ring (6)
R2: 6 inc (12)
R3: (1 sc, 1 inc) x6 (18)
R4-6: Sc in each stitch (18)
R7: (1 sc, 1 dec) x6 (12)
R8: 6 dec (6), fasten off.
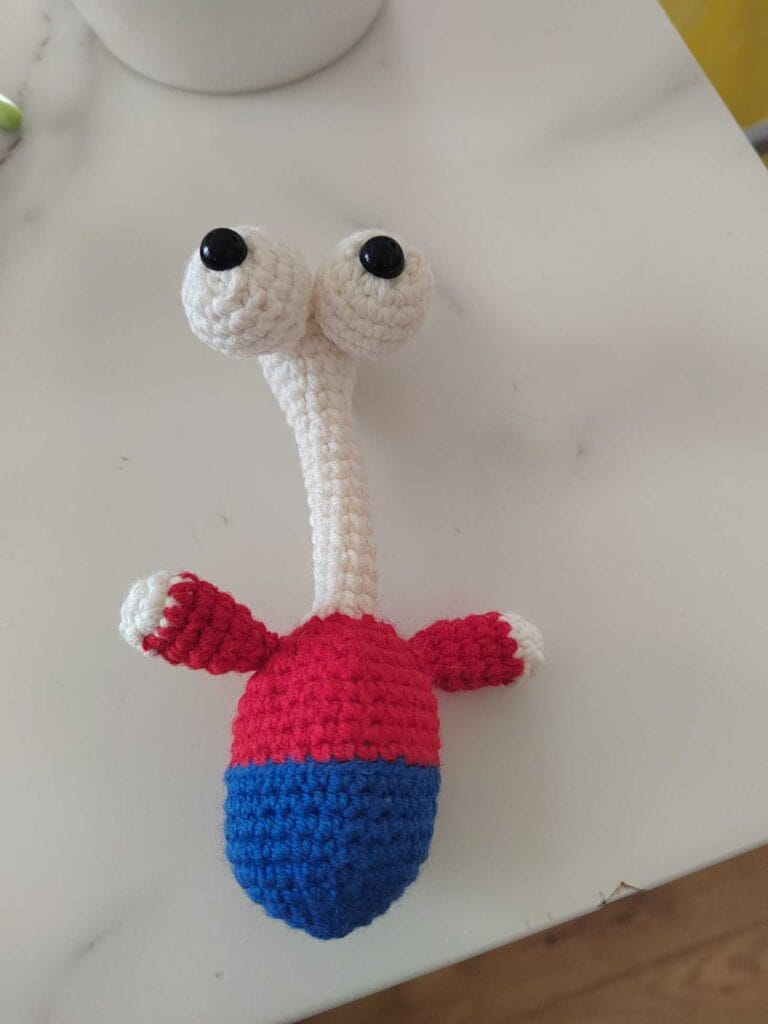
Eyes & Beak
- Eyes: Use safety eyes or embroider with black yarn.
- Beak:
- Ch 4, sl st in second ch, sc, hdc.
- Without fastening off, ch 5, sl st in second ch, sc, 2 hdc.
- Sew onto the face.
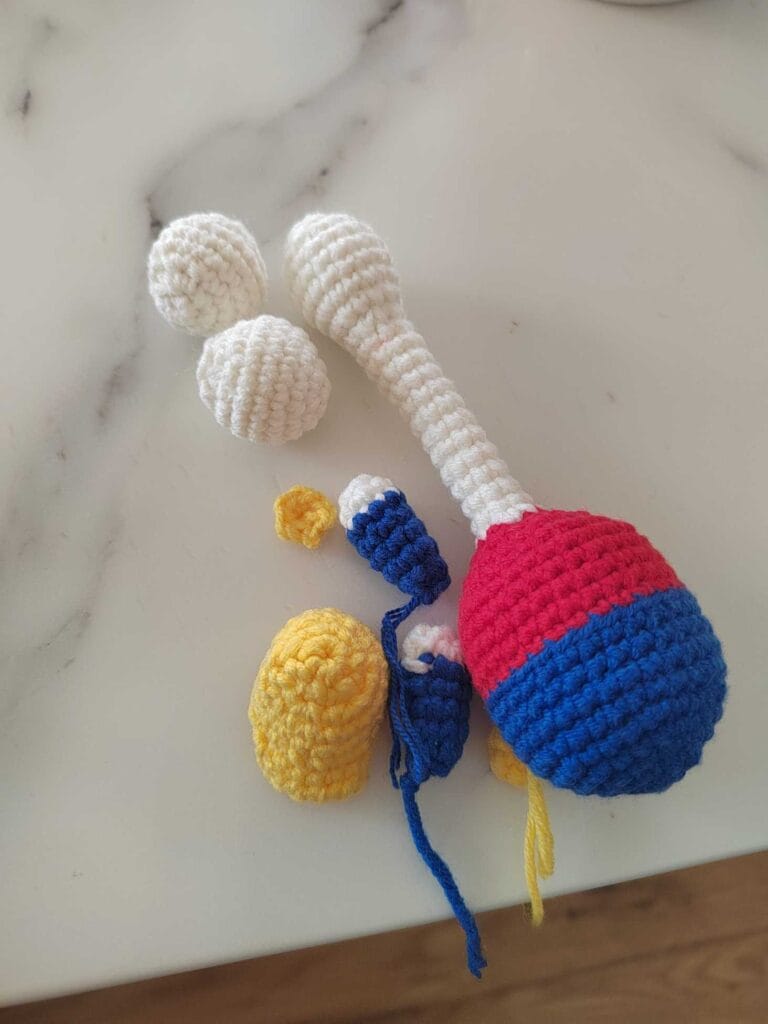
Assembly & Finishing
- Stuff the body firmly before closing.
- Sew the blue bag onto the back.
- Attach the legs securely at the bottom.
- Place the hat on top and secure with a stitch if needed.
- Add eyes and beak for personality!
Tips for Beginners
- Magic Ring: If you’re new to crochet, the magic ring is the best way to start amigurumi. Plenty of tutorials online can help!
- Counting Stitches: Use stitch markers to keep track of rounds.
- Tension: Keep stitches snug (but not too tight) to avoid gaps in the stuffing.
Final Thoughts
And there you have it—a darling crochet chicken ready to brighten someone’s day! This little buddy is perfect for practicing basic stitches, and once you’ve made one, you’ll want to create a whole flock.
If you enjoyed this pattern, share your finished chickens with fellow crafters—nothing beats seeing your creations come to life! Happy crocheting!